New Year, New Kitchen [Before and After]

Today is my birthday.

I just settled back home from a there-are-no-words-to-accurately-describe-how-stunning-it-was trip to Maui (there are some meager attempts to capture some of it in Stories>Travel and here). I hadn’t thought at all about the trip until the day before we left when I had to pack. 2018 wrapped up with some very stressful and disappointing surprises on top of significant renovations to the house. Then, the night those were all complete, feasts and fun with family and friends began. (https://safeanimalshelter.com/)

Inevitably, I was sick during the holidays, but am grateful I was 98% myself when it was time to throw stuff into a suitcase and go. After a lot of “do I?” “don’t I?”—my computer stayed behind. I’m happy to report: I didn’t miss it once over the course of almost two weeks. But now I’m home, and most of the brittle-beyond-belief Christmas greens are in the kindling basket, I reorganized a few things in the living room, my plants are watered, I got some rest, and today, all I wanted to do was share before-and-after pics of the kitchen reno, maybe bake something sweet, and just be in my home.

We were lucky to score our house this summer. My love and I rented for 2 1/2 years from a couple who drove through our magical town, fell in love with it, bought this old house and renovated it for their retirement dream home. They moved back to Dallas while we were in it to spend time with family and a new grand baby, who they ultimately couldn’t move away from.

For those that have followed this site, you know that I moved from Chicago to an historic town in the eastern panhandle of West Virginia years ago. The homes here are Civil-War-era gems, each with loads of character, history, even some ghosts (there’s actually a campy tv show about the ghosts in this town).

So, the fact that we were able to secure a renovated home from good people who loved it (not a flip job) was a make-it-work kind of moment when they called us with the offer. We’re constantly walking around saying, “I can’t believe we get to live here.”

I’ll be sharing lots of projects as we make it feel like ours like…

• We have a mini house in the back next to a creek/mini waterfall (I know, I know) that we want to turn into an AirBnB/guest house.

I’ve already planted about 150 bulbs in the yard. I want a wonderland. I’m also obsessed with conifers, Japanese gardens, edible trees, and bushes—all things plants. Who knows how it will all turn out? It’ll be eclectic at least, but I’m definitely a horse at the gate for springtime.

Over the holiday season we updated light fixtures, turned the saddest, coldest room in the house into the space that we hang in the most now (aka “The Parlour,” aka “Cozytown”), and updated the kitchen.

What you can’t see is that a rainbow tear of joy just fell on the keyboard just now… the kitchen!

While the kitchen in this house was nice in its own right, to me, it felt so wrong.

I remember coming into this house the first time to have dinner with our future landlords, heart sinking when we entered the kitchen. See, for a year prior, Mike and I would go for walks through town and we’d craft our route to pass this house as it was being renovated. Creepers? Yes, but harmless, admiring and respecting all of the love being poured into it as we slowed our stroll on by. Look! New windows! New paint! New gutters! Is that a new deck?! We knew it was special. I’d always imagined a simple, modern yet classic, bright kitchen…

The kitchen space in this house isn’t very large, but the previous owner had fallen in love with an ornate, dark, French-style oak kitchen with a huge coppertop island in Dallas and had it shipped to WV when they renovated.

To me, it was too much kitchen in too little of a space. Too many design elements competing for attention. It would have been able to shine in a large, open space with high ceilings and windows to offset and balance the dark weight of the wood.

Literally every day I walked in there, I felt it. Heavy. Dark. Crammed. It was a lesson in subjectivity. The previous owner adored this kitchen, but I felt suffocated in it. I always apologized for it when people came over, feeling a silly need to explain that “I didn’t do this.” Maybe I was being a baby, but I know that I wasn’t inspired to cook in there (despite all my efforts to make the space feel like me). And it diminished my desire to be creative and make recipes. And it’s my job to be creative and make recipes.

I wrote an entire book avoiding that kitchen (the whole thing is shot in the dining room, the only room as a renter that I was allowed to paint white).

When we closed on the house, I think I may have waited one week (and by “waited” I mean “paint all rooms in the house first”), but then, I borrowed my dear friend’s drill and started taking the upper cabinets down myself. I had daydreamed about it enough, it was time.

Now, I was so hotpants to make changes that the only “before” shots I really have are from when a friend asked me to take and send some. A few are blurry and most pics are dark because the kitchen was dark (we called it the “Bat Cave”). I actually brightened a few shots so you could actually see the kitchen before.

Let’s start…

We had one little window that tried and tried to cast some natural light into the room, and I put a mirror in vain behind the sink to bounce light from the next room over. Go ahead and laugh at that attempt.
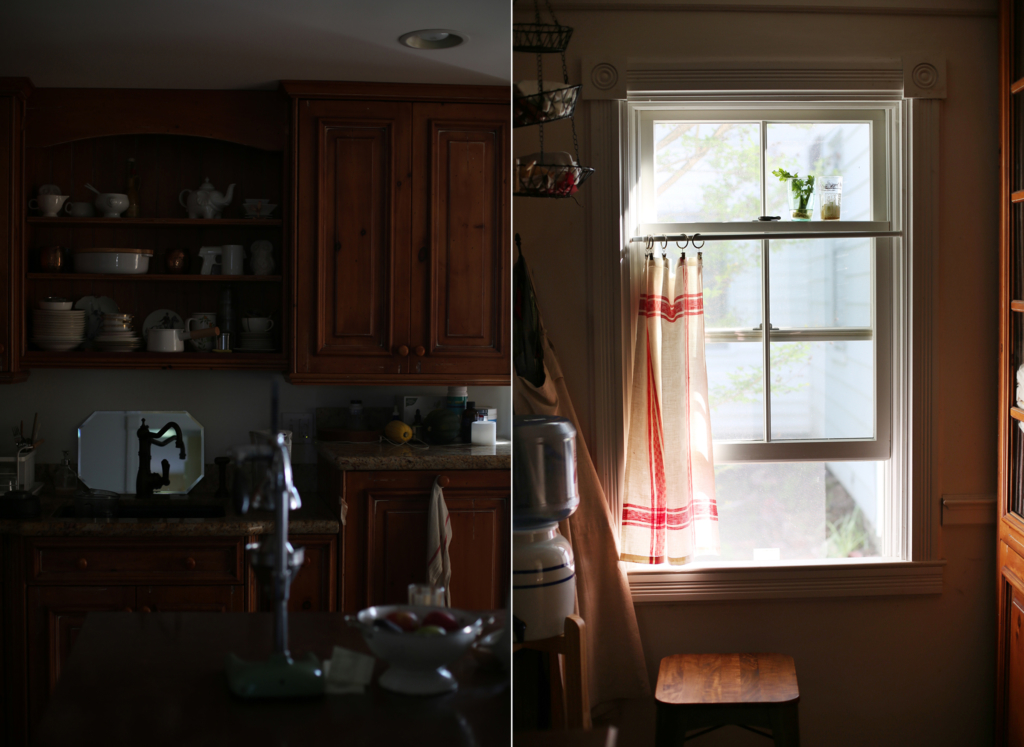
Brightened “before” shots to follow…
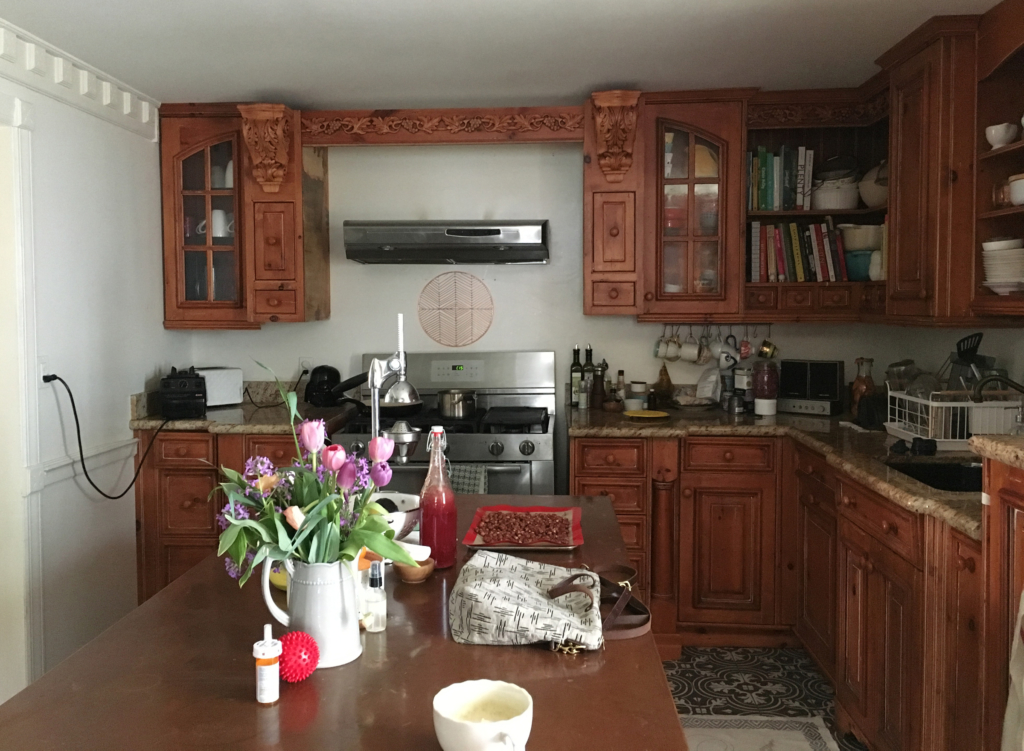
A girl couldn’t have dreamed for more storage—that I had—but one of my quirks is that I like to see what I have, so most of my stuff was on the countertops and half of the cabinets went unused. Spices, tools, ingredients, and fun servingware don’t get used if they’re stuffed back into deep cabinets. You’re not cooking if your tools are hidden/forgotten.

I think I was also trying to distract myself from the grapevines, columns, and fussy elements of the woodwork (impressive work yes, but not the right space for this style) by pulling my stuff out.

This corner below-left was the darkest spot in the room. Good for brewing kombucha, not so good for the soul. I put things that made me happy there, like my fave cookbooks, teas, teacups, festive Dutch ovens, and a vintage amp I could hook my phone up to for tunes.
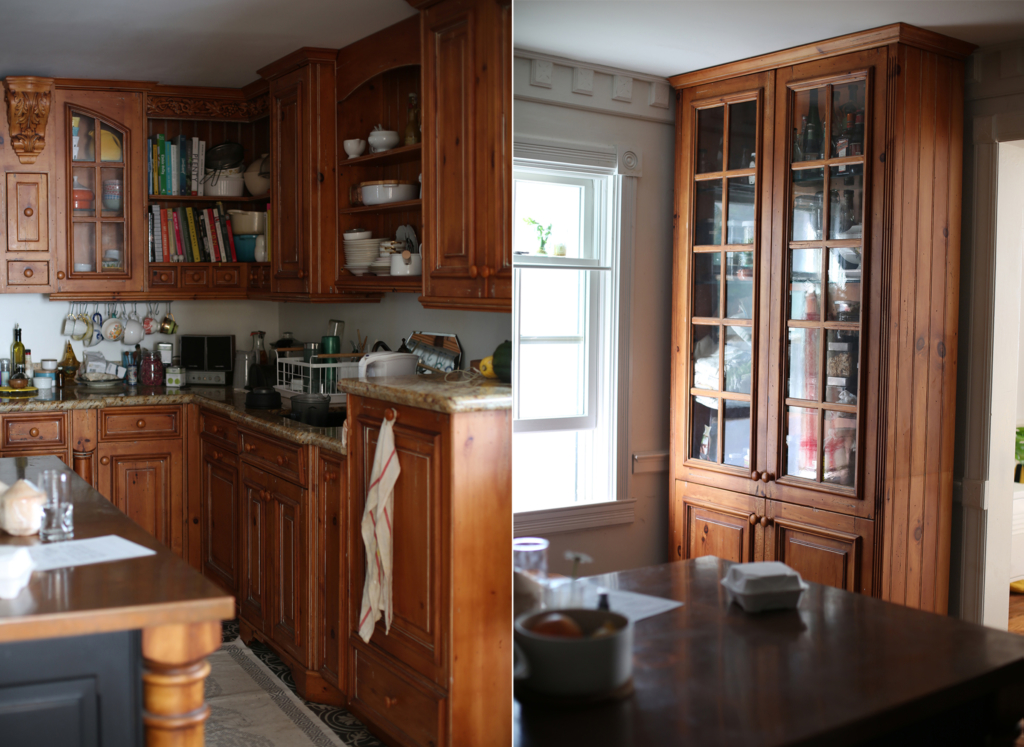
A few weird decisions that haunted me…

The spaceship-like hood, framed like a thing of beauty with the grapevines and columns, but kinda pathetic in reality. Sad trombone…

This island was so very huge, we were always clipping our hips as we tried to maneuver around it. It was also topped with a stunning copper top (no doubt about that), but it turned any towels you used or anything that came in contact with it, green. Acidic foods also changed the patina, which was encouraged, and kinda cool, but it always looked dirty no matter how much I cleaned it.

Everywhere you turned, even by the only window in the room, there was hulking, dark wood…
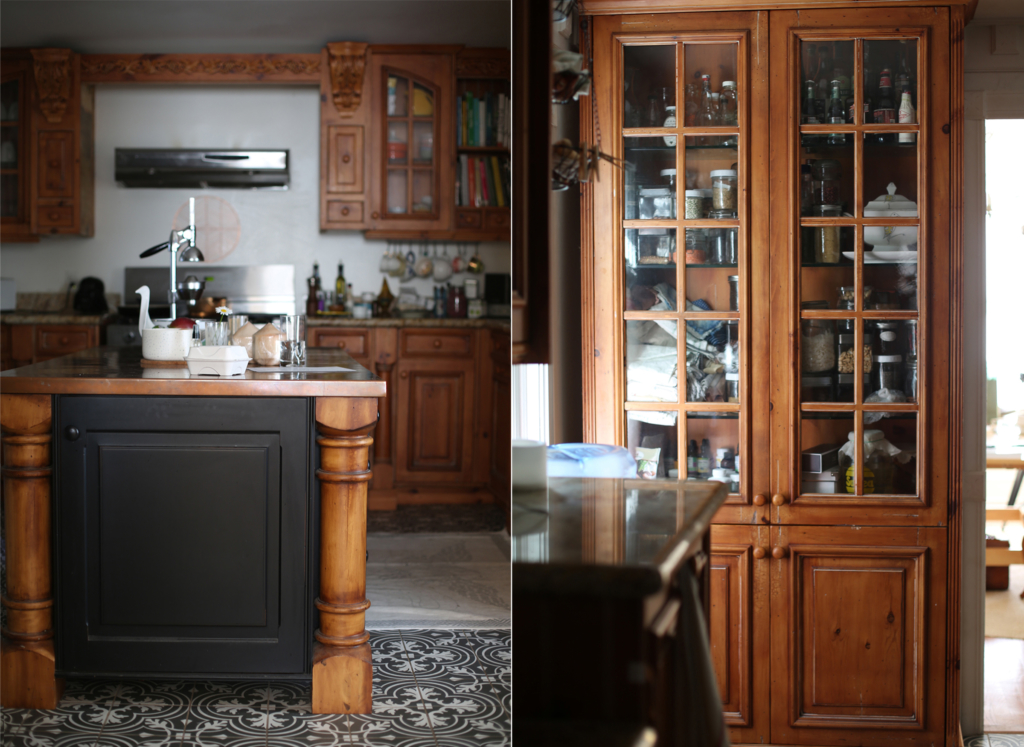
There were two significant no-man’s-land opportunities for food to disappear forever on either side of the range—we love the range though. It stayed.

Also, to accommodate a bottom drawer that we never even knew was there until we started renovating, the dishwasher (bottom right) bumped up from the counter about 9″ bringing the counter almost to the bottom of the cabinets above, making it a pretty unusable surface cooking wise.

Note my white gaffers tape stuck to the left edge of the dishwasher… the top rack inside was never set properly so when you opened the door, it rolled out startling/annoying you every time. The tape would hold it in place while I loaded it.
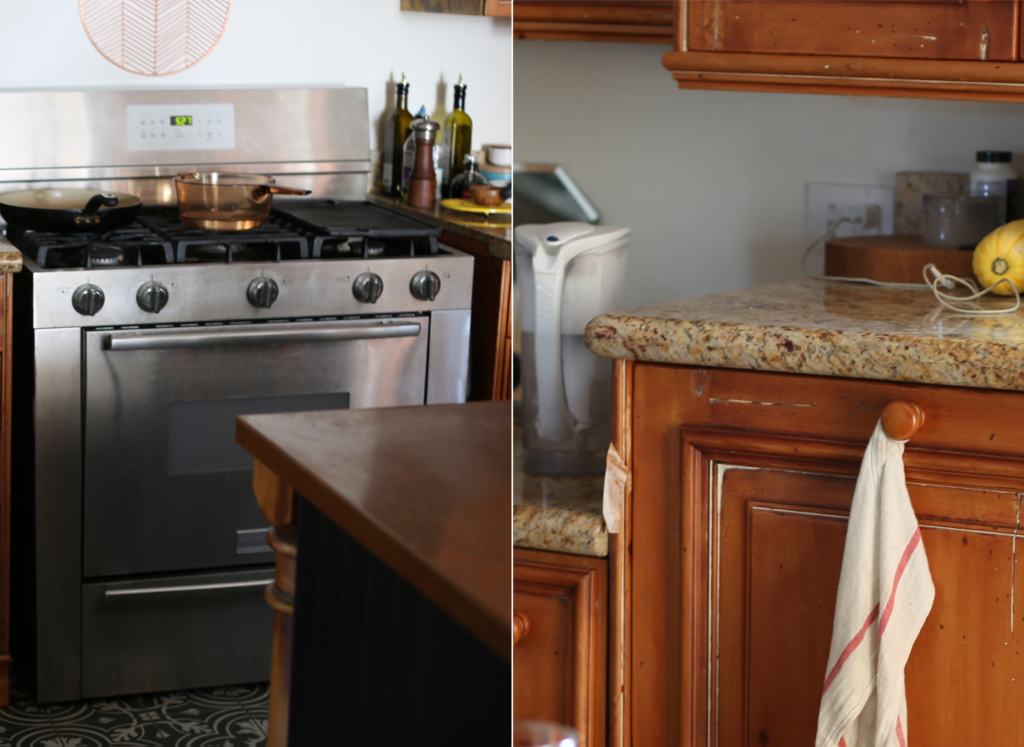
I didn’t have a significant remodeling plan, just a Pinterest board of what I liked, desire for sweeping change, and confidence in my organic decision-making process. I knew I would paint all of the cabinets white, or the top cabinets white and the bottoms black, but I wanted to see how I felt as I worked…

So, the first thing I did was remove all of the “trimmings” below from the cabinets in an effort to simplify the lines. I also prepared the items I had put in the closet the day I moved in to free up space (below-right: a ginormous French country painting, additional apothecary countertop cabinet-boxes, tin decorative tiles, etc.) for a new home (all of the removed cabinets found a good new home, too). These items below-right are not shown in any of the “before” kitchen pics… soooo, use your imagination as to how-on-earth they would have fit in there…
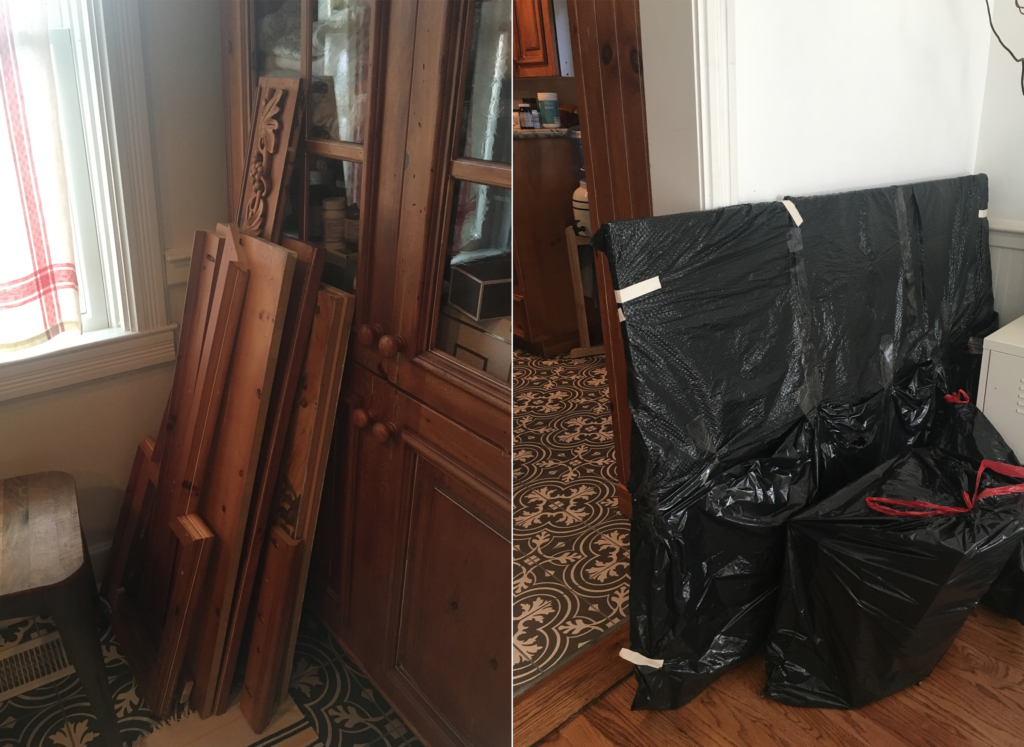
Then I started to take down the elements of the kitchen that felt unnecessary. I did know I wanted a window, likely over the sink.

Once the grapevine woodwork over the range was removed, along with those side cabinets, I noticed that the hood was off center about 1″. Great.
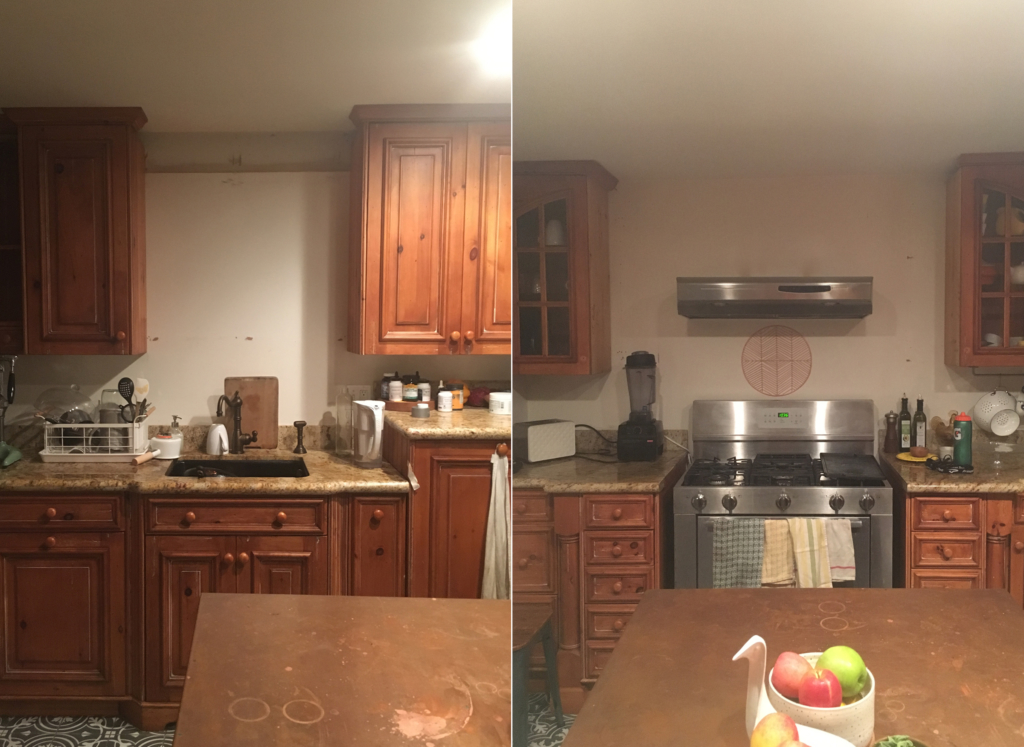
At this point I texted pics to a pal who gave me validation for what I was already thinking/feeling was right: “remove those top cabinets altogether. Things were starting to feel more open and I wanted to keep going.

I have good friends.

I may have even heard some angels singing at this point below…
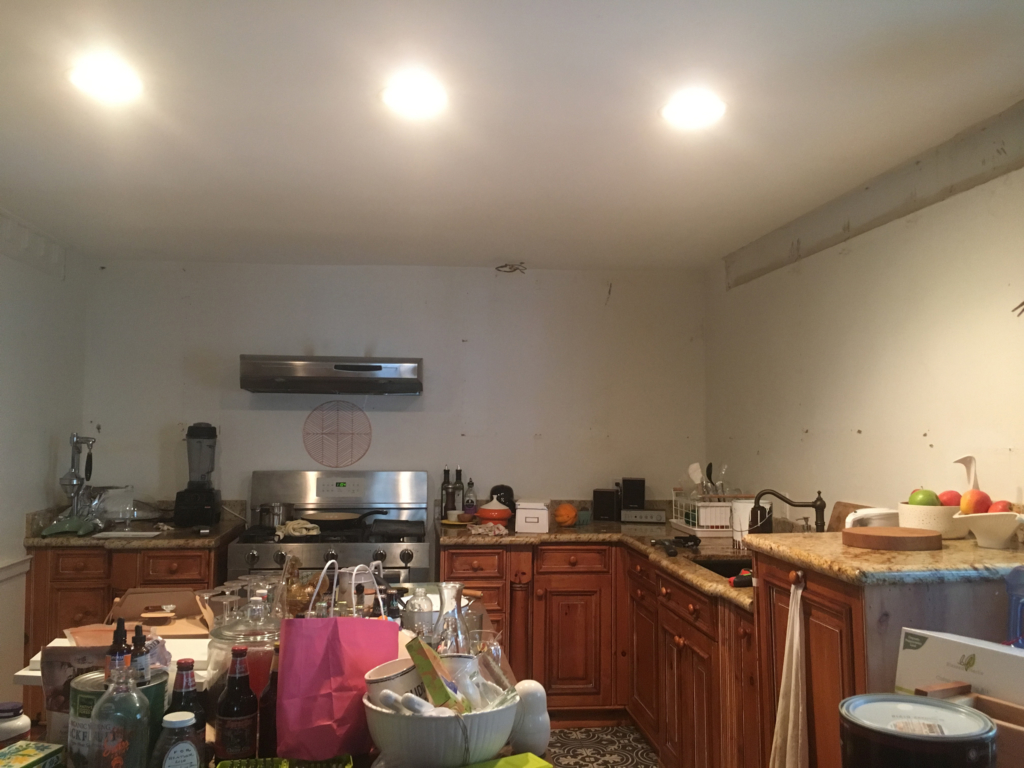
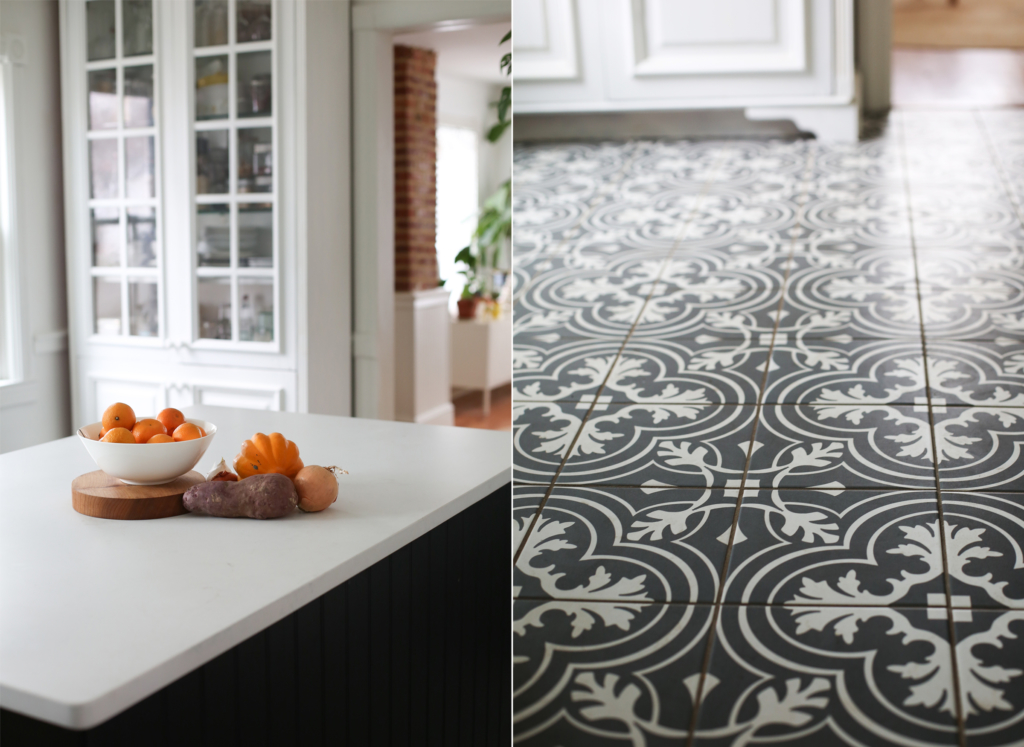
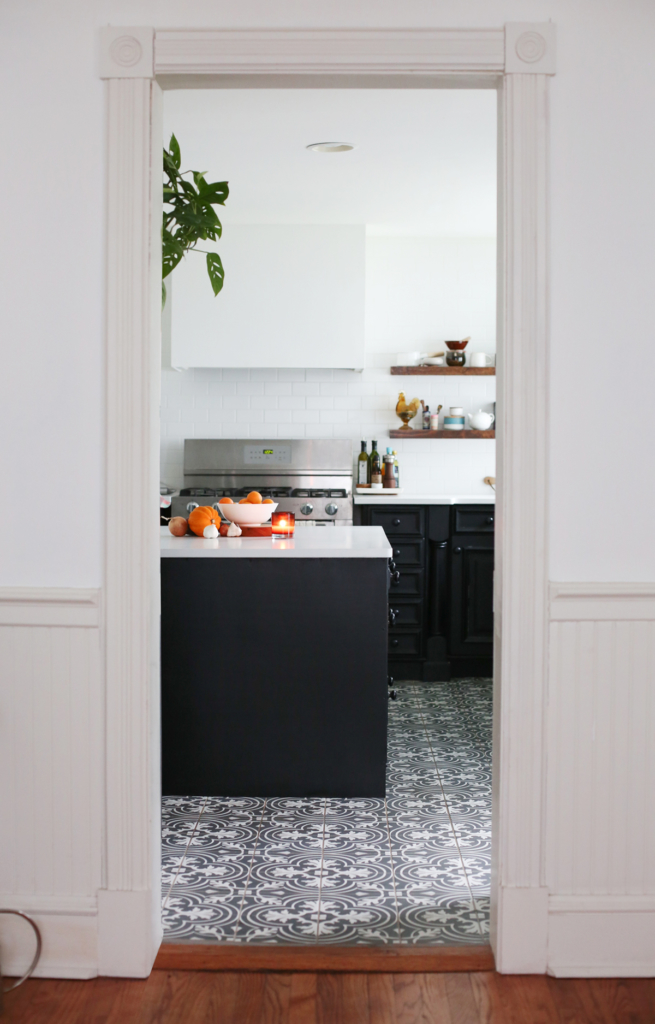
The cabinets are great functionality wise, they have those lovely slow-spring-closures, all kinds of organizers inside them, and I didn’t want to pay to replace them when they were perfectly fine. So, black paint was my choice—it would make the columns and excessive detail work fall into the background AND it would give the superfun floor a chance to be the hero—no more fighting for attention with the cabinets and other kitchen elements.
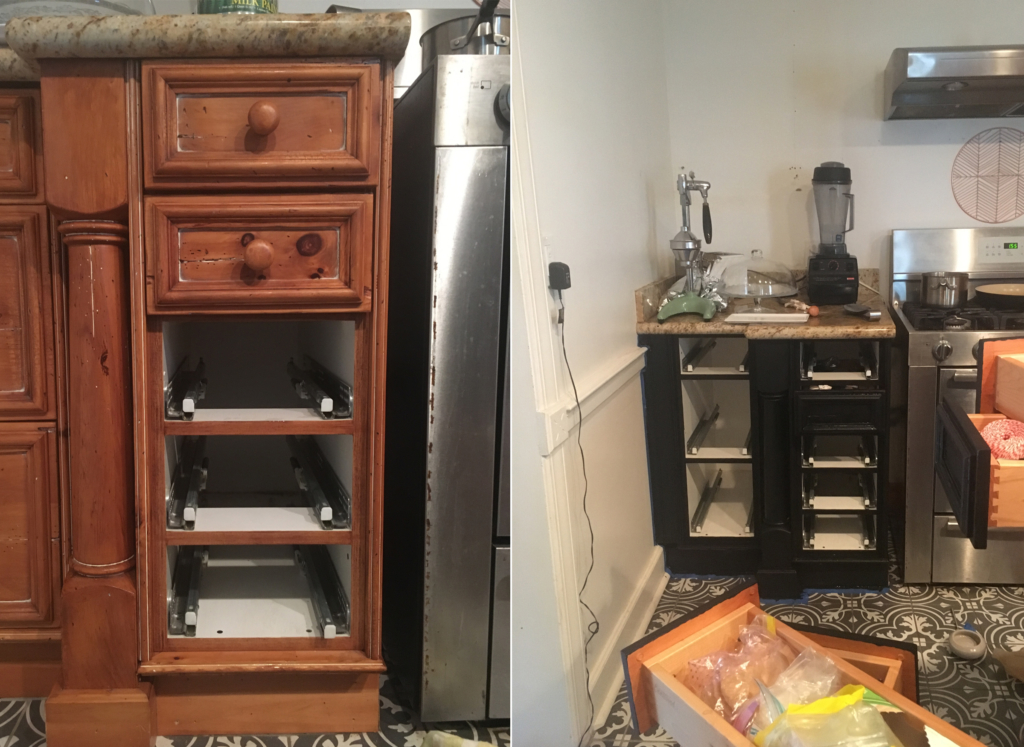
I used General Finishes Lamp Black Milk Paint and their High-Performance Flat Top Coat and was amazed—didn’t have to sand or prime a thing, only cleaned the cabinets with water and my homemade vinegar cleaner.

Next up was the island, which I also loved functionality wise. Upon obsessive inspection and daydreaming years prior, I suspected that the four columns on each corner could be removed to create an additional 18″ of space lengthwise without compromising the guts of the thing. I cut the top and scooted it to reveal that this was true!
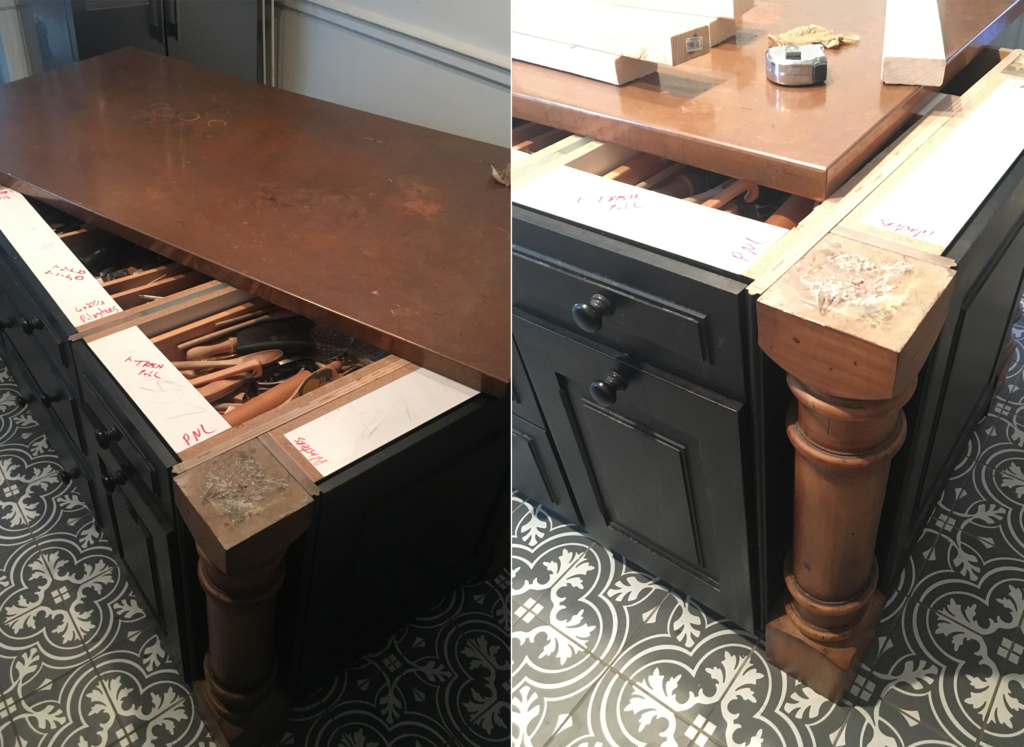
I built a strong base of 2x4s to hold the weight of the island so then I could remove the legs. Seemed simple enough…

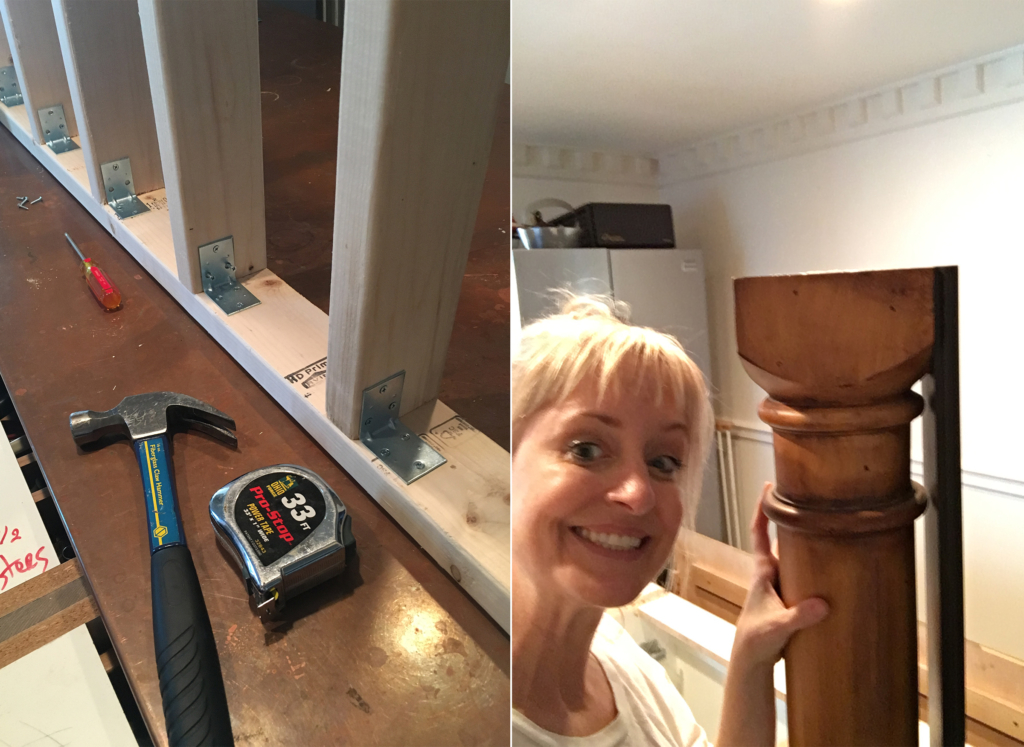
The base was easy to build and paint, and relatively easy to get underneath the island, but removing the legs was an 8-hour challenge of hidden screws, impossible glue, and endless chiseling, but I got one leg off (delighted photo sent to a pal below) and only 8 hours later the rest were free. Ha! My eye is twitching now remembering this effort… it was worth it though. Our hips can now move around the kitchen bruise free.

Also, note the trim where the wall meets the ceiling (bottom, right).
This was likely from the original house in one of it’s many lives, but once I removed the cabinets we saw that parts had already been removed to accommodate the oak kitchen (about 60%), so it was best to remove it altogether (we’re saving for another use).
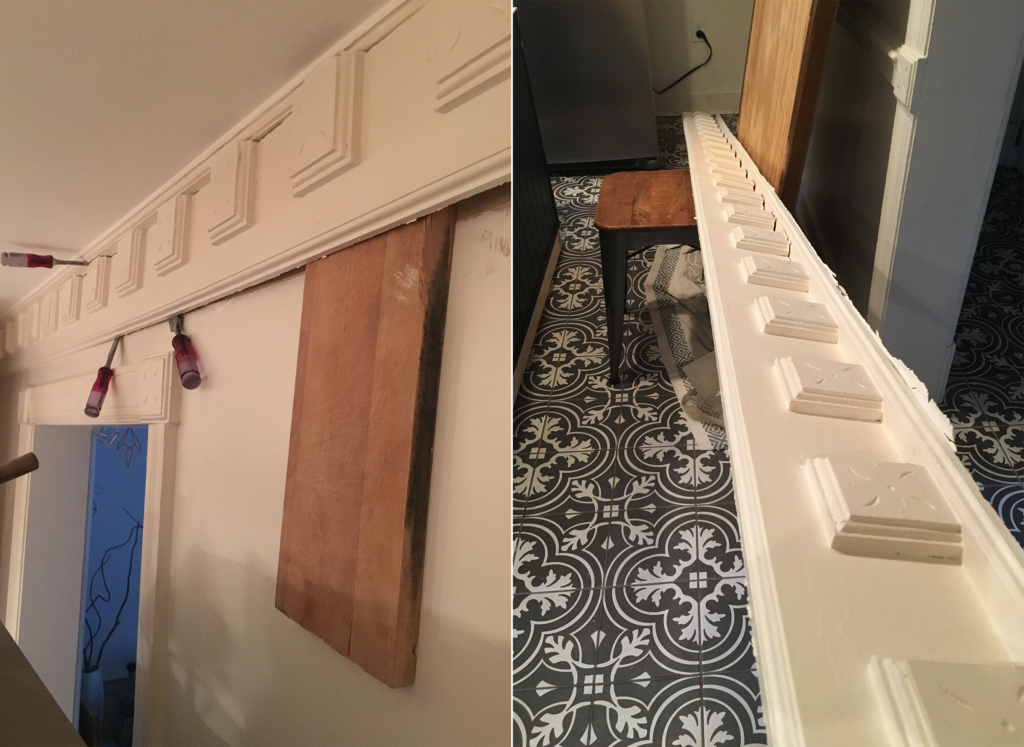
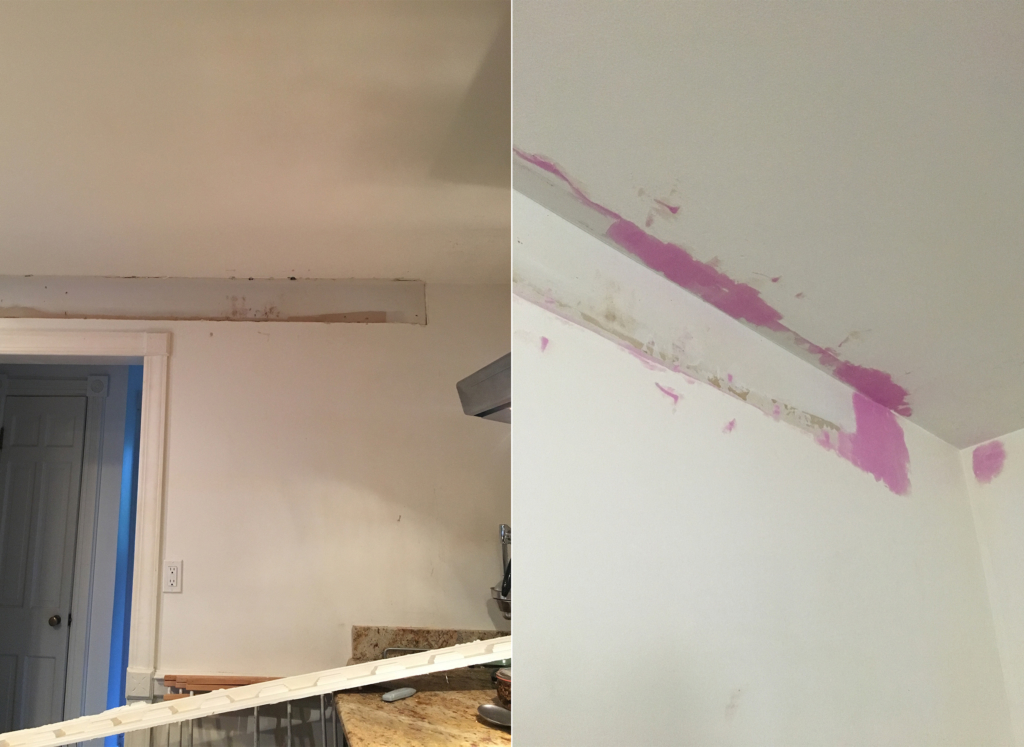
Deciding to remove it? Easy. Actually removing it? Not so much. Lots of chiseling… lots of creative hacks… lots of patching.

Let’s just simply say that that was challenging.
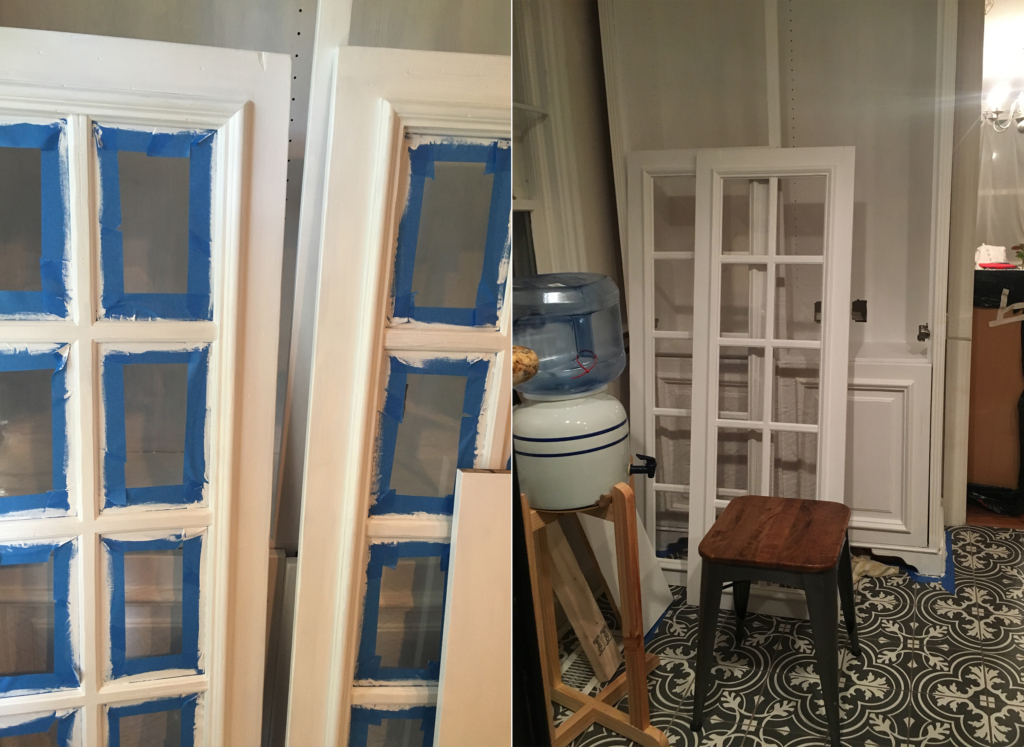
Onto the next! I decided to paint the built-in so it would create a sense of openness and belonging in the space, so… white milk paint did the trick.

Now, I didn’t seal this paint job as it wasn’t until after I hit it with two coats, I read the sealer label that I had used for the black cabinets and it warned against using it on a white paint job due to discoloration. Gah! I was on a mission though, so I did 4 coats of paint to really lock in any leaking of original stain into the paint (which supposedly is a process the sealer could expedite hence the warning). I have extra paint and I don’t mind painting, so I’ll happily give it a fresh coat in time if I find that it needs it. So far so good.
As soon as we closed on the house we were working with the historic commission in town to get approval for the addition of kitchen windows. After upper cabinets were down, I was crazy for sunshine and opted for two instead of one. I won’t go into this process too much as it makes my chest tighten from the stressful memories, but we received approval for windows a few months later and I was able to hustle and find someone great to get them in before the holidays (I had committed to hosting family, a lot of family).

Ideally, windows would go in before counters, but in order to get it all done in time (lots of different schedules to align around the holidays) I had to take a chance and have the counters go in first.

I kept the faith that it would all work out. And, I couldn’t freakin’ wait another minute…

My sweet, sweet brother-in-law helped me make one important move before counters went in: remove the unnecessary drawer under the dishwasher so it could fall inline with the other counters for more working space. He also fixed that top rack so I could open the door without being assaulted by it. Once done, I spent too much time just smiling and pretending to cut things—actually running my hands over the entire area with a jaw-cramping smile on my face. This area was never usable for food prep before. I was thrilled…

We chose Caesarstone’s Frosty Carrina in a honed finish (my beloved sample bottom left on the old counter)—white with minimal marbling to help open up the room and create a simple backdrop to showcase good food. Like the copper top, no matter how I cleaned this old countertop it always felt dirty to me. I had someone say once that it looked like vomit—once you hear that, you can’t un-hear it.
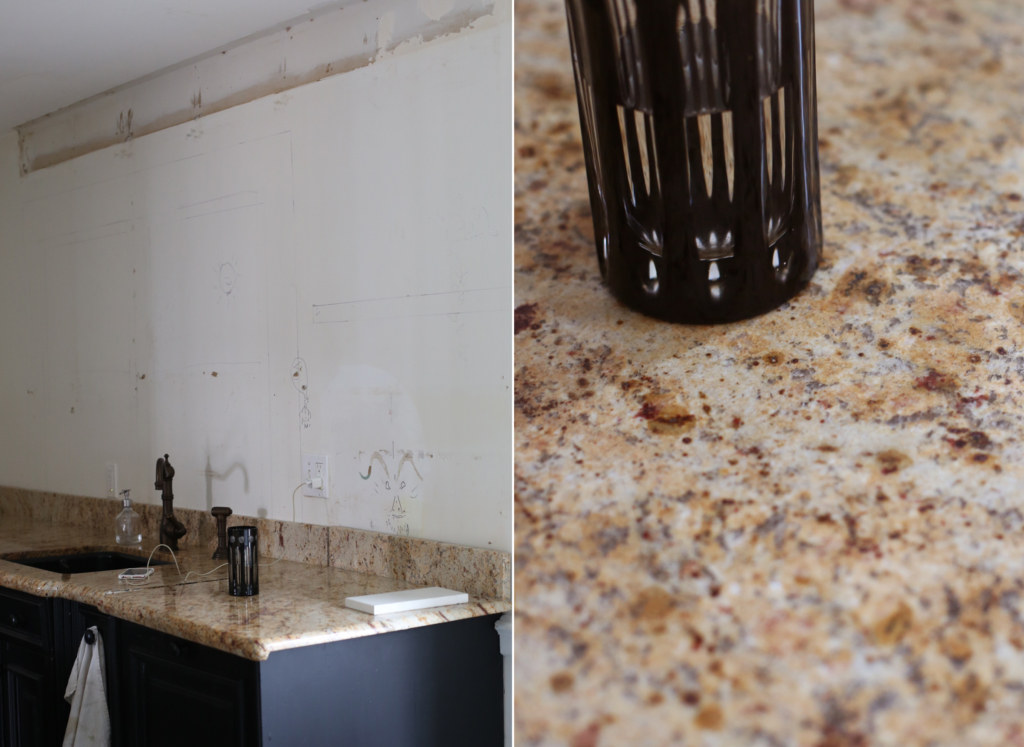
Now, I have a friend that I respect a ton who—how do I put it?—has and despises Caesarstone. This lady knows what she’s talking about, but at the counter shop it was looking good to me quality and price wise. I was thinking about Dekton, but really was drawn to the Caesarstone in a honed finish. I texted her about it and she warned me again: “cans scratch it, carrot juice stains it, it’s a nightmare!”

I then posted a Q in Insta Stories asking what people’s experiences were with this product and everyone raved. So, I was left with loads of raves and one can’t-ignore “avoid it at all costs!” This is when the saleswoman demonstrated some primo customer service. She gave me their sample to take home and told me, “scratch it up, stain it, beat it up, and see how you feel.”

And I did. I took a knife to it, spooned on all the culprits too: carrot juice, chlorophyll, beet juice, oil, tomato juice, and turmeric, then left it to sit and stain for 4 days.

Some people from Instagram also chimed in with their suggested cleaning methods. The wise and wonderful Meghan Telpner (has this counter too) recommended this product for cleaning and I do believe it’s all I’ll ever use again. Yes, the Caesarstone (especially honed and porous) stains (my 4-day test proved that for sure), but Universal Stone cleans it quickly, naturally, and easily. So, I went for it.

What. A. Difference. New. Counters. Make!

The room still needed more natural light, but it was starting to come together…
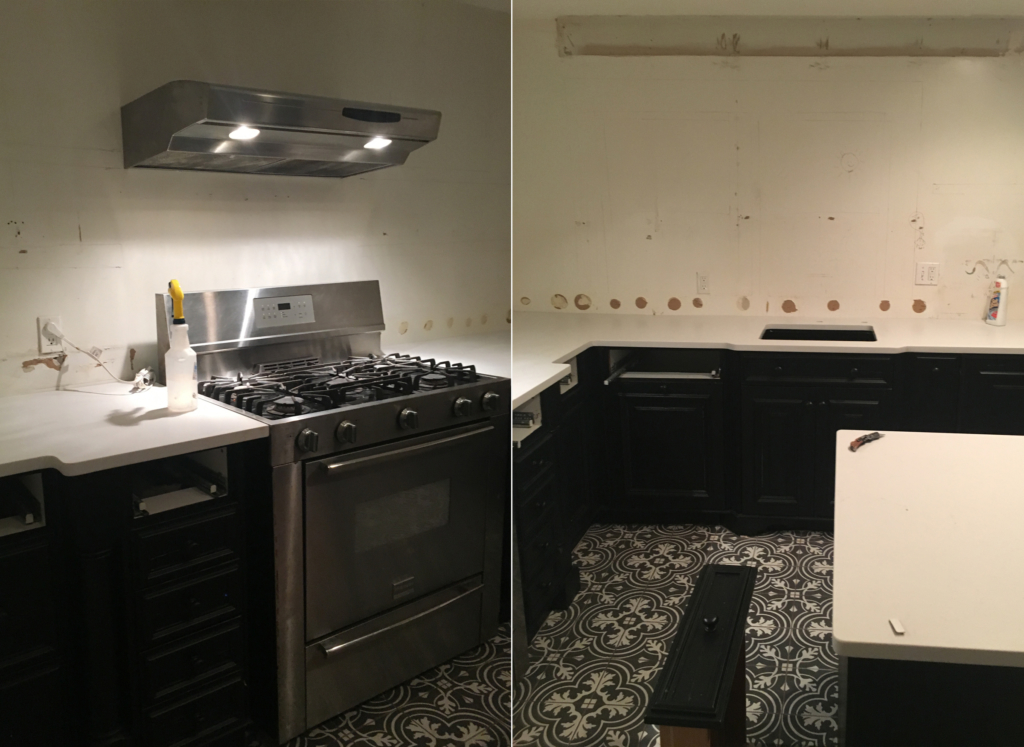
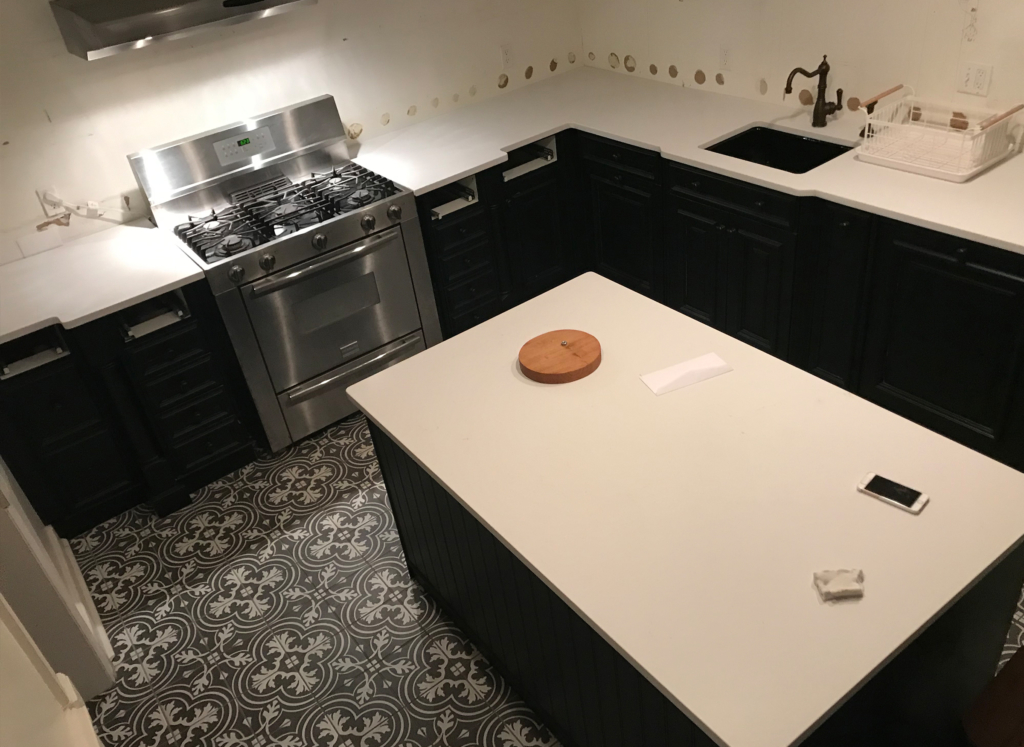
The cabinets required some insets (unavoidable), but we went with a sleeker, thinner counter, more understated corners, and no bullnose edges like the previous counters. For some reason, we were always breaking dishware and glasses on those corners, like they were eating our things.

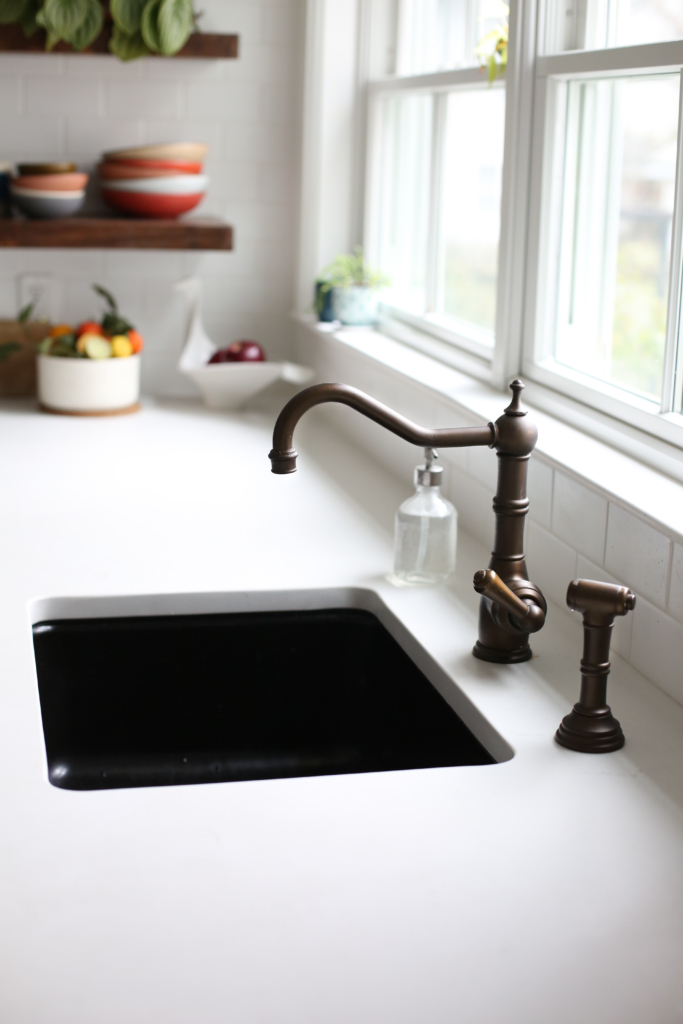
As you can see below, we got rid of no-man’s-land on either side of the range (!!) and decided to keep the cast-iron sink and farmhouse-style faucet and sprayer. They (and the floor) can finally show off their personalities.

Shaving the columns from the island also created a significant amount of dancing-while-cooking room as well.
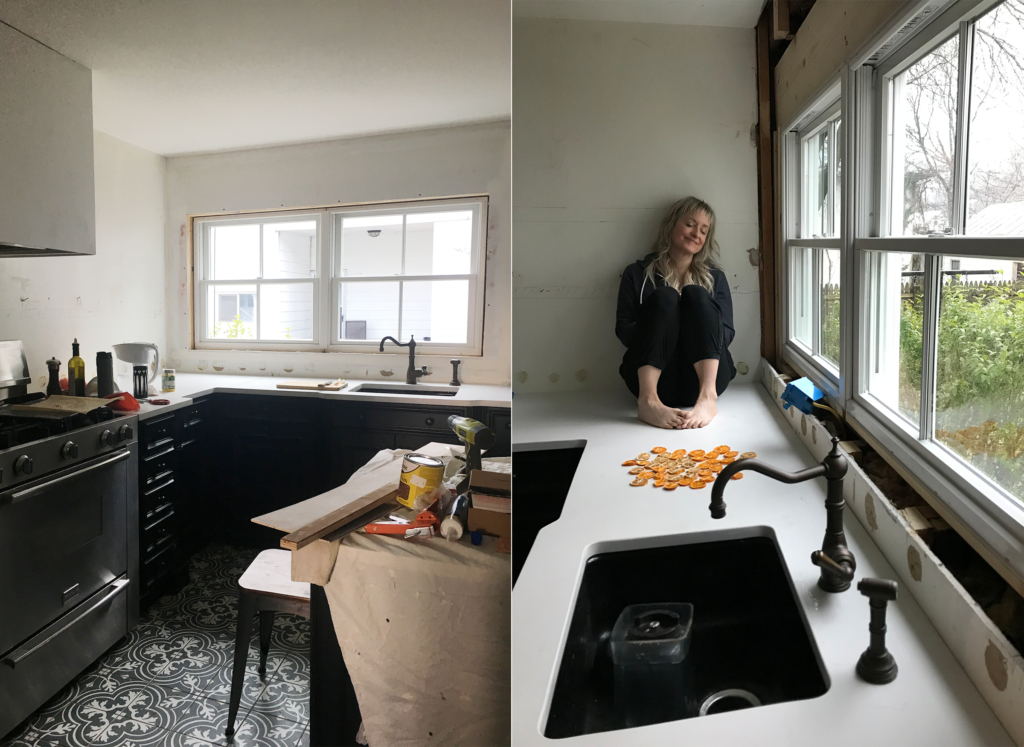
Now, it was time for windows! The guys who put these babies in will always have a special place in my heart. Mike found me like this (bottom right) the very first morning they were partially in. I just stared out of them for about an hour…
This song was the soundtrack for the week.

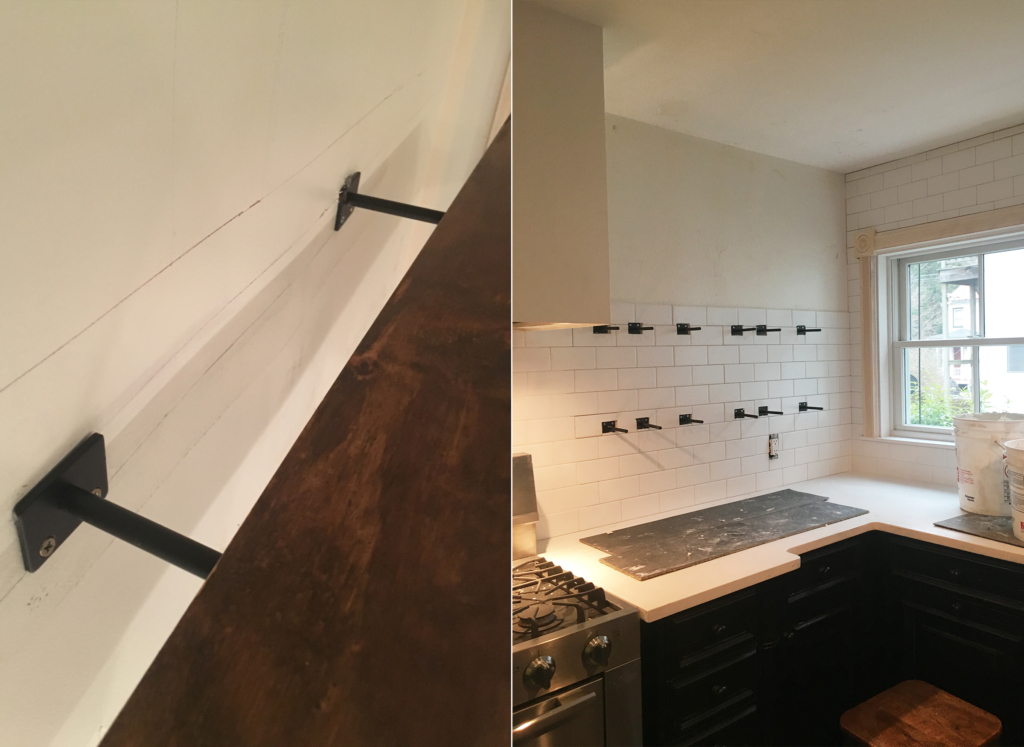
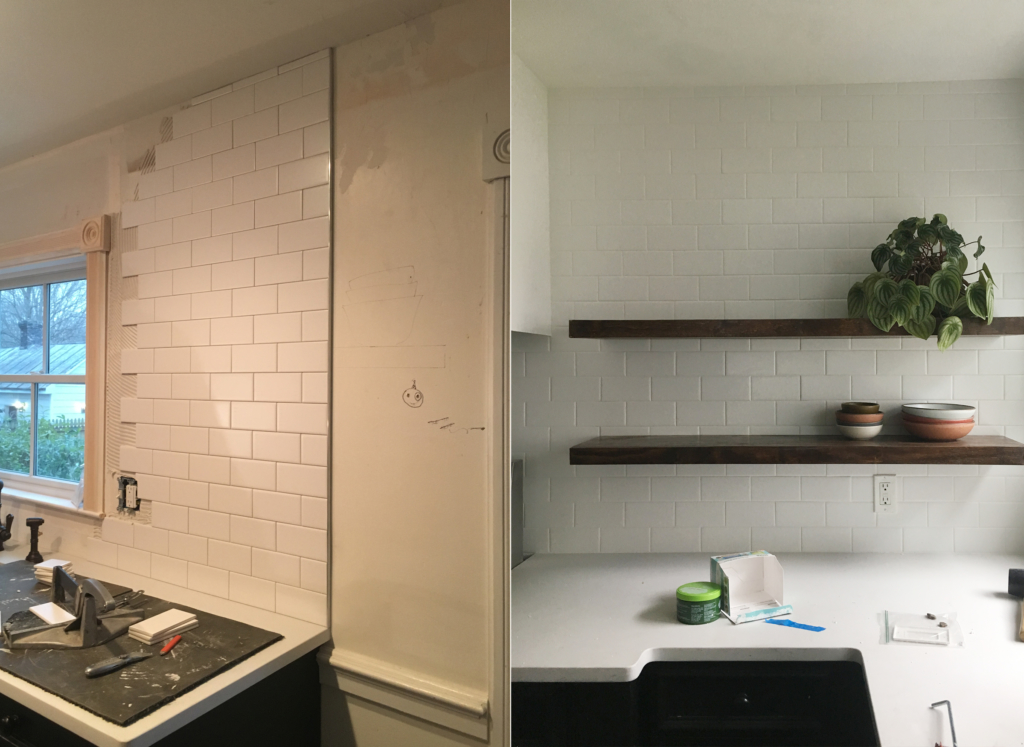
To pull it all together? Classic subway tile. But this is an old house and since I wanted a few floating shelves, I knew that I had to get brackets into the studs first. I didn’t want to try and locate the studs after tiles were in, and I didn’t want any chance of the tiles cracking (whether I used a diamond bit or not). Since I love a challenge, I was under the gun schedule-wise, and I wasn’t tired of pretending that I’m a 7′ tall lumberjack, I decided to make the shelves myself.

I bought some super-strong brackets to build shelves around. Then I scoped out my options at Home Depot for wood, and came home and drew up a plan.
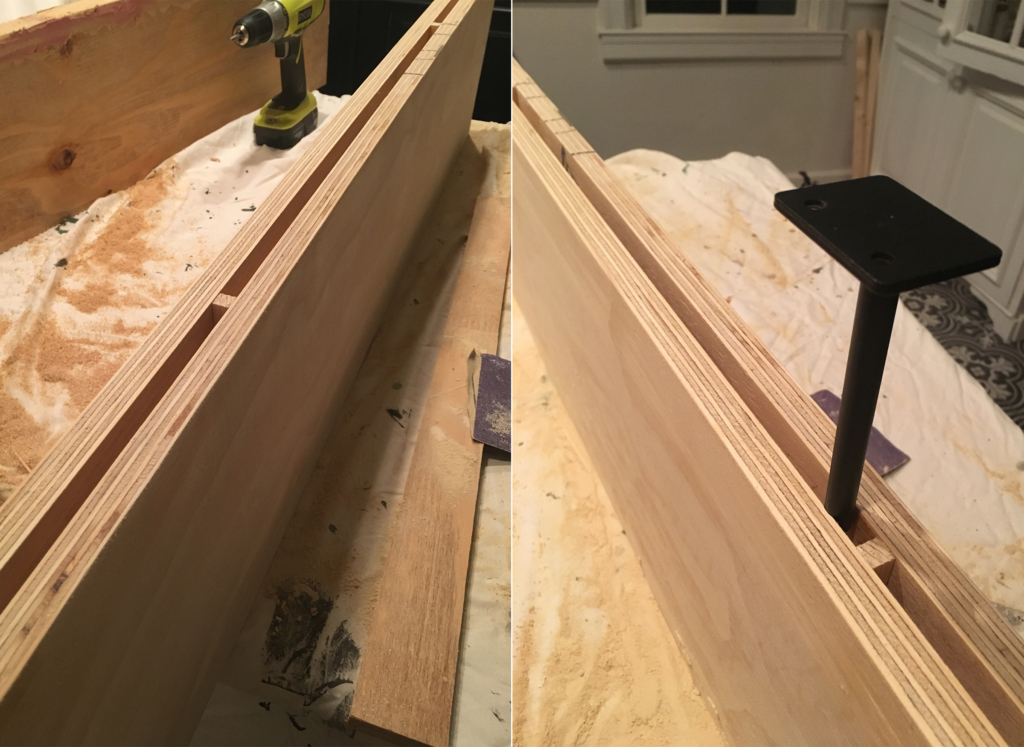
By making the backside tight on the brackets, I could get them to hold without fail once brackets were in the studs. I patched and sanded any cracks (with wood glue and putty) and the countersunk screws that held them together…
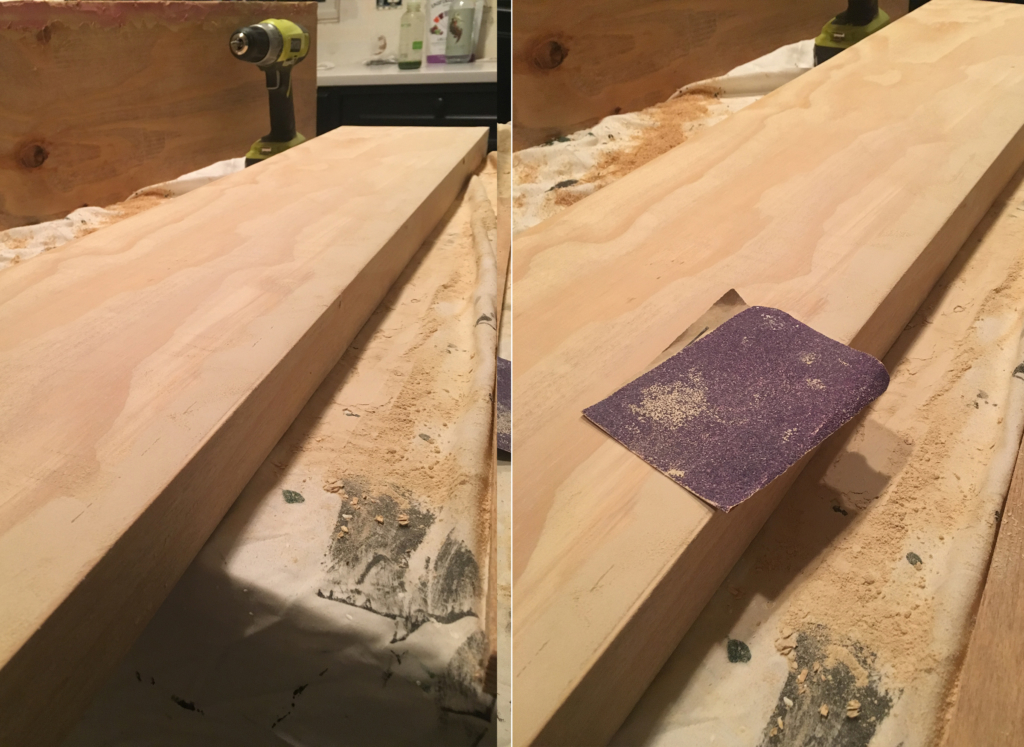
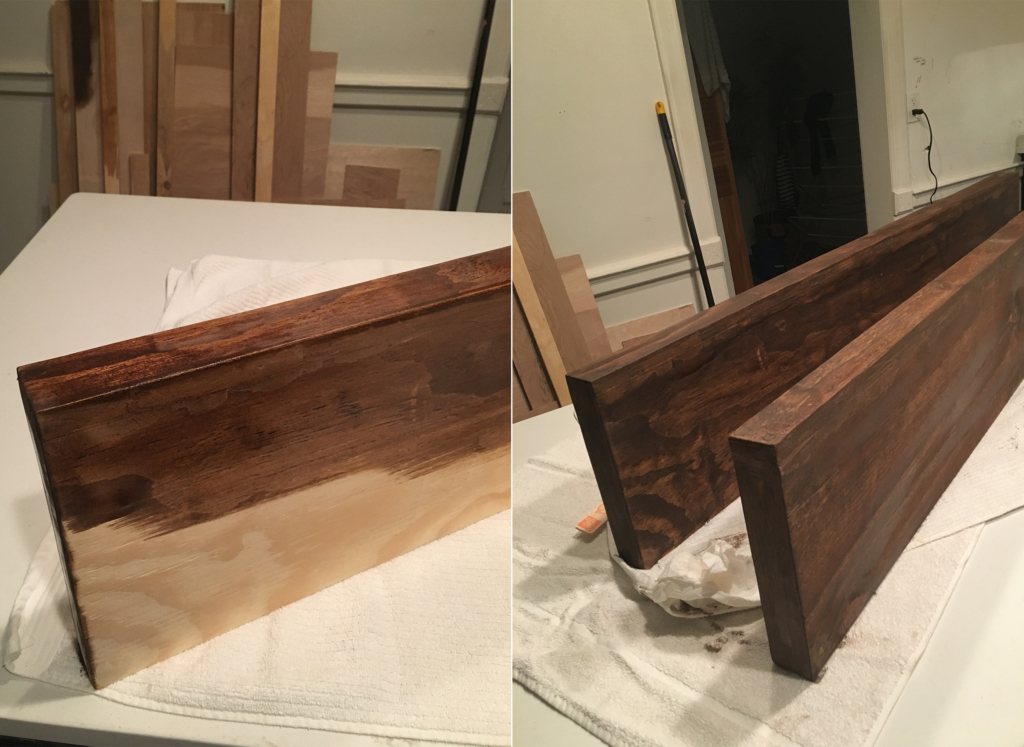
Then stained and sealed.
Then the brackets went in—this was a real character builder. The studs in an old home are not evenly spaced or easy to get into, but with my trusty level and a can-do attitude, I made it happen just in time for the tile installers to arrive the next day.
But wait, the hood cover… let’s rewind quickly for a minute.

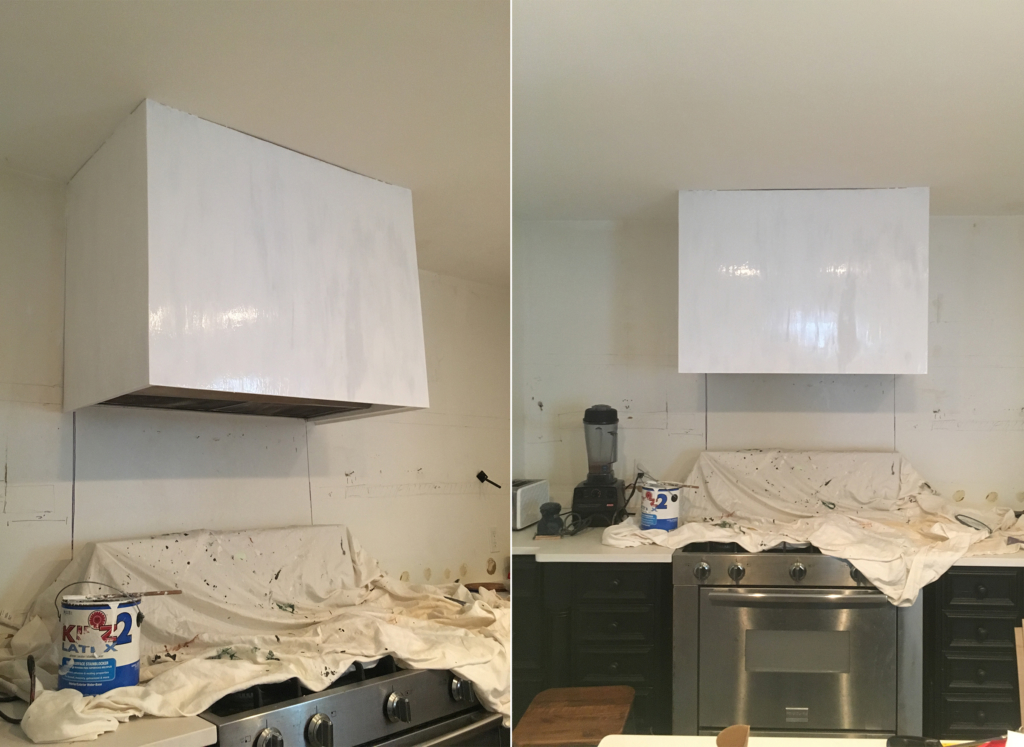
I wanted to hide that lonely spaceship hood (which we moved right 1″ to align with range). It needed to anchor that space with a subtle but deliberate presence, so I used A Beautiful Mess’s hood tutorial and drew up a plan to make a hood vent cover to fit my crooked-ceiling-and-walls kitchen (ie: the ceiling left of the hood is at least 1″ lower than the right). That was an interesting cut to make by hand…
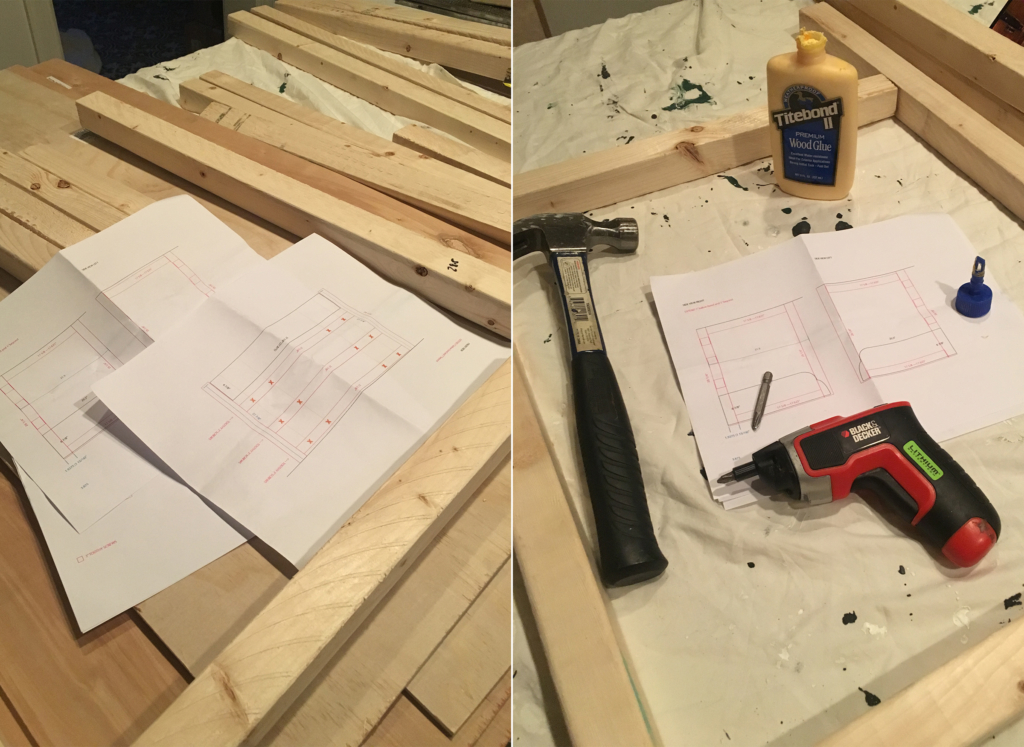
You can see the crookedness below right, those 2x2s are level!
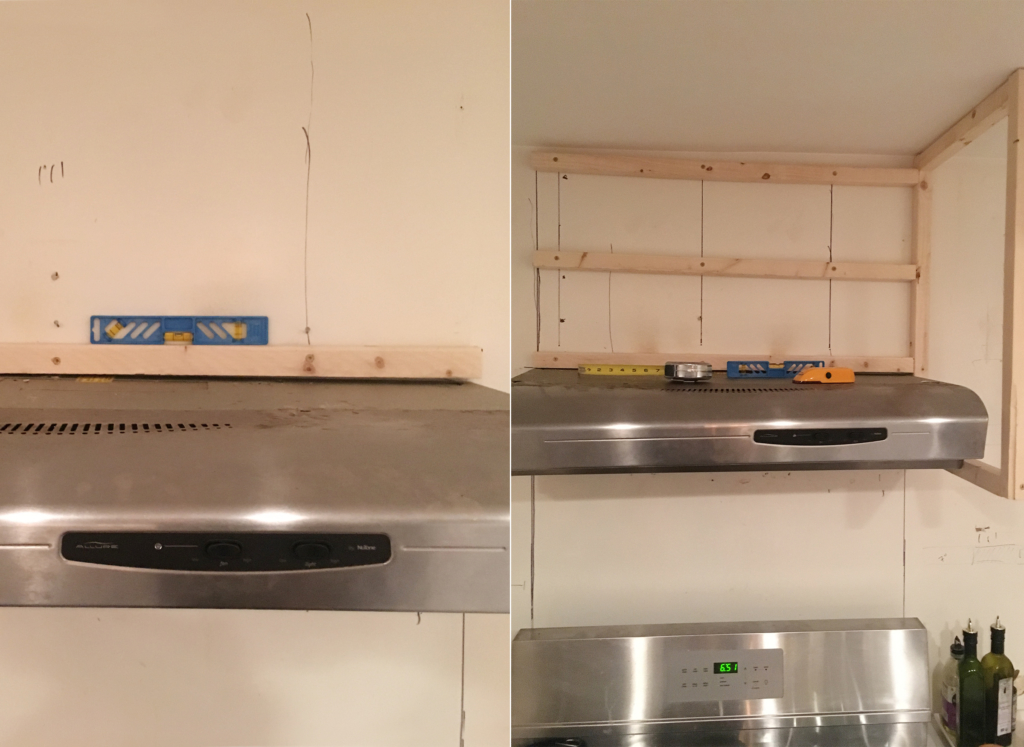
It was so helpful being able to draw on the walls…
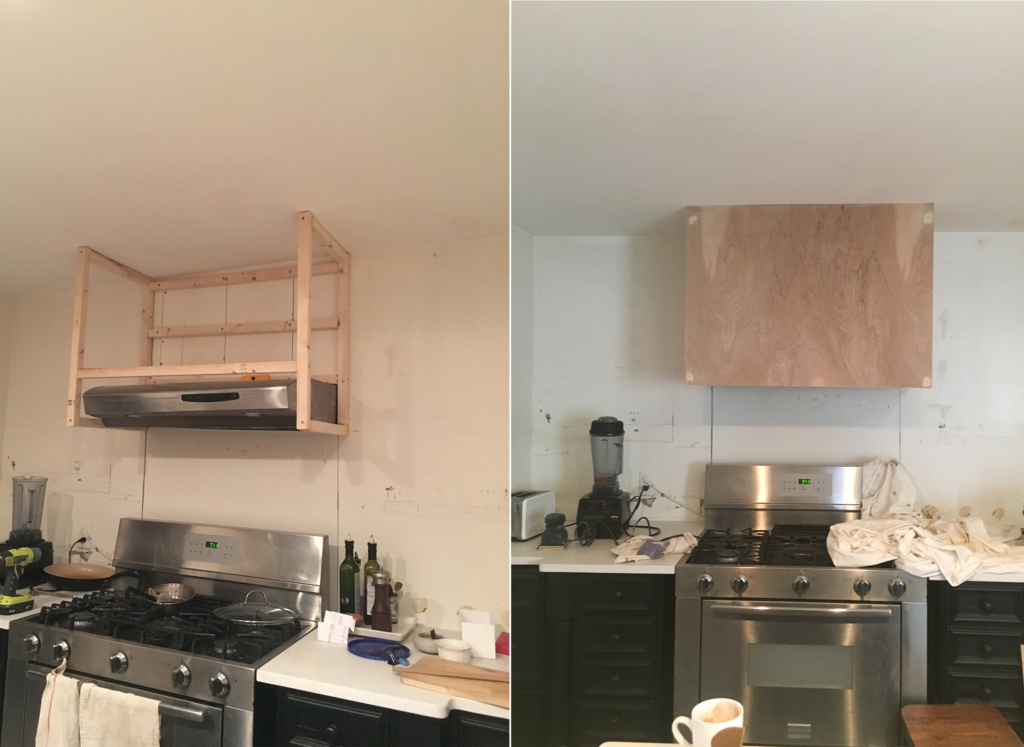
Wood glue and putty helped me create flawless seams, and I used caulk to seal the gaps between the board and the ceiling. Photos below are first coat of paint drying…
Ok, the tile! I wanted the counter-to-ceiling look to create the illusion of more ceiling height—it went in pretty quickly.
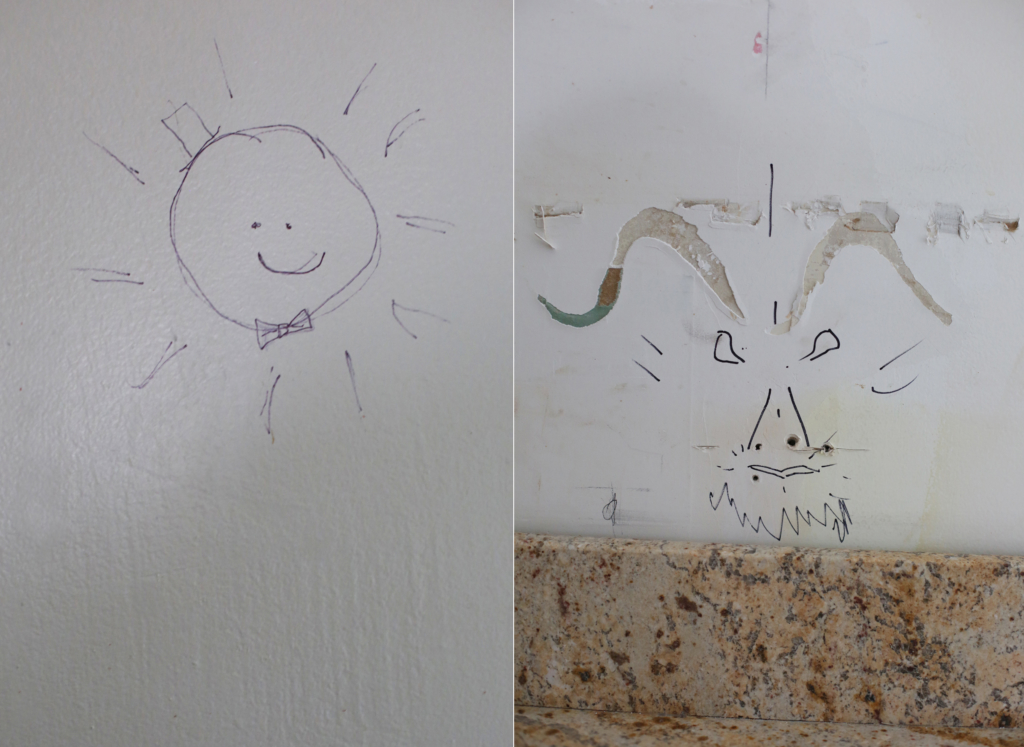
We had to say goodbye to all of the drawings that had accumulated on the walls, but it makes me happy knowing that they are still behind the scenes. Our guardians… my imaginary sun and Mike’s ram!
Once tile was set, I used a mallet to get those shelves in place and with every drive of the mallet was super grateful that the brackets were secure before the tile was in.

After the last pound, I stepped back and stood in silence for about 5 minutes with my jaw hanging open. Slow blinking. It was all done. Three and a half months of work. All on top of design-work projects with deadlines and chaos… launching two courses for GFBA… and some pretty disappointing personal news a few weeks prior…. I did it.

I then thought of my first book. I wrote/created half in a dark, blue, tiny, ship’s-galley-style basement kitchen (during a life-changing move from city to small town) and the rest of the book in another dark, old, mold-prone (but cool) house using one small random skylight upstairs as my only reliable source of natural light. Over 100 recipes prepared downstairs and then carried up a narrow, twisted Civil-War-era staircase and styled under or near that skylight.

Then book two… I remembered how badly I wished I could just cook and shoot Pantry to Plate in a kitchen, but again, every shot had to be transferred and set up elsewhere. How nice it would be to have loads of natural light, to cook on the fly, to simply shoot and share. No photoshopping brightness. No significant editing needed… the stuff of dreams…

I then relished in the absence of the low-grade but persistent anxiety of not knowing where we’ll move to next if our landlords decided to come back from Dallas (a good home is hard to find here, they’re all taken).

I thought of my craving for a space of my own—now satisfied. A space that I could love and nurture for years to come with a yard filled with flowers and plants and foods. I thought of how badly I missed cooking and creating in the kitchen, and how hard I’ve worked on my career(s) and my life. I imagined how great it would feel to have friends from near and far visit, to feed them, take care of them, laugh with them in this home.

This was my kitchen. I made most of it happen with my bare hands and the rest from working my a** off. I could feel the power of all the exciting things that will come out of it these next few years.

I let it all wash over me with a long deliberate breath. A proud nod. There it is.

Then… I had to hustle.

Renovation wrapped up on the morning of a get together I was hosting that evening.

Had to get cooking…
The holidays were a blur. Then we were away for almost two weeks…

But today, my birthday, all I wanted to do was share this post, because I’m so excited for the year to come. I did plenty of celebrating the past few weeks, and this morning I just wanted to make some tea, grab my camera, and celebrate the new power space I made.

Come on in…
This faucet and black sink almost know that they can be seen now…
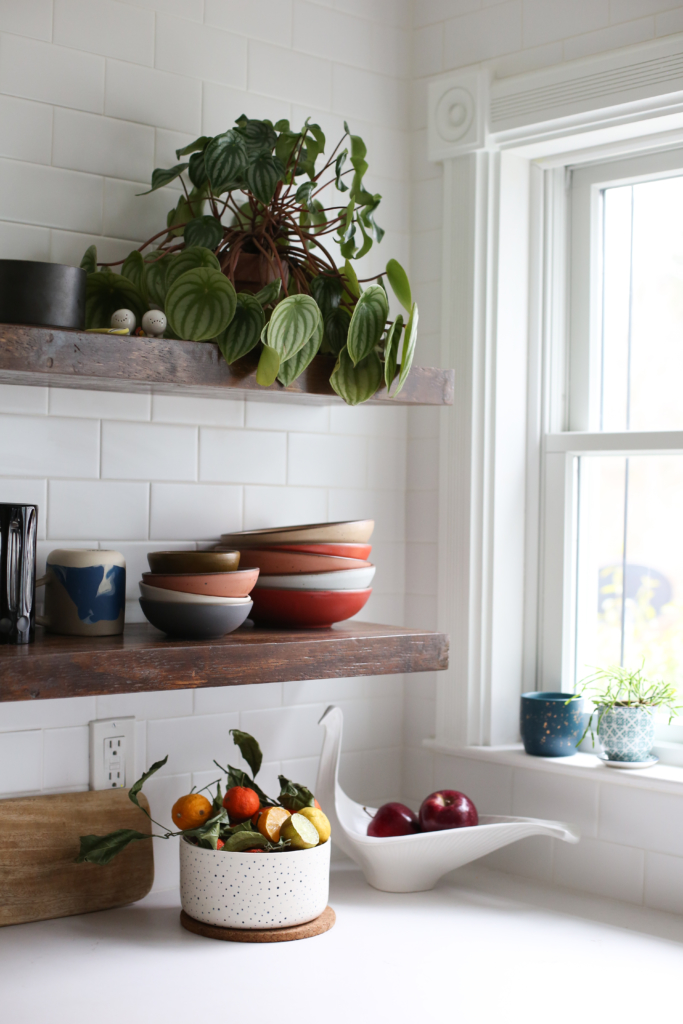
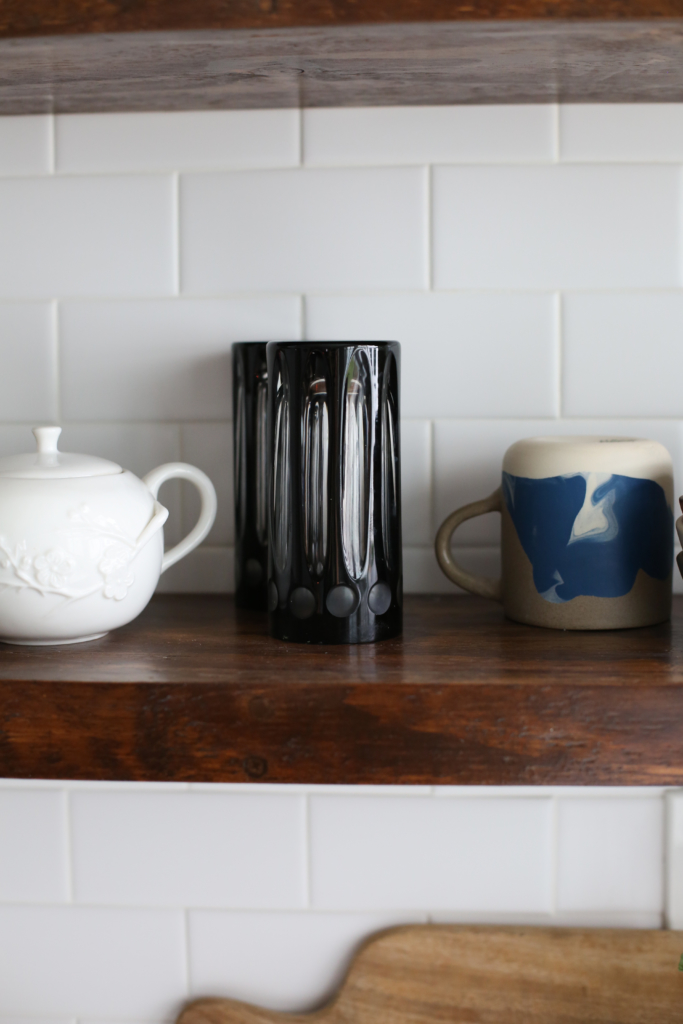
The wood and my most-used and favorite things add necessary warmth to the tiles and the tuxedo color scheme elsewhere.
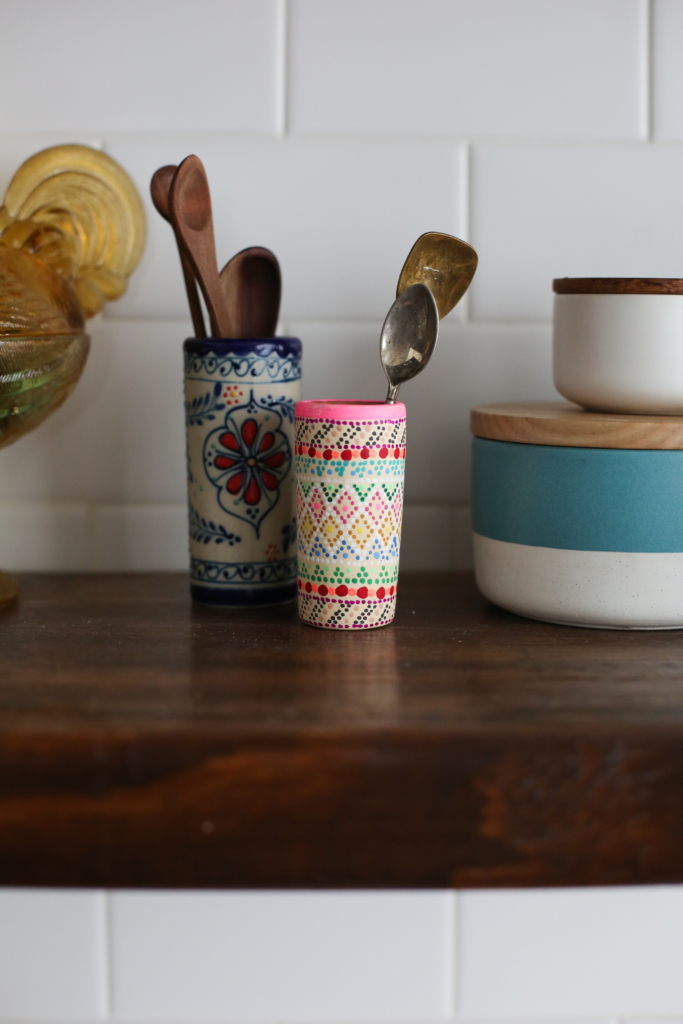
It’s important for me to see the things that bring me joy—things I’ve collected or have been gifted to me by loved ones. Everything has a memory… trip to Mexico, gifts from Mexico, that time Marta and I bought twin spoons in Pilsen, a spoon from Yan Yan, my friend Alex’s rooster…
New and old together… mug from sweet Ashlae, vintage glasses from the most talented Angela…
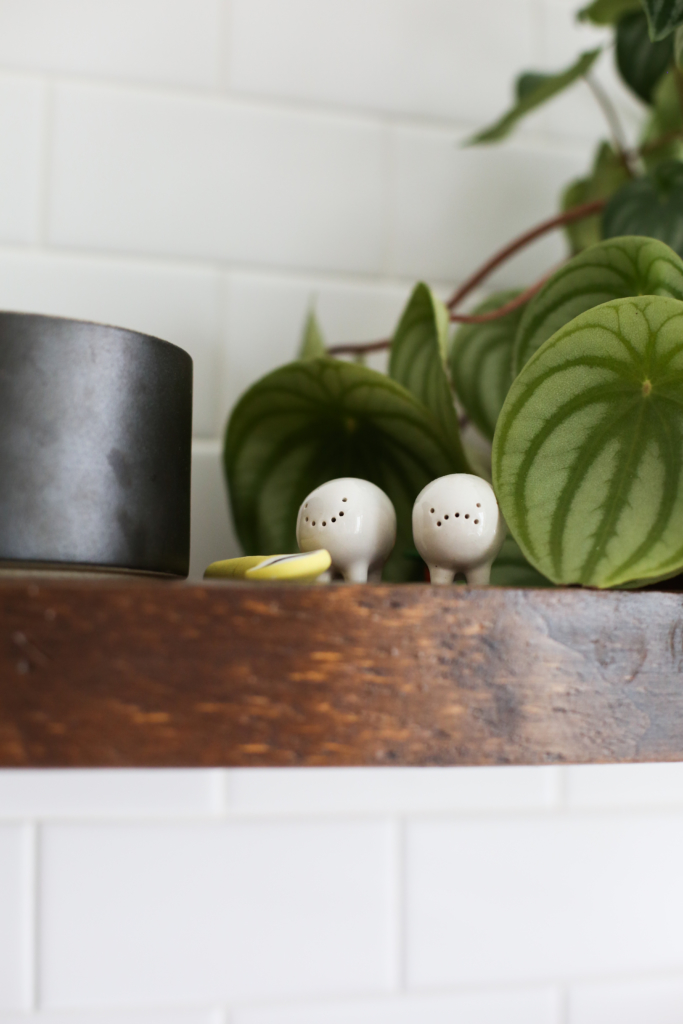
Little friends tucked in the wilderness thanks to cousin Molly… a ceramic spoon from a trip to Australia…
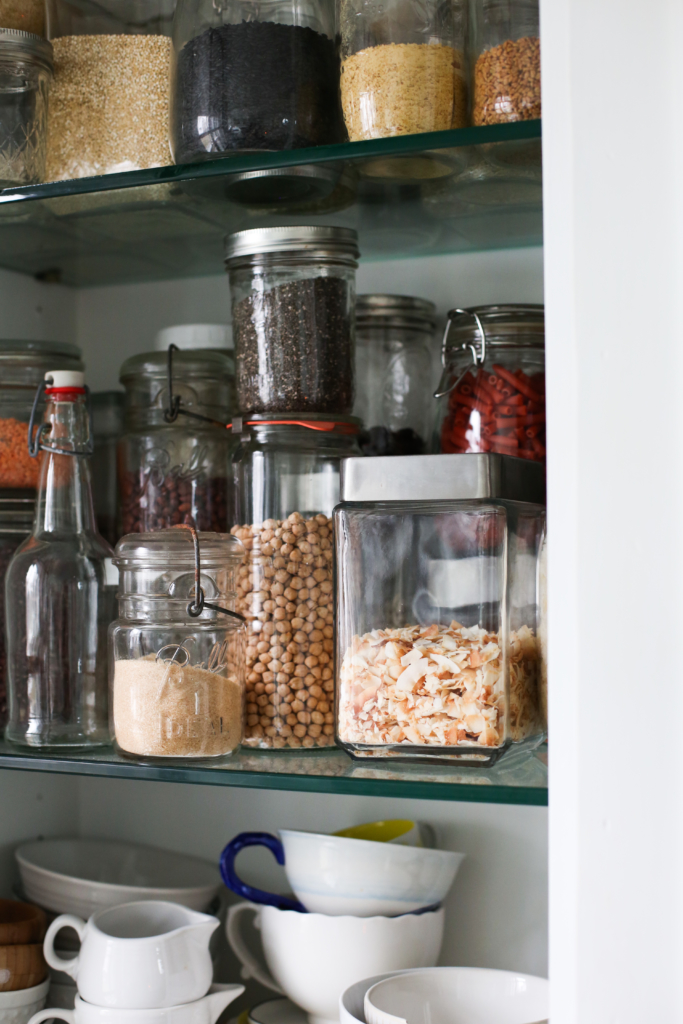
A much lighter, understated presence that allows the color to come from the foods—more inspiration for cooking!
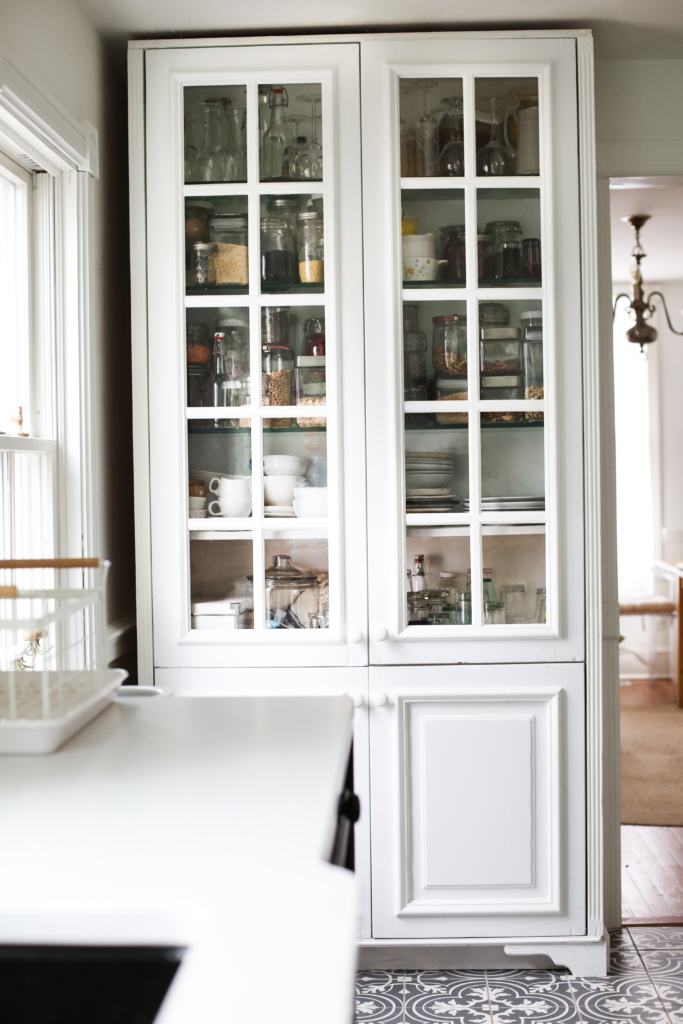
Inviting…
To bounce more light, add more warmth and balance hard edges, a round wooden mirror…
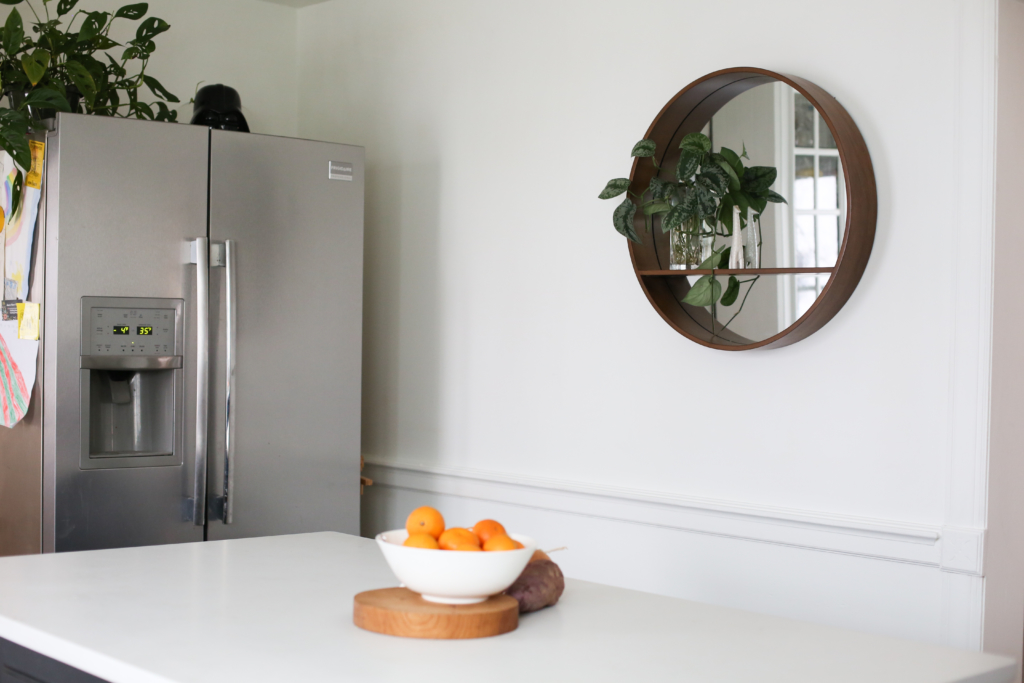
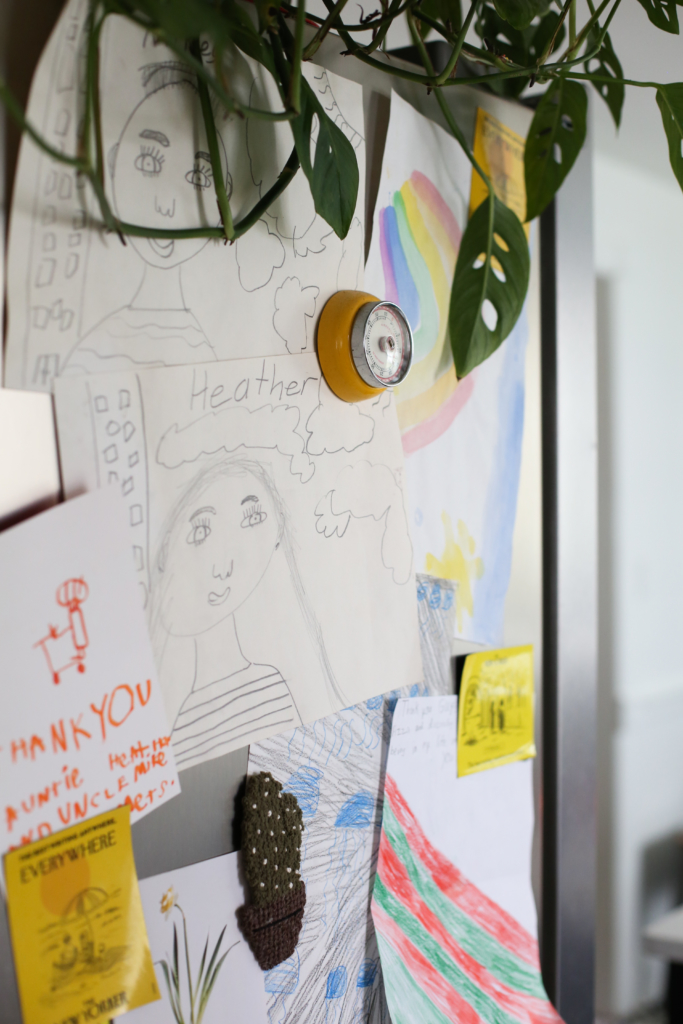
Our nieces and nephews are helping infuse warmth too…
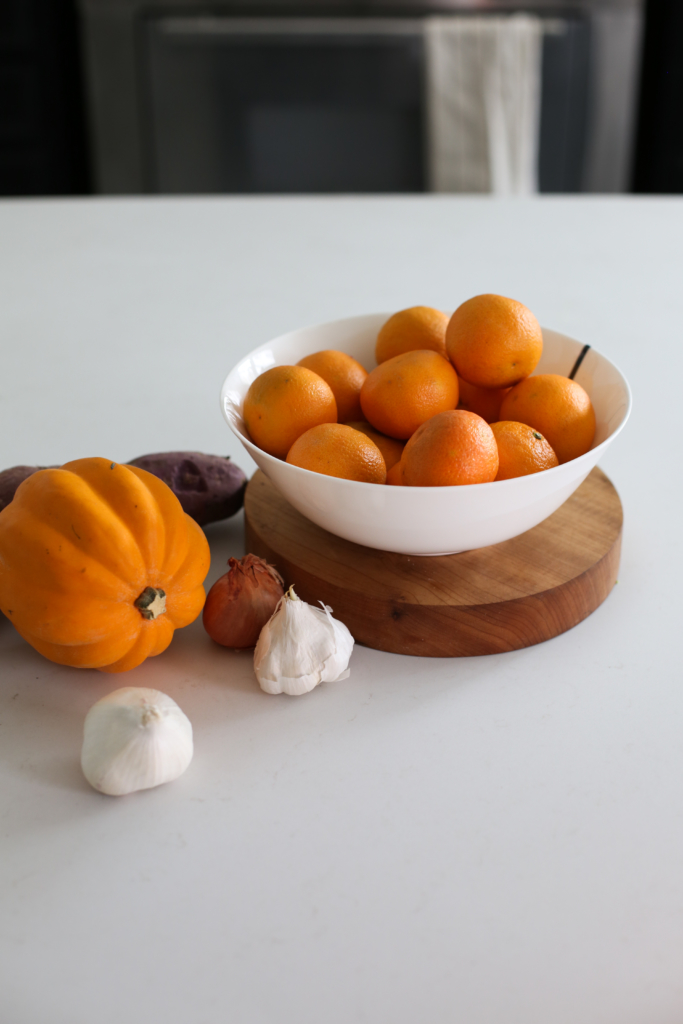
Lots of orange in here today…
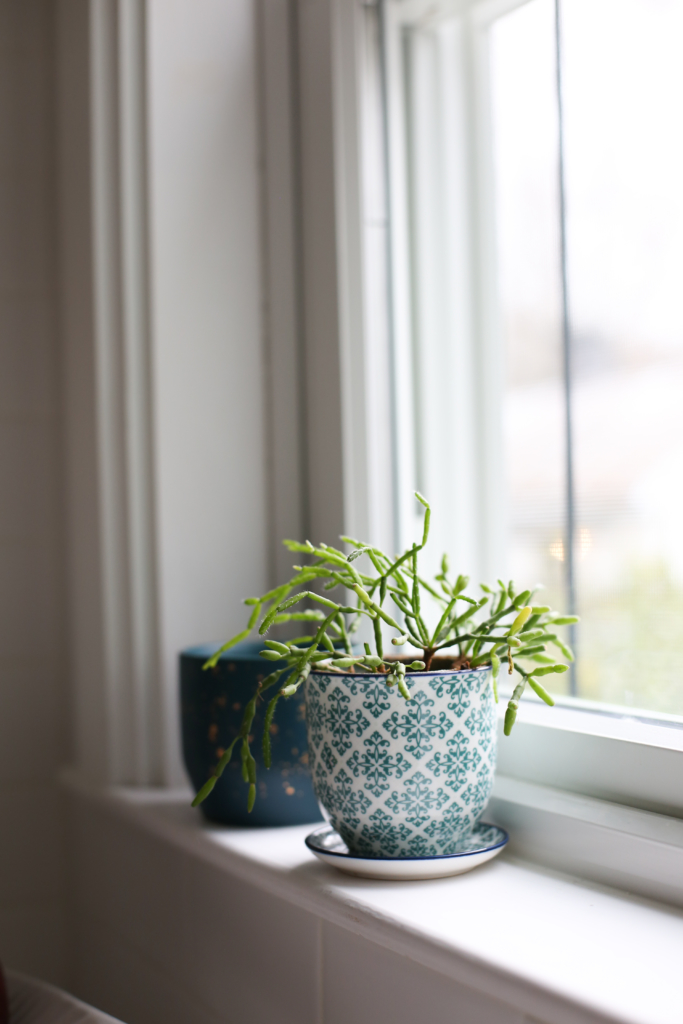
Always with the plant friends…
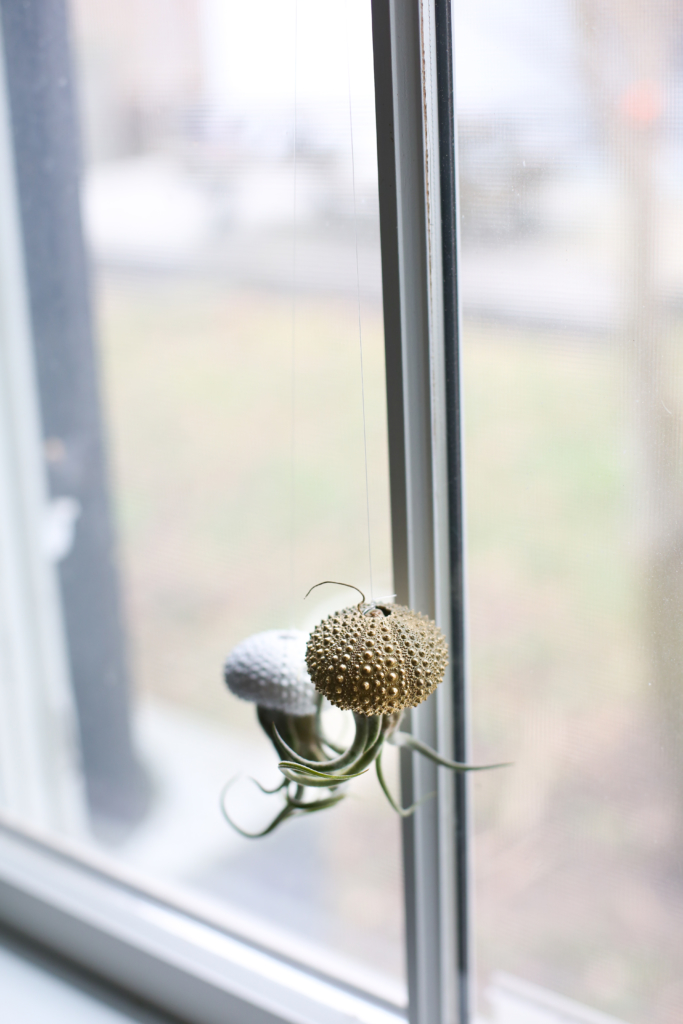
They make the air better though, right? I don’t have a problem… really…
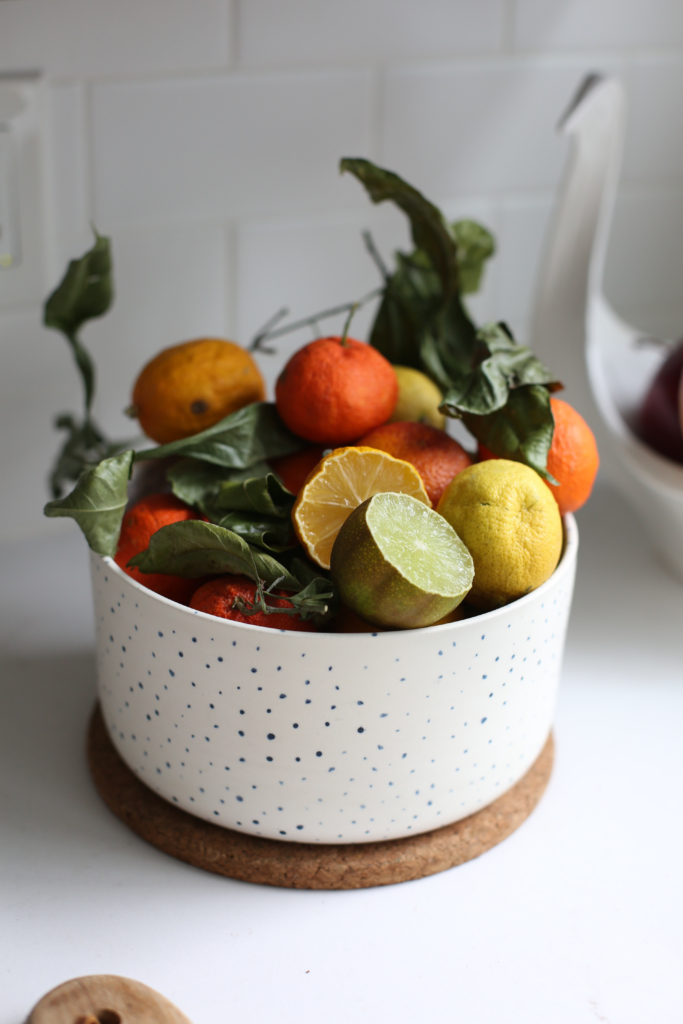
I bought this bowl for citrus years ago and when I did, I told myself that I would have a kitchen someday that would allow it to shine. This citrus withered while we were away on vacation, but it’s still usable, and so pretty… lots of juice this week…
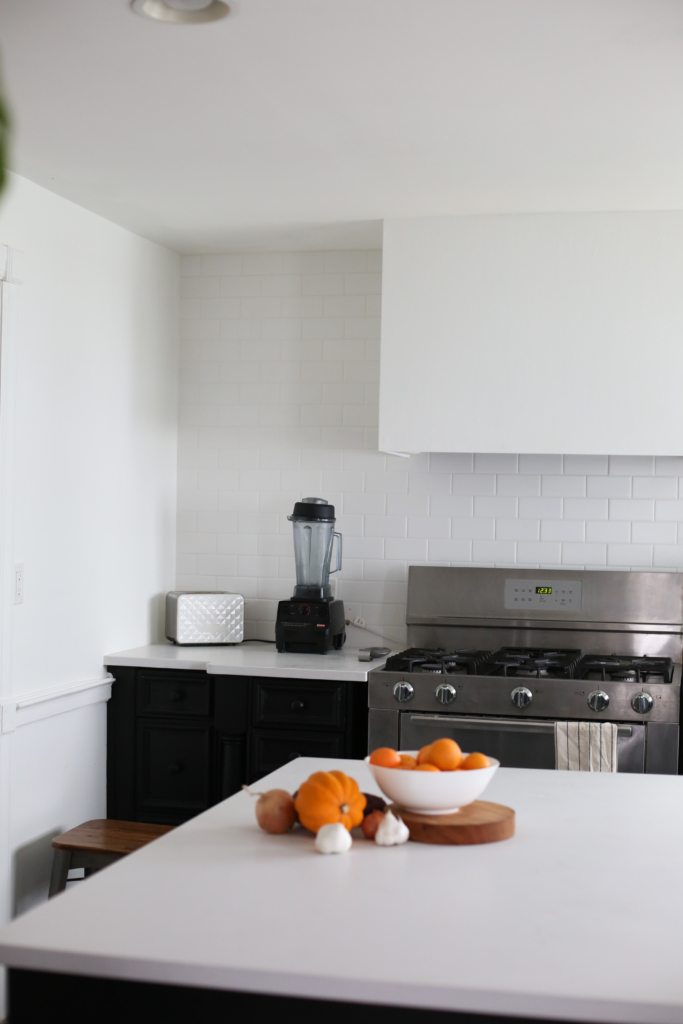
OK. I need your opinion! I want to hang a produce basket for root veggies and alliums. Should it go here in this corner?
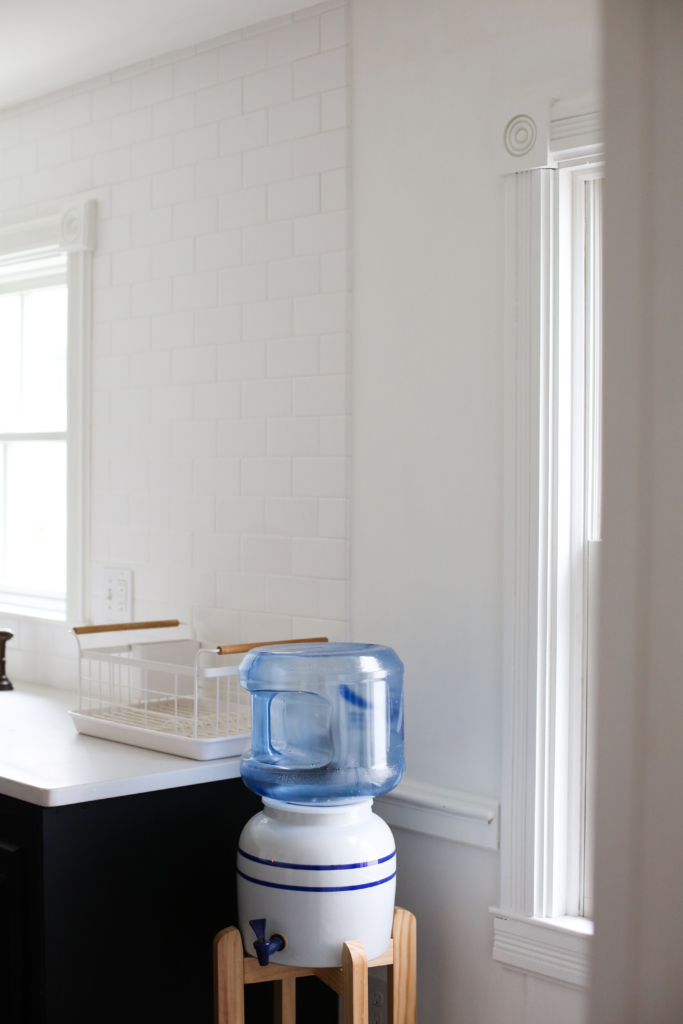
Or here above the dishrack?
Random: This stool and I bonded bigtime—it was there as I chiseled, pried, built, painted, sanded, leveled, and hammered. It gave me height and support when I needed it and it’s forever part of the kitchen now, too… I love its battle scars.
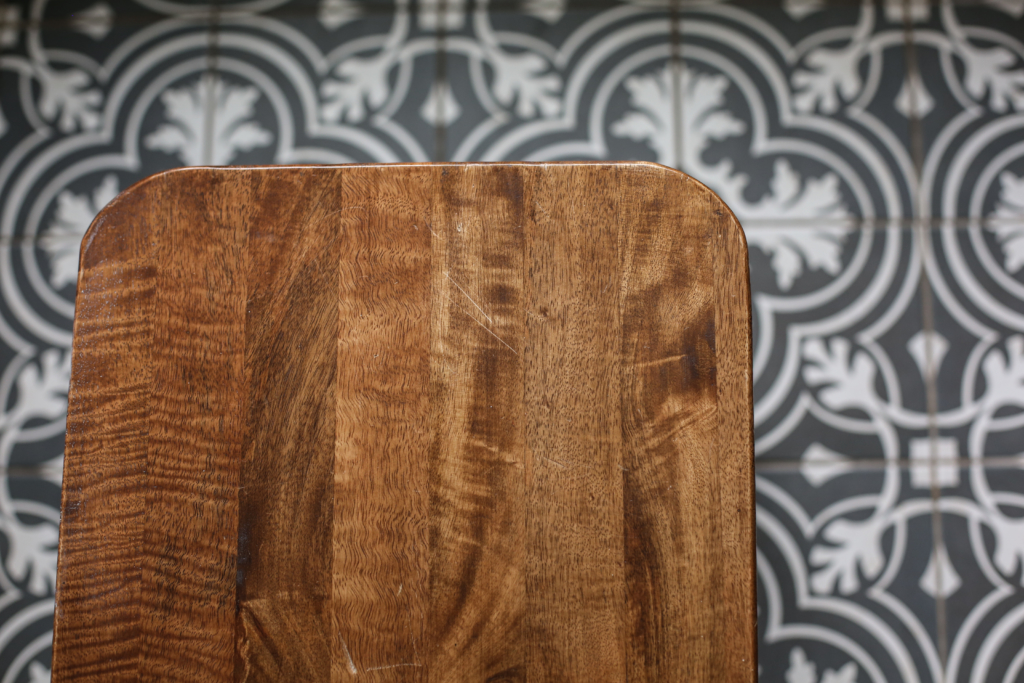
Somebody pinch me…
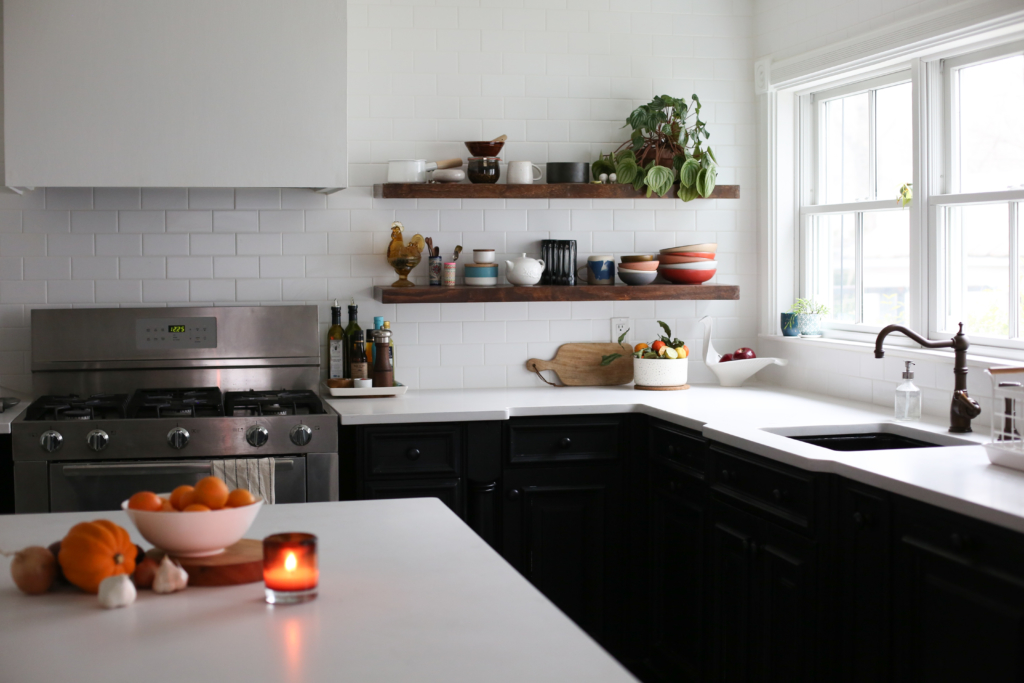
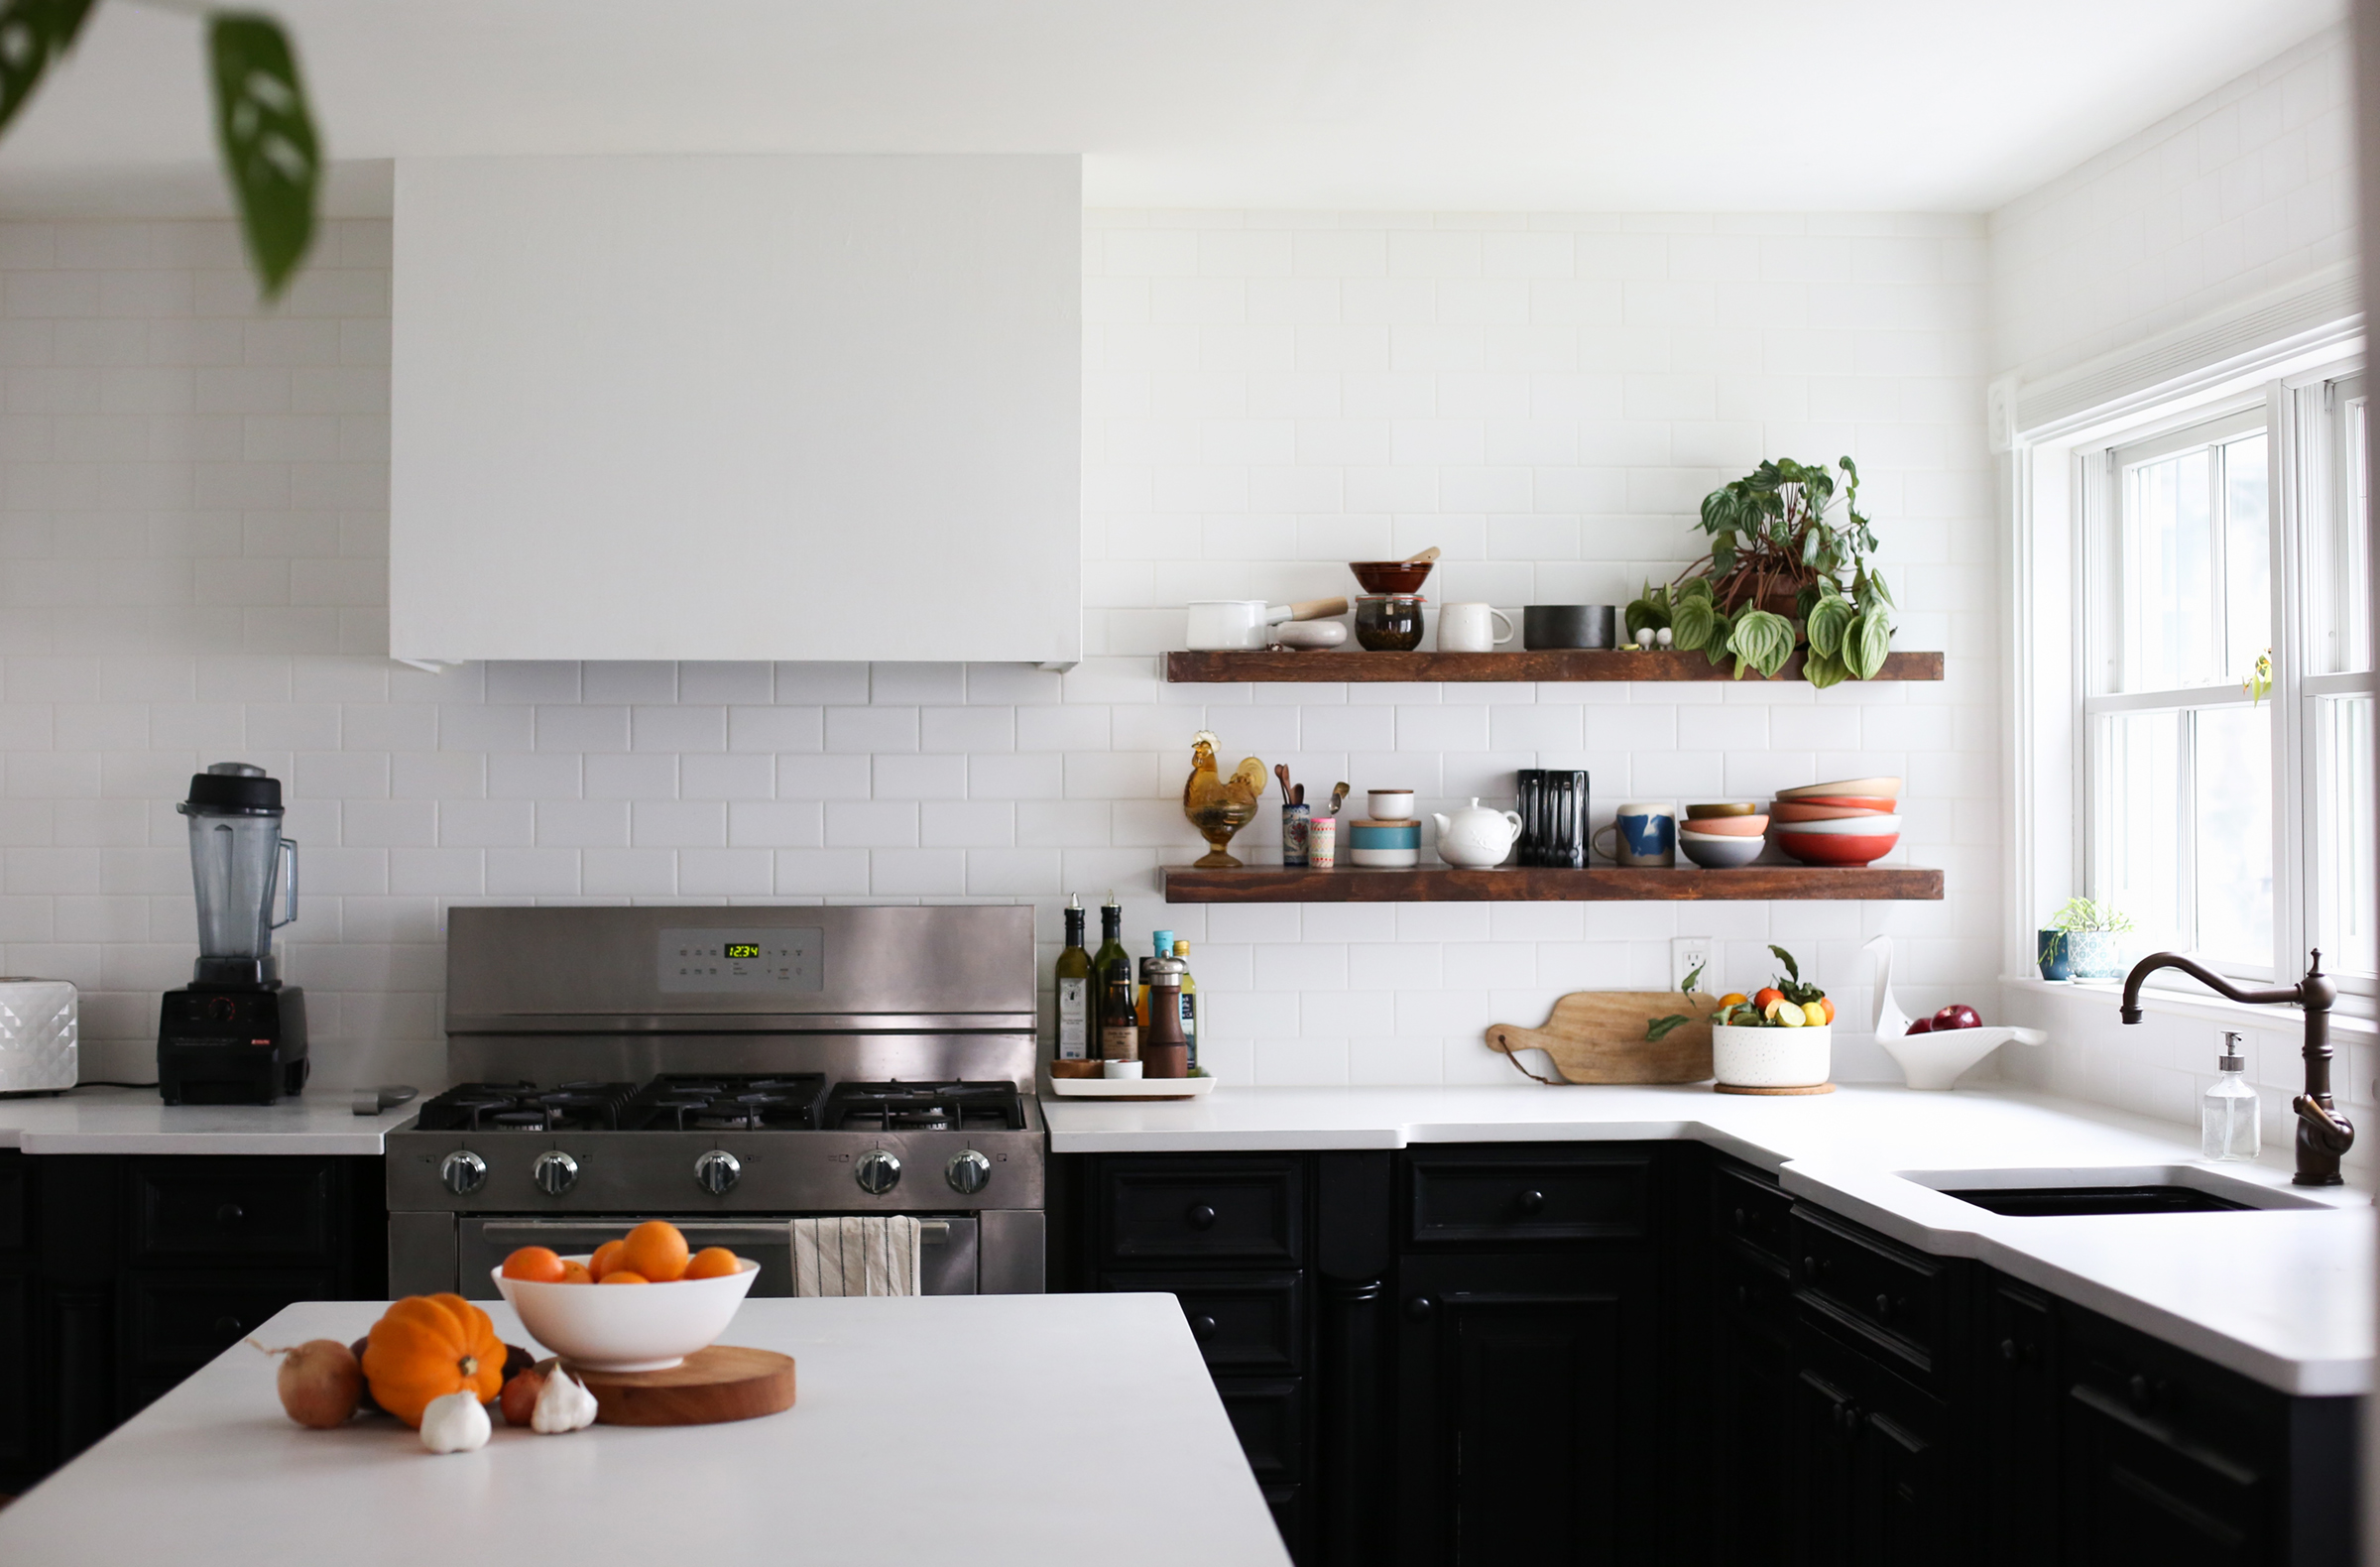
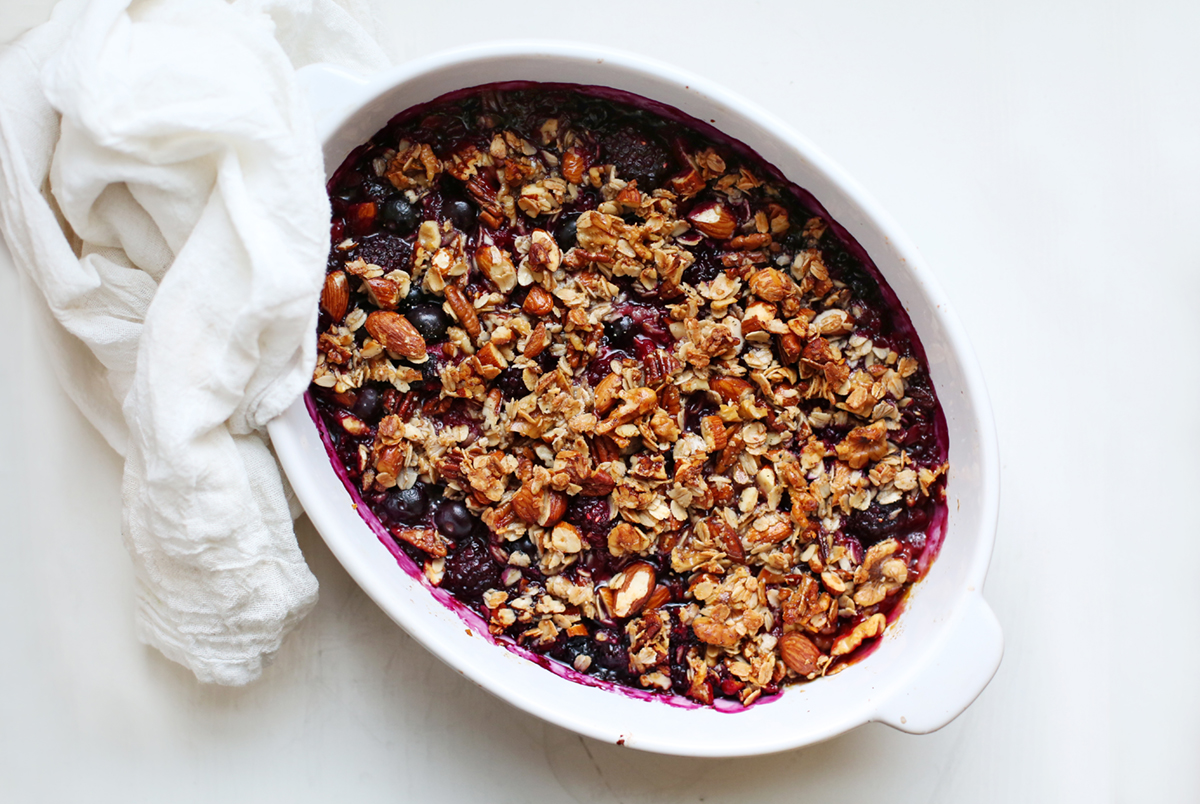
Mixed Berry Cobbler

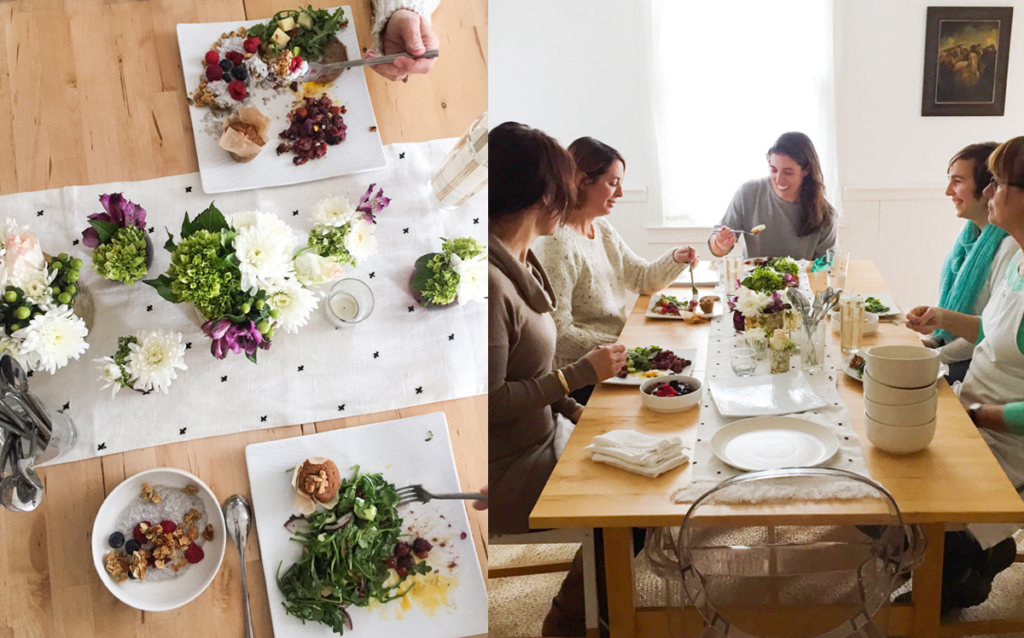
I hosted my very first Good Food Cooking Club at home last weekend and I’m happy to say, it exceeded expectations.

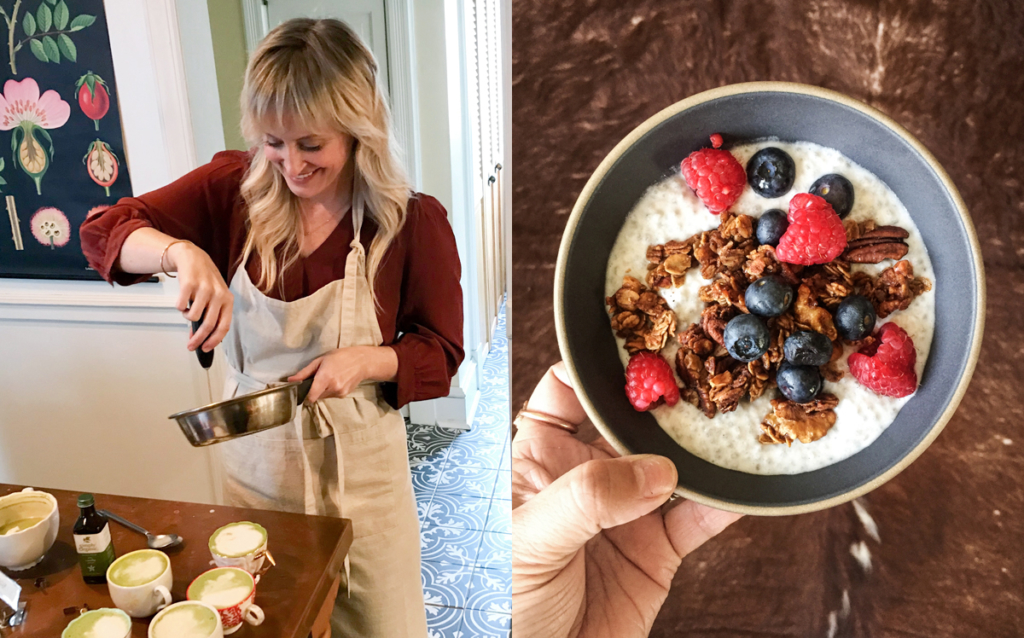
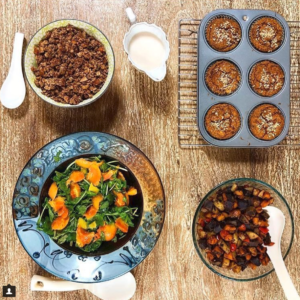
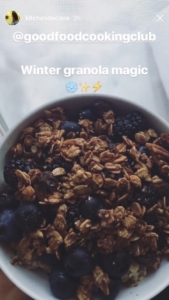
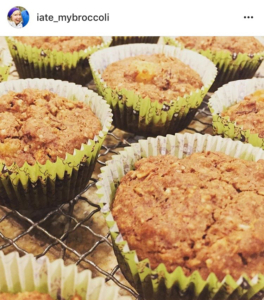
Since the first menu dropped on January 1, I’ve had a blast getting to know everyone who has been “at the table”—they’ve been super enthusiastic and very creative with the menu: turning muffins into mini loaves, using the granola for a peanut putter slathered winter squash? Intrigued!

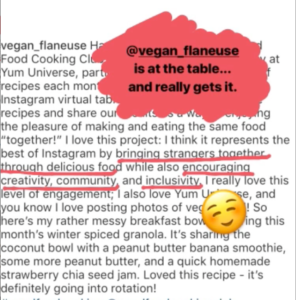
Some people cooked for themselves, some people cooked for friends, and some people cooked for family, but we all cooked for the fun of it. We had guests at the table from all over: Illinois, Hawaii, Canada, West Virginia, Massachusetts, Tennessee, and Washington to name a few.

Here are a few highlights from club members…


Yesterday morning, I found a container of leftover berries from the brunch I hosted—purchased NINE days ago!

As you may know, keeping berries fresh, plump, and mold-free in the fridge for 9 days is tough to do. BUT. I had used my favorite preservation trick on them as soon as I unpacked the groceries and as usual, it worked like a charm.

I easily could’ve gotten a few more days out of them, but when I discovered them, my sweet tooth called out “cobbler!”

So, I listened.

In this recipe, I created a crunchy, oat-y topping with mixed nuts and oats, and sweetened only with honey. Try this simple recipe with some Vanilla Nice Cream.

Ingredients:
Crumble Topping
2 tablespoons unrefined coconut oil, plus more for greasing (solid or liquid)
½ cup raw, unsalted almonds, chopped
¼ cup raw, unsalted pecans, chopped
¼ cup raw, unsalted walnuts, chopped
¼ cup rolled oats
¼ cup raw honey
Pinch sea salt

Filling
2 teaspoons arrowroot flour/starch
2 tablespoons raw honey
3 cups mixed berries
2 teaspoons fresh lemon juice
1 teaspoon vanilla extract
¼ teaspoon sea salt

Let’s get started.

Preheat the oven to 375°F and lightly grease a 10-inch round, oval, or square baking dish with coconut oil and set aside. In a medium bowl, use a fork to combine the Crumble Topping; set aside.

In a large bowl, sprinkle the arrowroot evenly over the berries and toss with other Filling ingredients until thoroughly coated. 

Fill the baking dish with the fruit mixture and sprinkle evenly with the crumble mixture. Bake for 30 to 35 minutes, until browned and bubbling.

Enjoy!

The February Good Food Cooking Club menu is coming out in a matter of days, join us!

Now I want to hear from YU. Have you joined the Good Food Cooking Club? What are you’re favorite fruits for cobbler? Tell us with some thoughts below.

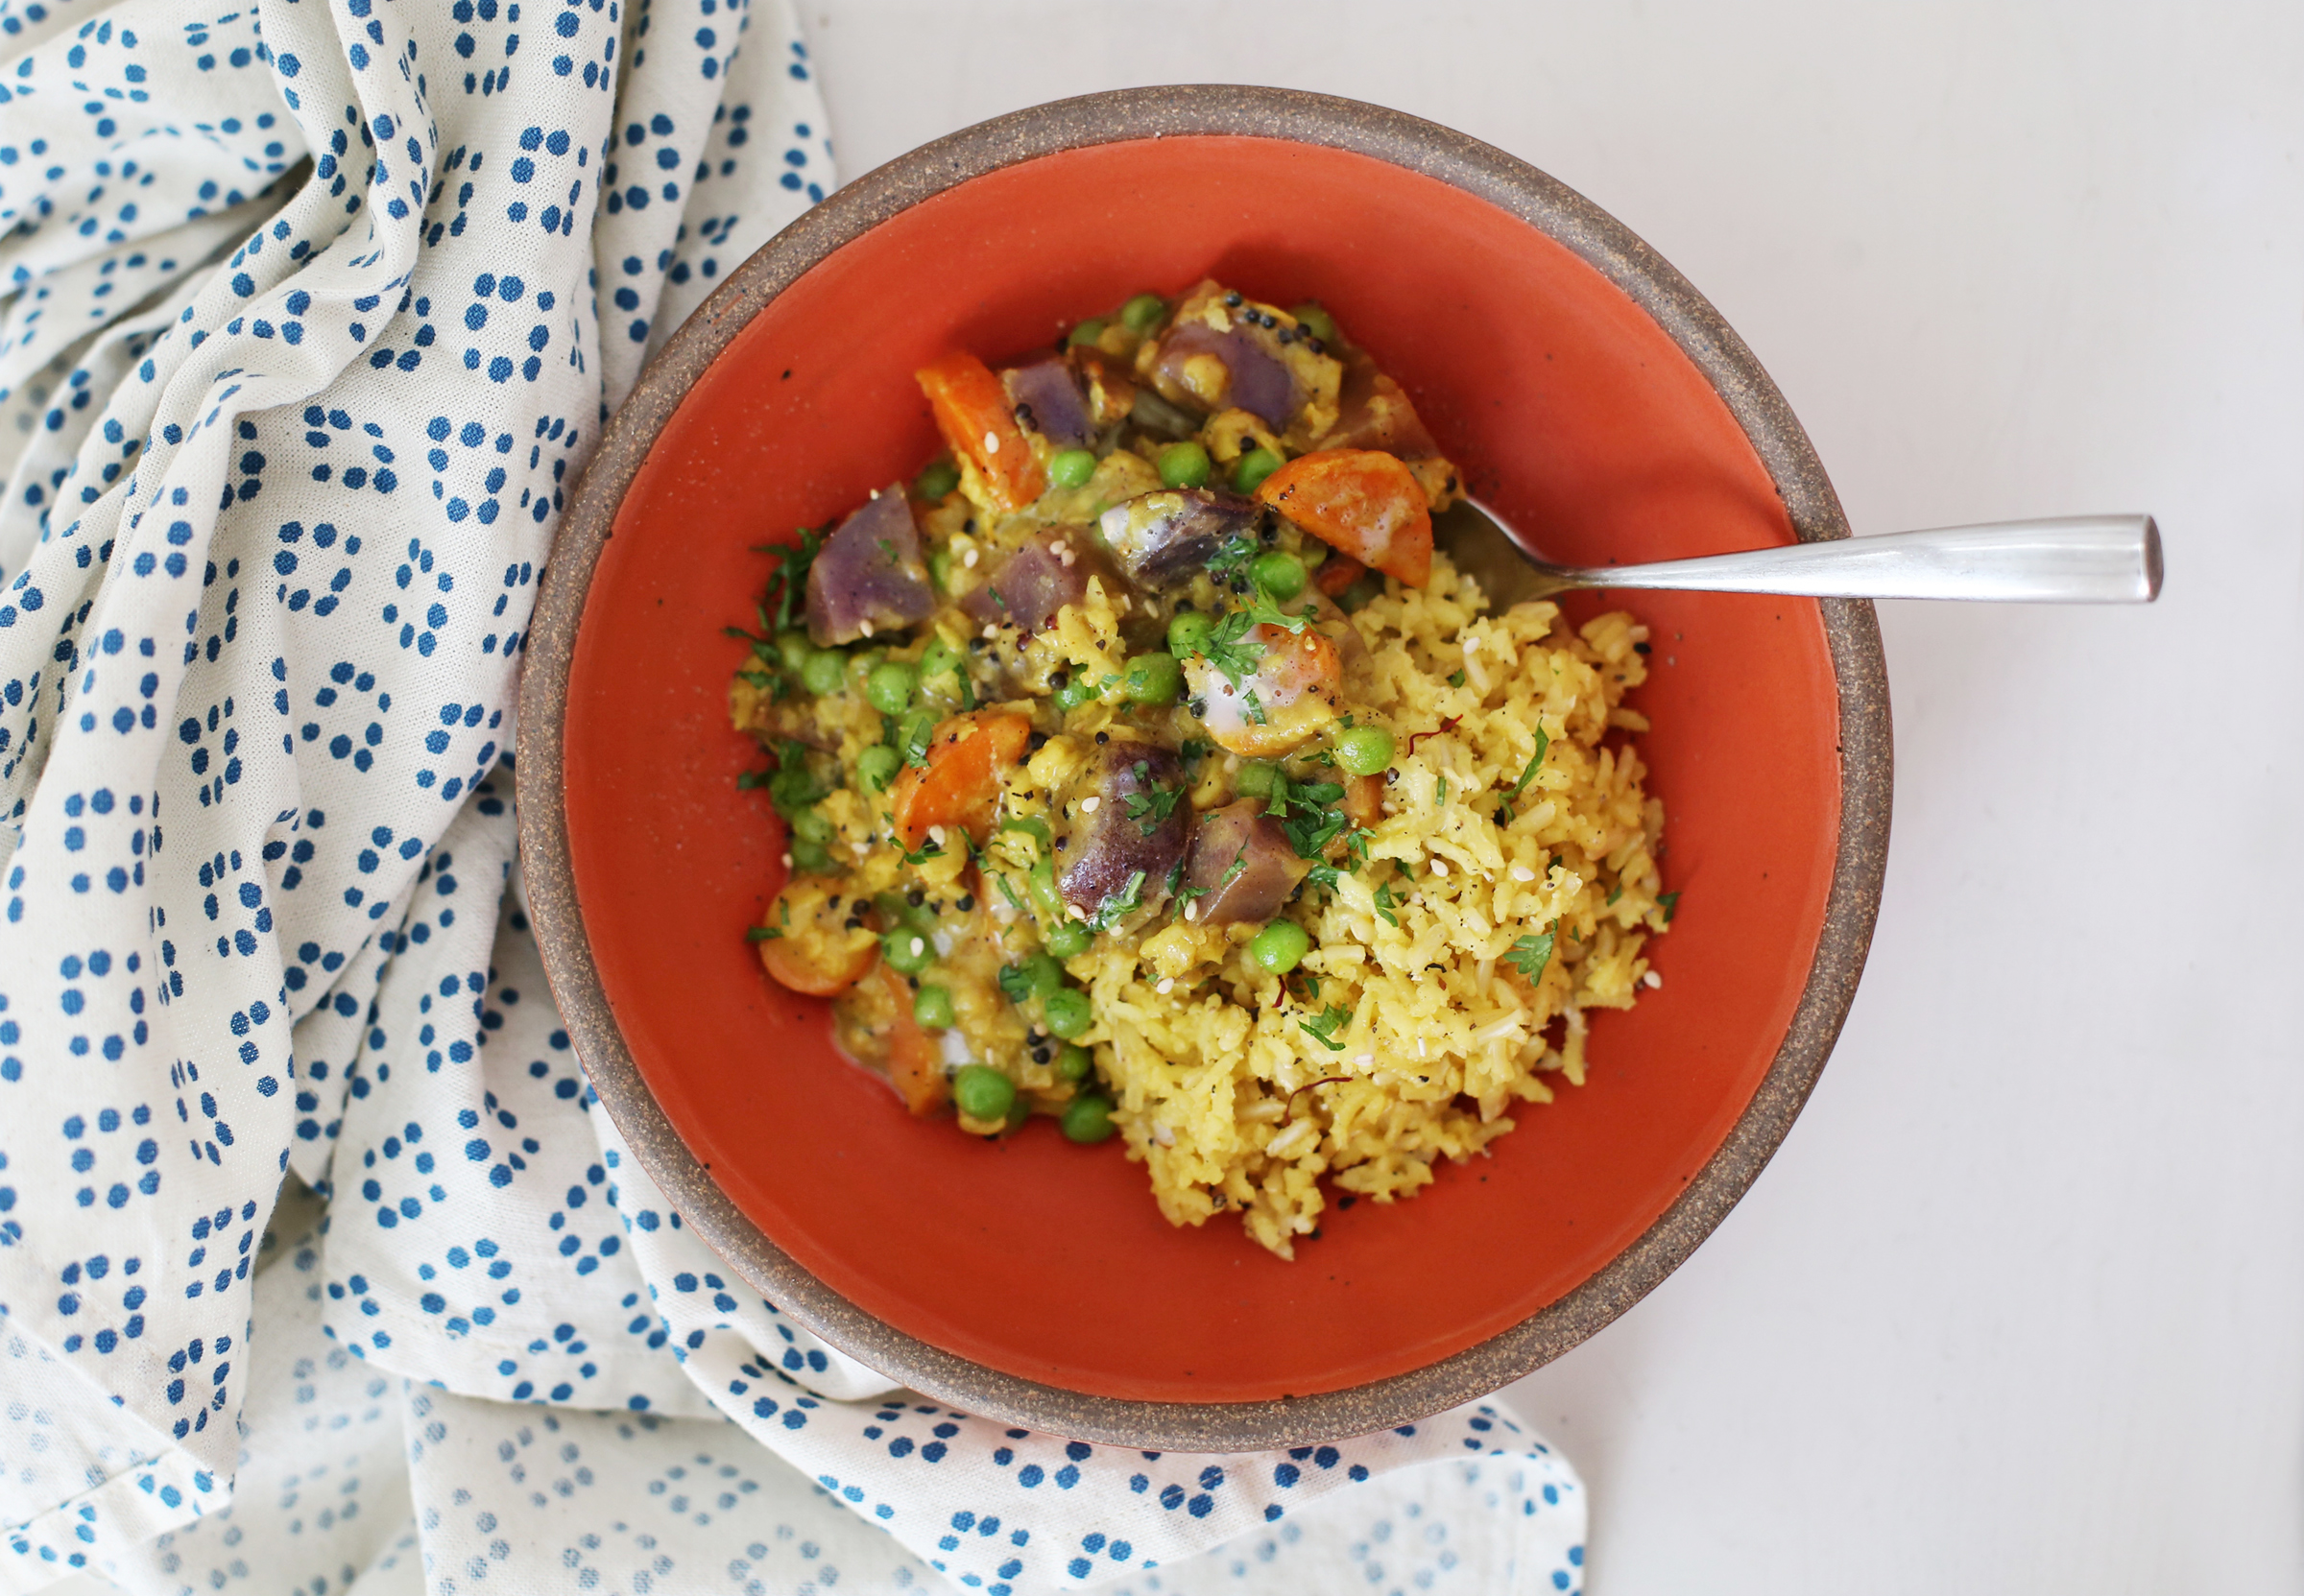
Colorful Mixed Root Veggie Curry

You know what’s delicious paired with the Easy Saffron Brown Basmati Rice I recently posted? This comforting, Colorful Root-Veggie Curry. It’s one of those recipes that gets better with each day it is stored as leftovers (spice infusion to the max), so make plenty.

You can remove the skins from your root veggies or keep them on—Cook’s choice. I’ve also made this recipe many times without any legumes, so skip them if you like. I’ll sometimes use broccoli instead of peas, and I’ll add some shallot or yellow onion to Step 3. And always serve it up with some gluten-free Naan from Gluten-Free Baking Academy.

This recipe is a pared down version of curry, which is a general term for many simmered, stew-like dishes from around the world, particularly Asia. Typically, curry contains a variety of textures and many spices. Great care is taken in preparing all components of the dish to build layered full flavor. You’ll find all sorts of ingredients in a traditional curry: animal products, grains, pulses, vegetables, noodles, even fruit.

If you’d like to learn how to make curry with more traditional techniques and secrets, check out the following books:
Fresh India or Made in India by Meera Sodha
Zaika by Romy Gill
Vegan Richa’s Indian Kitchen by Richa Hingle

Ingredients:
1 cup cooked split-mung dhal (can sub cooked chickpeas, any cooked lentils, or whole-cooked mung beans)

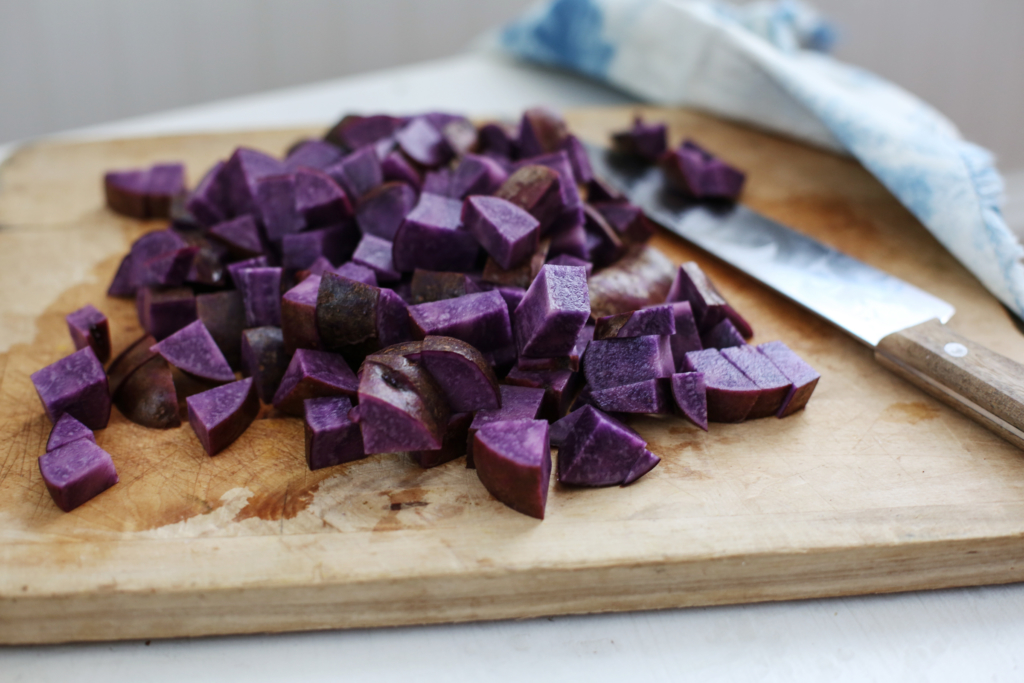
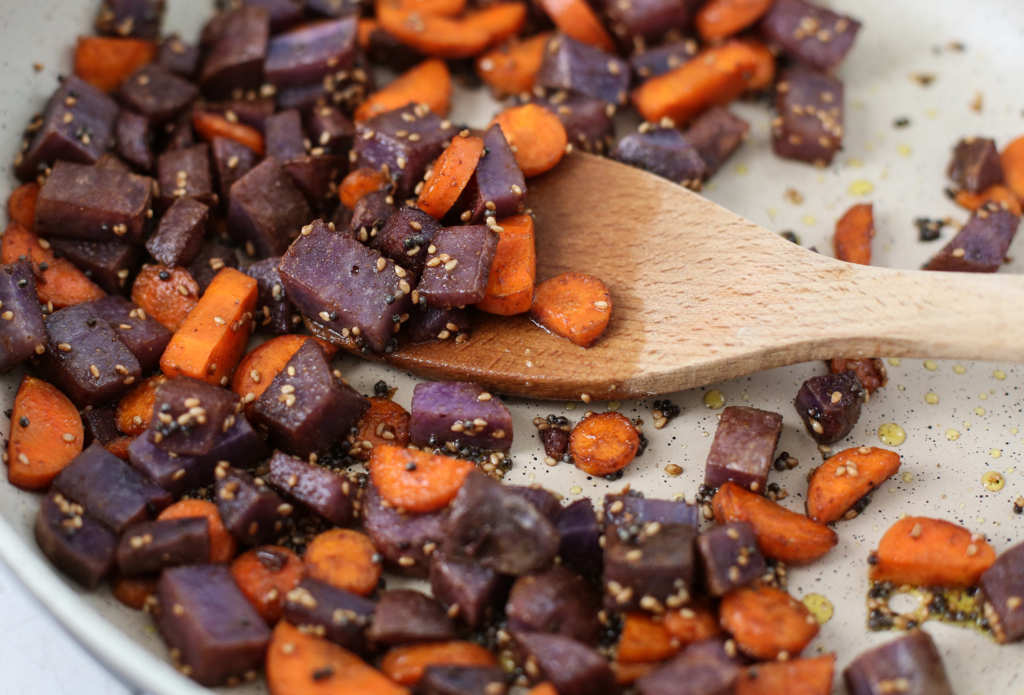
2 cups purple potatoes, cut into roughly 1/2″ cubes
1 cup carrots, sliced into rounds with larger rounds cut in half

2 tablespoons unrefined coconut oil (or ghee if you use that)
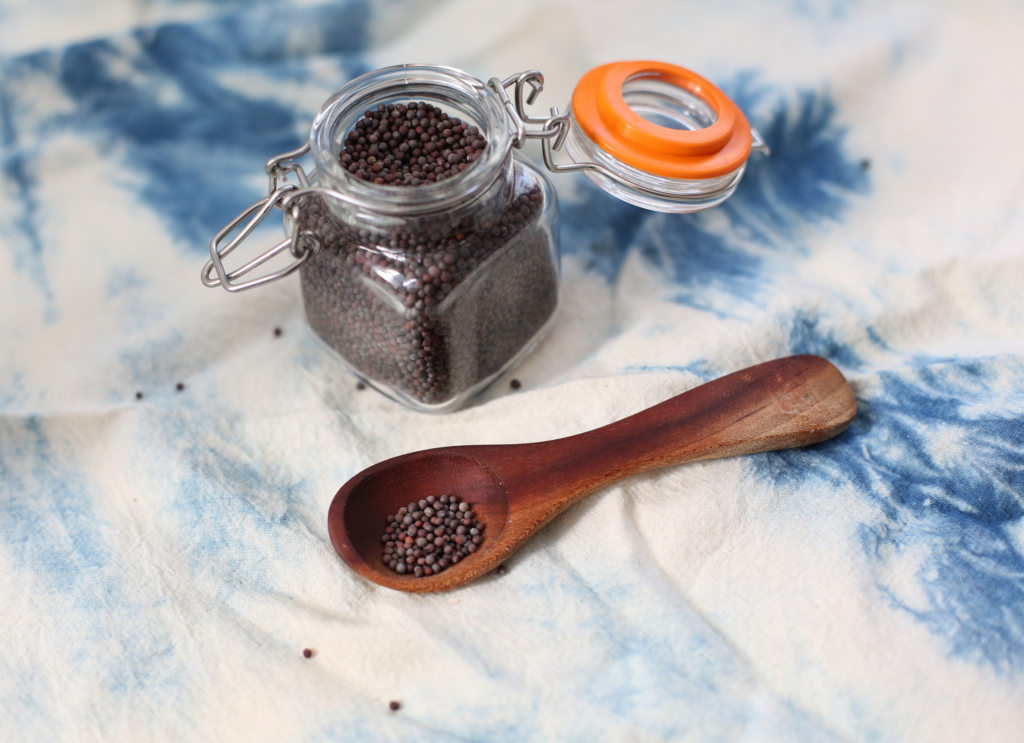
2 teaspoons mustard seeds (black or gold)
1 teaspoon sesame seeds (gold or black, or benne seeds), optional
1 teaspoon cumin seeds
3/4 teaspoon fine-ground sea salt, plus more to taste
1 teaspoon ground turmeric
1 teaspoon ground coriander

1 1/2 cups canned coconut milk (full fat)
1 teaspoon apple cider vinegar (or lemon juice), optional
1/2 cup water (or veggie stock)
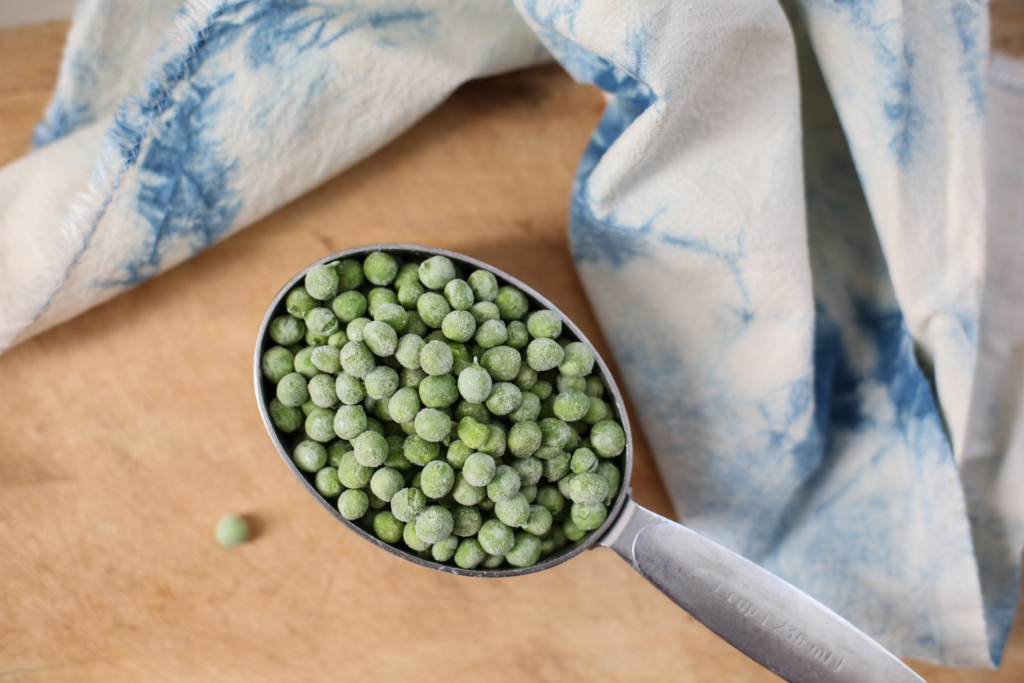
1 cup peas (fresh or frozen)
Fresh-cracked black pepper to taste
Handful of fresh cilantro leaves to garnish, optional


Let’s get started.
1. Cook the dhal you’ll be using for this recipe and set aside. Chop and prepare potatoes and carrots for cooking…

… and set out frozen peas to thaw, too.

2. Heat a large skillet to medium and add oil, mustard, sesame seeds if using, and cumin seeds.

Stir together until the seeds begin to pop, then add potatoes and carrots. Stir together for 7–10 minutes until they start to brown a bit, then add salt, turmeric and coriander and stir for 30 seconds.

3. Then, pour in coconut milk, apple cider vinegar if using, and water (or veggie stock). Bring to a boil, then reduce heat and simmer for 10–15 minutes or until root veggies are tender, but not mushy. Fold in peas and cooked legumes/dhal, and cook for another 5 minutes, seasoning to taste with black pepper and more salt if needed.

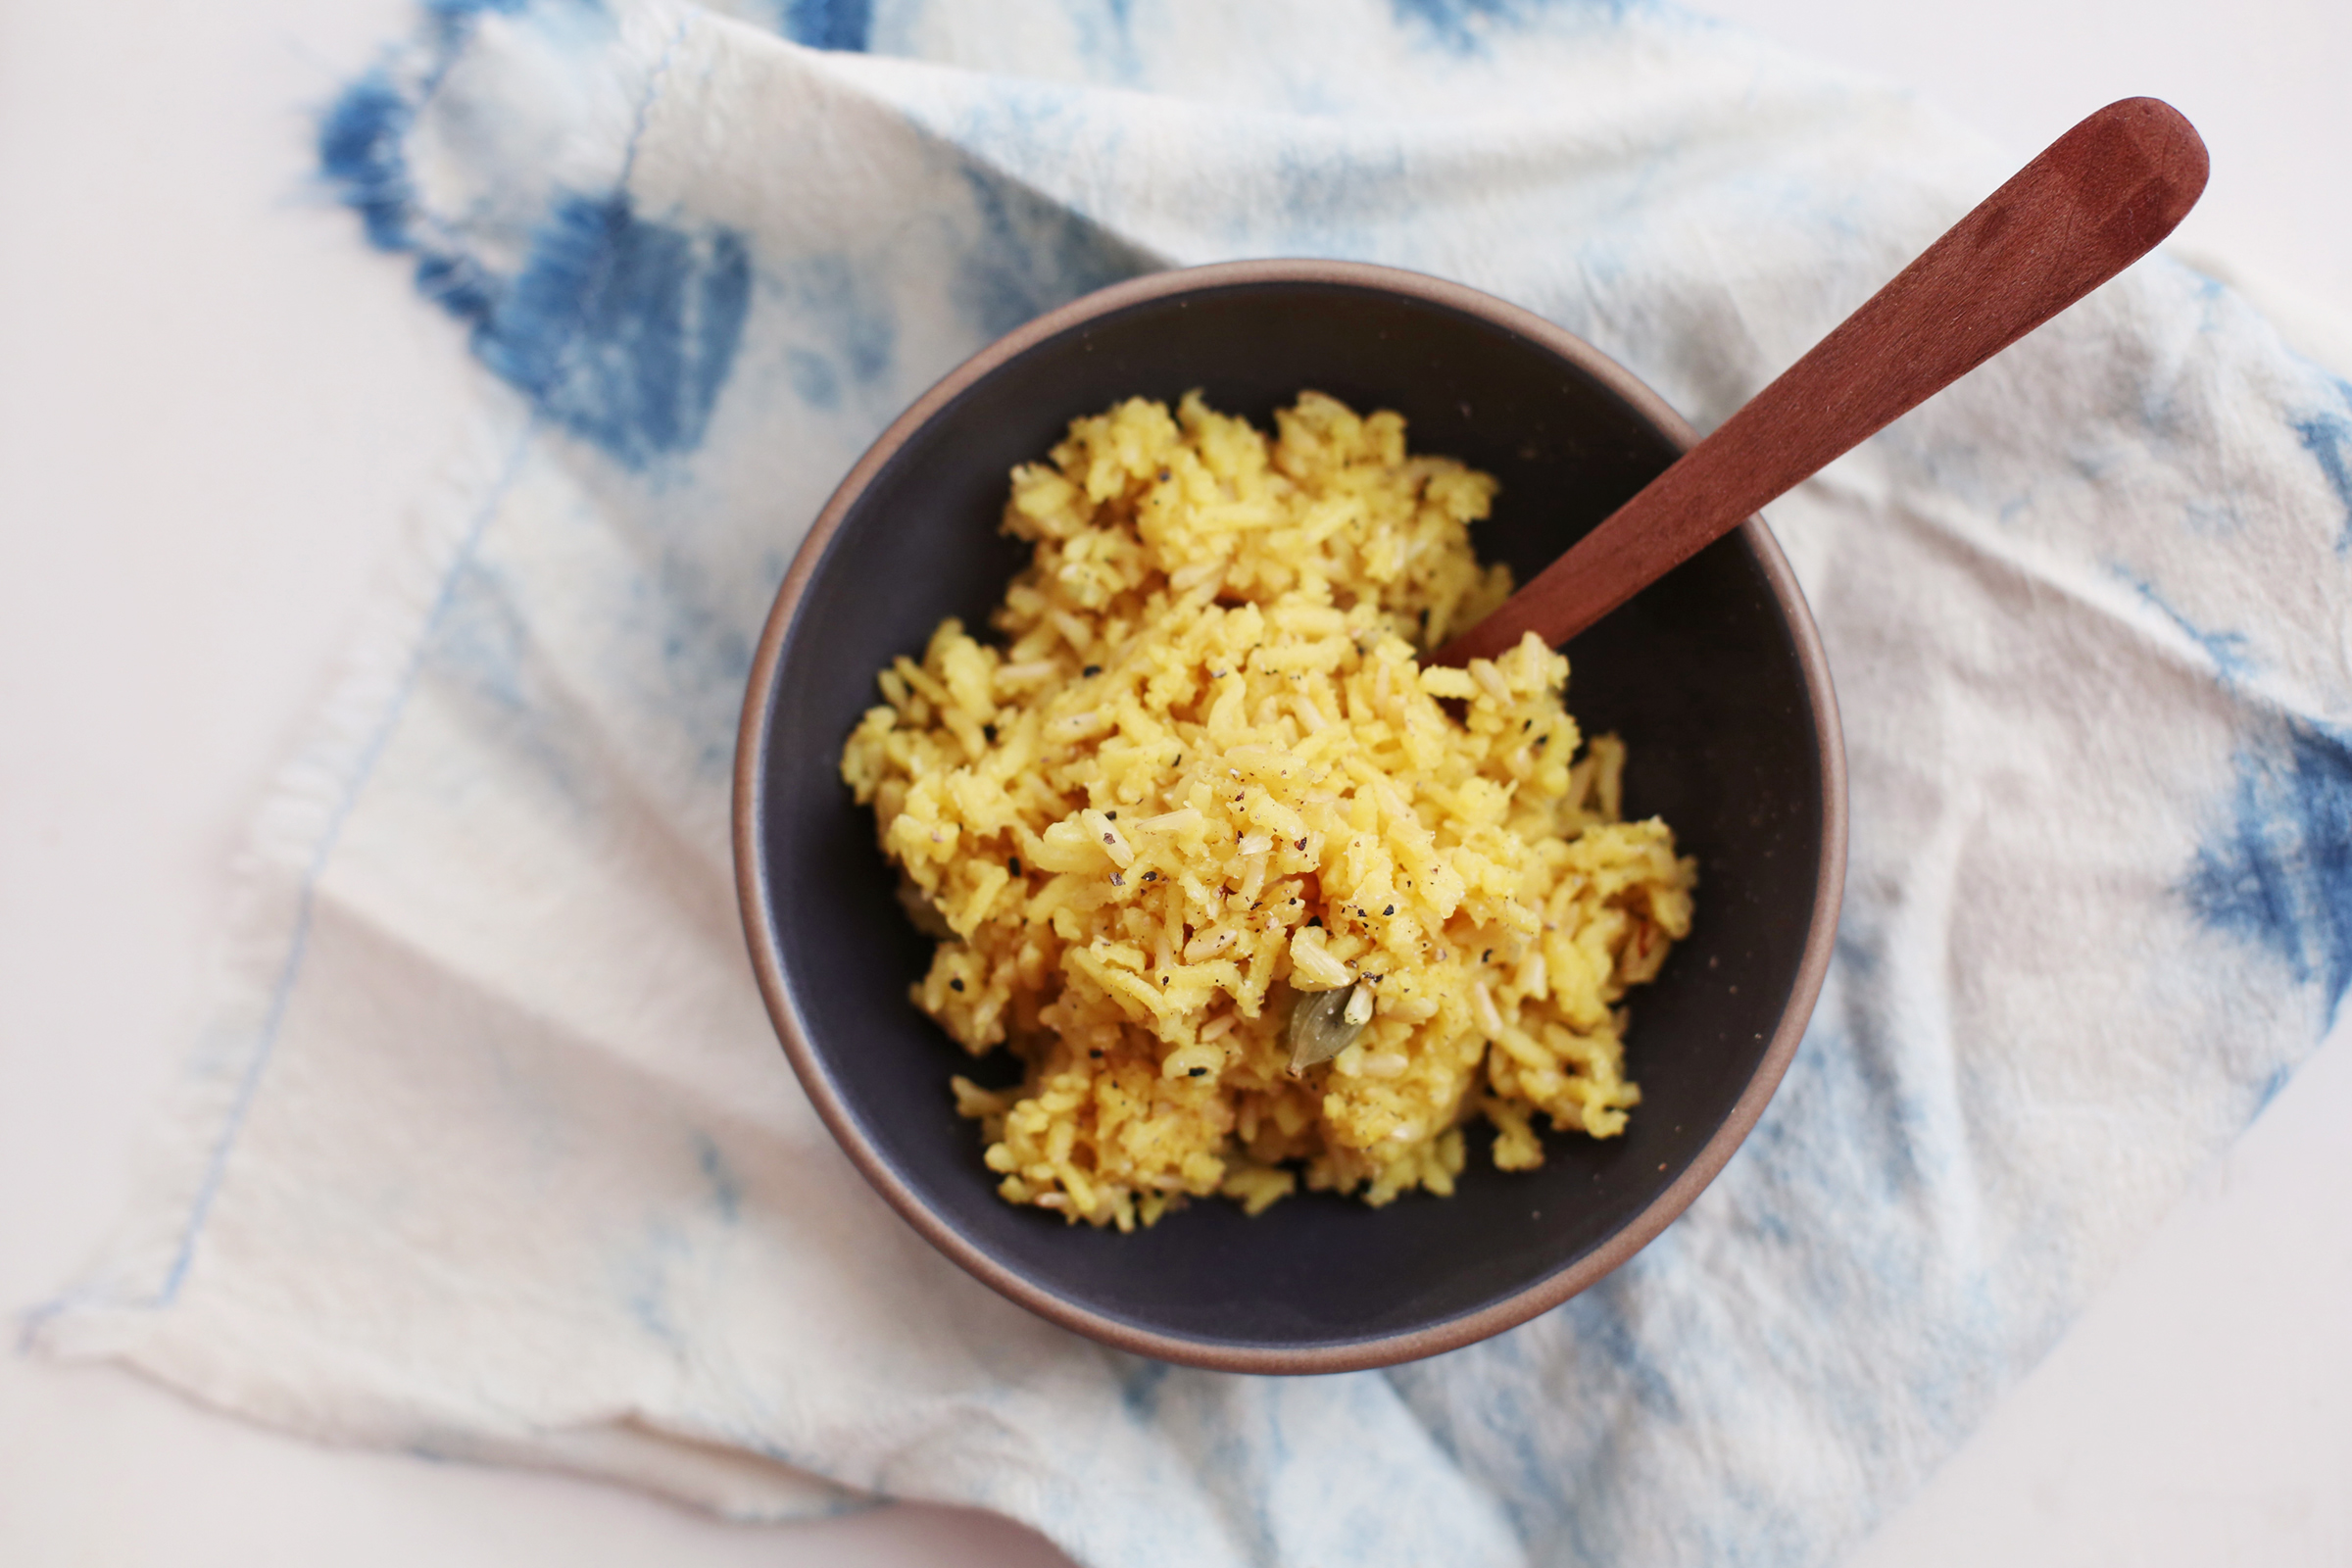
4. Serve warm with Easy Saffron Brown Basmati Rice, and a handful of fresh cilantro. Enjoy!

Saffron Brown Basmati Rice

I’ve been on a bonafide saffron kick since summer.

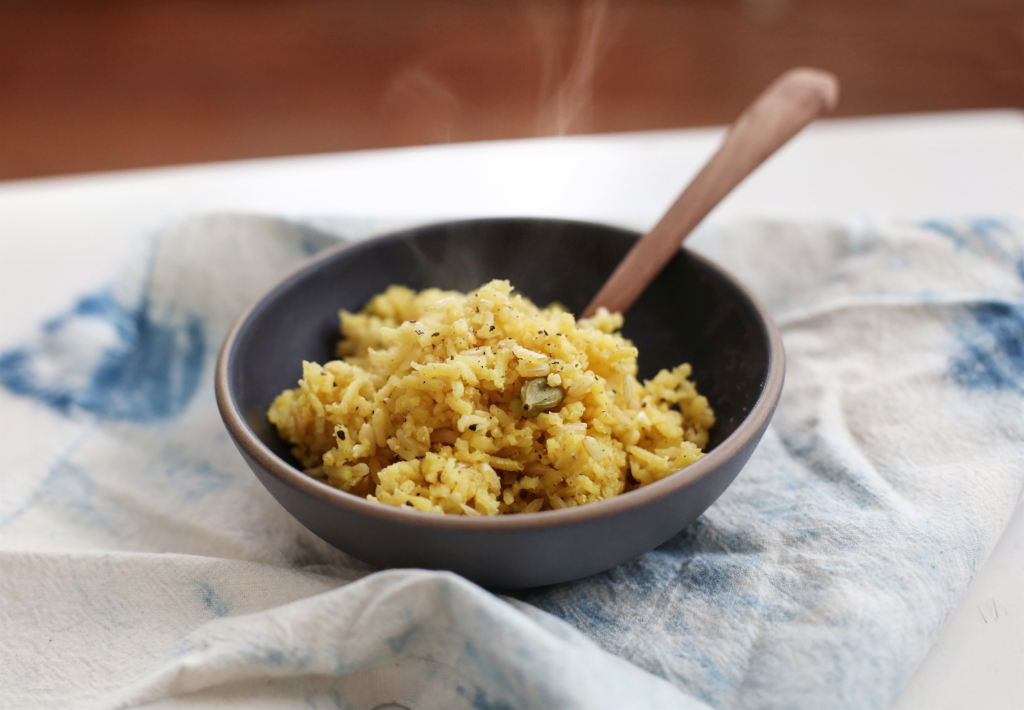
I want to put it in everything from tea to cookies to bread to breakfast cereal. And since I keep a batch of this simple Saffron Brown Basmati Rice in the fridge each week, I thought I’d share it with you so you can join me in my addiction.

I’ll make it as the recipe states below to partner with Chickpea Korma or Veggie Curry, and sometimes I’ll make it sans cumin and bake it into a rice or Bread Pudding. Or I’ll stir it over medium heat with coconut milk, toasted coconut, fresh, chopped apples, or pears, and chopped dates or raisins for a comforting cereal or dessert.

Fold in ¼ cup of shredded carrot, roasted (or steamed) broccoli, and/or peas for some extra color. It’s a great base that I could riff off of for days…

Now, I know saffron threads can be pricy, but you can try them in my Saffron & Rosewater Oats, too (which you’ll likely make daily after one bite). Prepare to fall in love.

A bit about saffron:
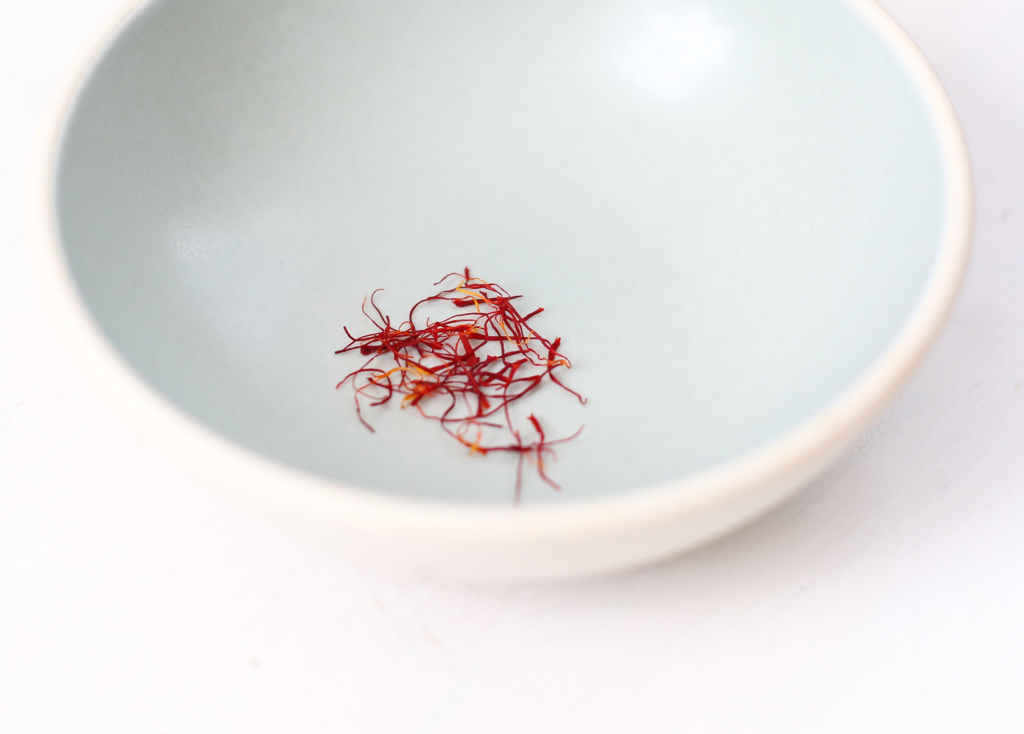
Saffron comes from the crocus flower, and it’s “threads” (stigma and stamen) are collected and dried to add flavor and color to a variety of dishes. Origin of saffron is believed to be Iran, Greece, or Mesopotamia.

A bit about cardamom:
Cardamom is an incredibly fragrant seed that originates in tropical and subtropical Asia, with first references of its use coming from Ayurvedic literature in India¹.

A bit about basmati rice:
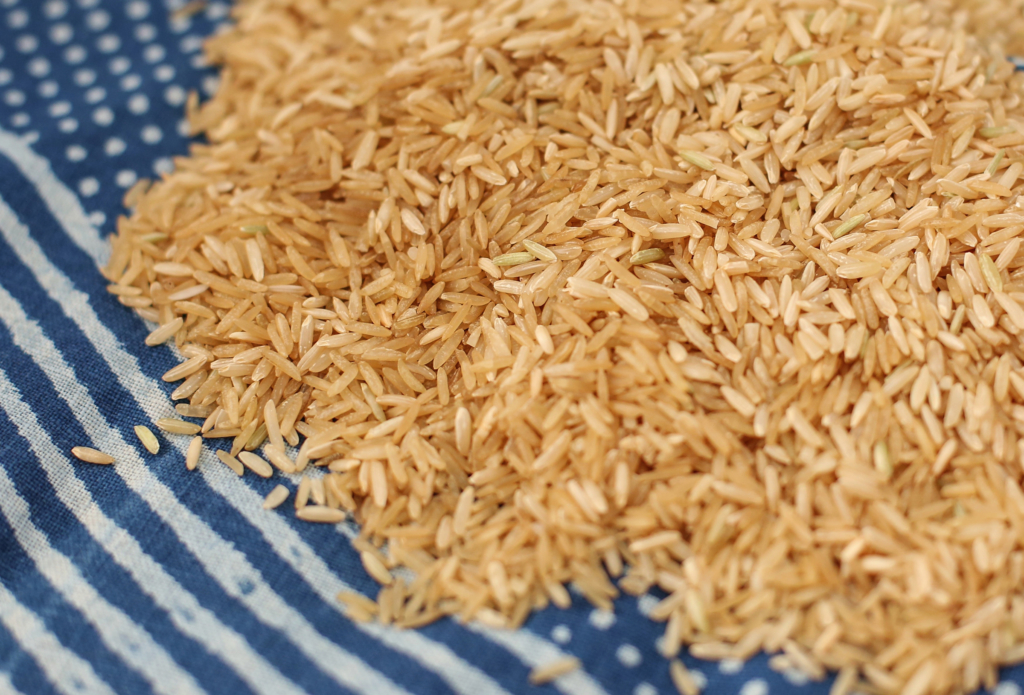
This long-grain rice comes in white and brown varieties and has a nutty, floral aroma. It’s commonly grown in the Himalayas, India, and Pakistan.

If you’d like to learn how to make traditional recipes that use traditional spices and ingredients check out the following:
Zaitoun and The Saffron Tales by Yasmin Khan
Vegan Richa’s Indian Kitchen by Richa Hingle

Ingredients:
Pinch of saffron threads, roughly 1/8 teaspoon*
¼ teaspoon cumin seeds
1 cup basmati brown rice
3 ½ cups water
2 cardamom pods
½ teaspoon fine-ground sea salt

*If you want more yellow color, you can use 1/4 teaspoon or more saffron. Note that you can make this rice without the saffron and still get a beautiful, subtle flavor from the cumin and cardamom.

Let’s get started.
Wash rice well until water runs clear, rinse, and set aside for a minute.

In a large pot heated to medium, place saffron threads and cumin to dry roast for about 1–2 minutes, stir occasionally.

Now, transfer rinsed rice to the pot with water, cardamom pods, and salt. Bring to a boil, reduce heat to simmer, cover pot with a lid and cook for 15–20 minutes until all water is absorbed.

Remove from heat, keep covered, and let sit for 5 minutes. Fluff with a large spoon and serve warm.

Store in an airtight container in the fridge for 7–10 days.


Footnotes:
1. Weiss, E. A. (2002). Spice Crops. CABI. p. 299. ISBN 978-0851996059.

Rosewater and Saffron Oats with Toasted Almonds and Coconut

We all hear often enough that saying “no” and defining boundaries in our day-to-day is the best way to stave off overwhelm. And it works if you can trade the FOMO for peace of mind. Saying “no, thank you” to projects, events, and even to urges to load too much dairy-free, gluten-free Mac & Cheese on my plate gets easier with practice. Opting out has its place. Saying “no” means thinking MORE about what your goals are, and how you want your future self to feel versus what you want in the moment.

And this is when saying “yes” can also be self-care. You know that you have the Gluten-Free Baking Academy Launch Monday (enrollment closes for good on Sunday), and family obligations, and a full Inbox, and exciting client work. But you also know that it’s been a hell of a month and some quality girlfriend time will give you the recharge you need to take it all on with grace and efficiency, so you say “yes” before you can get in your own way and talk yourself out of it.

I met the loveliest gal at one of my Chicago book tour events back in June—sweet Alma, from Chill Chicago. As we got to know each other in the 10 minutes before our panel, I knew this was someone I wanted to keep in touch with. I mentioned that she’d probably love the tiny town I live in and she should come visit sometime, especially since in that 10 minutes, we discovered that we have a mutual love for Tara Brach and “she is so close to where I live.” Alma said “I’ll take you up on that” and I said “you better.”

So, recently, Alma emailed that she found a great deal on a flight and asked if I wanted any company for a few days. Before I could think about the work I had to do, and all the other things pulling at me that would make me postpone the spontaneity, I said “yes.”

I’m so glad I did. I got to spend almost 4 days recharging with a new friend. Laughing, sharing stories and dreams, consuming obscene amounts of tea, introducing her to my darling town, and amazing friends.

We went paw paw hunting with one of my dearest pals Bernardine, and her tiny, new kitten Jimmy, who loved the autumn smells and the warmth of B’s jog bra. Smart fella.

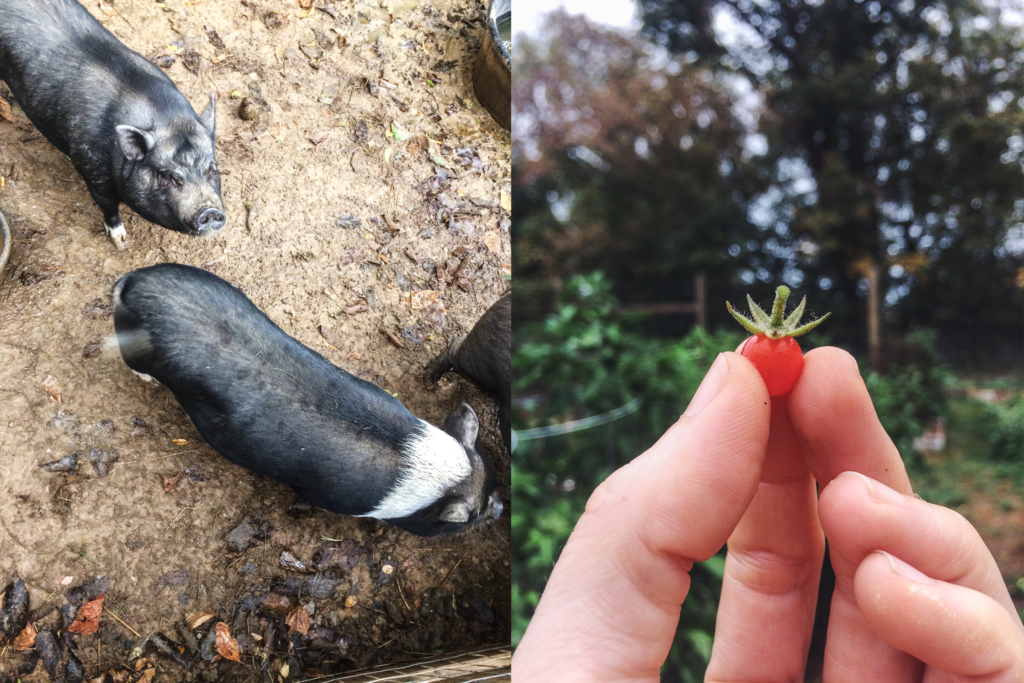
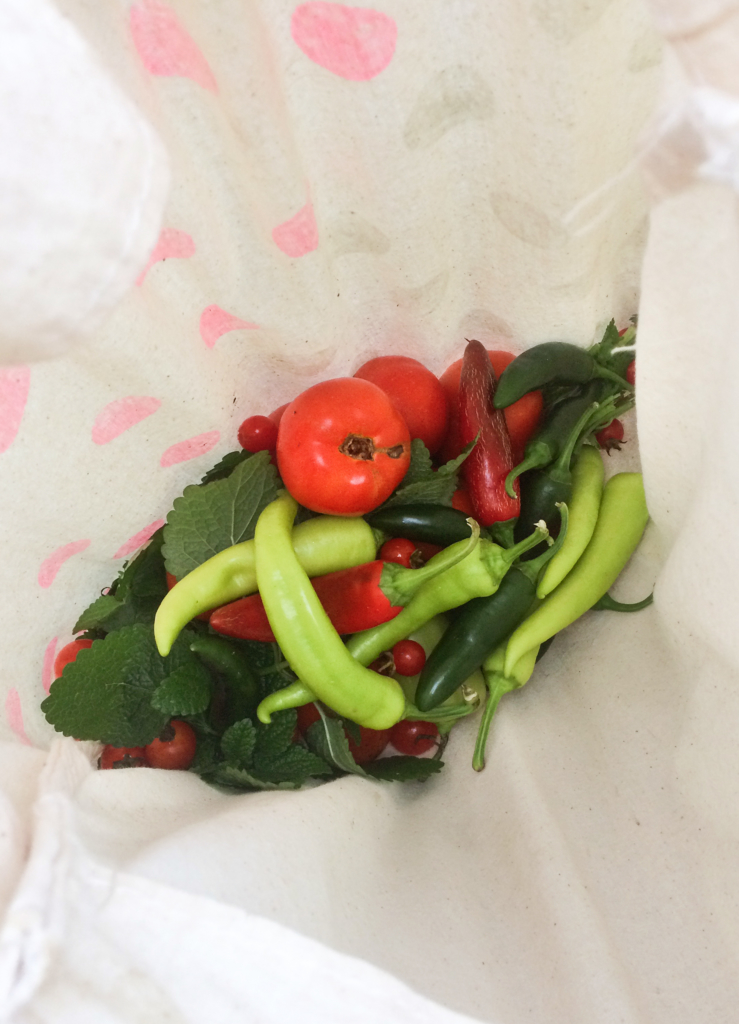
We missed the paw paws by a week or so, but came home with bags full of black walnuts instead. We visited my friend’s amazing school, the farm animals there, and absolutely looted the ginormous garden that was bursting with enough produce to feed all 70 students and their families x10.

I won’t have to hit the store for a while—I see a lot of canning and pickling in my future…

We went to the boxing class my love holds for local badass ladies in an old barn, and then the next day we took our sore bodies out to what I like to call “my church.” A tree-covered trail that ultimately overlooks the historic town of Harpers Ferry.

We collected a backpack’s-worth of hickory nuts—wish me luck opening them. If I can, I’ll share a recipe or two.

The weather was so warm we even got to ground down and lay on the island-like rocks in the river. Then (why not?) we decided to hit the local moonshine distillery for a tasting.

At night, we curled up by my fireplace listening to my love tell his epic ghost stories (our town is kinda haunted, we even have our own super campy tv show about it). And in the mornings, we started the day with my new favorite breakfast—Rosewater & Saffron Oats.

According to Ayurvedic cooking, rosewater calms the emotions (I even spray myself with this rosewater during the day), cardamom (my fave!) helps with digestion and balances the body, and saffron is known to assist detoxification, it balances, and aids digestion—all benefits I could use these days.

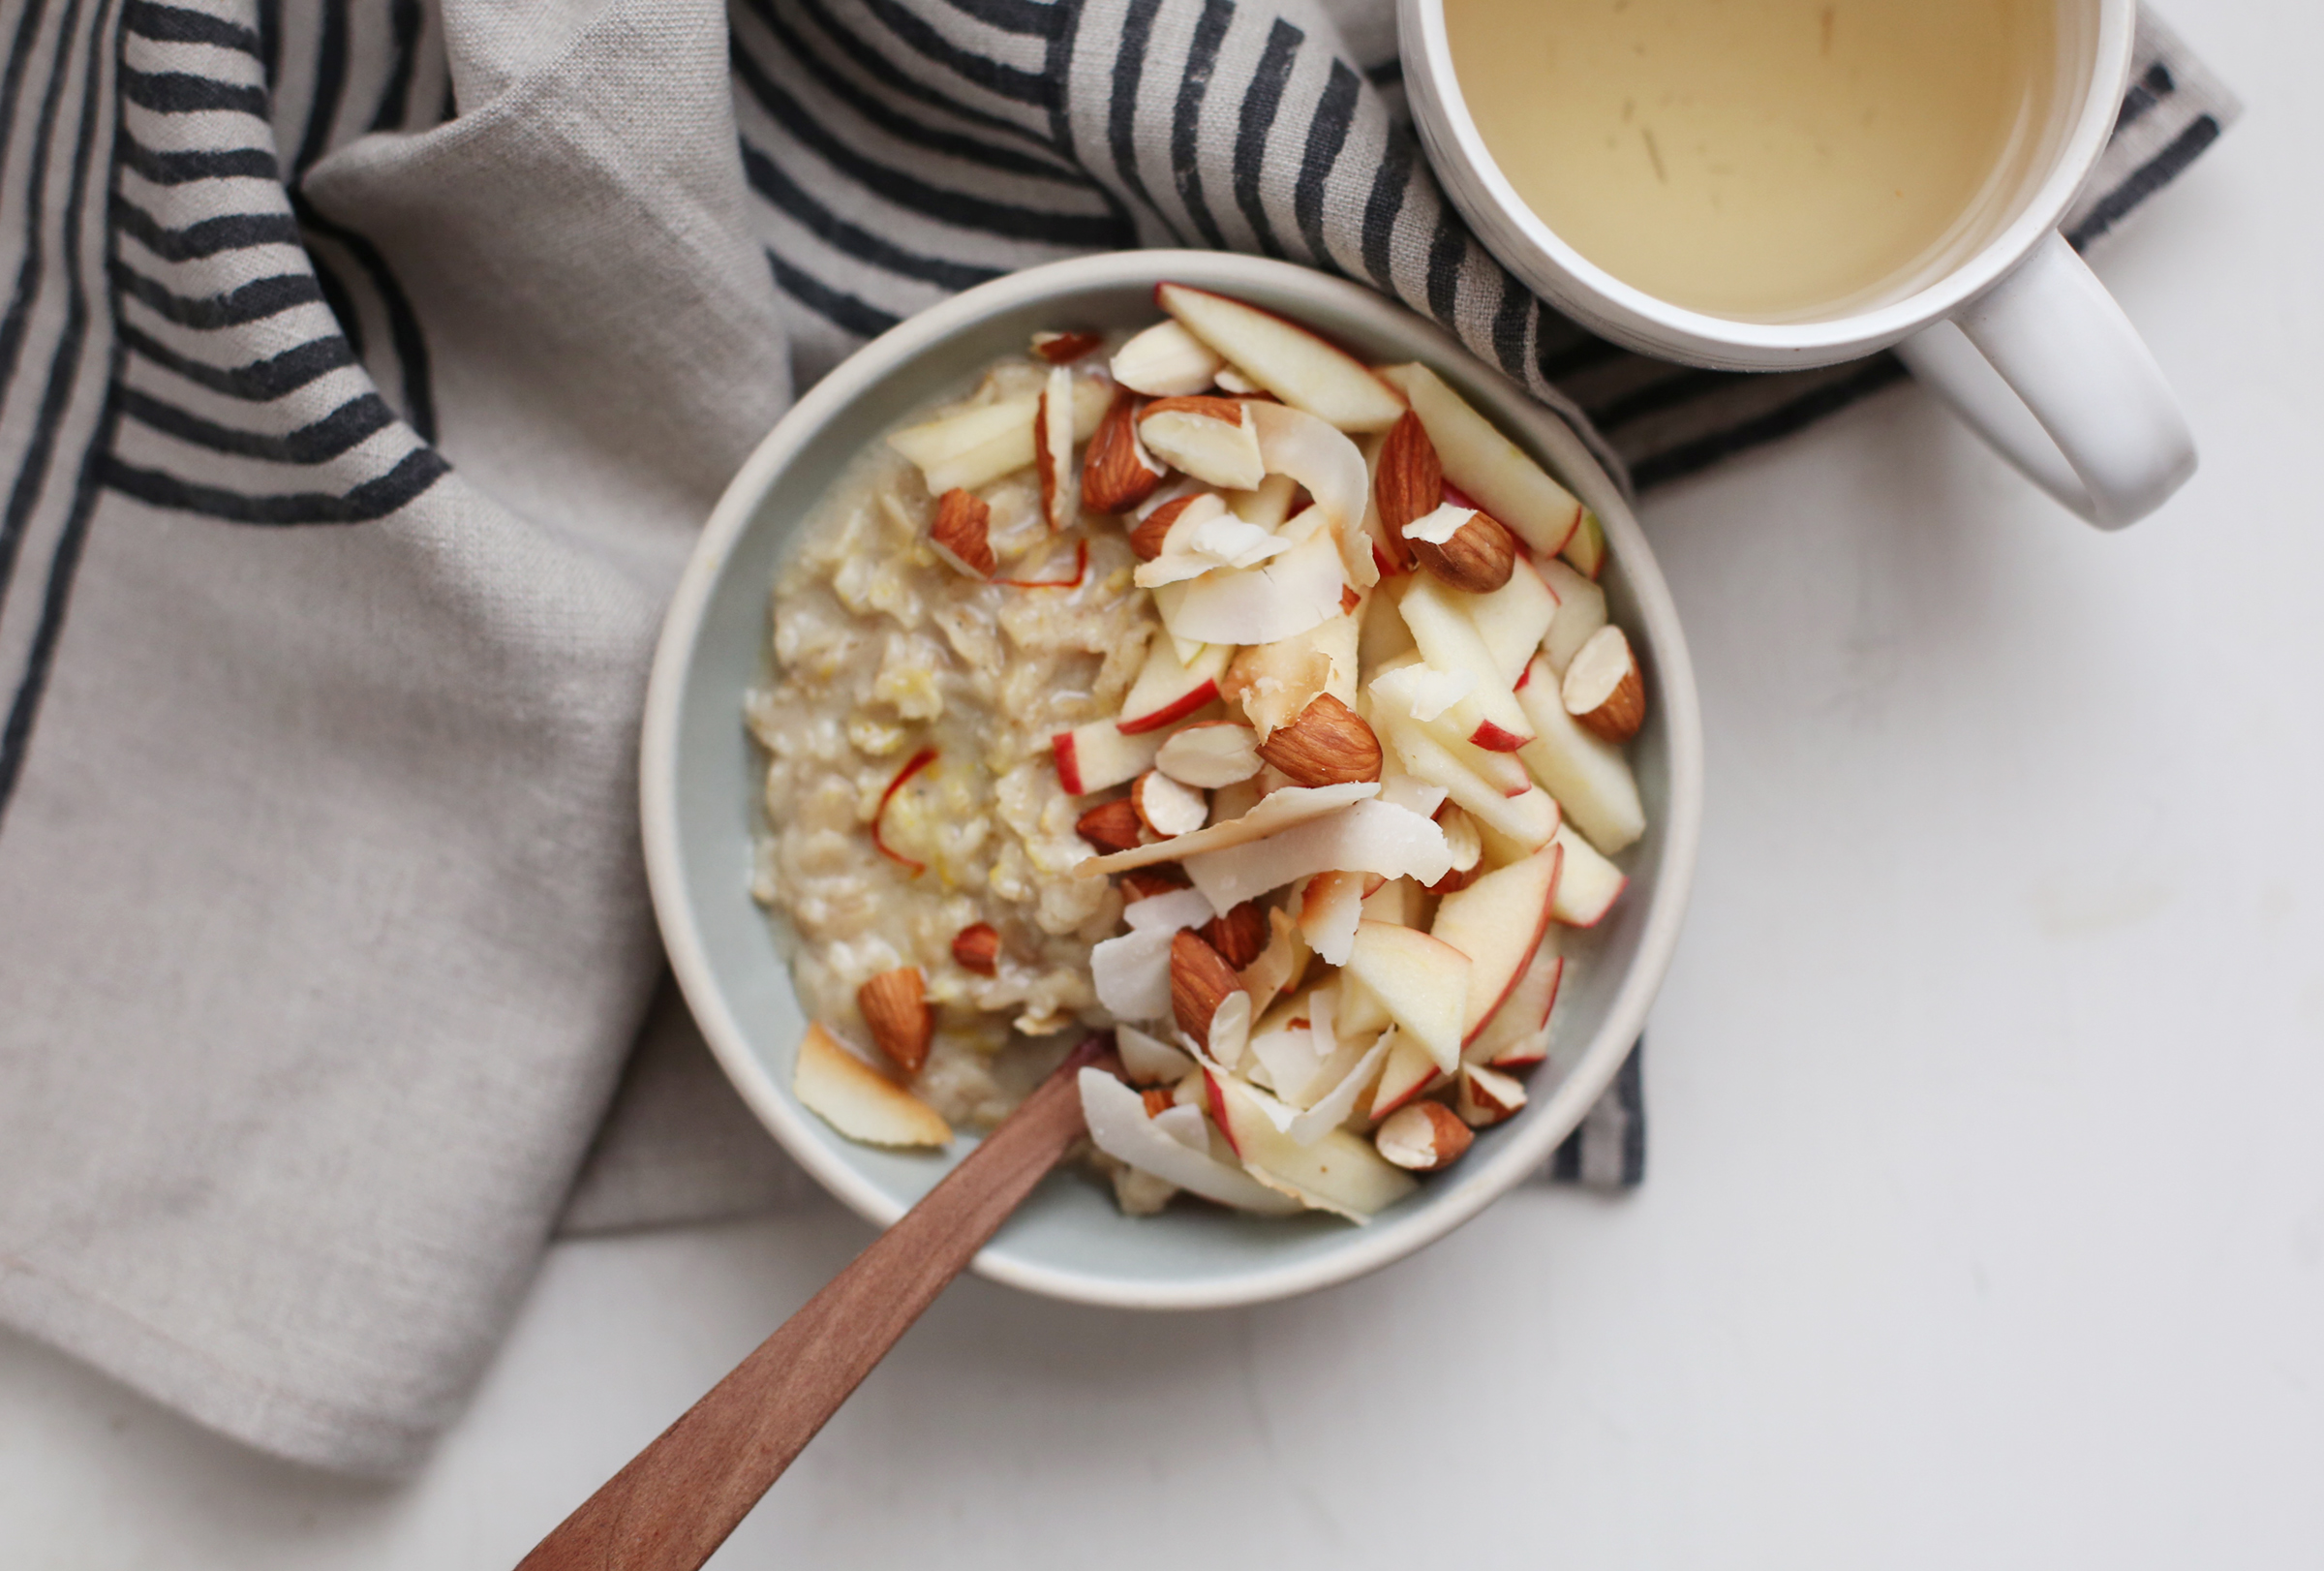
My favorite reason for eating oats this way? The absolutely gorgeous, almost royal flavor. This breakfast takes about 10 minutes to make but tastes so fancy and special. It’s a decadent, comforting meal that feels like self care. Alma loved it too, and even asked for the recipe the day she got home.

So, I thought I’d share it with YU. It’s super easy if you have all the ingredients, which I know are unique and not the easiest to locate. I do think you’ll love this cereal though and the ingredients will ultimately be worth any trouble they were to find. You can search any ethnic grocery stores in your area or use the links I’ve included below to help.

Feel free to season this recipe to taste and change up the toppings if you like. Depending on what’s around (or my food mood), I’ll use Granny Smith apples, pears, and quince in this recipe along with sunflower seeds, pumpkin seeds, chia seeds, and sesame seeds, too.

Hope you’ll say “yes” to this recipe. It’s delicious, fun, may be something new for you, and is overall worth a try.

I found inspiration for these oats from traditional spices—I encourage you to research them even more.

If you’d like to learn how to make traditional recipes that use special spices and ingredients check out the following books and authors:
Zaitoun and The Saffron Tales by Yasmin Khan
Vegan Richa’s Indian Kitchen by Richa Hingle
Joon: Persian Cooking Made Simple by Najmieh Batmanglij
The Spice Merchant‘s Daughter by Christina Arokiasamy

A bit about saffron:
Saffron comes from the crocus flower, and it’s “threads” (stigma and stamen) are collected and dried to add flavor and color to a variety of dishes. Origin of saffron is believed to be Iran, Greece, or Mesopotamia.

A bit about rosewater:
Rosewater is simply a hydrosol made from steeped rose petals and water. You may have seen it used as facial spritzers or in beauty products, but its floral properties have been used since ancient times. You can find it used in Indian foods and sweets, as well as in Malaysian, Singaporean, Middle Eastern, and European foods.

A bit about cardamom:
Cardamom is an incredibly fragrant seed that originates in tropical and subtropical Asia, with first references of its use coming from Ayurvedic literature in India¹.

Ingredients:
1 ½ cups canned coconut milk (full fat)*
½ cup water
½ cup rolled oats
1–2 pinches fine-ground sea salt
1/8 teaspoon ground cardamom
Pinch of saffron threads
4–5 drops of rosewater**
1 grind of fresh-cracked black pepper (or a pinch of ground)
1 tablespoon unrefined coconut oil (optional)
2 teaspoons raw, wild-harvested honey (or any sweetener you prefer)
1 pink lady apple (or fragrant, sweet alternative pome fruit), cored and chopped
¼ cup raw, unsalted almonds, chopped
¼ cup flaked, dried coconut (or shredded)

* You can use any coconut milk or non-dairy milk you like, just know the canned makes it extra satisfying and decadent. Not to mention, it sustains you for long hikes very well.

**If you like, you can skip this, or substitute with wild willow water (I found some at Dean & Deluca and bought it b/c I didn’t even know it existed) or orange blossom water.


Let’s get started.
1. Preheat the oven to 350°F and line a baking sheet with unbleached parchment paper. Scatter almonds and roast for 5 minutes. Remove the sheet from the oven and add the coconut flakes to the sheet (keep almonds there). Return to oven and roast 2–3 more minutes. Remove from heat and set aside to cool a bit.

2. Now, bring the coconut milk, water, oats, salt, cardamom, pepper, saffron, and oil (if using) to a boil in a medium-sized saucepan.

3. Reduce the heat, and simmer uncovered, stirring occasionally, for 7–10 minutes or until most of the liquid has been absorbed. Now, turn off heat, add the rosewater and honey, and season to taste with more spice if you like. Cover and let stand for 3–5 minutes.

4. Serve in a special bowl (it makes a difference, right Alma? 😉 ) topped with apple, toasted almonds, coconut, and more coconut milk if you like. Enjoy!

And if you want to hear more about the course, Jessica Murnane from One Part Podcast and I talk all about it in her most recent pod episode with Heather Askinosie of Energy Muse. It’s a great one (we’re around the 4:30 mark)…


Footnotes:
1. Weiss, E. A. (2002). Spice Crops. CABI. p. 300. ISBN 978-0851996059.


Beeswax Wraps with a Vegan Option and a Free Beeswax Baggie Pattern

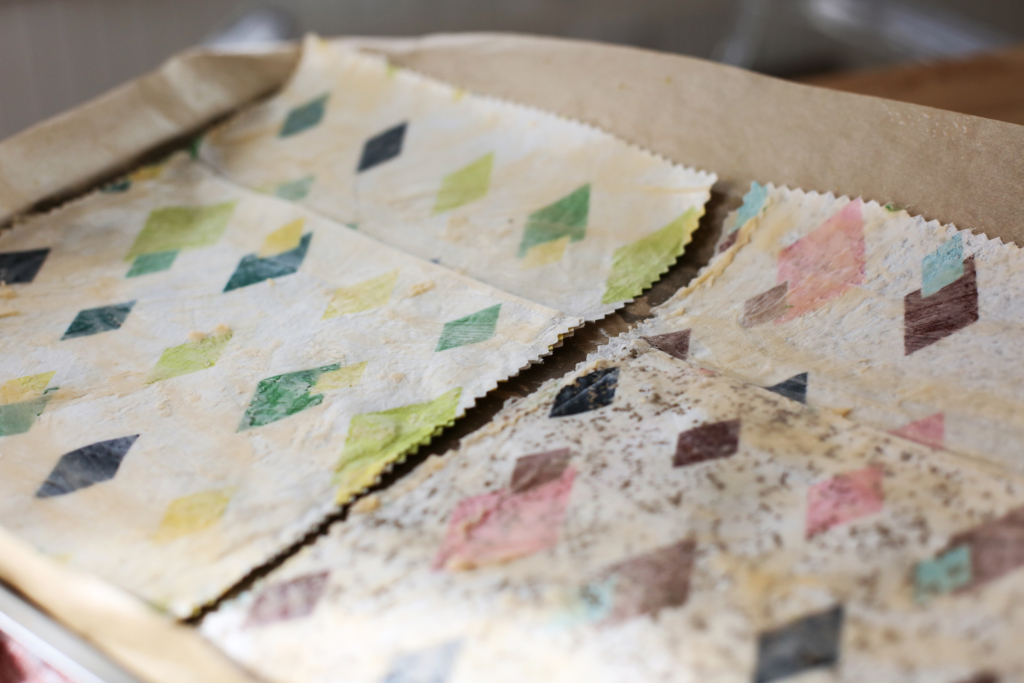
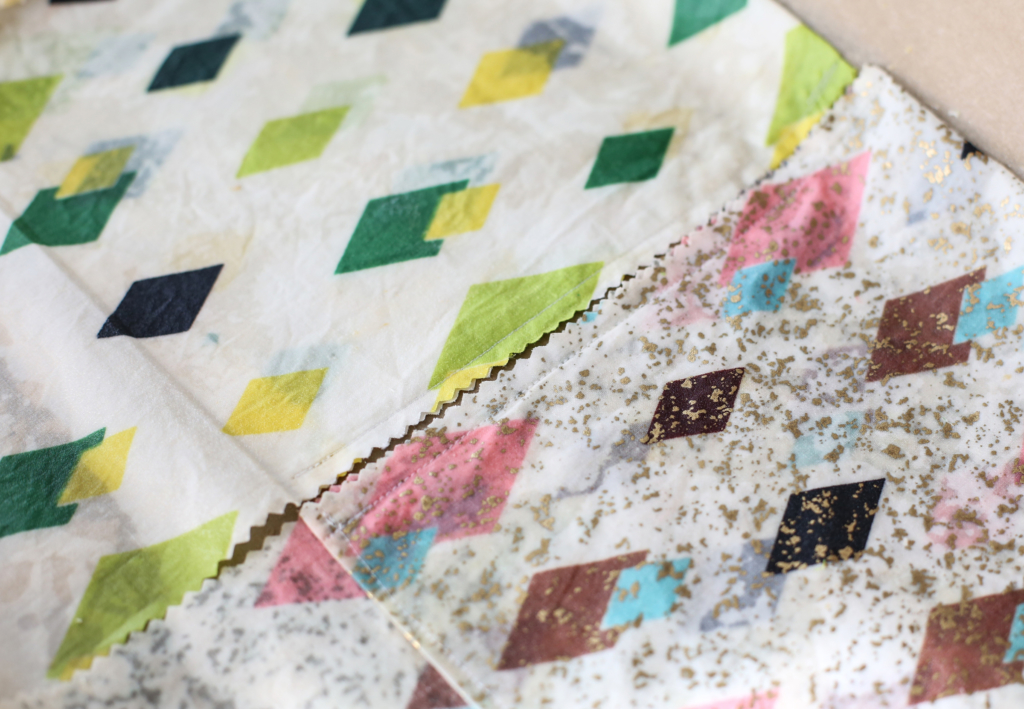
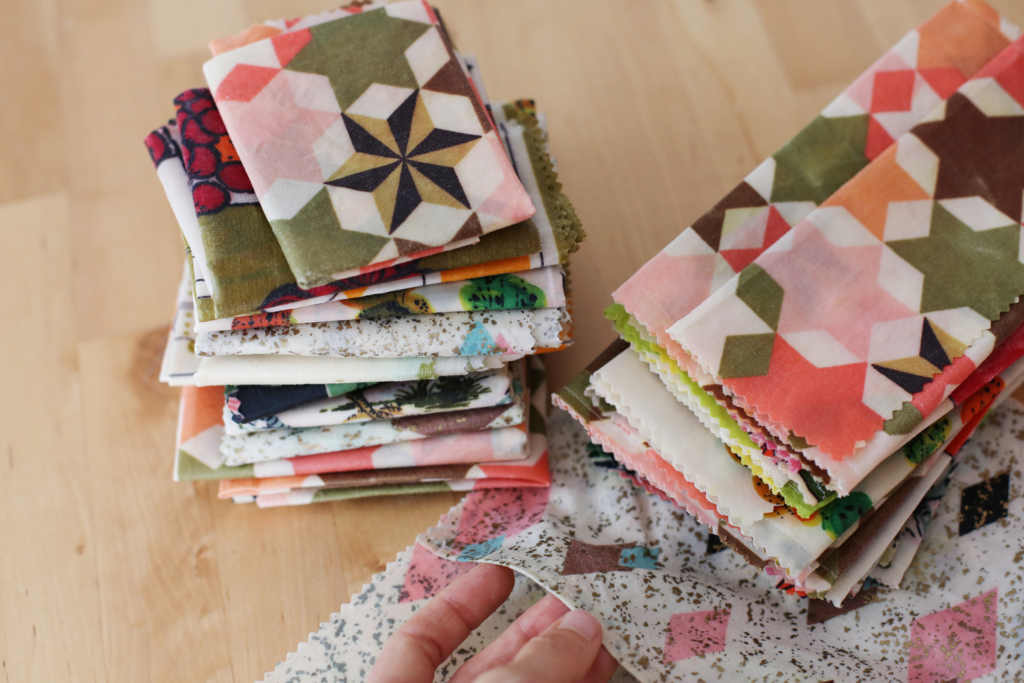
I started using beeswax wraps a while back, supplementing my small stash with a few more I picked up when I went to Australia and New Zealand a few summers ago. I haven’t needed to use plastic wrap at all for years because of them.

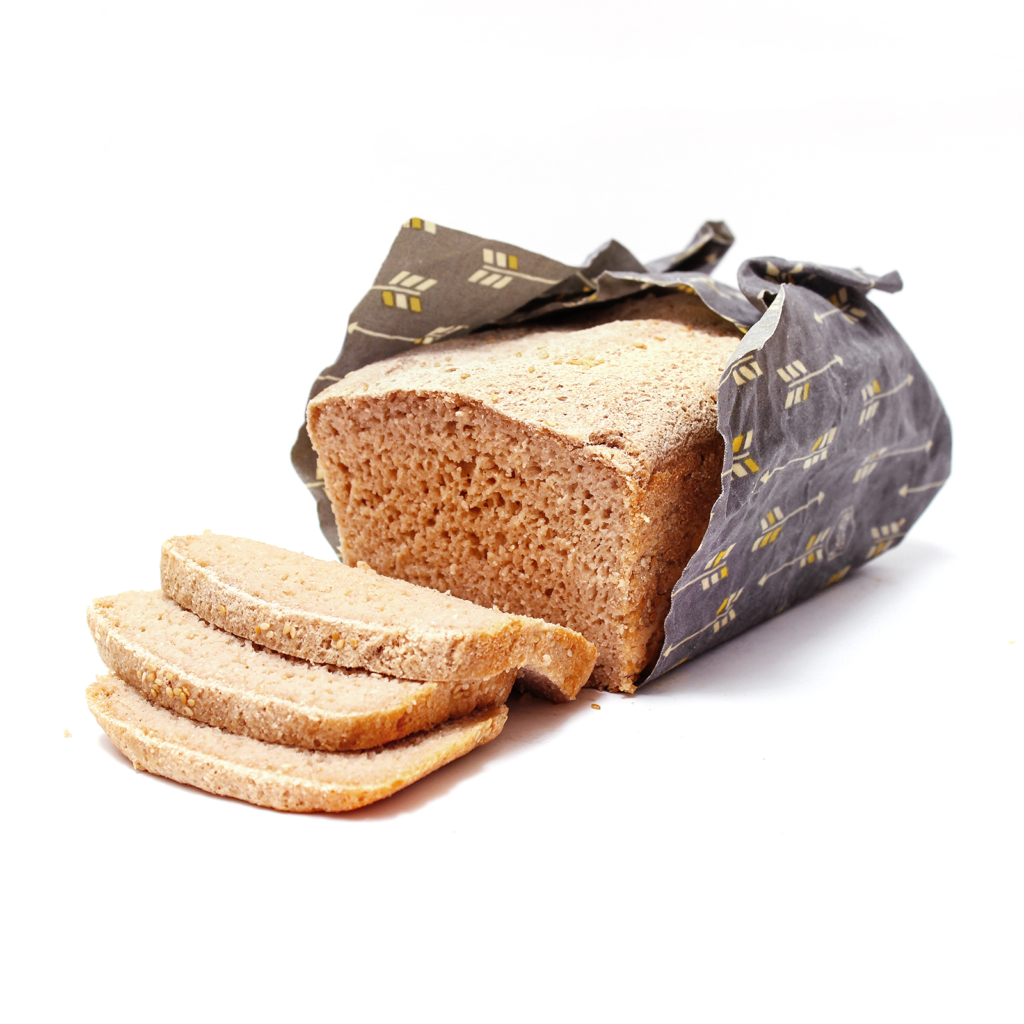
Along the way, they’ve become priceless to me for wrapping avocados (nothing preserves them better), covering cut ends of veggies, and wrapping entire loaves of my gluten-free bread. They have natural preservative power and keep foods, especially bread, fresh for weeks. What’s extra cool is that the warmth from your hands will shape them as needed (around bowls, jars, or foods).

It’s been a crazy month for my family, and last week I was overcome with a desperate need to purge and simplify. Everything. I ran around the house putting all the “extra stuff” in boxes. It had to go.

I packed up the majority of the books I’ve been taking from house to house over the years and donated them to the big book sale in my town. I then filled two black trash bags full of shoes and clothes to donate. I pulled a ton of props (bowls, teacups, a fondue pot) out of cabinets and gave a few to friends, and have the rest on a table (I had second thoughts). With each “goodbye” I felt lighter and more in control.

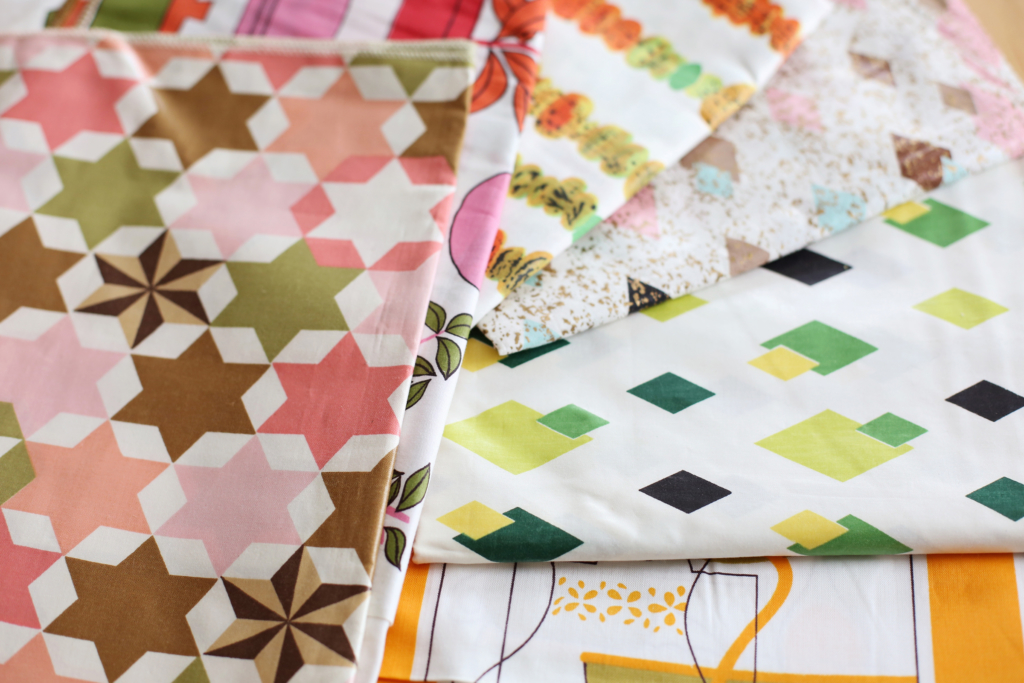
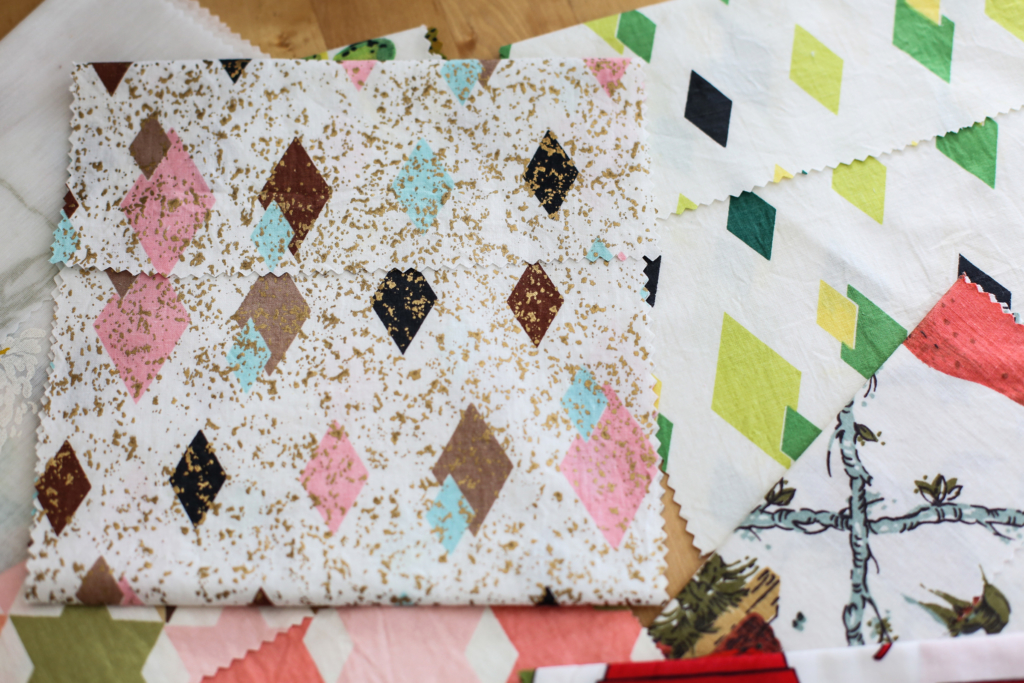
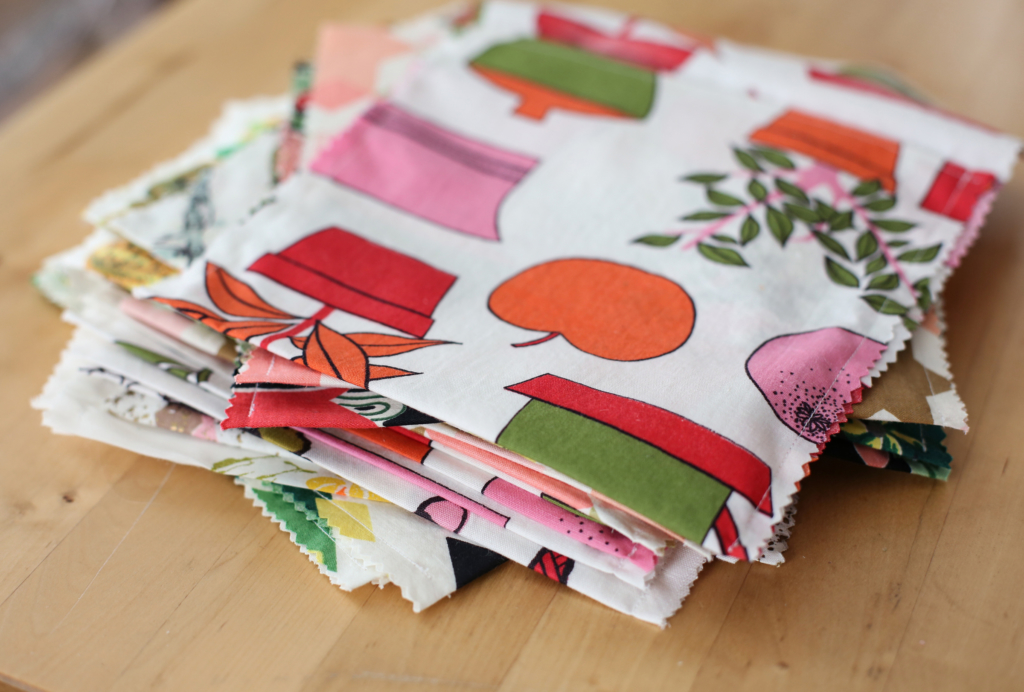
I’m a crafty person who likes to make things with her hands—everything from whale stuffies to chocolate chip cookies. In my kitchen purge, when I landed on the drawer filled with well-loved beeswax wraps, I remembered the crafting toolboxes. I have one giant yellow toolbox labeled “paints,” one labeled “tools,” one labeled “fabric”—I’ve had them since college and it’s how I keep all the crafts organized. I went straight to the “fabric” box and found a huge pile of vintage fabric that I’ve had for at least 15 years. I was always waiting to do something with it.

Some patterns are ugly-pretty, some are just cool, but I was going to give them all life instead of leaving them to be forgotten in a box.

I researched all the techniques for making beeswax wraps, and experimented with my own for two days. I’m happy with the results, the options I can share with you, and even more happy that this fabric doesn’t have to be sad and alone in a box anymore. 🙂

If you’ve signed up for the my gluten-free bread baking course these babies will store all your creations better than anything (if you haven’t signed up for the GFBA Bread Baking course yet you should!).

These beeswax wraps make great gifts too—is it too early to plan for the holidays? I am.

There are a few ways to make these depending on your needs and patience level.

1. Beeswax only
You can make them simply with beeswax which is great for beginners or people who don’t want any extra fuss. They’re simple, versatile, and pliable, but they won’t have as much tackiness as if you made them with the pine resin and beeswax combination explained below.

If you’re a bee-product-free vegan, you can substitute beeswax for candelilla wax. While it works well on it’s own, I think it’s best with the pine resin (see below).

2. Beeswax & pine resin:
Pine resin (aka pine rosin, colophony, or Greek pitch) is pine tree sap. It’s tricky to find in stores, but it can be found online (I used this). Make sure you find a clean, organic, food-grade supplier.

Resin make things tacky and self adhere, which is great when you need to wrap the unused end of a winter squash or sweet potato. Pine resin is fragrant, like the woods—it shouldn’t impart flavor on your food, but if you’re highly sensitive to smell, go plain beeswax. If you’re trying to break a cling wrap habit, a combo of beeswax and pine resin will give you that clinginess you’re used to. You’ll also add some sesame oil to the mix to add pliability.

Sizes:
You can make a variety of sizes: small (7–8″ square) for avocados, apples, or citrus; medium (10–11″ square) for sandwiches or chopped veggies like celery; or large (14–16″ square) for loaves of bread and covering mixing bowls. You know your kitchen habits best, so just make them large enough to fully enclose the food you intend to use it for.

Beeswax Baggies!
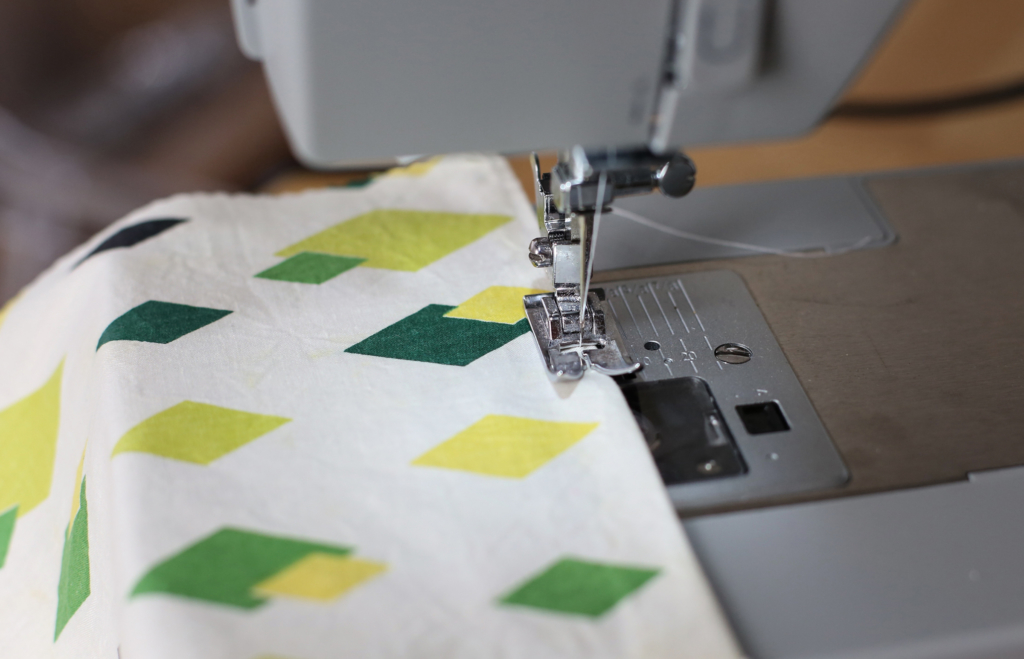
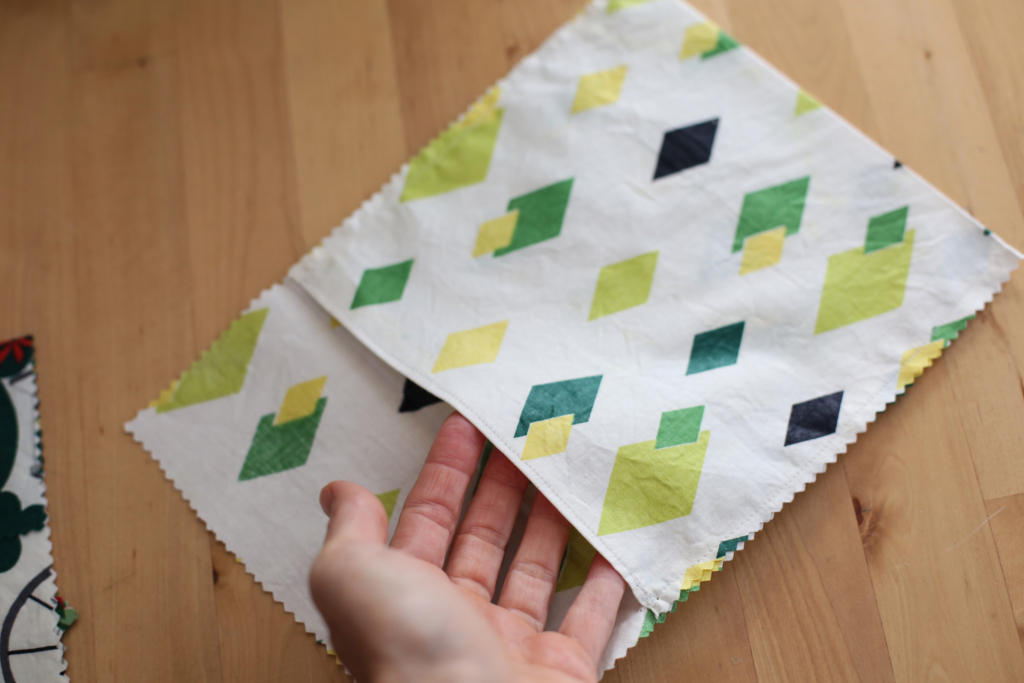
I also cut and simple-sewed some beeswax sandwich baggies (aka avocado bags) that can be used for everything from Chickpea Salad Sammies to half a lemon.

If you’d like the pattern and steps, you can download here or by clicking on the cover below.

Choosing fabric:
• You’ll want to find some lightweight, tightly woven cotton, organic if you can. I used some fabric that had a very small amount (5–10%) of stretch and synthetic fibers in it (to see if it would still absorb the mixture) and it worked ok. I would definitely recommend that cotton fabric works the best though.

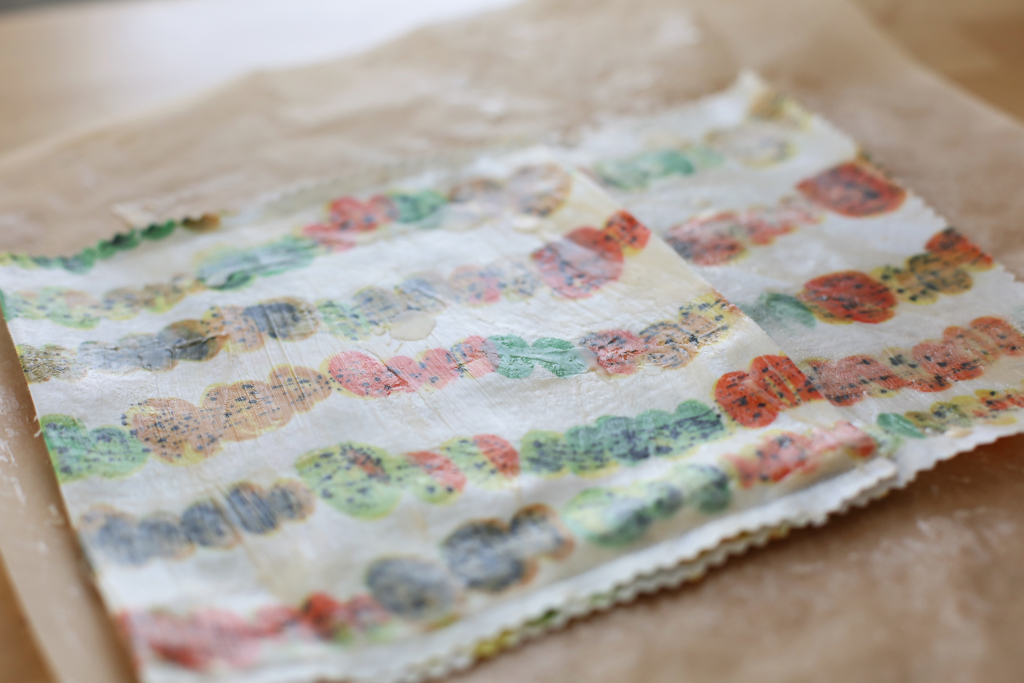
• Dark fabric with patterns masks any drip marks or imperfections very well. White fabric will darken with a yellowish hue once saturated with the wax mixture. Choose to suit your taste.

Makes enough for 6–8 large swatches of fabric

Ingredients:
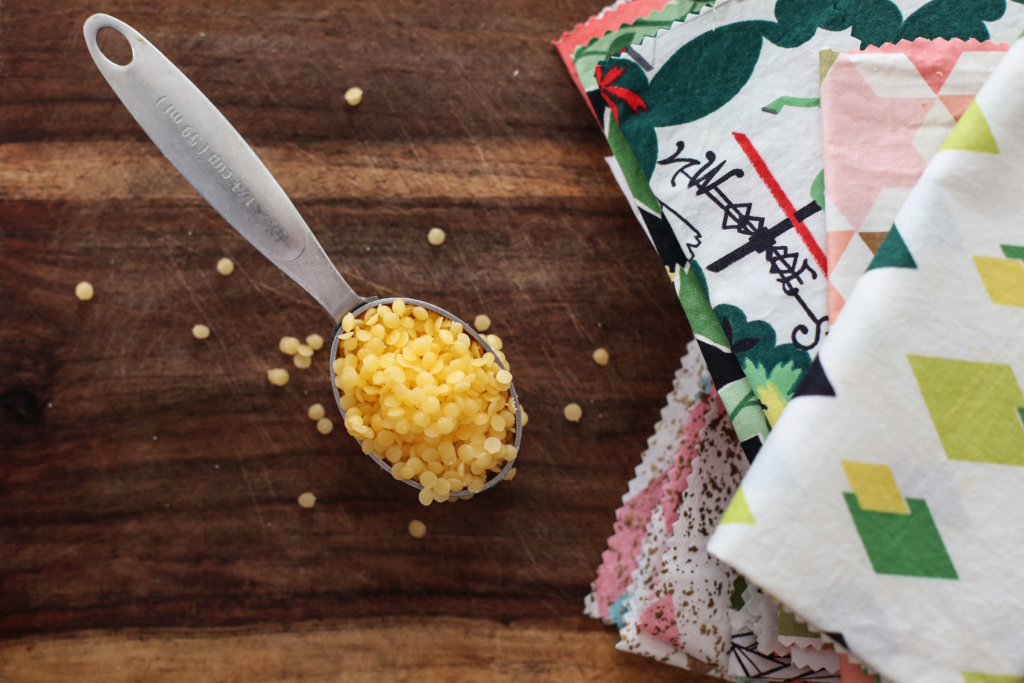
1 cup beeswax (chunked or pastilles)*
2 tablespoons tree resin
1 tablespoon sesame oil

*Bee-free vegans can sub equal amounts of candelilla wax

Tools:
“Optional” tools will be needed for the beeswax/pine resin combo
Unbleached parchment paper
Large baking sheet
Steel wool for cleanup
Drying rack or old hangers or clothespins and a clothesline
Butterknife, paint stirrer, or scraper (optional)*
Tongs (optional)
A 1–2″-wide paintbrush that will be ruined, or silicone pastry brush (optional)
An old pot you don’t mind getting wax on (optional)
A large, glass canning jar you don’t mind getting wax on (optional)

*Easiest to clean with a steel wool.

Let’s get started.
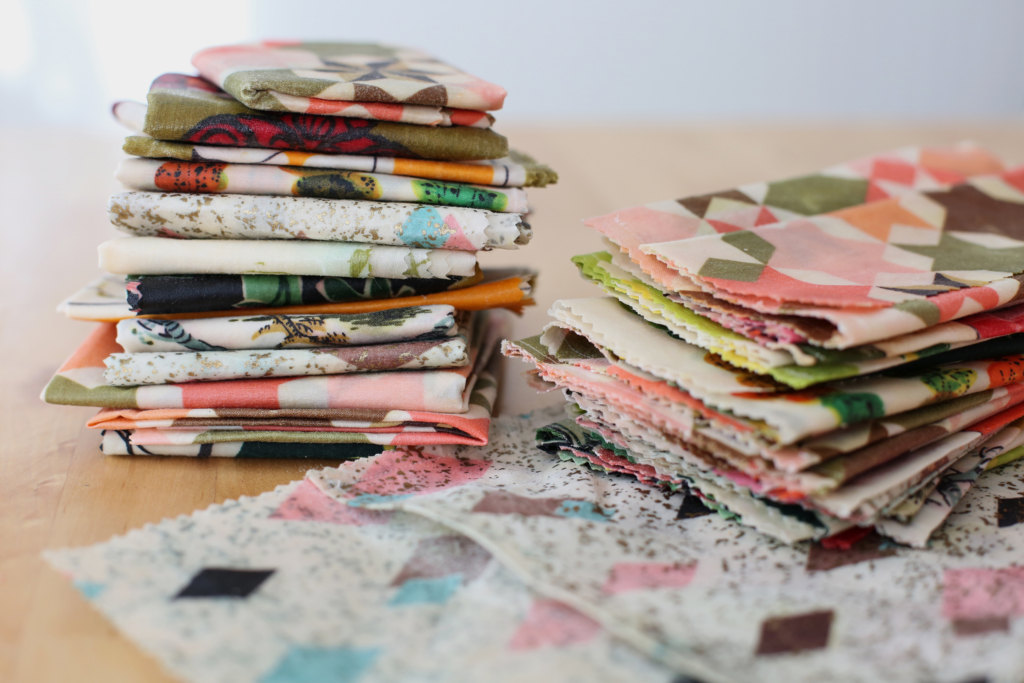
Cut fabric pieces to the sizes you need. I used pinking shears stave away fraying, and for decorative appeal (the pinking shears effect works so well with vintage fabric)—I don’t think they are a must since the wax will hold edges together. So if you have ’em, use ’em. If not, no worries. Straight shears will be a-ok.

If you want to make the baggies click here for the pattern and sew them up.

Now, line a large baking sheet with an oversized piece of parchment paper and preheat the oven to 300°F.

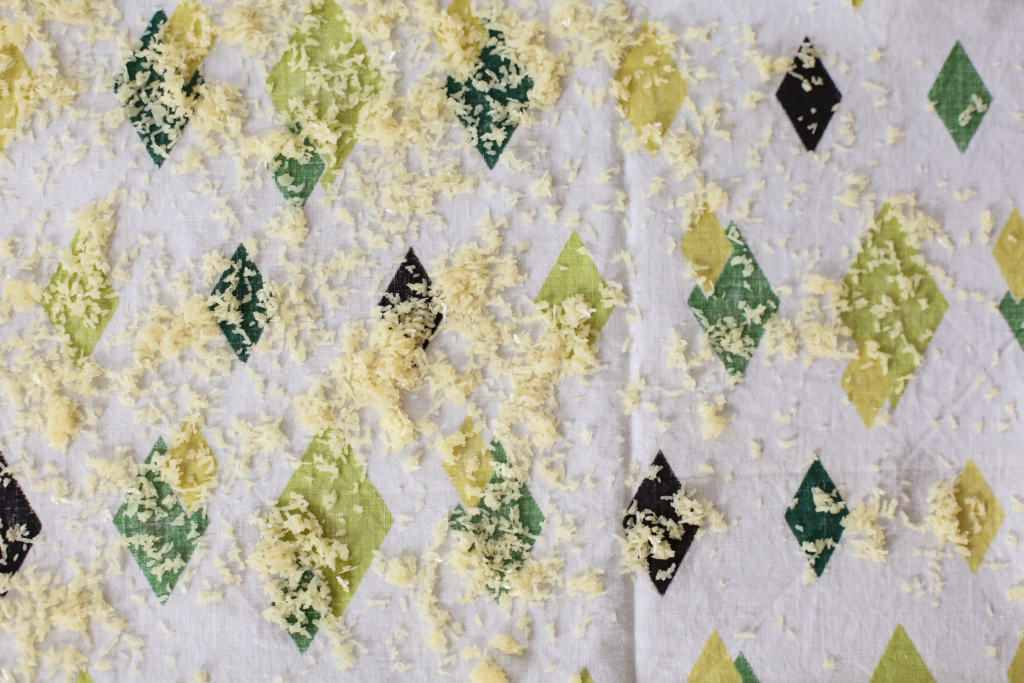
If you’re using beeswax only, you can simply sprinkle the pellets (or candelilla) onto one side of your fabric. Don’t overdo it, you want just enough wax to infuse the fabric, not soak it. Start with less and add more if needed, but know that too much wax will flake off and create discoloration when infused fabric cools.

Lay onto parchment-lined baking sheet and place in oven for 5 minutes for wax to infuse into fabric.

Remove from oven and check for any dry spots. If you see some, sprinkle with a little wax and pop back in the oven for a few minutes.

Once removed quickly lift up the fabric (there shouldn’t be any wax dripping off. If you overdid it, use a bench scraper to scrape off excess wax and try less next time.

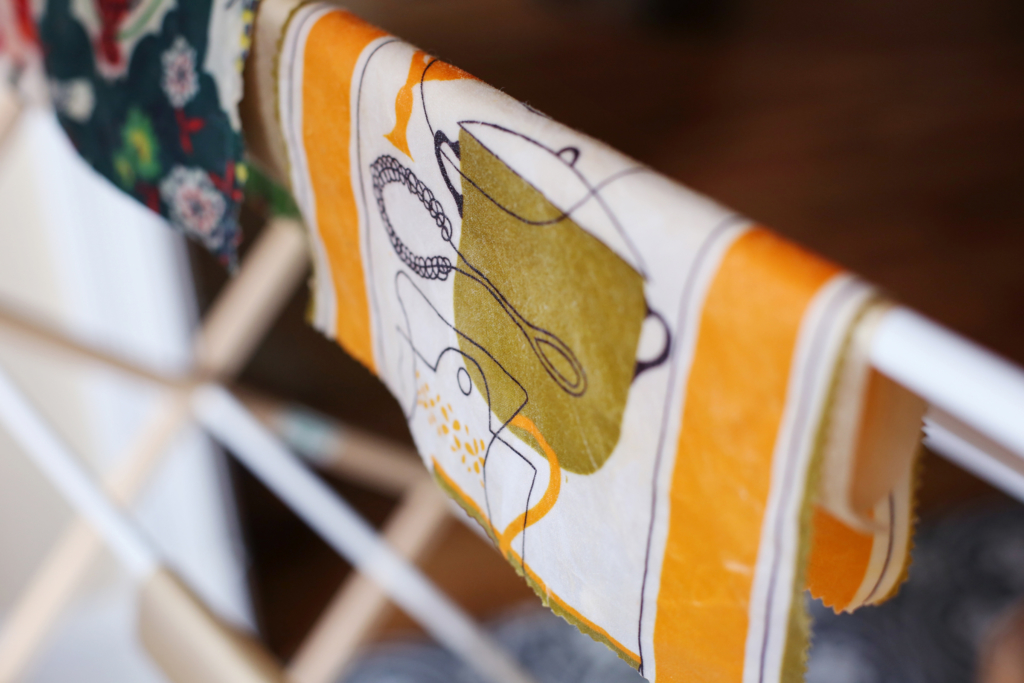
Either way, lay infused fabric on a drying rack (be sure to protect the rungs by covering with parchment if you use it for regular clothing).

They cool in a few minutes. Once cool, fold and use as needed.

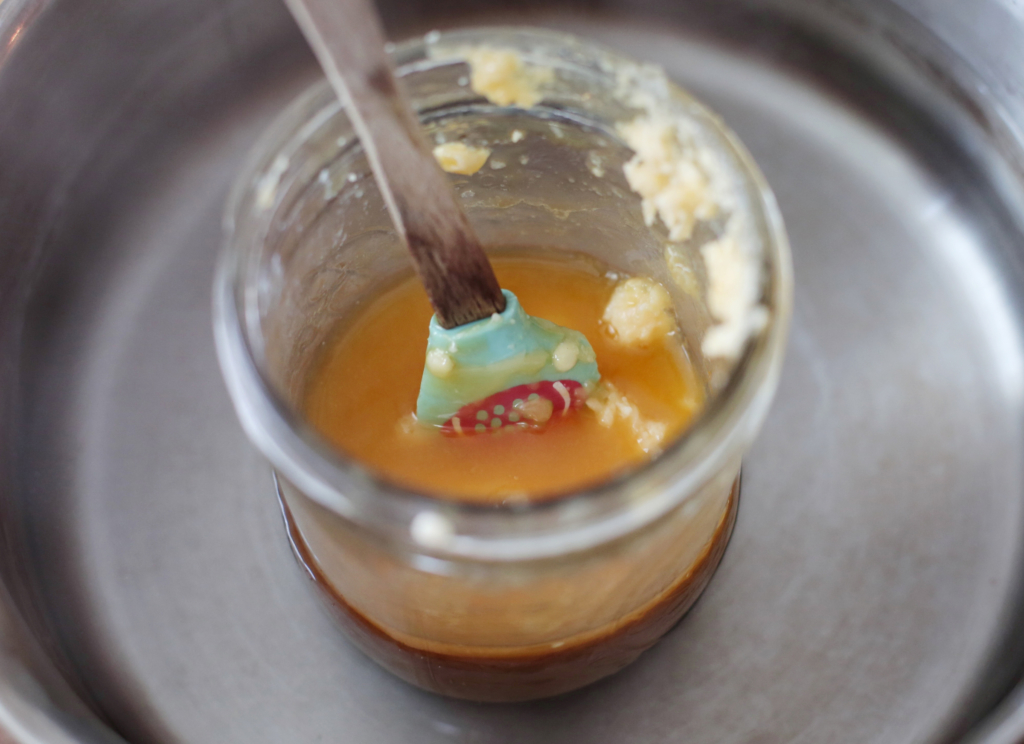
If you’re using the beeswax, sesame oil, and tree resin combo, warm all ingredients in a mason jar submerged in a pot of water—warm over medium-low. Don’t overheat the jar bath or resin can burn in bottom of jar. Stir contents with the butterknife or stirrer until completely liquified using tongs to help stabilize the hot jar.

Now, you can either use a paintbrush to quickly paint a thin layer of wax on one side of the fabric…

(the wax dries quickly)

… or save the paintbrush and drizzle the mixture over the fabric instead.

Again, a little goes a long way and once in the oven the wax mixture spreads through the fibers in all directions.

See… Waxed:

And warmed in oven for 5 minutes:

Note: after I painted mixture on a bunch of fabric, I opted for the drizzle method—it was less messy and worked just as well.

Ok. Remove infused fabric from the oven and check for any dry spots. If you see some, sprinkle or paint with a little wax/resin mixture and pop back in the oven for a few minutes.

Once removed quickly lift up the fabric (there shouldn’t be any wax dripping off. If you overdid it, use a bench scraper to scrape off excess wax and try less next time.

Either way, lay infused fabric on a drying rack (be sure to protect the rungs by covering with parchment if you use it for regular clothing).

They cool in a few minutes. Once cool, fold and use as needed.

Cleanup:
Pine resin is sticky stuff. Sesame oil will help remove it from fingers and tools. I coated my hands and pots, and stirrers with sesame oil, then scrubbed, then washed with soap to clean everything up. Bonus is it’s a great moisturizer.

Taking care of your beeswax wraps:
• You CAN rewax them when needed using these steps, usually after 4–6 months of use
• These are not the best with wet foods or animal products
• Wash with lukewarm water and a gentle soap. If water is too hot it can pull wax and resin from the cloth shortening their life

I now have enough beeswax wraps to last me for a few years, and plenty to gift for the holidays, too. Maybe I’ll even give some to GFBA students who will be making gluten-free sandwich bread verrrry soon. Decisions, decisions.

At least my fabric toolbox is a little lighter. 😉

Now I want to hear from YU. Have you used beeswax wraps before? Tell us with a comment below.

(Not)Coffee Mushroom Coffee Alternative

I’m one of those people who never got into the coffee habit. On a roadtrip I’ll have one, if I’m traveling somewhere special I’ll have one (or 50 of them—I’m looking at you, Melbourne), and if it’s in ice cream, yes please. But coffee isn’t something I have to have to start my day. You won’t see me in a t-shirt that says “don’t talk to me until I’ve had my coffee.”

Some of you may know that I have some fun coffee alternatives on the site for you, and I do love me some roasted dandelion root tea. There is something lovely about the ritual of making a decadent hot beverage for yourself in the morning though, or as a nightcap, or as a treat in the middle of a long work day.

For this reason, I have put all of my favorites into a mix for a coffee-like powerhouse of a drink, and I’m hooked. Go ahead and play with the mixture to suit your tastes/needs, you can leave out certain ingredients, or add more. You can add cinnamon, cardamom, dried, powdered orange zest, maybe some cayenne. I tend to keep the batch basic and change up each mug I make with those goodies. Pantry-to-plate it, customize, and have fun.

Now, you will need a spice/coffee grinder to powder certain ingredients unless you can find them already powdered. If you don’t have one, borrow one from a friend, co-worker, or neighbor and thank them with some (Not)Coffee. 🙂

This makes enough for months. I’ve been working on this giant container for 6+ months…

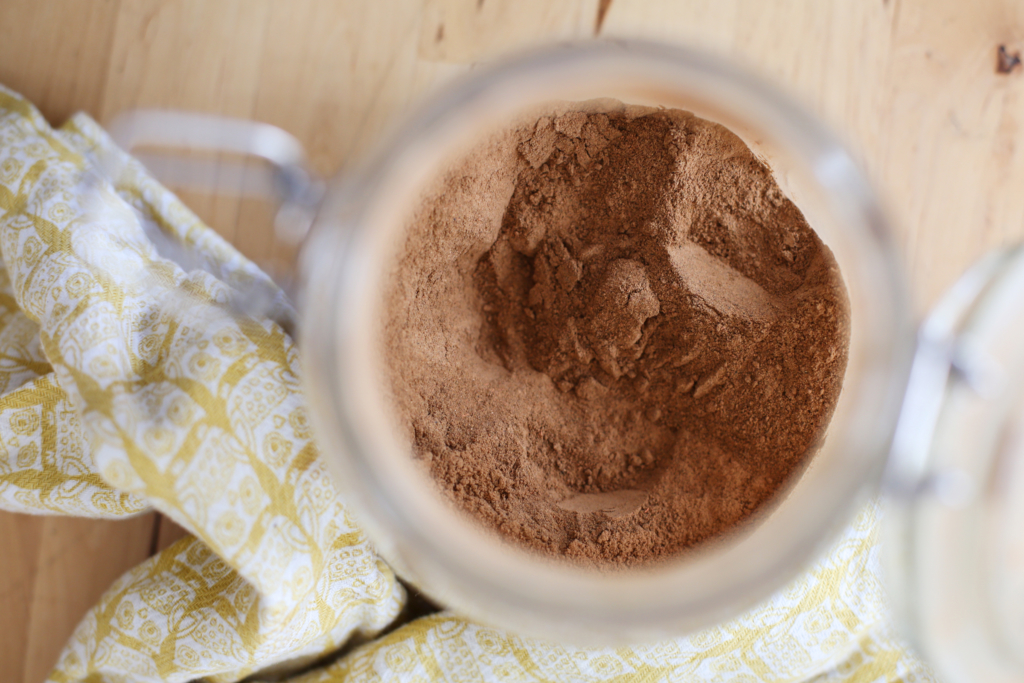
… so store it in a cool, dark pantry or fridge for optimal freshness. (Not)Coffee is great to have around for non-coffee drinkers and coffee drinkers who are looking for coffee alternatives, trying to cut down, or kick a coffee habit. One teaspoon goes a long way.

Just look at this richness. Not. Coffee.

Ingredients:
Note that amounts are for the ground, “powdered in a coffee/spice grinder” amount. Many of these ingredients are optional, but they make a mighty magical cup of goodness.

(Not)Coffee
1/2 cup roasted chicory root granules, powdered
3/4 cup maca root powder
1/2 cup raw cacao powder (to taste)
2 tablespoons–1/4 cup roasted chaga (optional, I use this one)
1 tablespoon reishi mushroom powder (optional)
1/4 cup lion’s mane mushroom powder (optional)
1/4 cup lucuma powder (optional)
1/4 cup mesquite powder (optional)
1/4 cup lucuma powder (optional)
1/4 teaspoon powdered stevia to taste (optional)

Optional Coconut-Macadamia Latte Foam
I make a batch of this creamy goodness for my (Not)Coffee. I store extra in the fridge and just re-blend to get some foaminess when I have another cup.
1 can full-fat coconut milk
1/4 cup water
1/4 cup macadamia nuts
1 Medjool date, pitted (here’s how)
Pinch fine-ground sea salt
1/2 teaspoon vanilla extract (optional)

Let’s get started.
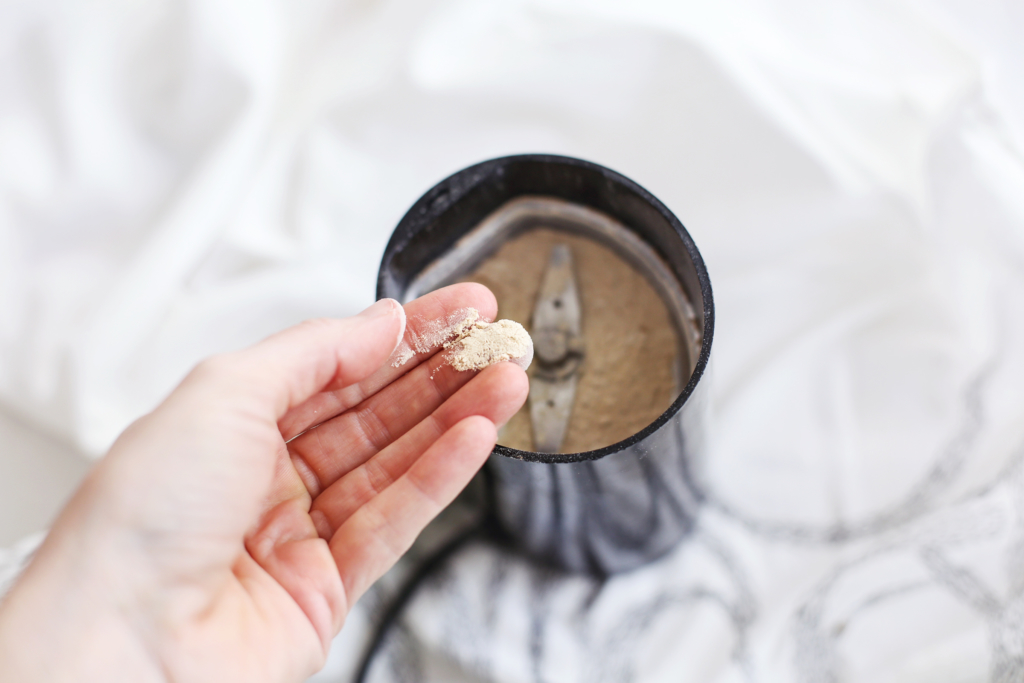
1. Powder any ingredients in a spice/coffee grinder that aren’t yet.

2. Whisk it all together until uniformly mixed.

3. If making a mug now, boil 1–2 cups water and if you like, blend together the Coconut-Macadamia Latte Foam ingredients until creamy and frothy.

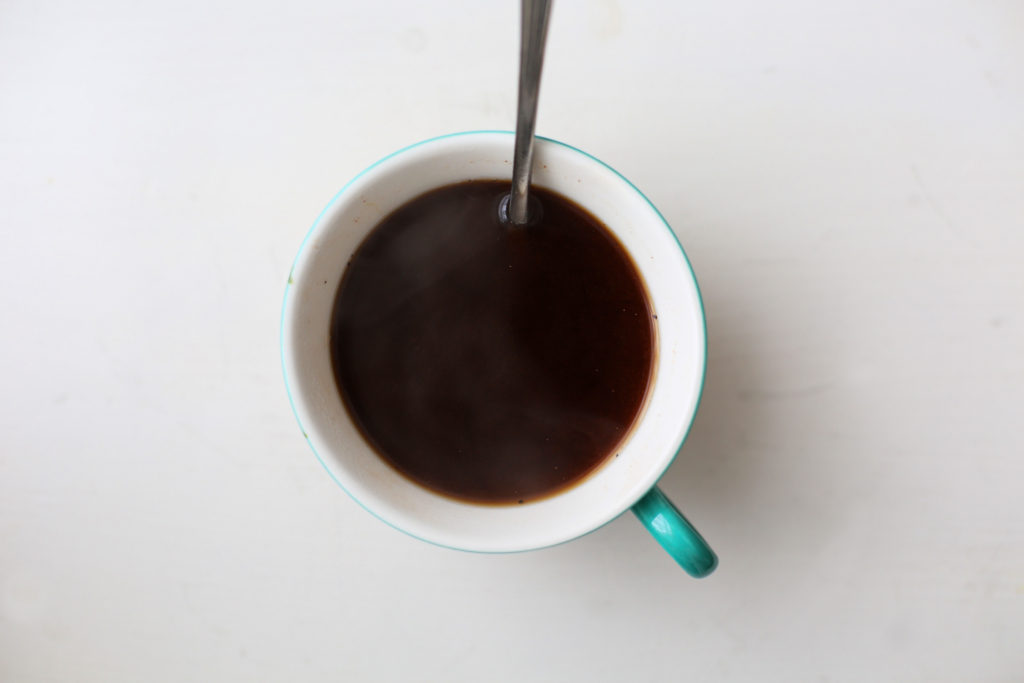
4. Add 1 teaspoon of your (Not)Coffee mix into a mug and add boiling water.

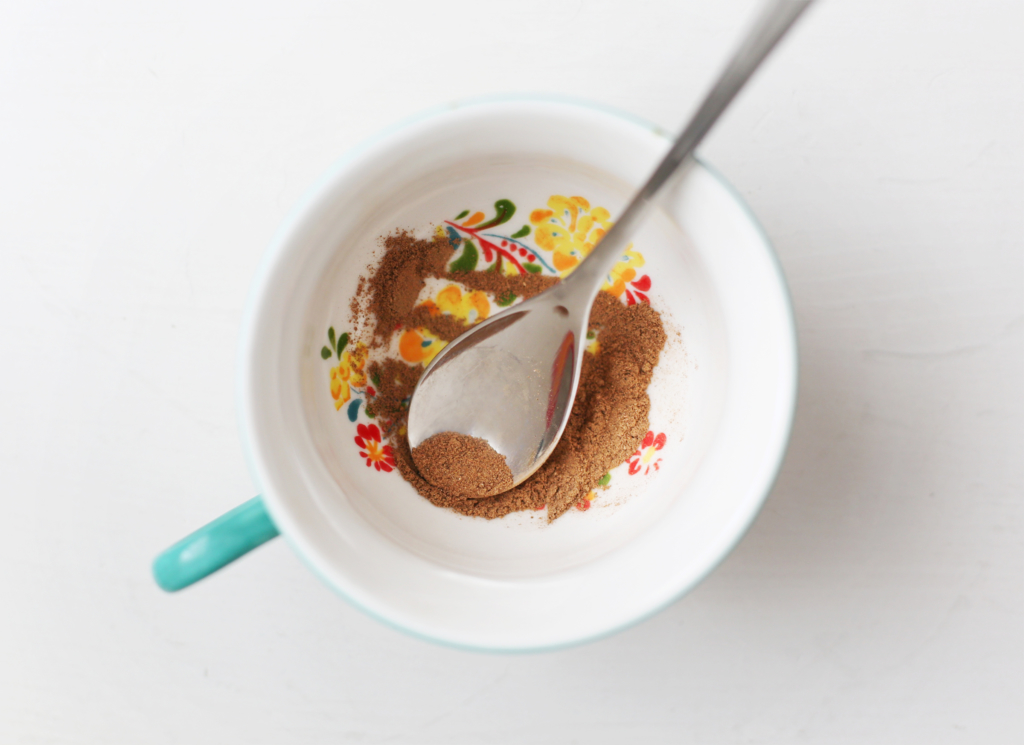
Stir until well mixed, top with foam if you like, and maybe a dash of cinnamon and cardamom for good measure.

Enjoy!

5. Store in an airtight glass jar in the fridge or a cool pantry.


Here are a few highlights about the ingredients.

Chicory root: supports digestion—is a prebiotic (aka food for beneficial bacteria), and also supports the liver, metabolism of fats, and is known to reduce inflammation

Dandelion root tea: a natural diuretic, helps your liver eliminate toxins

Maca root: an adaptogen—which means it goes in to help where your body needs it—known to help balance hormones

Cacao: loaded with antioxidants

Reishi: best in small amounts in your coffee mix as it’s bitter, which is great because it adds some coffee-like bitterness, but too much can be intense in a bad way. Some studies suggest that reishi can combat tumor growth, balance blood pressure and boost immune function

Mesquite powder: not the chips for BBQing, mesquite powder is an amino-acid rich pod that lends a slightly sweet, caramel note to (Not)Coffee

Lucuma: deep, rich flavor like a sweet potato or caramel, nutritious Peruvian fruit known to support healthy skin and digestion

Chaga: Like reishi, best in small amounts in your coffee mix as it’s bitter, but it’s an immunity booster like no other

Lion’s Mane Mushroom: nerve support and mental clarity—I grow my own, dehydrate it and grind for (Not)Coffee


Now I want to hear from YU. Are you a coffee drinker? What do you think of this recipe? Tell us wth a comment below.


Smoked Paprika Almonds

When I was a kiddo—the eldest of many grandchildren and naturally the leader of all things adventure and trouble—my grandfather would fire up the grill on summer days and I’m convinced it wasn’t just to char some hotdogs for us. It was to make our memories of running around barefoot in “Maud & Daud’s” yard even more layered and rich. Fresh grass, woodsmoke, chlorine smell on our soaked bathing suits… this is why I always prefer a Mezcal margarita over a silver-tequila one. And likely why I have Liquid Smoke in the fridge and smoked paprika in the spice drawer to use as much as possible. Smoky foods taste like love to me.

I miss these two so much. They were the greatest.

So this is a recipe for my grandparents—who always had bowls of M&Ms, pistachios, and snacks on every table.

It’s a quick and easy one to keep on hand for the times you want some crunch. They’re also a nice addition to a big ole mixing-bowl salad—they add an incredible depth of flavor to sweet greens or hearty kale. And I bet Daudie would have loved some with a bourbon on the rocks and a blacked hot dog.

You can also make this recipe raw with a dehydrator if you have one.

Ingredients:
2 cups raw, whole almonds
3 tablespoons raw honey (you can use any sticky sweetener you prefer)
1 tablespoon unrefined coconut oil (warmed to liquid) or grapeseed oil
1/2 teaspoon coarse or fine-ground sea salt (Chef’s choice, coarse adds more texture)
1/2 teaspoon smoked paprika
1 teaspoon fresh lime zest (optional)

Let’s get started.
1. Preheat the oven to 350°F and line a baking sheet with unbleached parchment paper.

2. In a large bowl, stir together all ingredients until almonds are thoroughly coated.

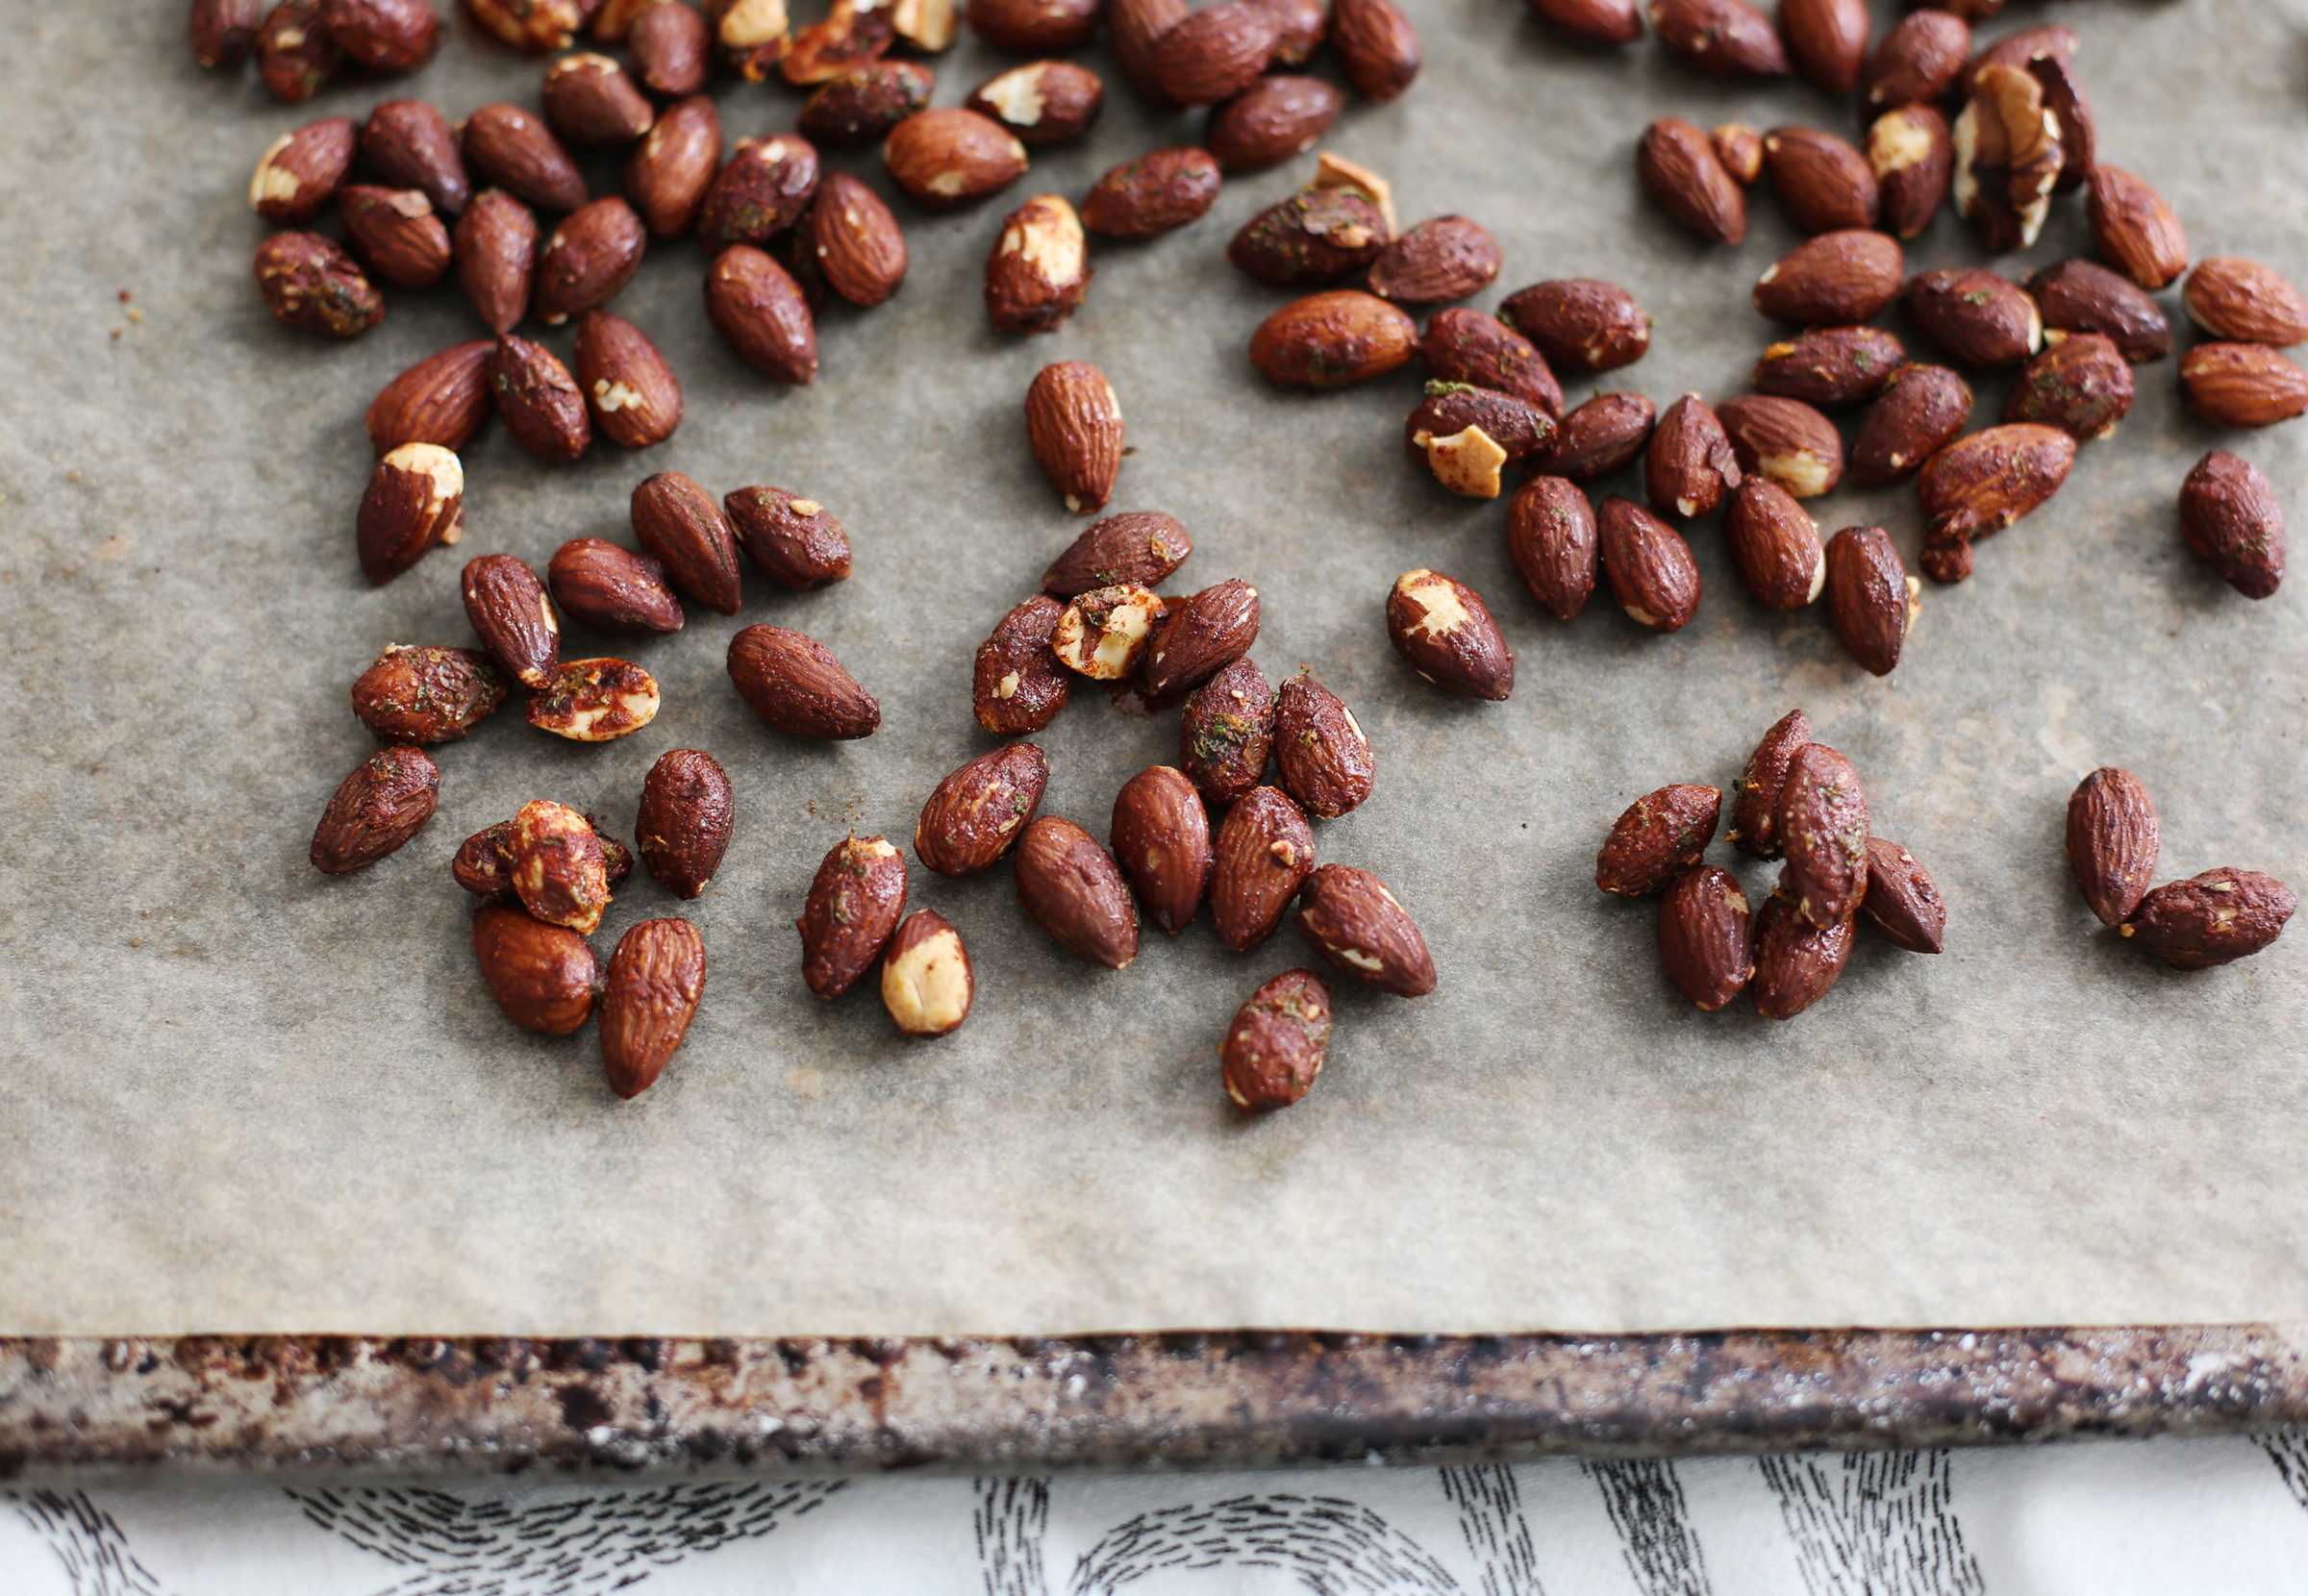
3. Scatter almonds 1-almond deep on the baking sheet and roast for 8–12 minutes until browned. Remove from oven and allow to cool thoroughly—honey will harden as the almonds cool.

4. Enjoy!

Now, I want to hear from YU. What are some of the foods you love thanks to childhood memories? What do you think of this recipe? Tell us with a comment below.


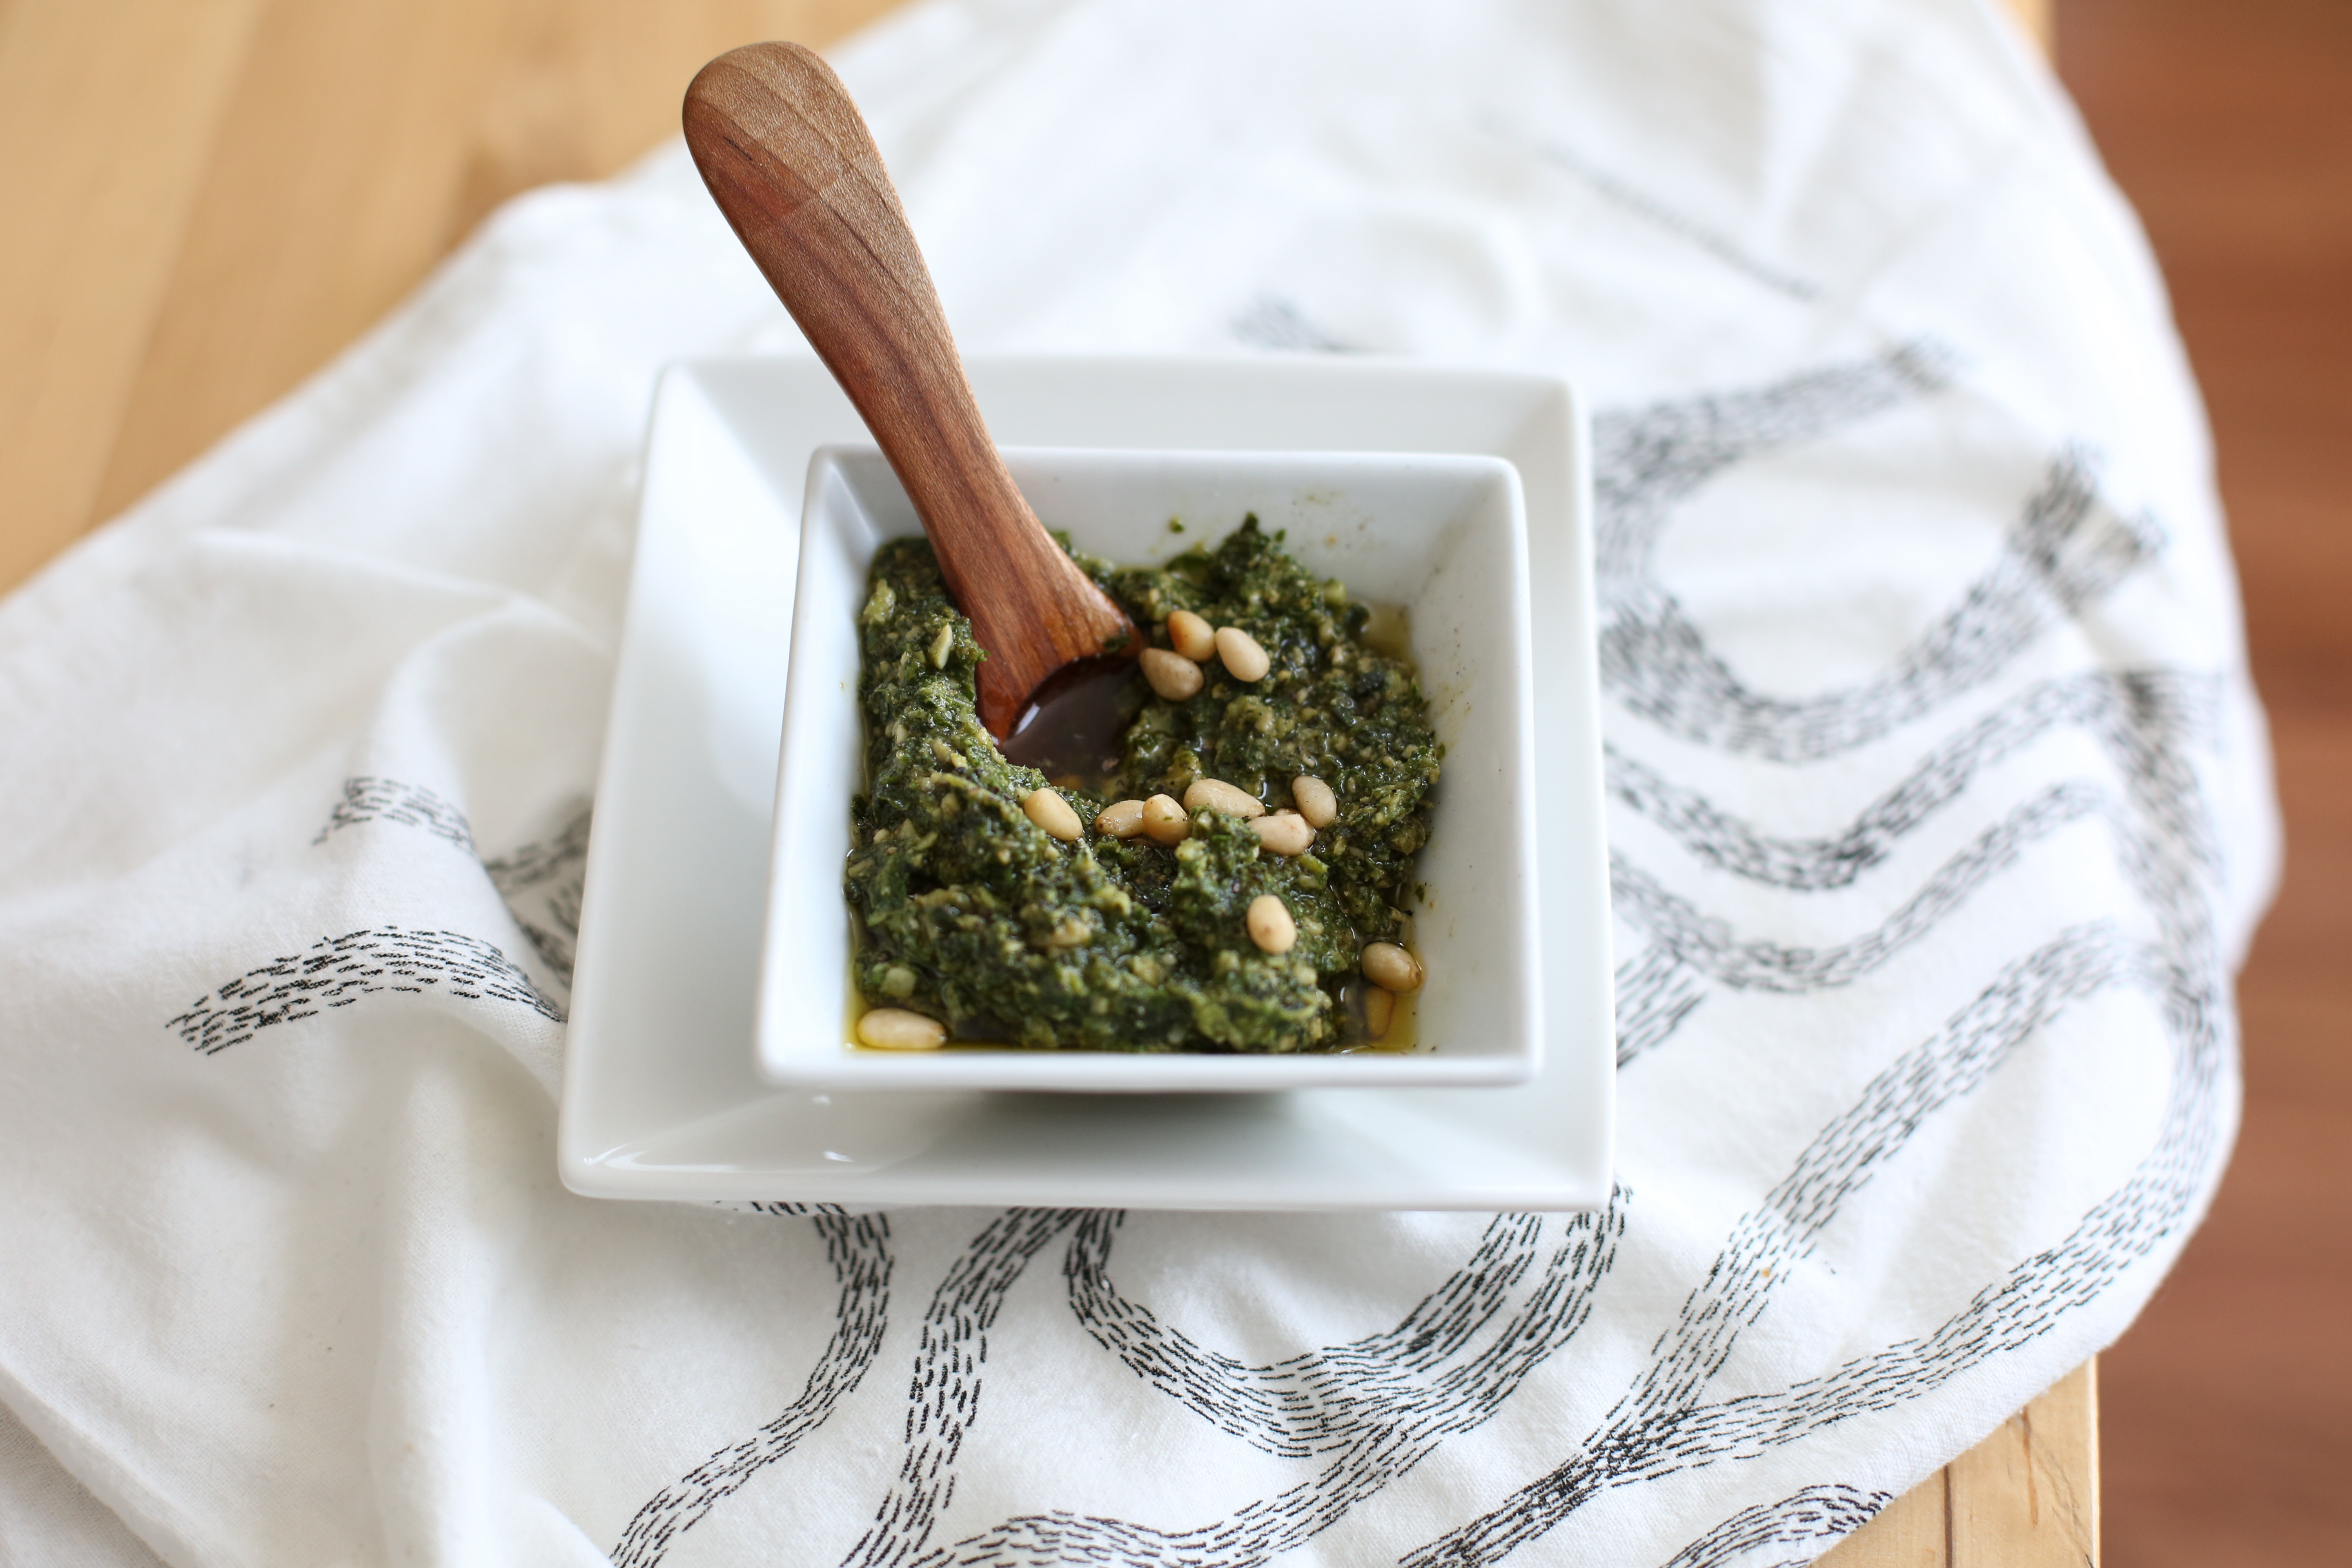
Pine Nut Pesto (Dairy-Free, Gluten-Free)

When I’m cooking at home, I tend to do a lot of pantry-to-plate cooking—grabbing what I have on hand and making it work. One of my favorite condis to keep on hand is a tasty Pine Nut Pesto. I use it to make wraps, to season rice and roasted veggies, and to add color and oomph to crudites or crackers.

This pesto tastes super cheesy, bright, and fresh. Make a double batch and keep it in an airtight, glass container in the fridge for weeks and definitely serve it to your cheese-lover friends, they’ll never know there isn’t any parmesan in here.

Ingredients:
2 cups tightly packed basil
3 tablespoons pine nuts, lightly toasted
1/3 cup extra virgin olive oil
3 cloves garlic, roasted
2 teaspoons lemon juice
1 tablespoon nutritional yeast
1/4 teaspoon sea salt

Let’s get started.
1. Preheat the oven to 350°F and line a baking sheet with unbleached parchment paper.
2. Scatter pine nuts on the sheet and roast for 5–7 minutes until starting to brown, then transfer to the food processor with all remaining ingredients.
3. Pulse until all ingredients are broken up and textured.
4. Enjoy right away or store in an airtight container in the fridge until ready to use.

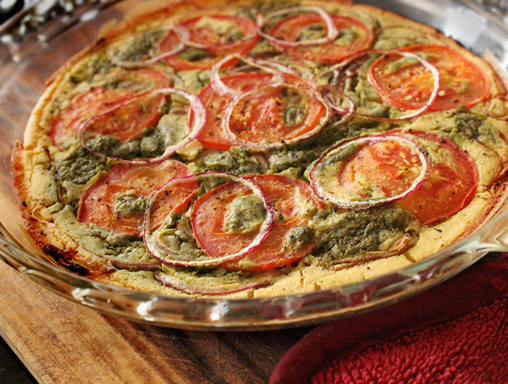
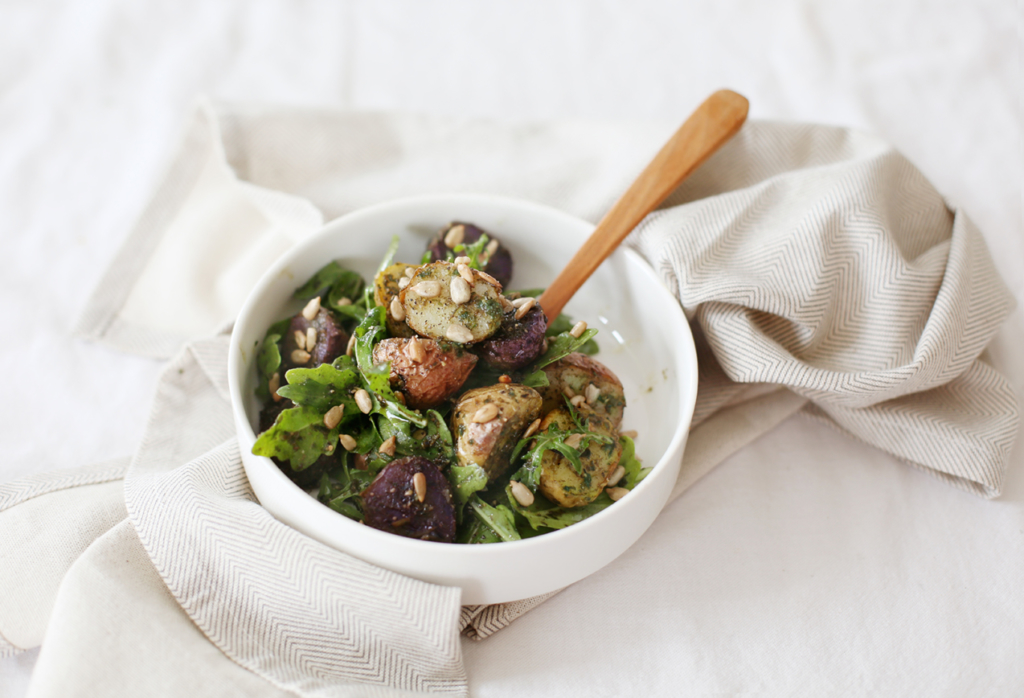
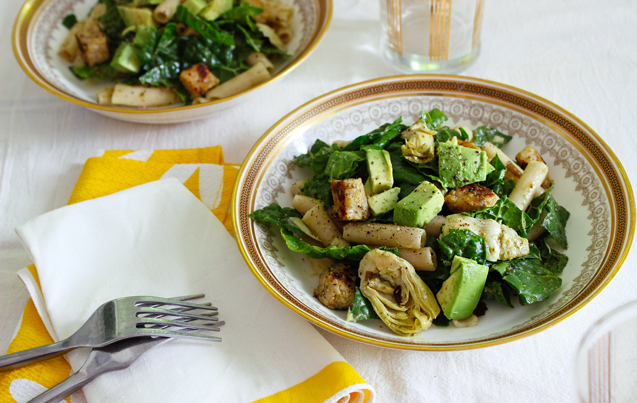
Try this pesto in the following recipes:
Tomato & Onion Farinata


Roasted Potatoes & Arugula


Penne with Black-Eyed Pea Tempeh

Now I want to hear from YU. What’s your favorite way to eat up some pesto? Tell us with a comment below.

Fermented Golden Beets

The 8-year-old-I-hate-all-veggies-and-will-sit-at-the-dinner-table-all-night-long-in-defiance girl inside me is so rolling her eyes over the fact that I’m writing up a post about beets. And not just any beets, fermented beets! But she better learn to respect her elders because they know what time it is.

I can’t believe I ever had a time in my life where I picked every tiny onion out of my Ragu tomato sauce or actually gagged over a bite of broccoli. I mean, how did I not know that it could taste like this.

I’m thinking about the old me a lot these days because my second book, YumUniverse Pantry to Plate is coming out in a few weeks. Not only am I talking about where it all began, but I can’t help but stop and think about how veggies have truly changed my life inside and out.

When I’m developing recipes I’m always thinking about how I could make something that 8-year old girl would enjoy. How could I get her, or her cookie-loving grandmother, or her I’ll-eat-the-fat-you-cut-off-your-steak Dad to really LOVE meatless tacos. Or a cupcakes with beets in them!

I’m almost ashamed to say that I didn’t even try a beet until I was almost out of my 20s. What a waste of time, because I now will eat an entire bowl of them for dinner. This recipe here is just another way to enjoy them, all while getting some sweet probiotic and digestive benefits. Plus, it’s just the prettiest condiment you’ll end up keeping in the fridge.

If you’ve spent some time around here, you know I’m a bit bananas for fermented foods. My kitchen is like a lab—I do it to help my digestion, and I do it for the flavor. I’ve got yogurt, kefir water, tomaties, kimchi, sauerkraut, kombuchacake, sourdough, Injerakanji, even SCOBY candy and jerky for you fine people to experiment with. And now, gorgeous beets.

I add these to mixing-bowl salads, brown rice, wraps and tacos, and eat them up plain. And if you’re an egg-eater, try some with a fried egg. They are a great way to add probiotic kick, digestive power, a little crunch, and lots of flavor to any meal.

Tools:
Two 16 oz. wide-mouth canning jars (or a quart jar)
Mandoline slicer (optional)

Ingredients:
Use organic, home-grown, or farm-grown without pesticides or radiated treatment
2–3 medium golden beets
Half small red onion
1 large celery stalk
1/4 teaspoon fennel seed
Handful of fresh parsley leaves

1 teaspoon black peppercorn or
1/2 teaspoon whole black peppercorns and 1/2 teaspoon pink peppercorn

2 cups room-temperature water
2 tablespoons salt

Let’s get started.

Wash your beets, but keep the skins on—we want the microorganisms on them (they’re there) to help us ferment.

Make a brine: in a medium bowl, stir together water and salt until thoroughly dissolved. Set aside.

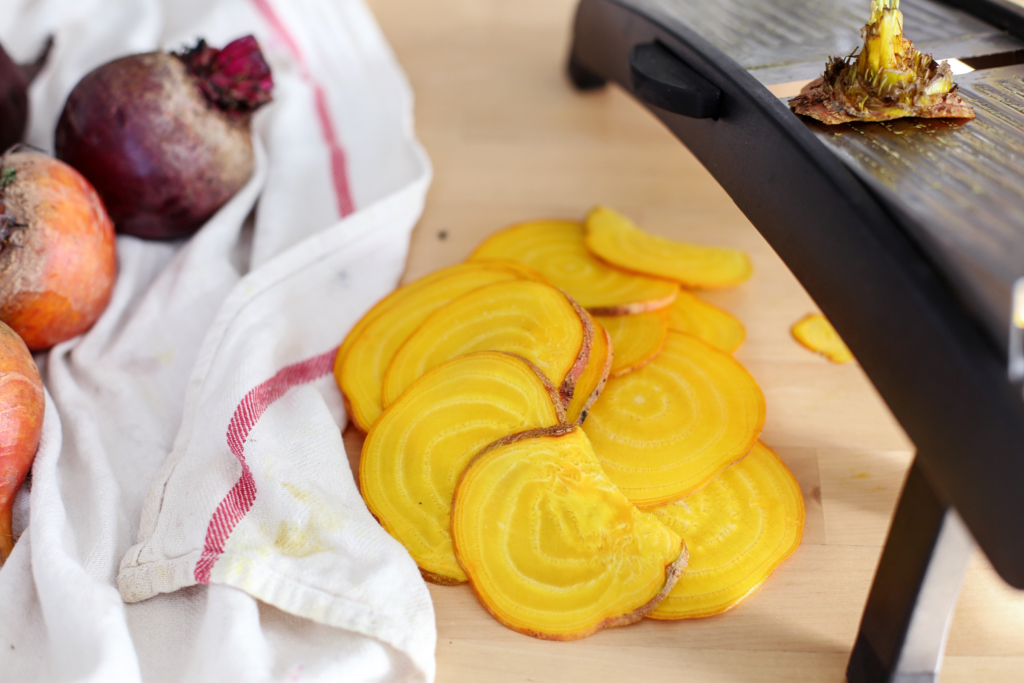
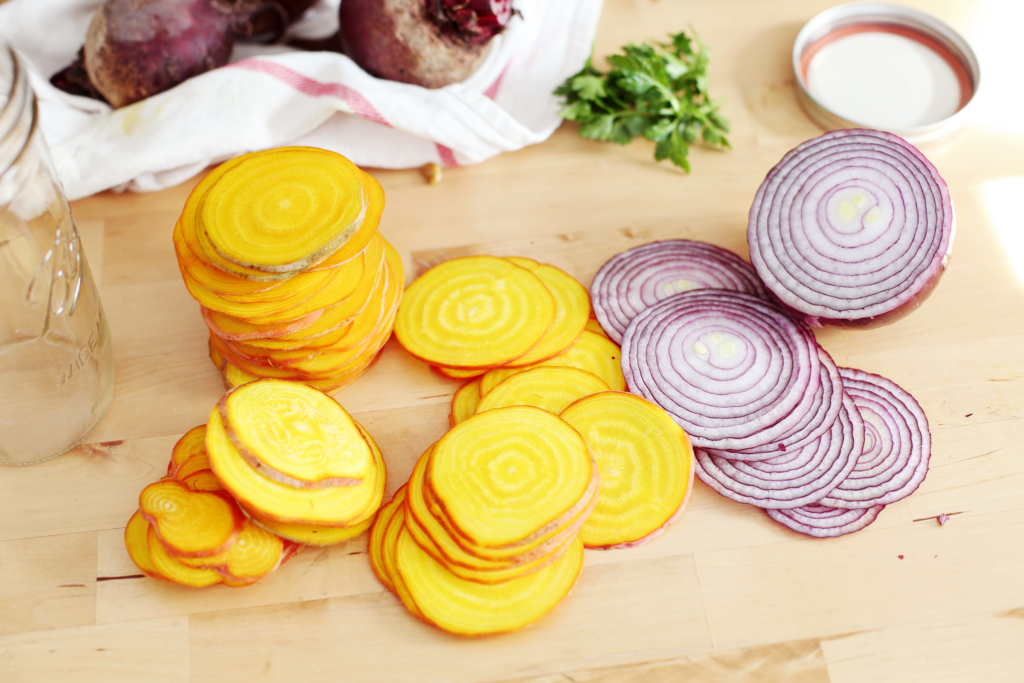
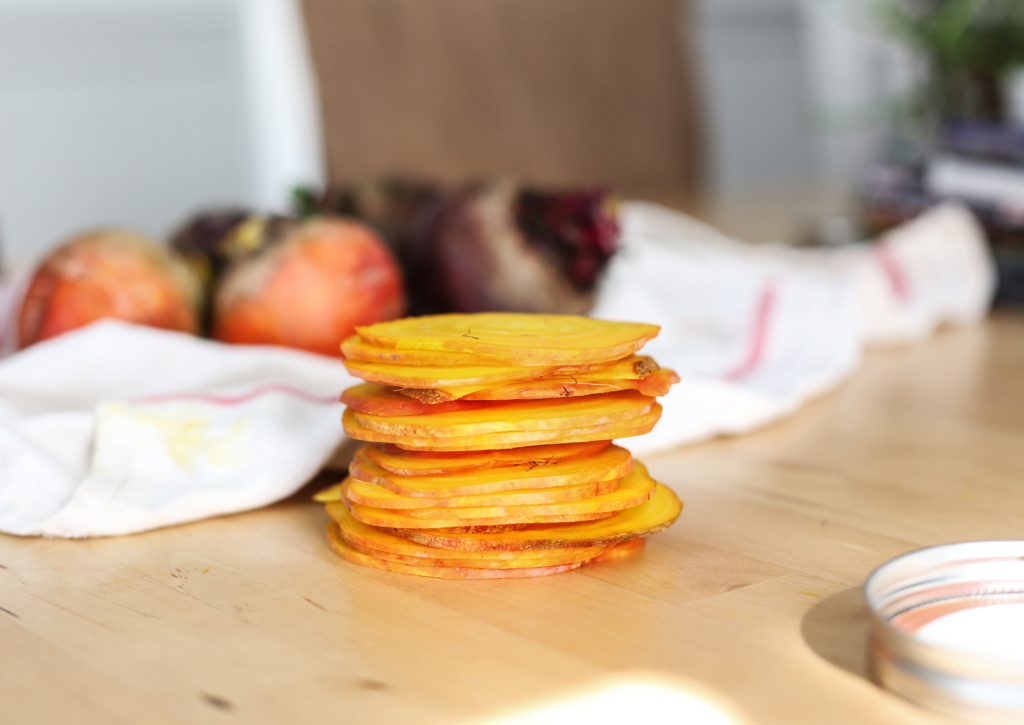
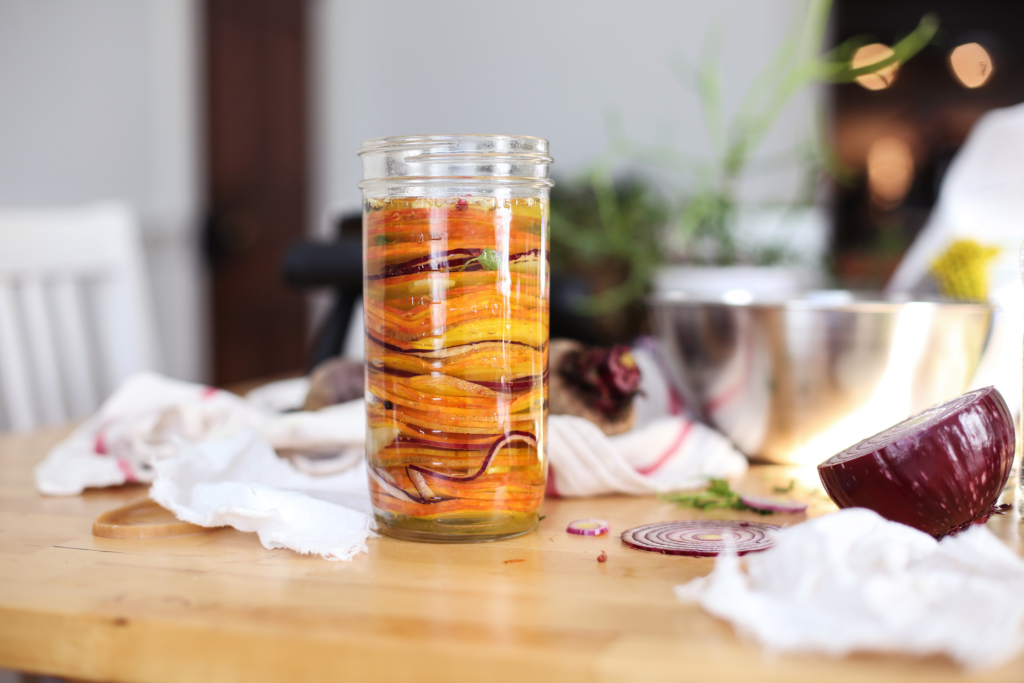
Using a mandoline slicer, or your best ninja-slicing skills, shave the beets into thin rounds.

Now do the same with a red onion…

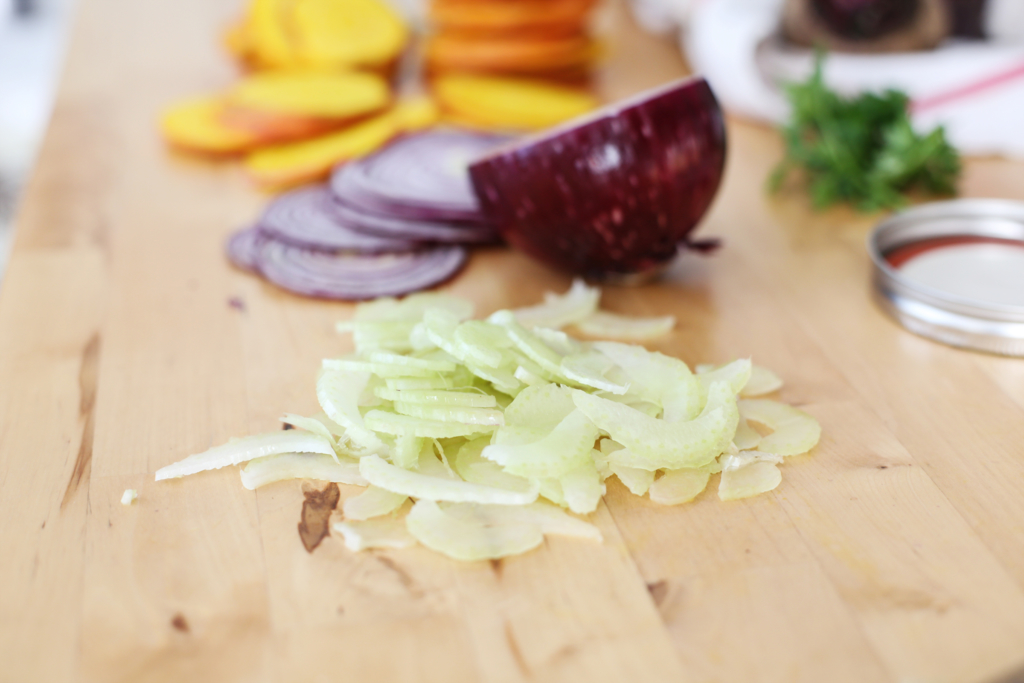
… and celery.

Admire the pretty simplicity. Almost look like pancakes (sorry 8-year-old me)…

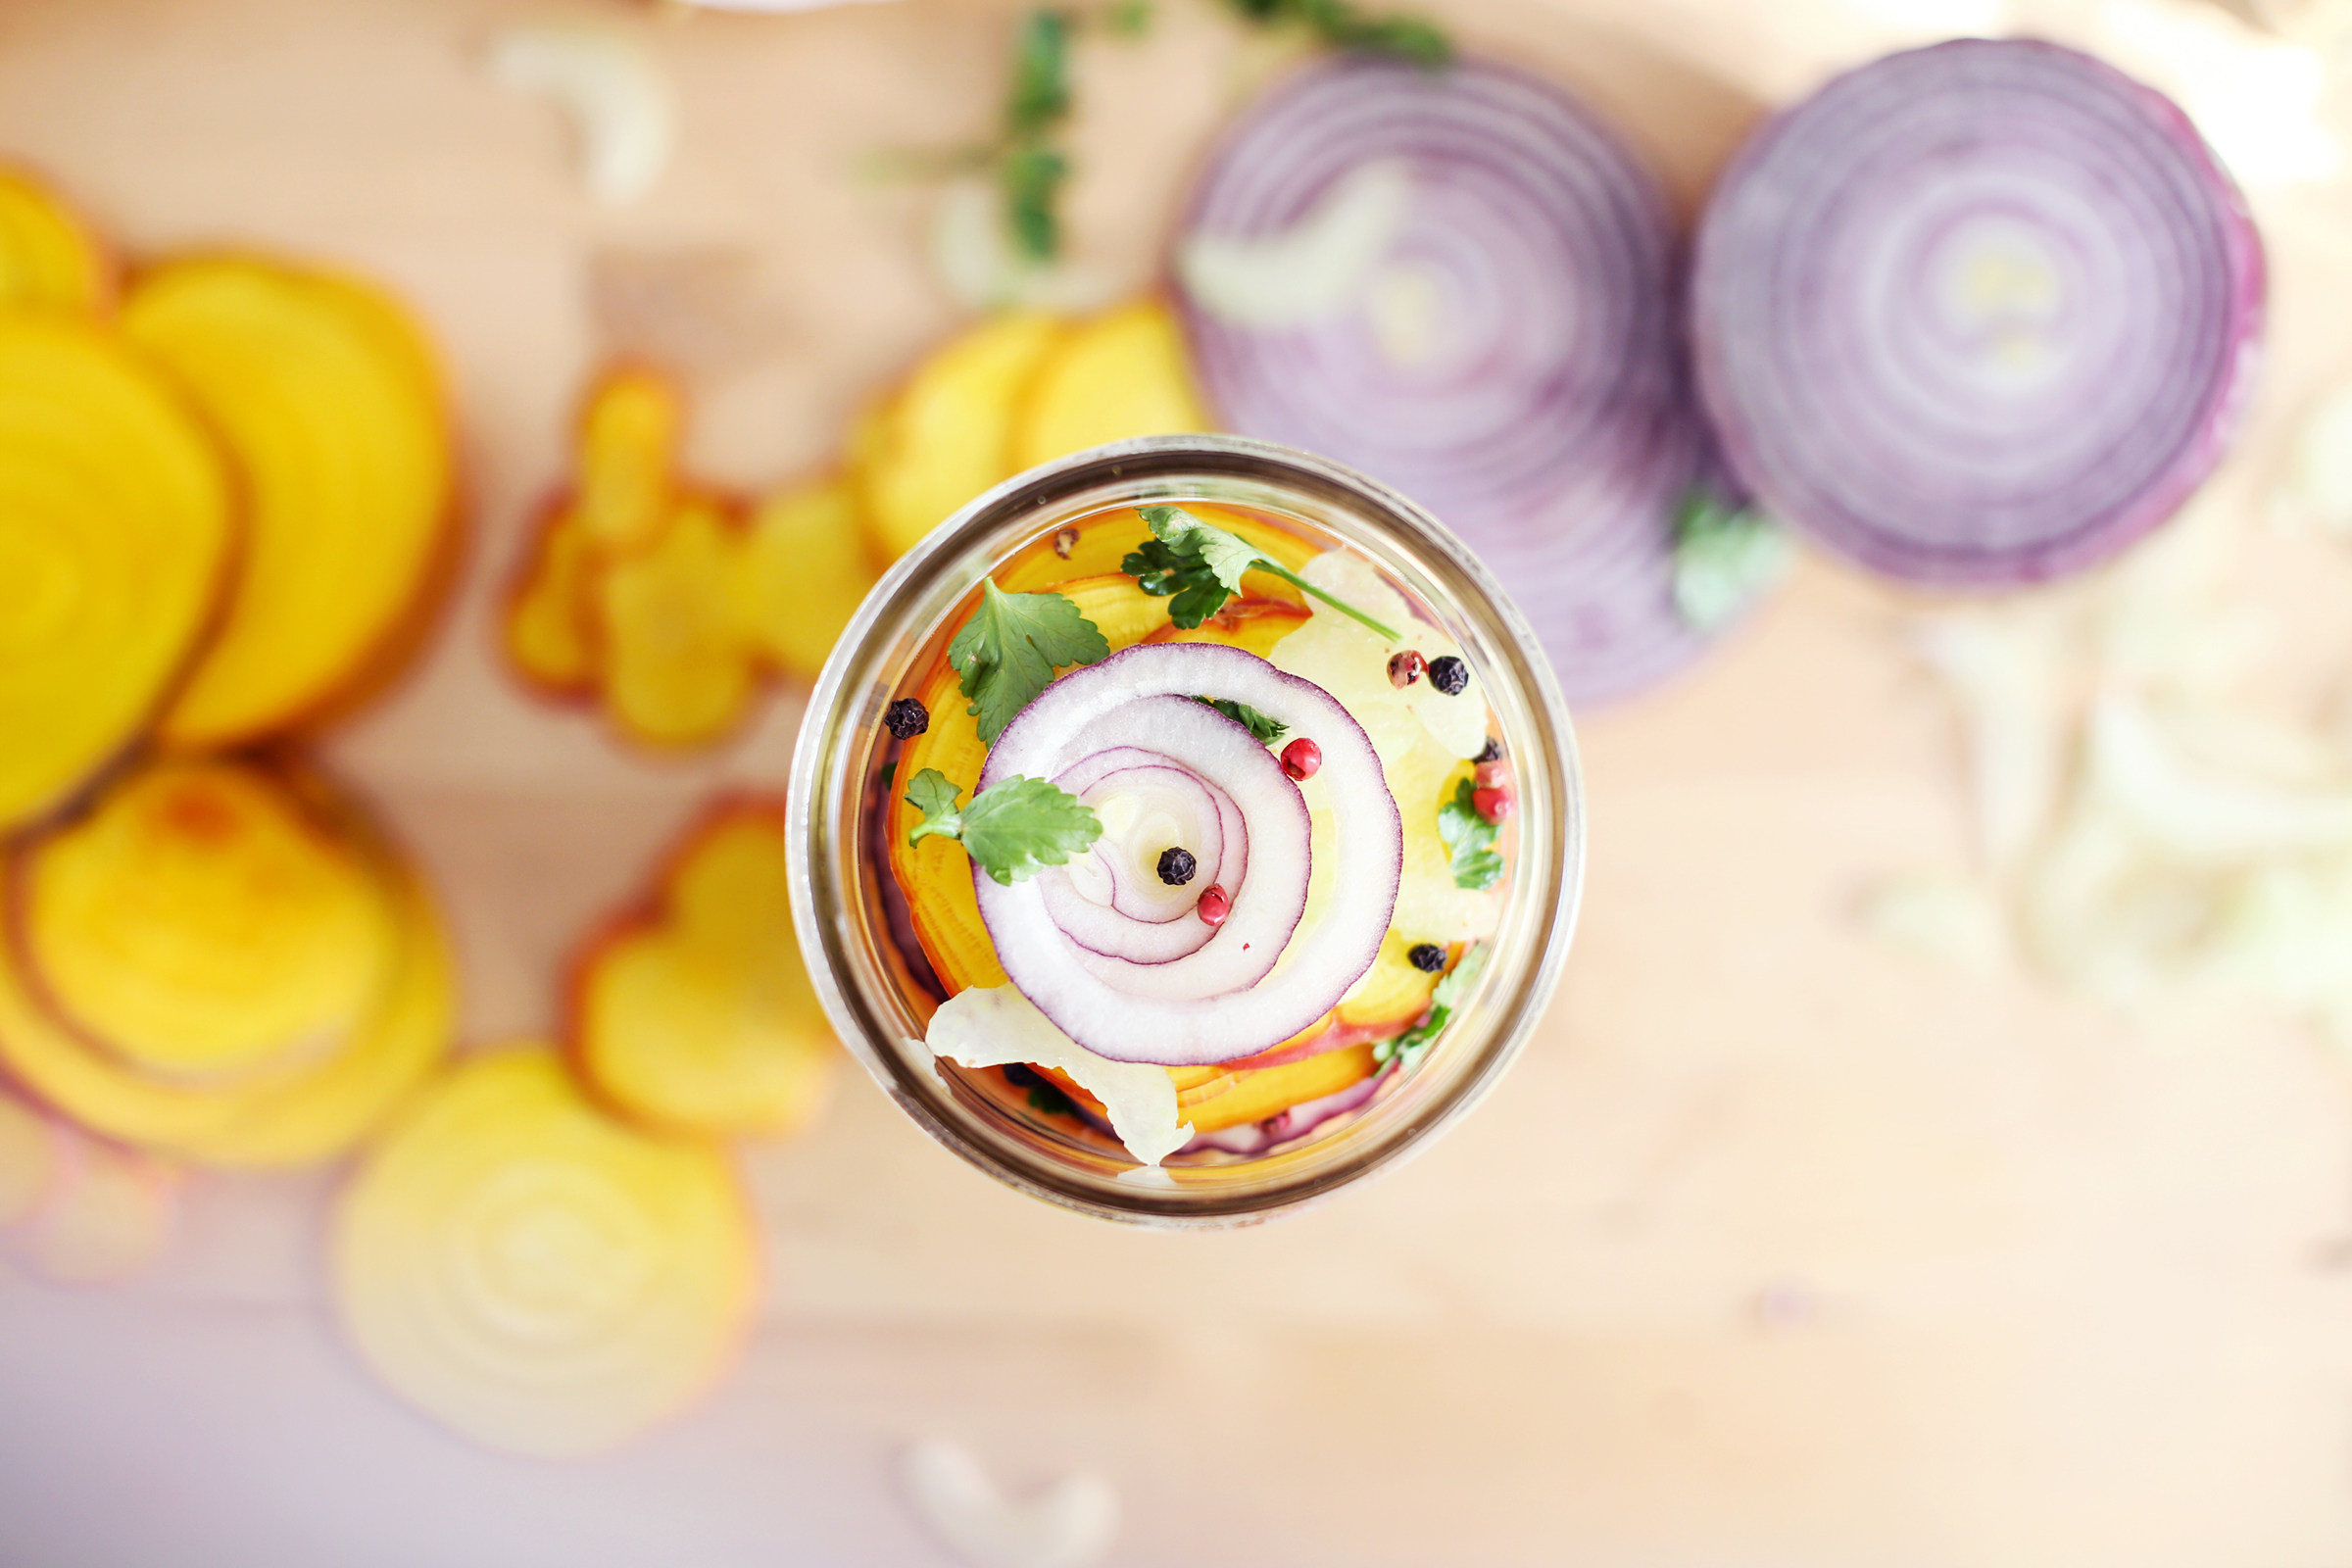
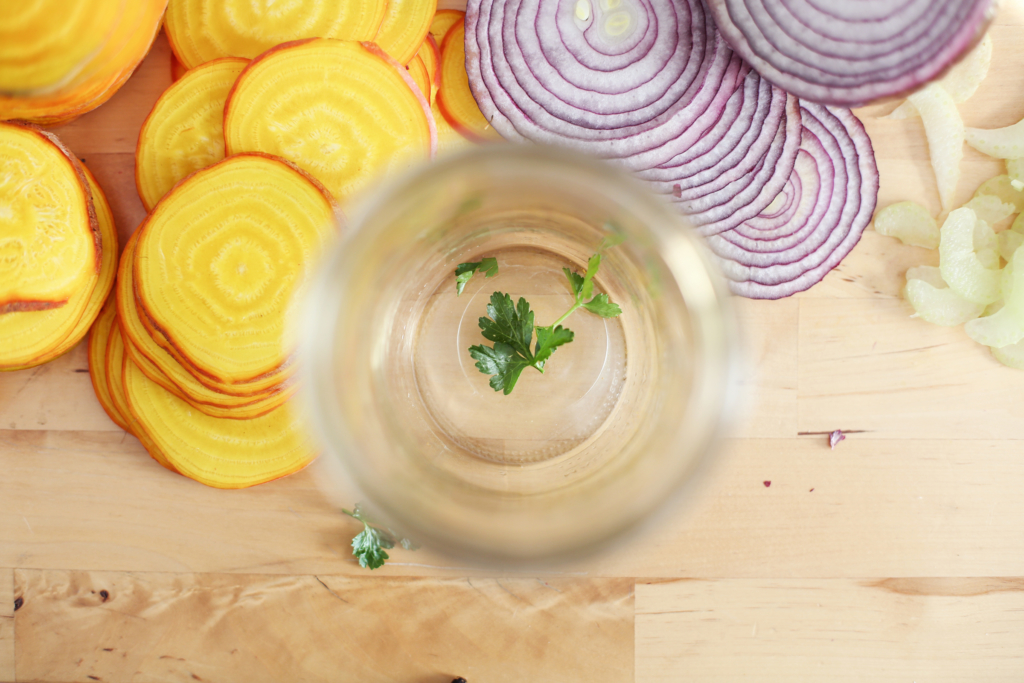
Now we layer! Drop some parsley leaves into the bottom of a jar.

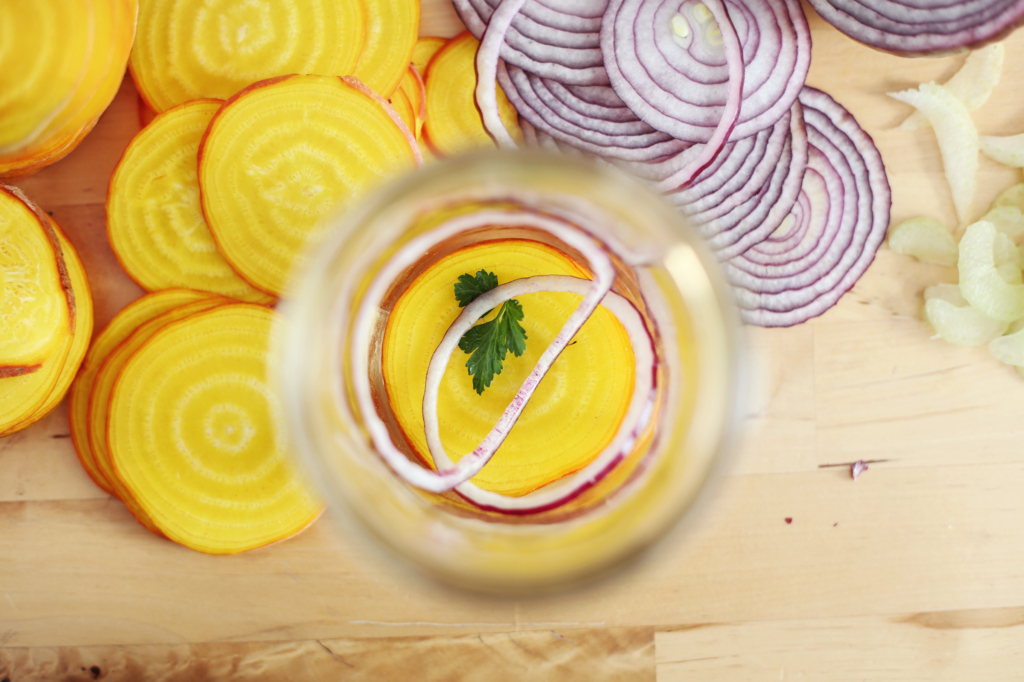
Add some beet rounds, onion, celery a peppercorn or two, and a pinch of fennel seed.

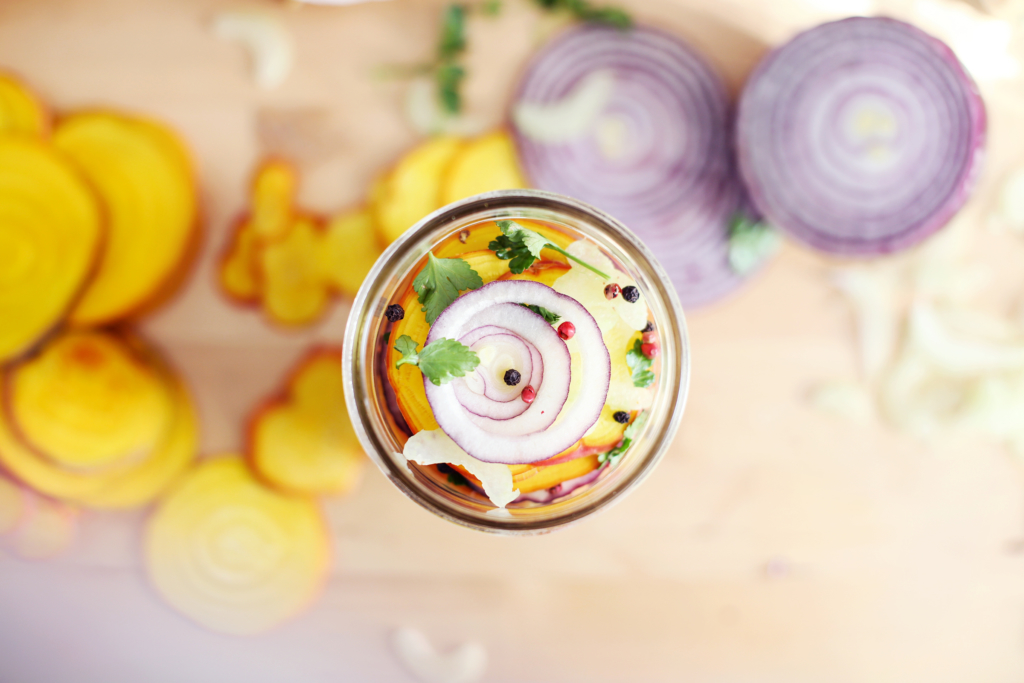
Repeat until the jar is filled with goodness.

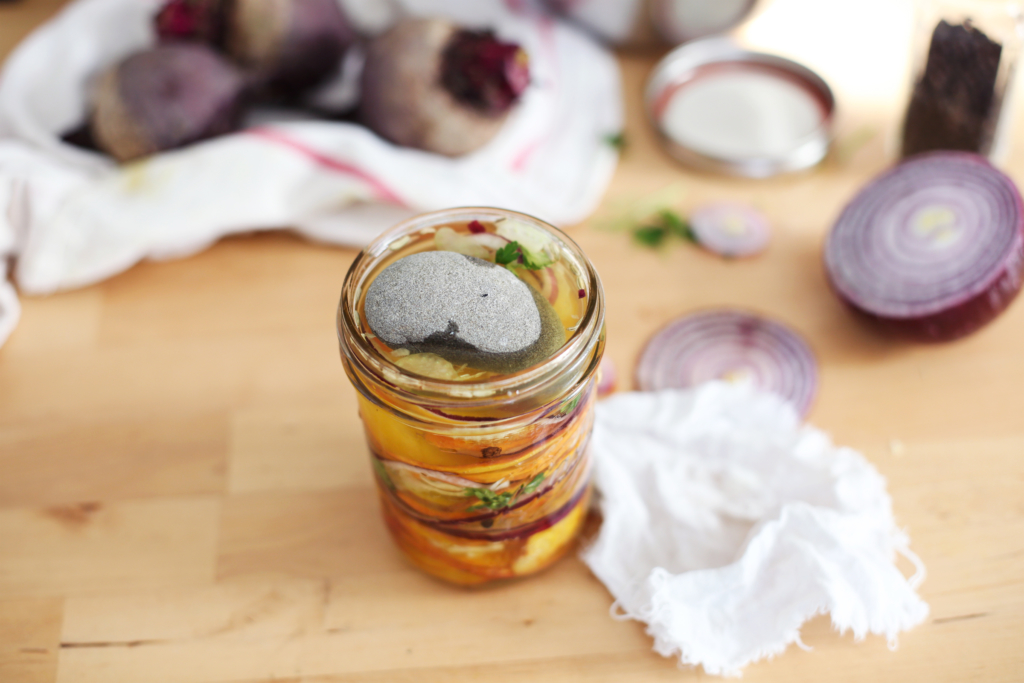
Press the veggies down tightly and pour the brine over the vegetables until they are completely submerged. Press the veggies down again to release air bubbles.

It‘s important to keep the veggies under the brine where they are safe from mold. The salty water is a mold deterrant—it’s why salt is used to cure meats and make cheeses. I have a few jar-sized rocks I found (that I washed and boiled) that I use as weights for fermenting. They help keep things nice and nestled under the brine.

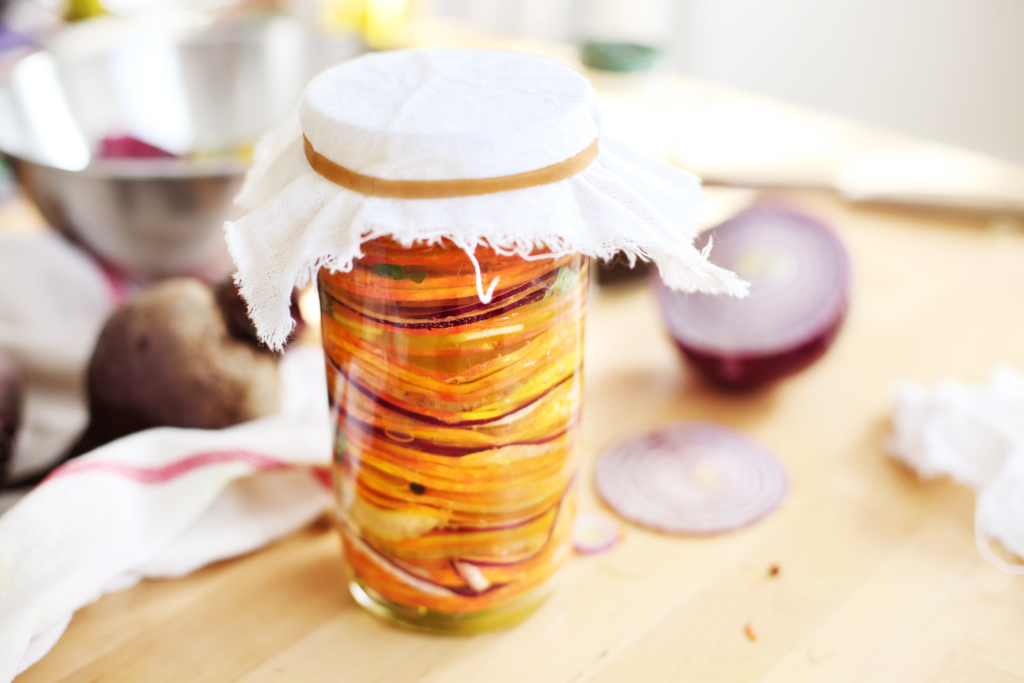
Once all veggies are under the brine, cover the jar with a cheesecloth and secure with a rubberband.

Allow the beets to ferment on the counter for 3–10 days. Make sure you check on them everyday—you want them UNDER the brine, so give the veggies a press to release any air each day. I like to ferment root veggies for a longer amount of time to soften them a bit. (https://www.nelsongreerpainting.com) But the best way to know what you like is to take out a round and eat it. If you want a more fermented, sour, rich flavor, ferment longer.

When they taste perfect to you, seal the jar with an air-tight lid and transfer to a cold pantry or fridge. Make sure you release air every few days—the veggies will continue to ferment in cold storage, but the temperature slows down our little beneficial bacteria friends quite a bit.

Now, I want to hear from YU. Do you ferment at home? Do you like fermented foods? What do you think of this recipe? Tell us with a comment below.