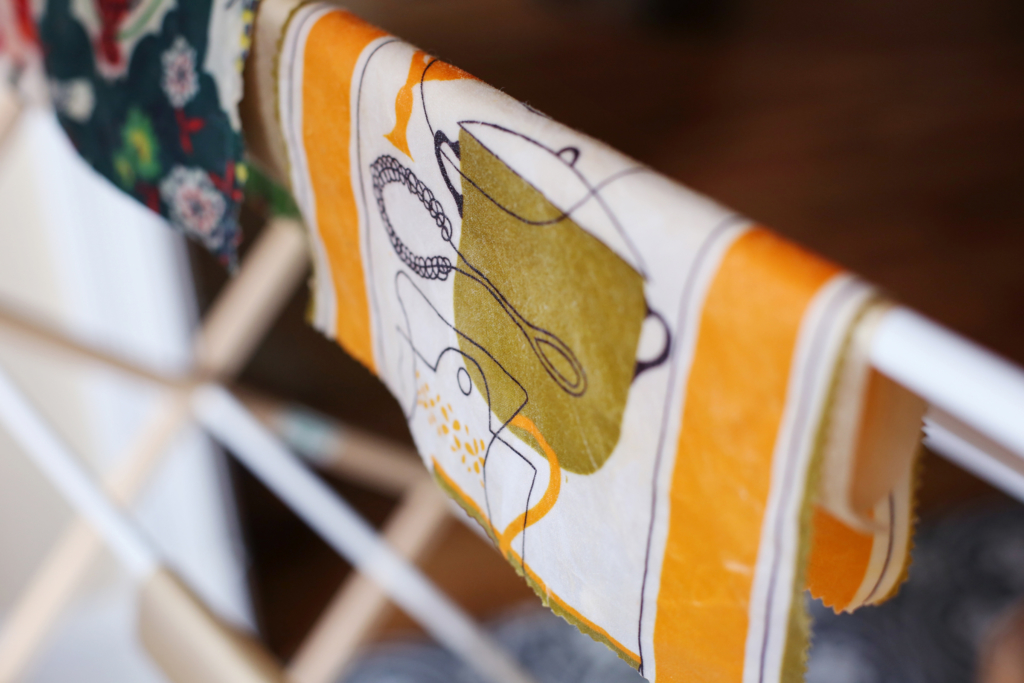
I started using beeswax wraps a while back, supplementing my small stash with a few more I picked up when I went to Australia and New Zealand a few summers ago. I haven’t needed to use plastic wrap at all for years because of them.
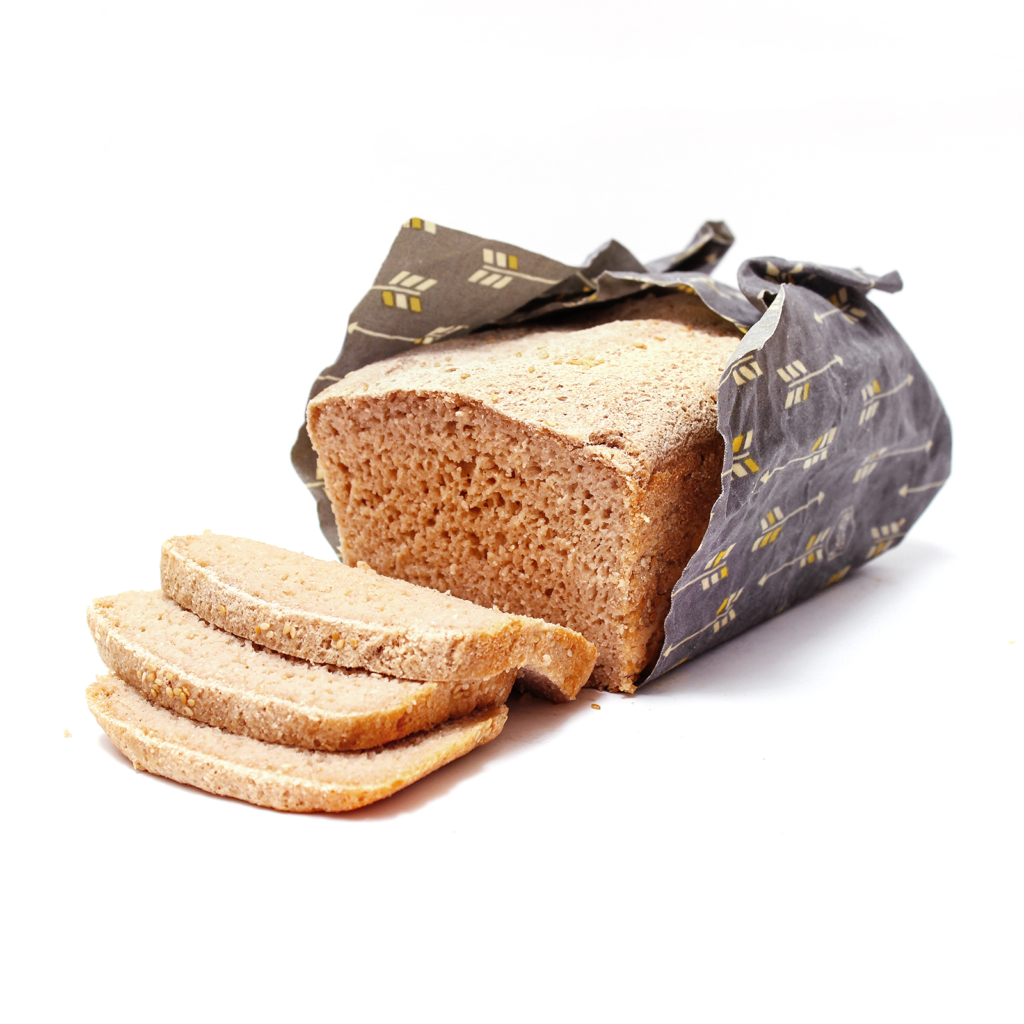
Along the way, they’ve become priceless to me for wrapping avocados (nothing preserves them better), covering cut ends of veggies, and wrapping entire loaves of my gluten-free bread. They have natural preservative power and keep foods, especially bread, fresh for weeks. What’s extra cool is that the warmth from your hands will shape them as needed (around bowls, jars, or foods).
It’s been a crazy month for my family, and last week I was overcome with a desperate need to purge and simplify. Everything. I ran around the house putting all the “extra stuff” in boxes. It had to go.
I packed up the majority of the books I’ve been taking from house to house over the years and donated them to the big book sale in my town. I then filled two black trash bags full of shoes and clothes to donate. I pulled a ton of props (bowls, teacups, a fondue pot) out of cabinets and gave a few to friends, and have the rest on a table (I had second thoughts). With each “goodbye” I felt lighter and more in control.
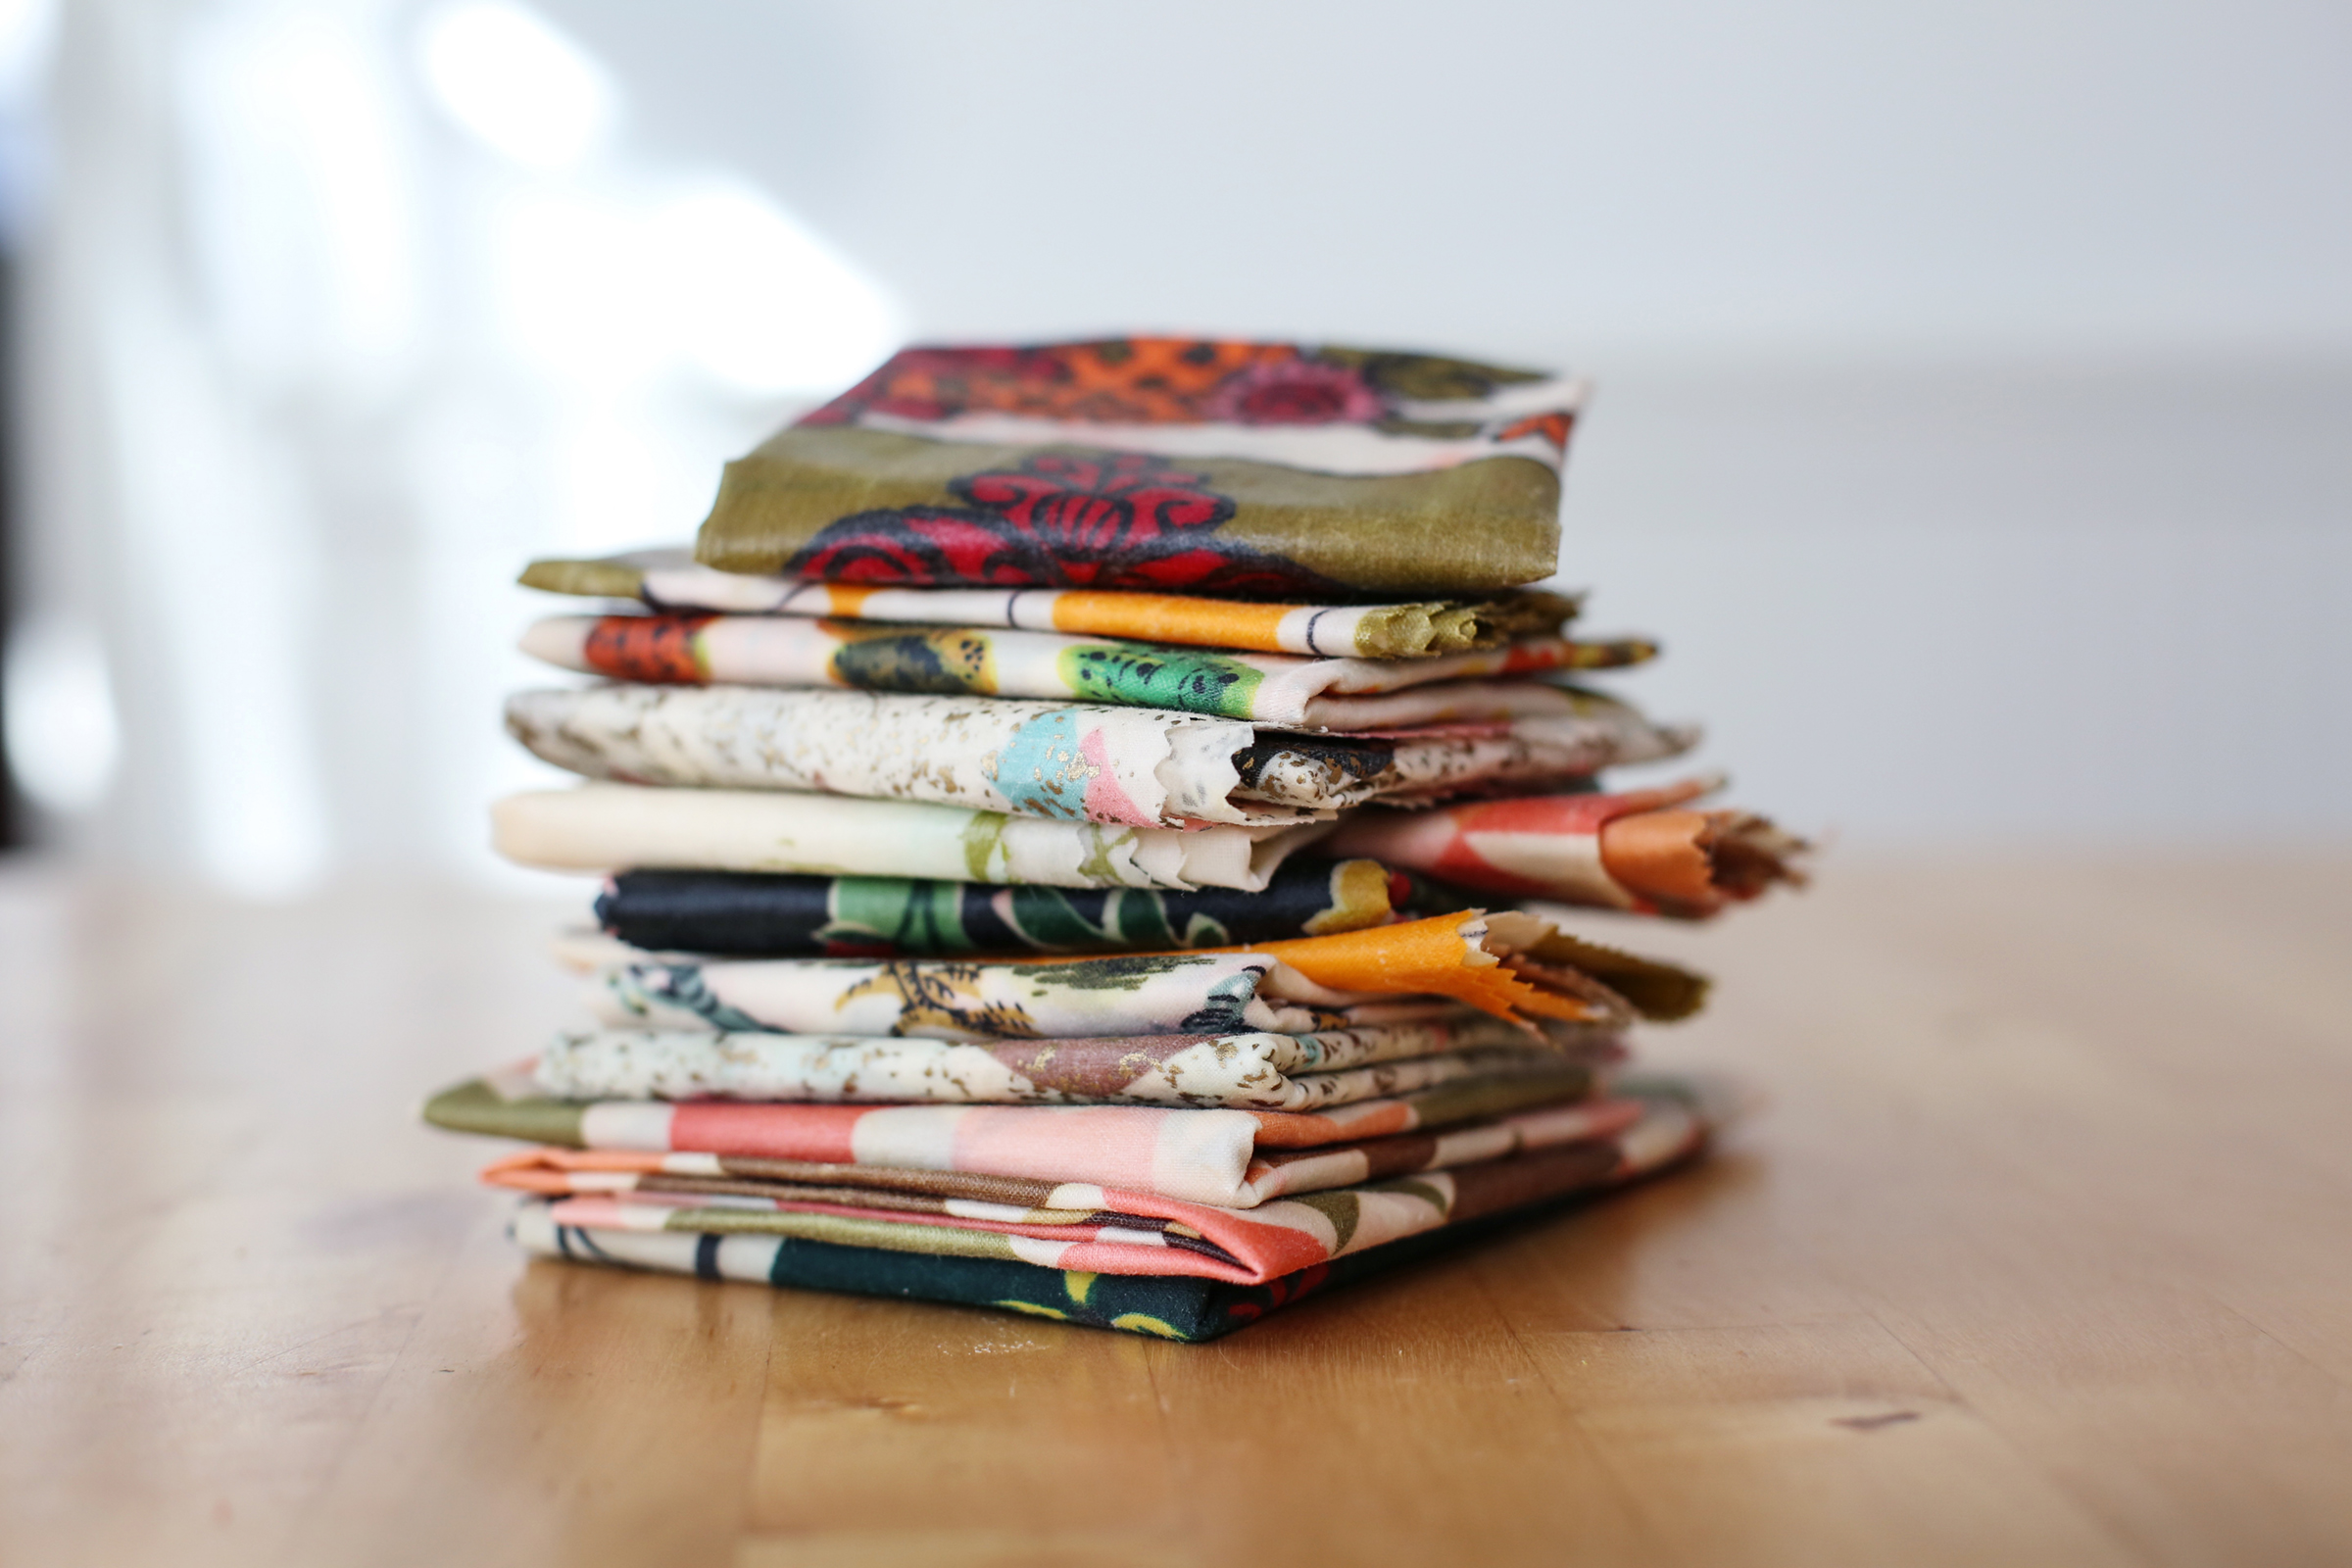
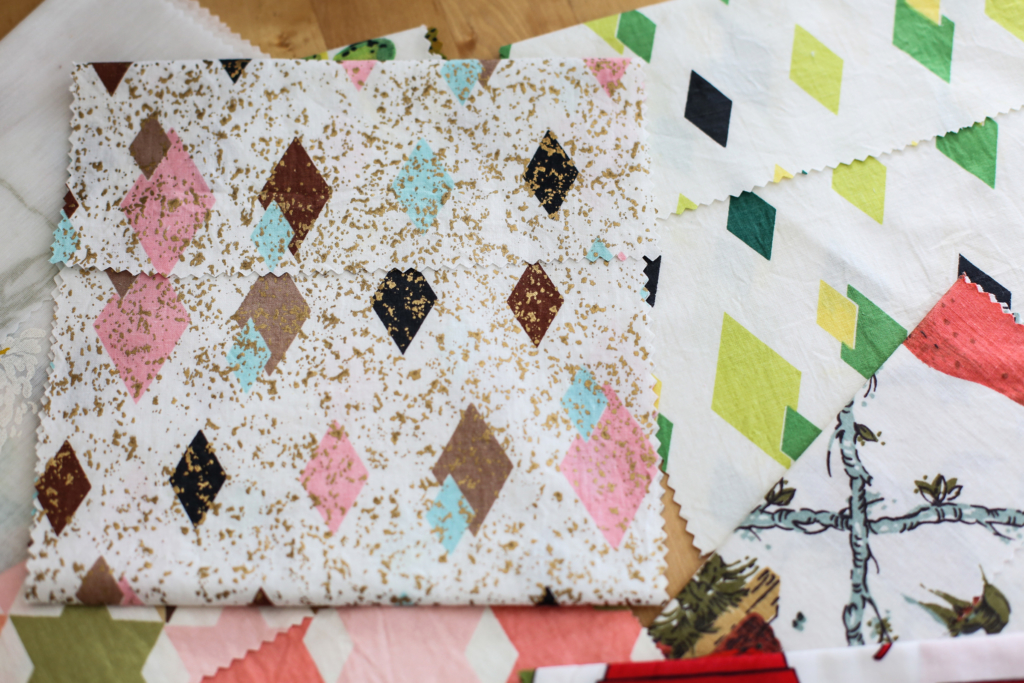
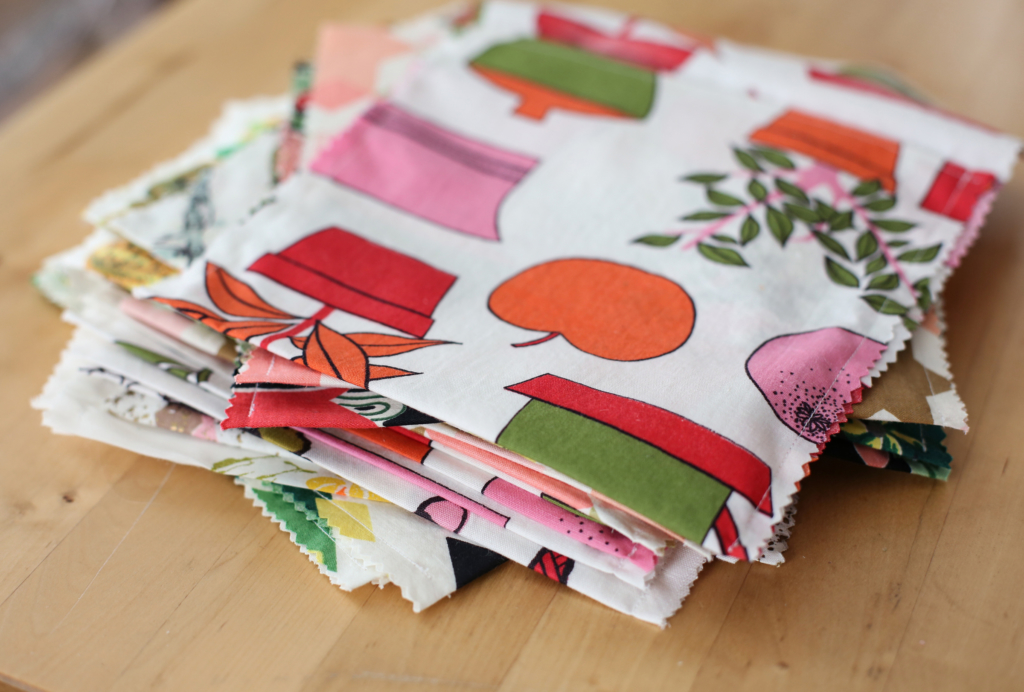
I’m a crafty person who likes to make things with her hands—everything from whale stuffies to chocolate chip cookies. In my kitchen purge, when I landed on the drawer filled with well-loved beeswax wraps, I remembered the crafting toolboxes. I have one giant yellow toolbox labeled “paints,” one labeled “tools,” one labeled “fabric”—I’ve had them since college and it’s how I keep all the crafts organized. I went straight to the “fabric” box and found a huge pile of vintage fabric that I’ve had for at least 15 years. I was always waiting to do something with it.
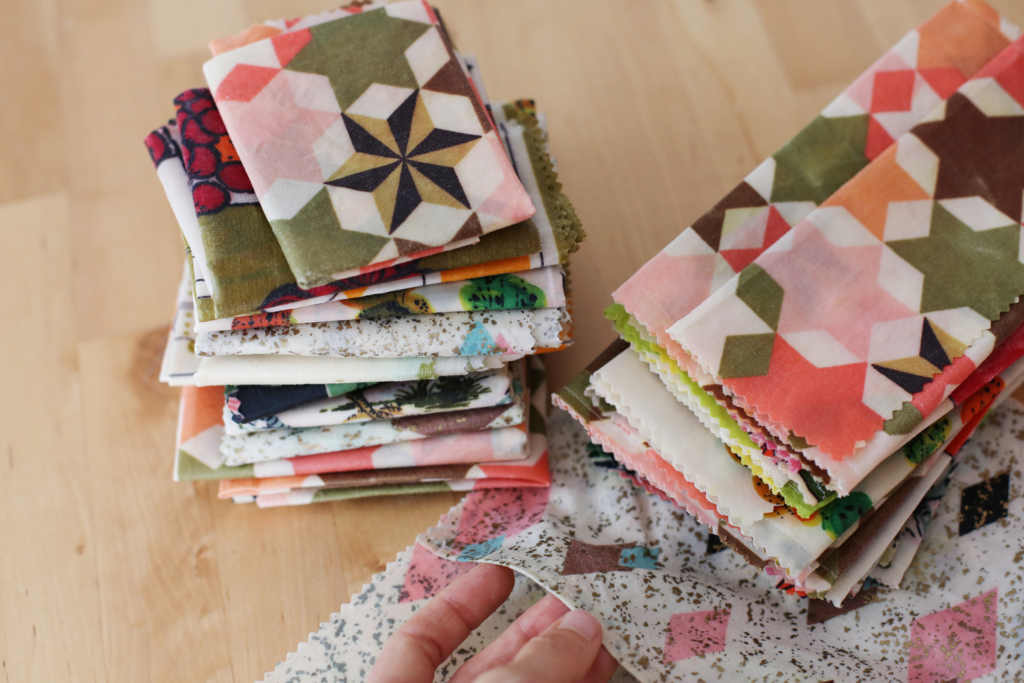
Some patterns are ugly-pretty, some are just cool, but I was going to give them all life instead of leaving them to be forgotten in a box.
I researched all the techniques for making beeswax wraps, and experimented with my own for two days. I’m happy with the results, the options I can share with you, and even more happy that this fabric doesn’t have to be sad and alone in a box anymore. 🙂
If you’ve signed up for the my gluten-free bread baking course these babies will store all your creations better than anything (if you haven’t signed up for the GFBA Bread Baking course yet you should!).

These beeswax wraps make great gifts too—is it too early to plan for the holidays? I am.
There are a few ways to make these depending on your needs and patience level.
1. Beeswax only
You can make them simply with beeswax which is great for beginners or people who don’t want any extra fuss. They’re simple, versatile, and pliable, but they won’t have as much tackiness as if you made them with the pine resin and beeswax combination explained below.
If you’re a bee-product-free vegan, you can substitute beeswax for candelilla wax. While it works well on it’s own, I think it’s best with the pine resin (see below).
2. Beeswax & pine resin:
Pine resin (aka pine rosin, colophony, or Greek pitch) is pine tree sap. It’s tricky to find in stores, but it can be found online (I used this). Make sure you find a clean, organic, food-grade supplier.
Resin make things tacky and self adhere, which is great when you need to wrap the unused end of a winter squash or sweet potato. Pine resin is fragrant, like the woods—it shouldn’t impart flavor on your food, but if you’re highly sensitive to smell, go plain beeswax. If you’re trying to break a cling wrap habit, a combo of beeswax and pine resin will give you that clinginess you’re used to. You’ll also add some sesame oil to the mix to add pliability.
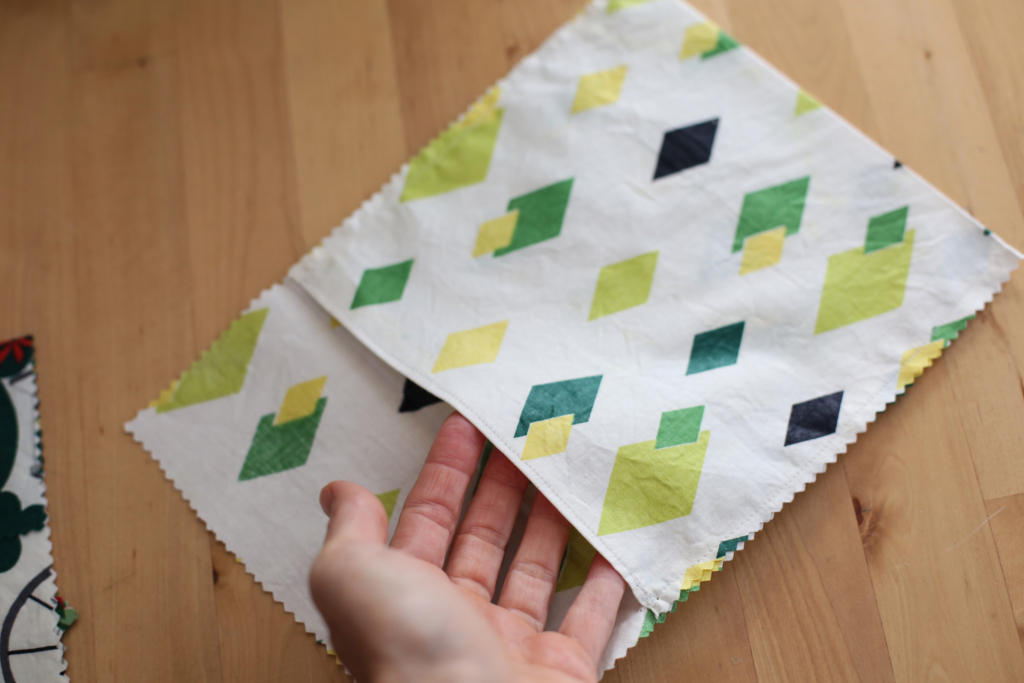
Sizes:
You can make a variety of sizes: small (7–8″ square) for avocados, apples, or citrus; medium (10–11″ square) for sandwiches or chopped veggies like celery; or large (14–16″ square) for loaves of bread and covering mixing bowls. You know your kitchen habits best, so just make them large enough to fully enclose the food you intend to use it for.
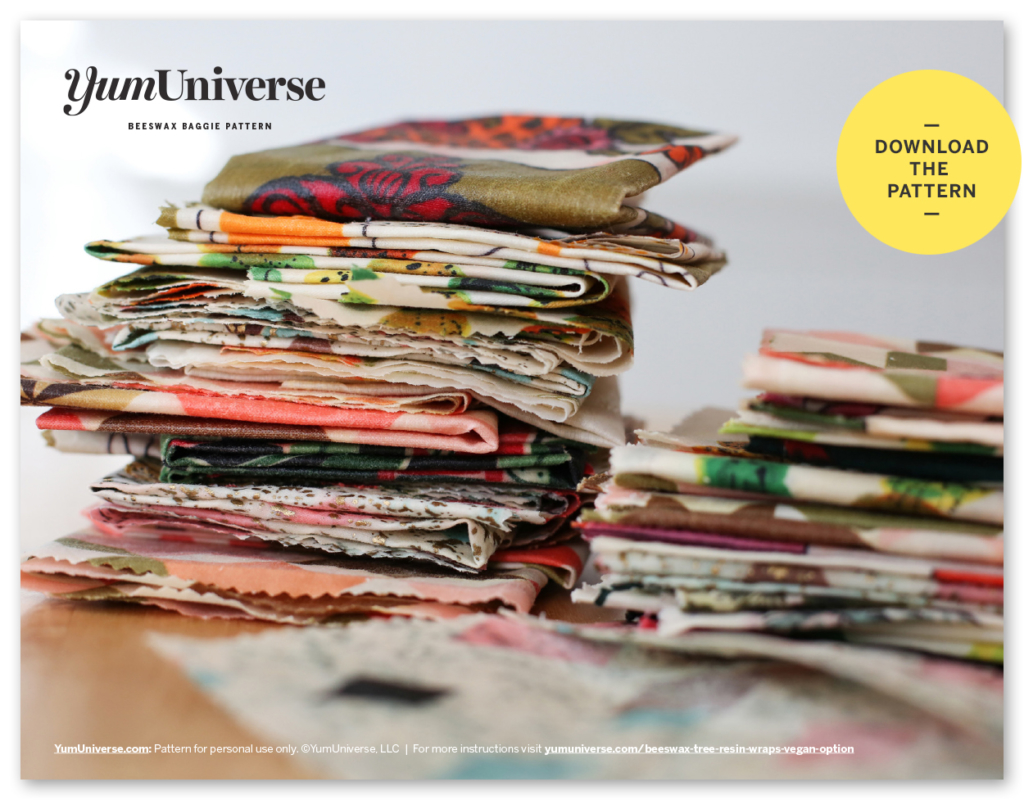
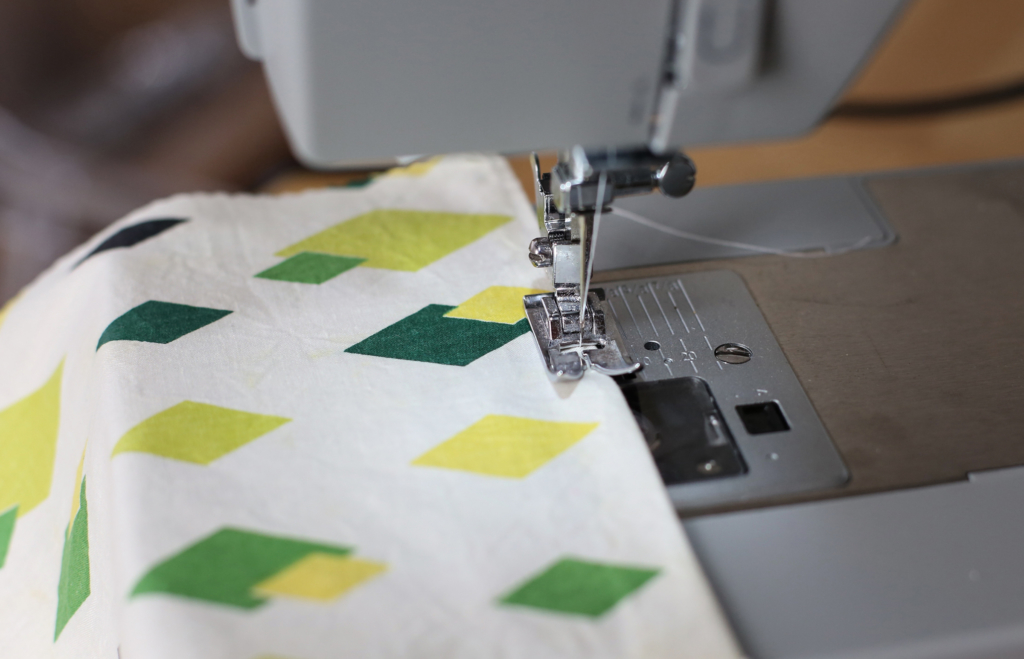
Beeswax Baggies!
I also cut and simple-sewed some beeswax sandwich baggies (aka avocado bags) that can be used for everything from Chickpea Salad Sammies to half a lemon.
If you’d like the pattern and steps, you can download here or by clicking on the cover below.
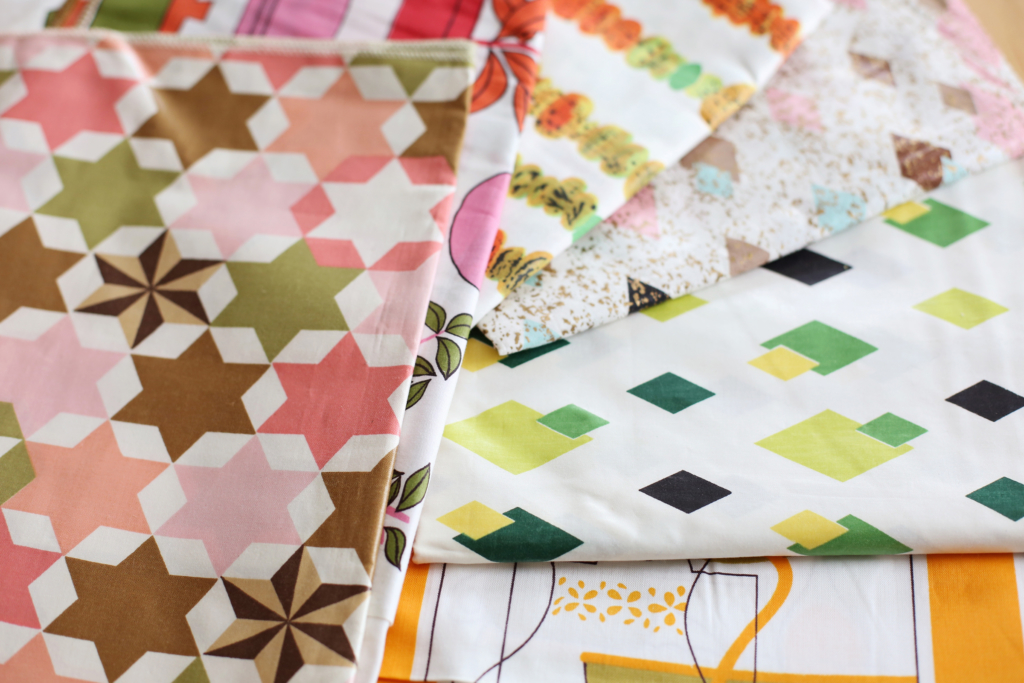
Choosing fabric:
• You’ll want to find some lightweight, tightly woven cotton, organic if you can. I used some fabric that had a very small amount (5–10%) of stretch and synthetic fibers in it (to see if it would still absorb the mixture) and it worked ok. I would definitely recommend that cotton fabric works the best though.
• Dark fabric with patterns masks any drip marks or imperfections very well. White fabric will darken with a yellowish hue once saturated with the wax mixture. Choose to suit your taste.
Makes enough for 6–8 large swatches of fabric
Ingredients:
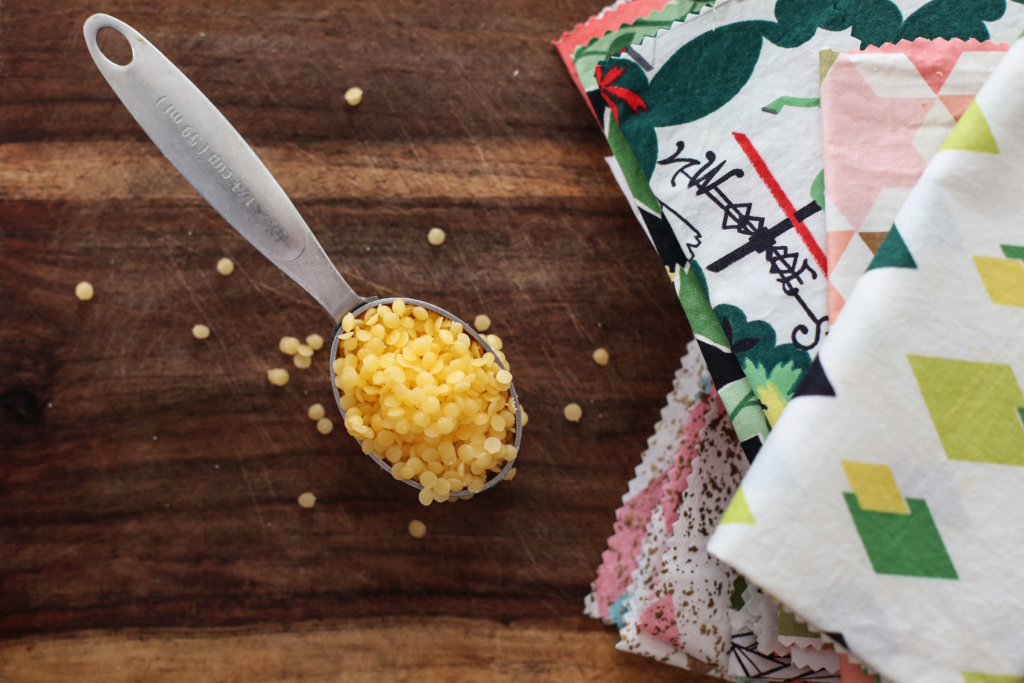
1 cup beeswax (chunked or pastilles)*
2 tablespoons tree resin
1 tablespoon sesame oil
*Bee-free vegans can sub equal amounts of candelilla wax
Tools:
“Optional” tools will be needed for the beeswax/pine resin combo
Unbleached parchment paper
Large baking sheet
Steel wool for cleanup
Drying rack or old hangers or clothespins and a clothesline
Butterknife, paint stirrer, or scraper (optional)*
Tongs (optional)
A 1–2″-wide paintbrush that will be ruined, or silicone pastry brush (optional)
An old pot you don’t mind getting wax on (optional)
A large, glass canning jar you don’t mind getting wax on (optional)
*Easiest to clean with a steel wool.
Let’s get started.
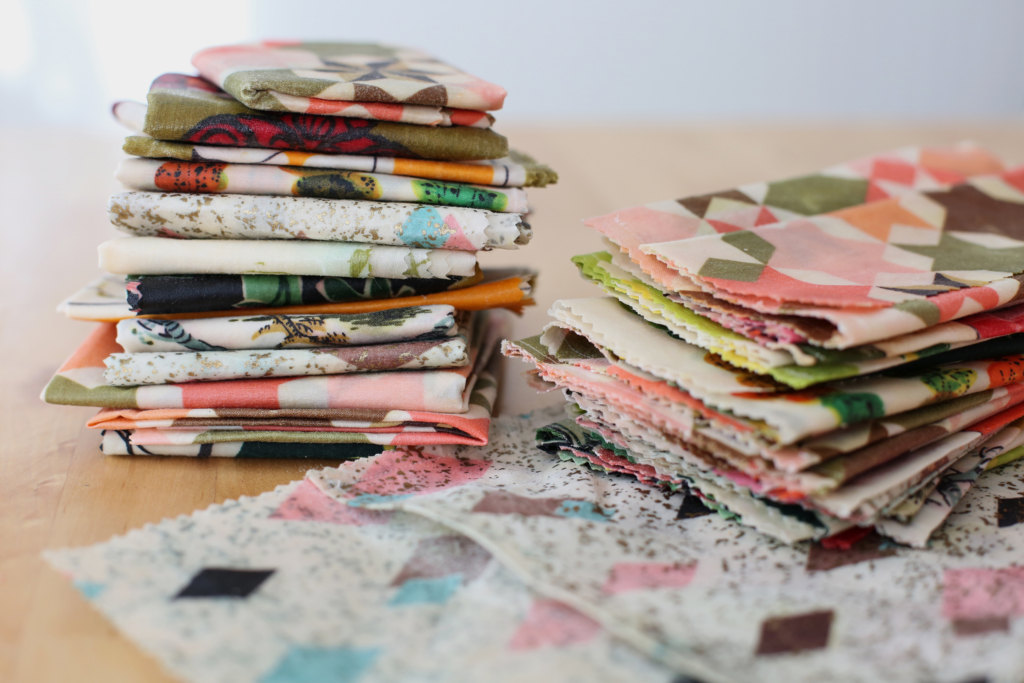
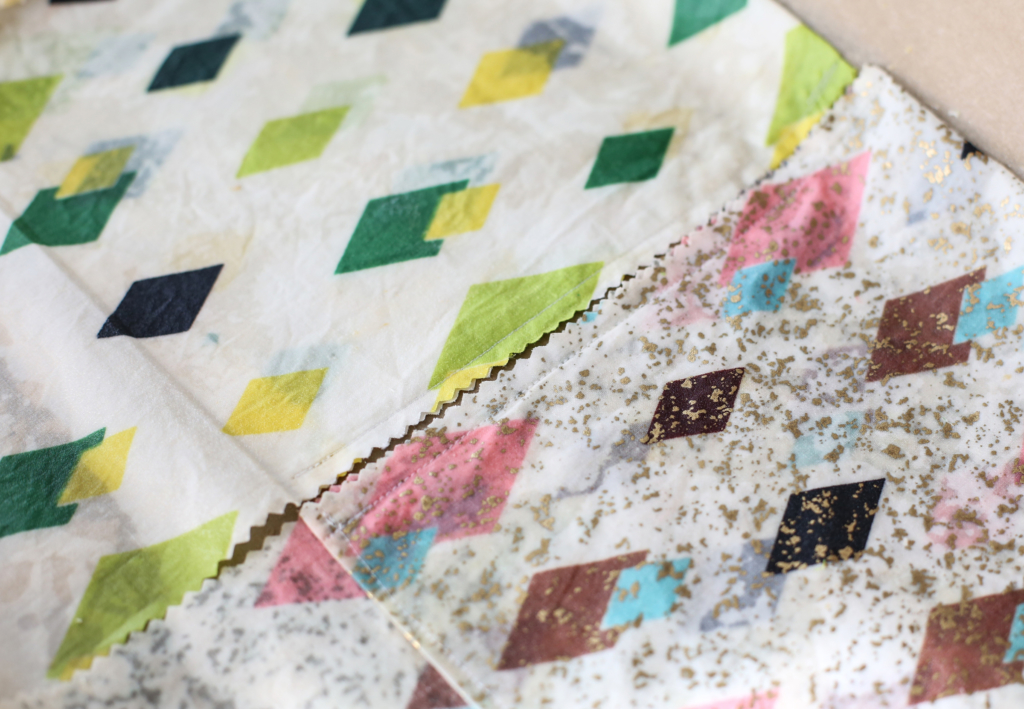
Cut fabric pieces to the sizes you need. I used pinking shears stave away fraying, and for decorative appeal (the pinking shears effect works so well with vintage fabric)—I don’t think they are a must since the wax will hold edges together. So if you have ’em, use ’em. If not, no worries. Straight shears will be a-ok.
If you want to make the baggies click here for the pattern and sew them up.
Now, line a large baking sheet with an oversized piece of parchment paper and preheat the oven to 300°F.
If you’re using beeswax only, you can simply sprinkle the pellets (or candelilla) onto one side of your fabric. Don’t overdo it, you want just enough wax to infuse the fabric, not soak it. Start with less and add more if needed, but know that too much wax will flake off and create discoloration when infused fabric cools.
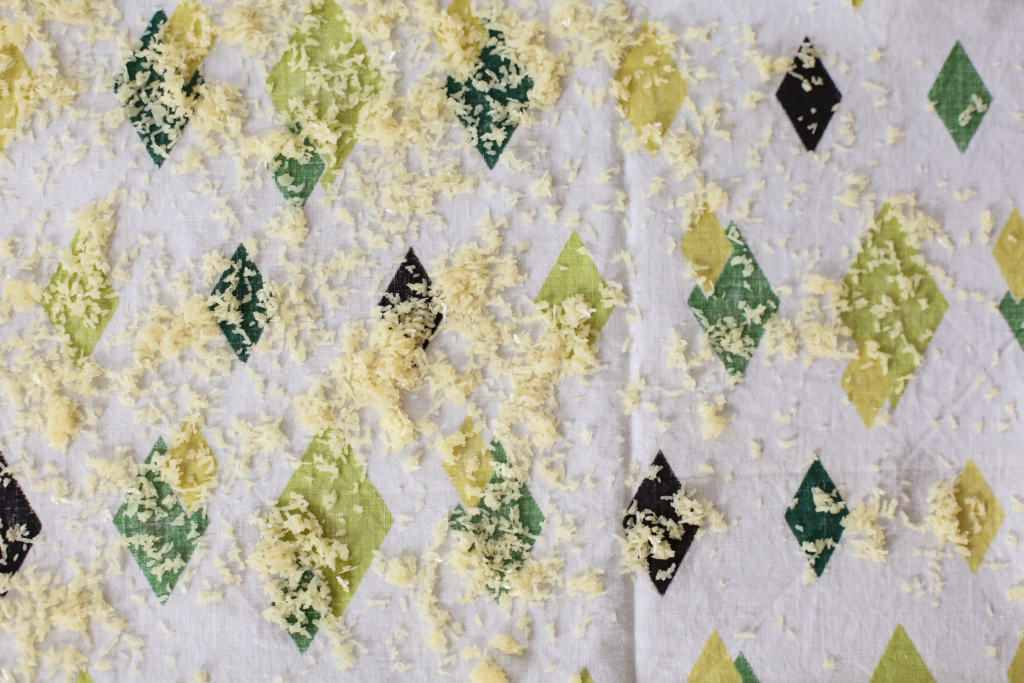
Lay onto parchment-lined baking sheet and place in oven for 5 minutes for wax to infuse into fabric.
Remove from oven and check for any dry spots. If you see some, sprinkle with a little wax and pop back in the oven for a few minutes.
Once removed quickly lift up the fabric (there shouldn’t be any wax dripping off. If you overdid it, use a bench scraper to scrape off excess wax and try less next time.
Either way, lay infused fabric on a drying rack (be sure to protect the rungs by covering with parchment if you use it for regular clothing).
They cool in a few minutes. Once cool, fold and use as needed.
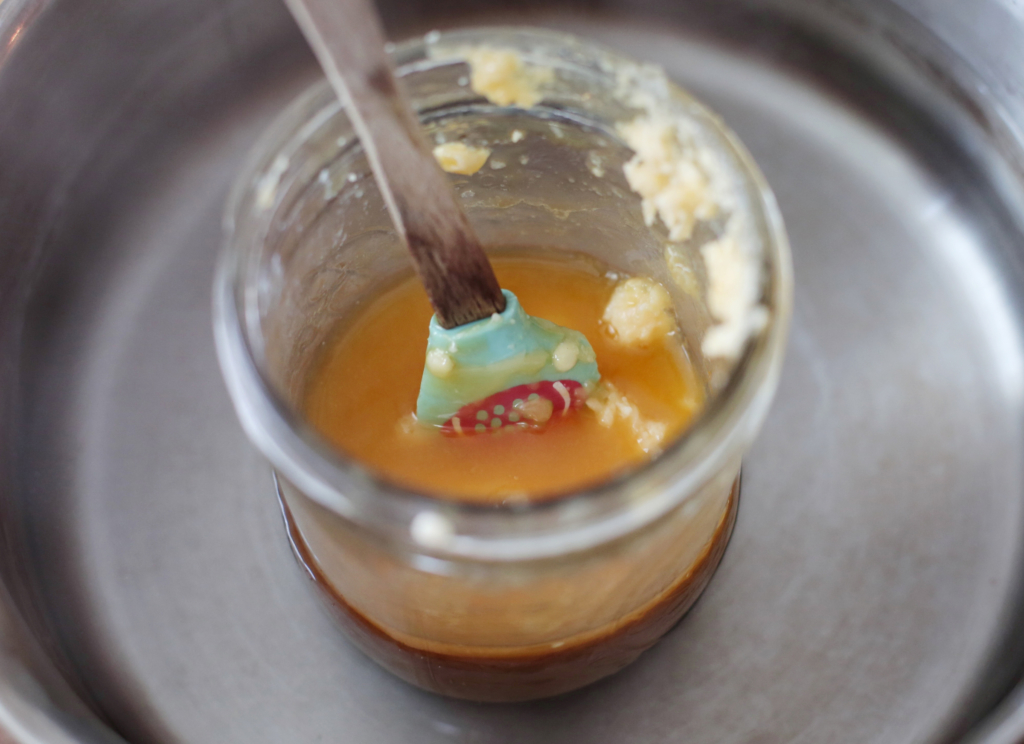
If you’re using the beeswax, sesame oil, and tree resin combo, warm all ingredients in a mason jar submerged in a pot of water—warm over medium-low. Don’t overheat the jar bath or resin can burn in bottom of jar. Stir contents with the butterknife or stirrer until completely liquified using tongs to help stabilize the hot jar.
Now, you can either use a paintbrush to quickly paint a thin layer of wax on one side of the fabric…

(the wax dries quickly)
… or save the paintbrush and drizzle the mixture over the fabric instead.
Again, a little goes a long way and once in the oven the wax mixture spreads through the fibers in all directions.
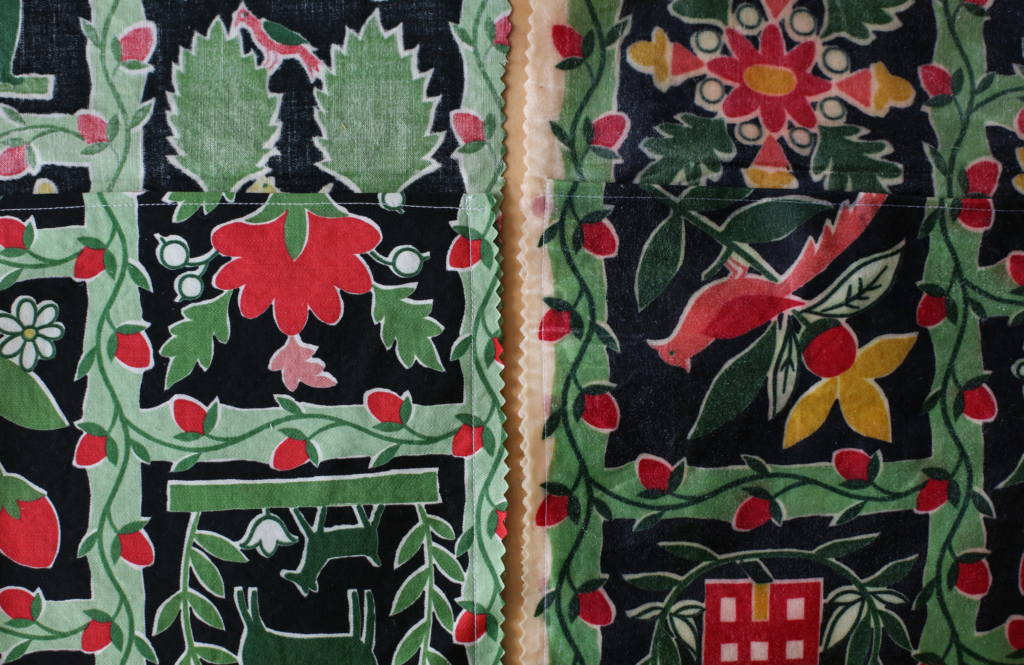
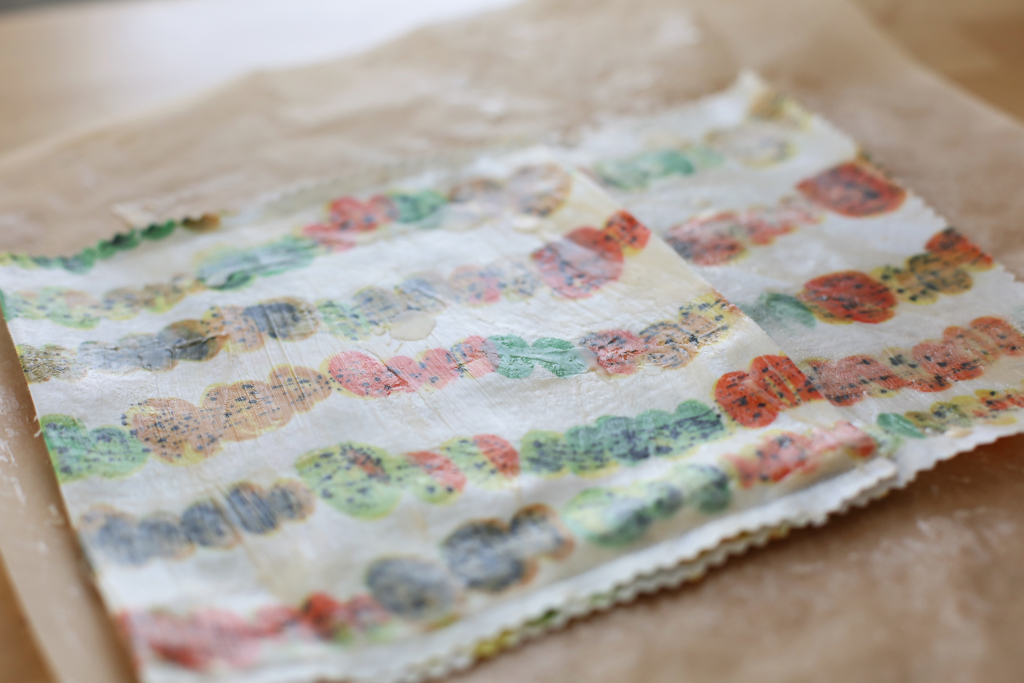
See… Waxed:

And warmed in oven for 5 minutes:
Note: after I painted mixture on a bunch of fabric, I opted for the drizzle method—it was less messy and worked just as well.
Ok. Remove infused fabric from the oven and check for any dry spots. If you see some, sprinkle or paint with a little wax/resin mixture and pop back in the oven for a few minutes.
Once removed quickly lift up the fabric (there shouldn’t be any wax dripping off. If you overdid it, use a bench scraper to scrape off excess wax and try less next time.
Either way, lay infused fabric on a drying rack (be sure to protect the rungs by covering with parchment if you use it for regular clothing).
They cool in a few minutes. Once cool, fold and use as needed.
Cleanup:
Pine resin is sticky stuff. Sesame oil will help remove it from fingers and tools. I coated my hands and pots, and stirrers with sesame oil, then scrubbed, then washed with soap to clean everything up. Bonus is it’s a great moisturizer.
Taking care of your beeswax wraps:
• You CAN rewax them when needed using these steps, usually after 4–6 months of use
• These are not the best with wet foods or animal products
• Wash with lukewarm water and a gentle soap. If water is too hot it can pull wax and resin from the cloth shortening their life
I now have enough beeswax wraps to last me for a few years, and plenty to gift for the holidays, too. Maybe I’ll even give some to GFBA students who will be making gluten-free sandwich bread verrrry soon. Decisions, decisions.
At least my fabric toolbox is a little lighter. 😉
Now I want to hear from YU. Have you used beeswax wraps before? Tell us with a comment below.
Visit us at our new home: Good Food Cooking School
