The Best Homemade Chocolate (Dairy-Free)

I love options in everything, especially when it comes to recipes since…

1.) I can’t follow a recipe to save my life

2.) My food mood is always changing and…

3.) I prefer to play with ingredients I have on hand.

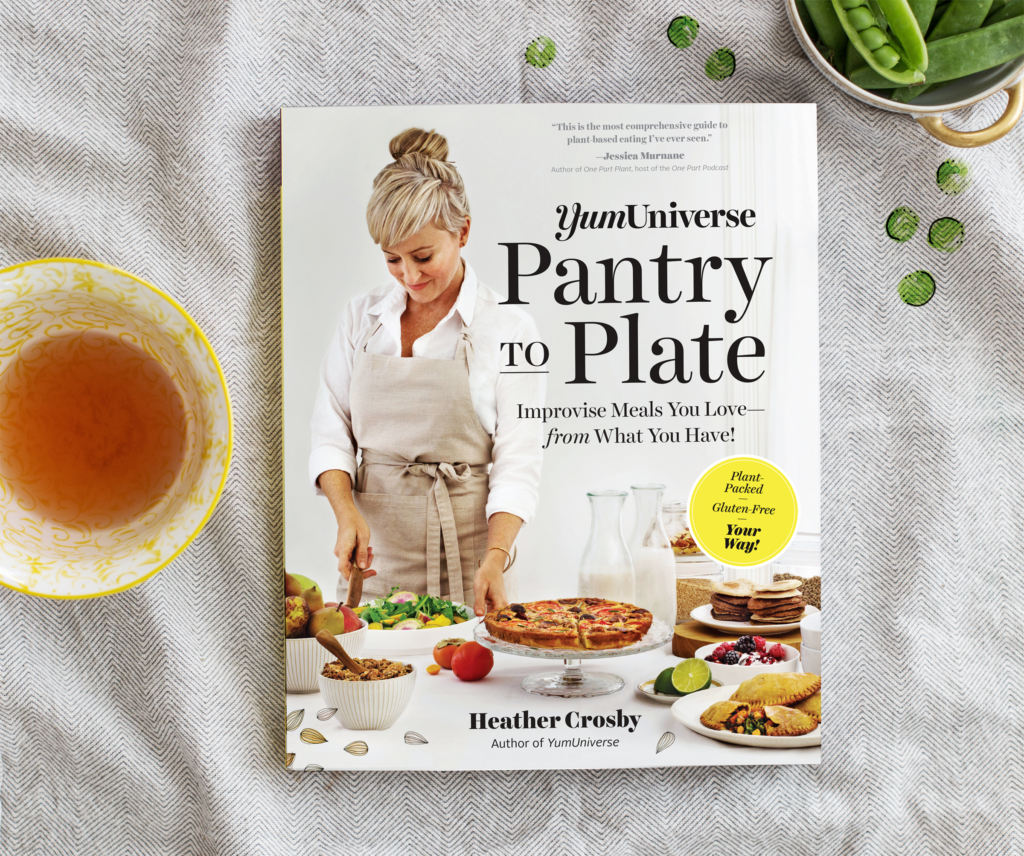
These reasons pretty much are the entire catalyst for my new book YumUniverse Pantry to Plate, because I know I’m not alone. This is how most of us busy peeps cook day to day, right?

So when I want a treat, I usually whip up some easy, homemade, dairy-free chocolate and use one of the many options at the bottom of this post to play. I make bars, truffles, bark—it’s easy to freestyle and suit the ole food mood. Which in the case of chocolate, is Mexican. Spicy.

I’ve been busy planning the PTP cookbook tour these past few weeks and managing the most recent session of the GFBA, but I wanted to get this recipe posted just in time for Easter. Try these fun molds to make festive shapes and Easter bunnies like this guy…

Sorry about the ears, buddy… [guilty]

Ingredients:
1 cup raw cacao butter
3 tbsp cacao/cocoa powder
Pinch fine ground sea salt
2–4 tablespoons maple syrup*
1 tablespoon cocoa aminos (optional, but adds great depth of flavor)
Seeds from 1 vanilla bean pod (optional, here’s how to prepare)
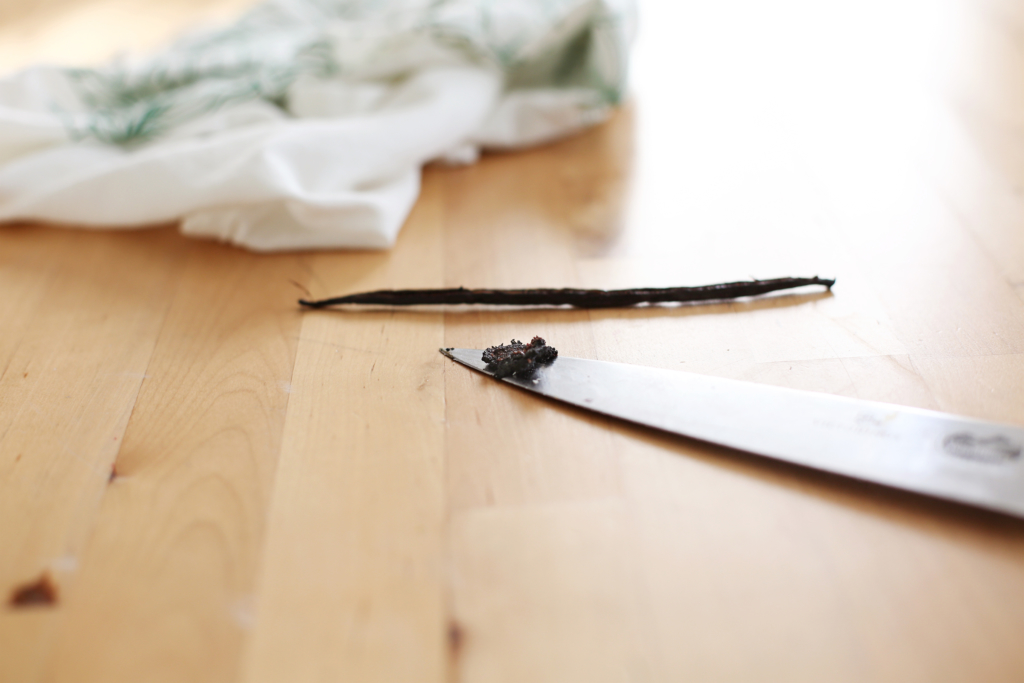
*You can try other sweeteners, but maple syrup tends to create the smoothest texture. When I’m trying to watch my sugar intake, instead of maple syrup, I use 1–2 teaspoons of monkfruit sweetener ground to dust in a coffee/spice grinder. This creates a smoother texture since it can’t dissolve in the fats of the cacao butter. You can also grind 1–2 tablespoons of coconut sugar and/or Sucanat to sweeten your bar instead. Sometimes, I’ll even use the blender to mix everything well.

Let’s get started.
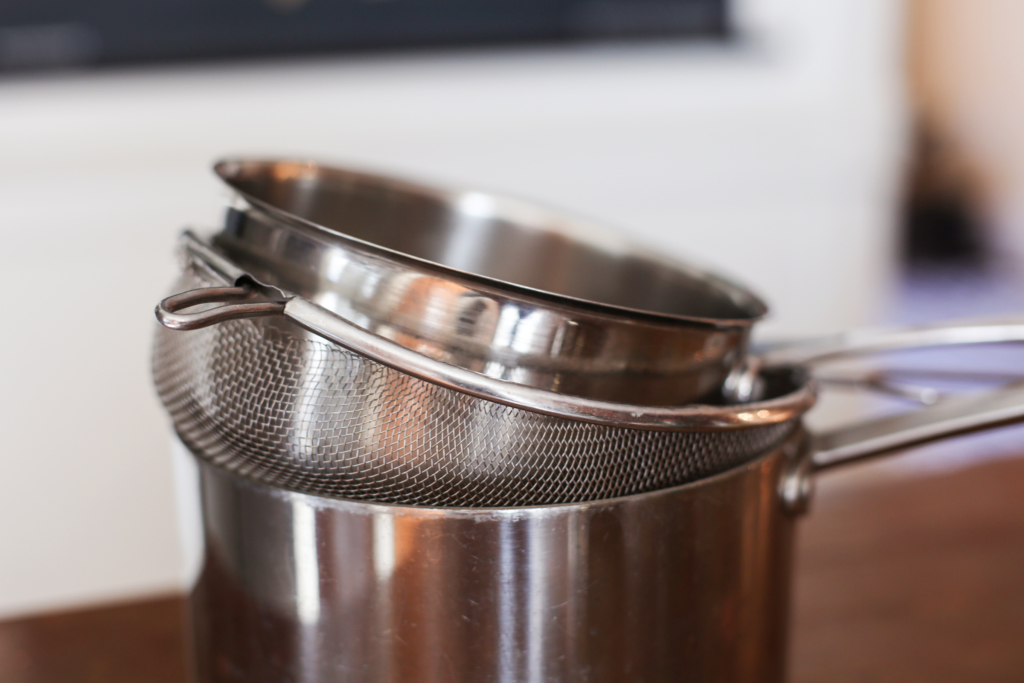
1. Get a double boiler going on your stovetop with a pot of boiling water below. You’ll be melting your chocolate with steam, instead of directly on a burner.

Sometimes, I don’t use my double boiler, and instead kitchen hack a boiler with one large pot, a sieve, and a medium pot.
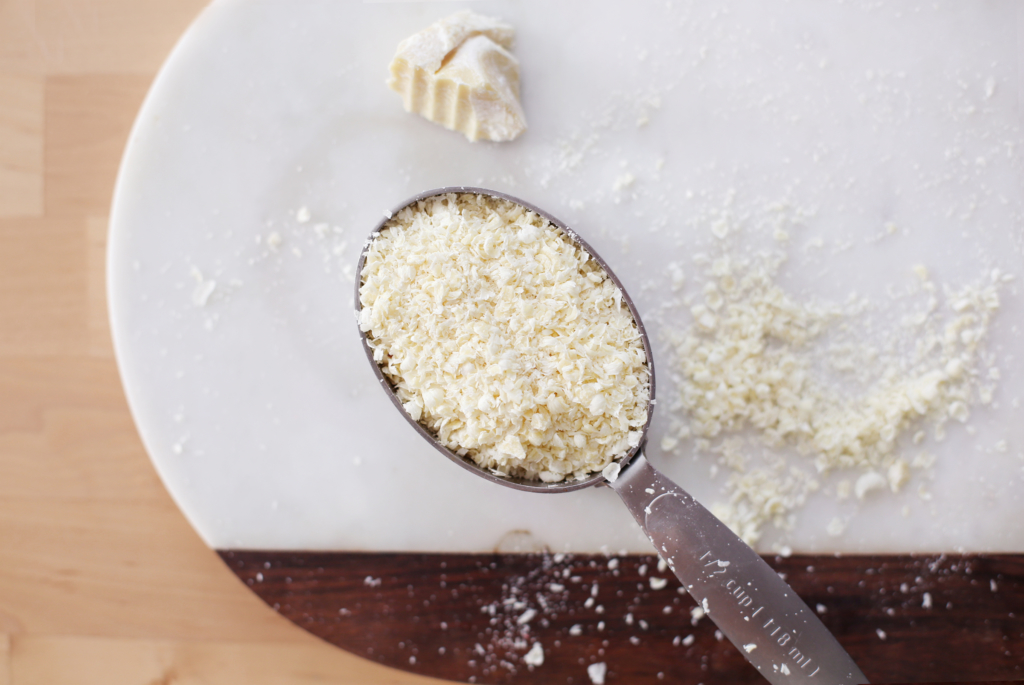
2. While the double boiler heats, shave or grate your cacao butter. Use the shaved amount to make 1 cup total. Grating/shaving helps it melt uniformly.
2. Now, place all ingredients in the dry, top pot or saucepan of the double boiler…
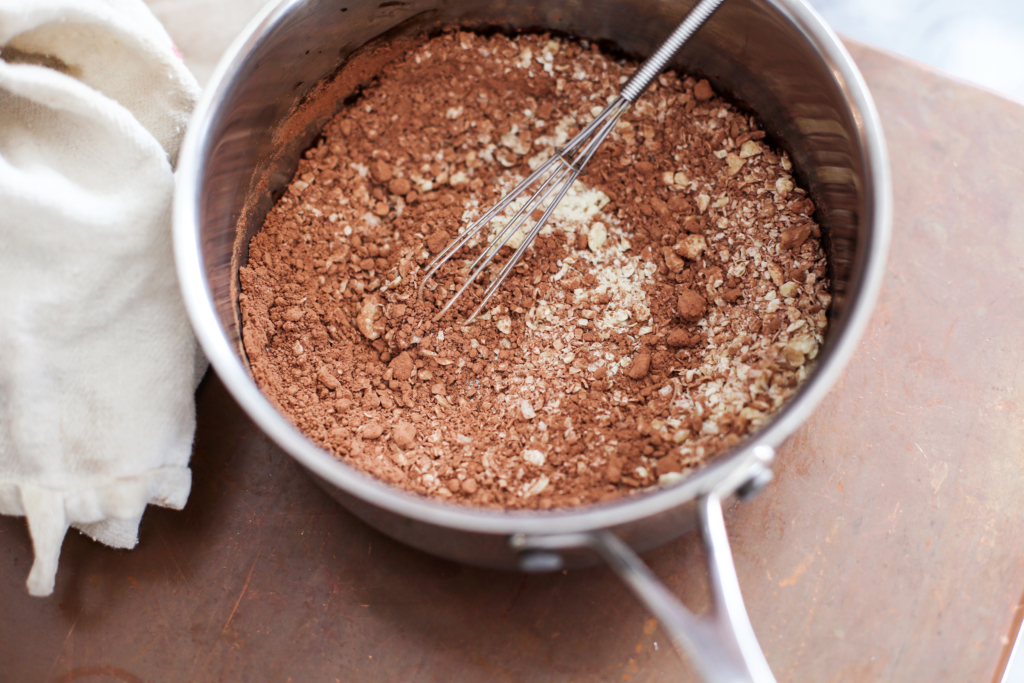
… whisk together until melted.
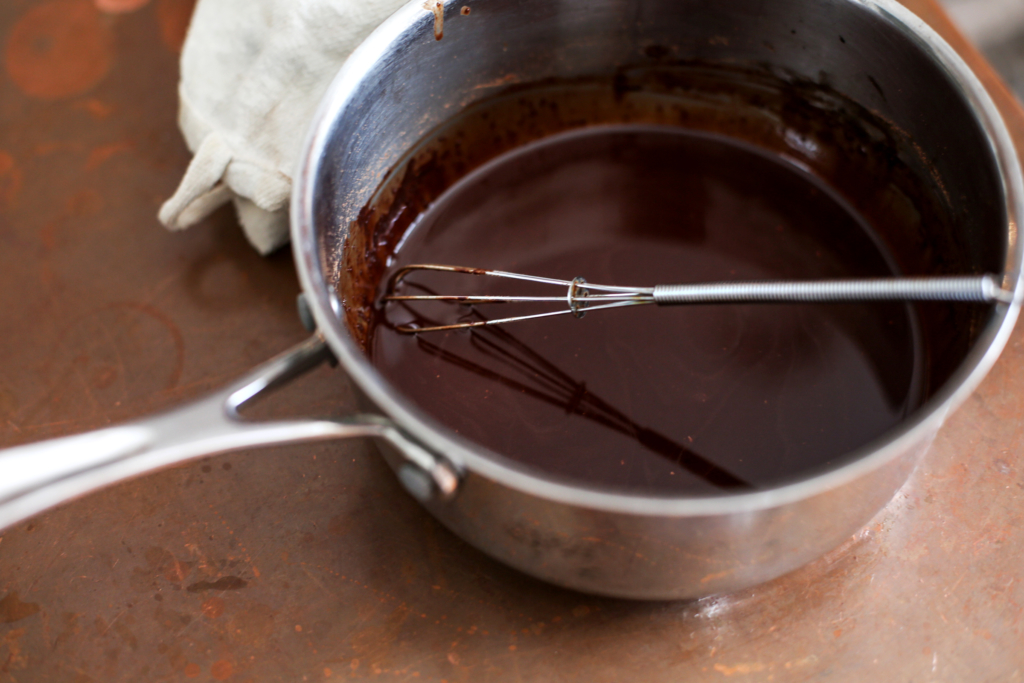
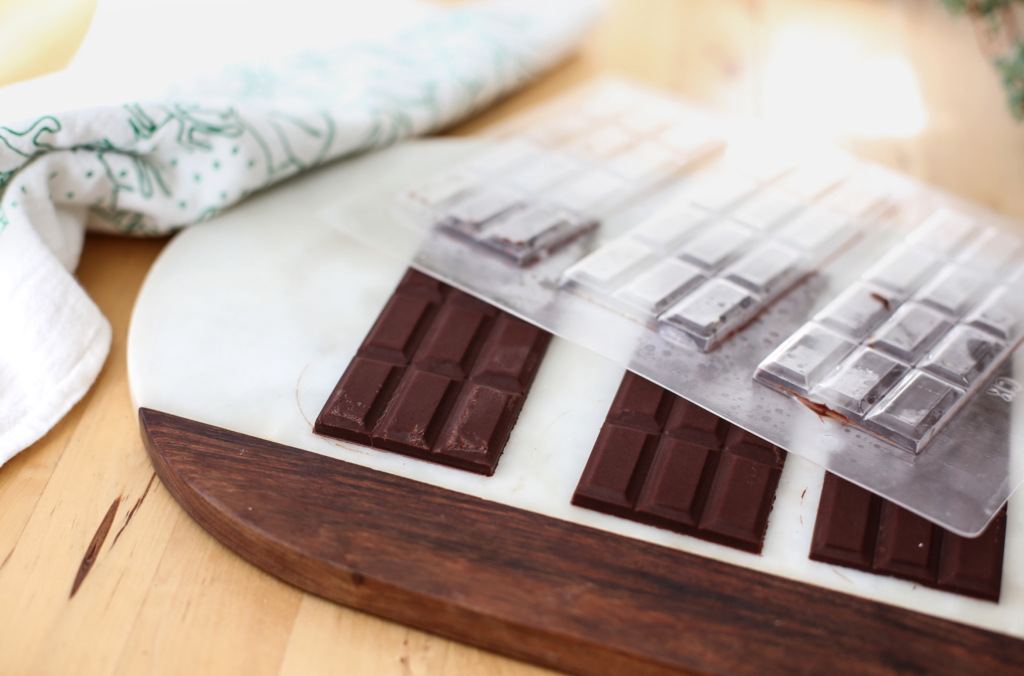
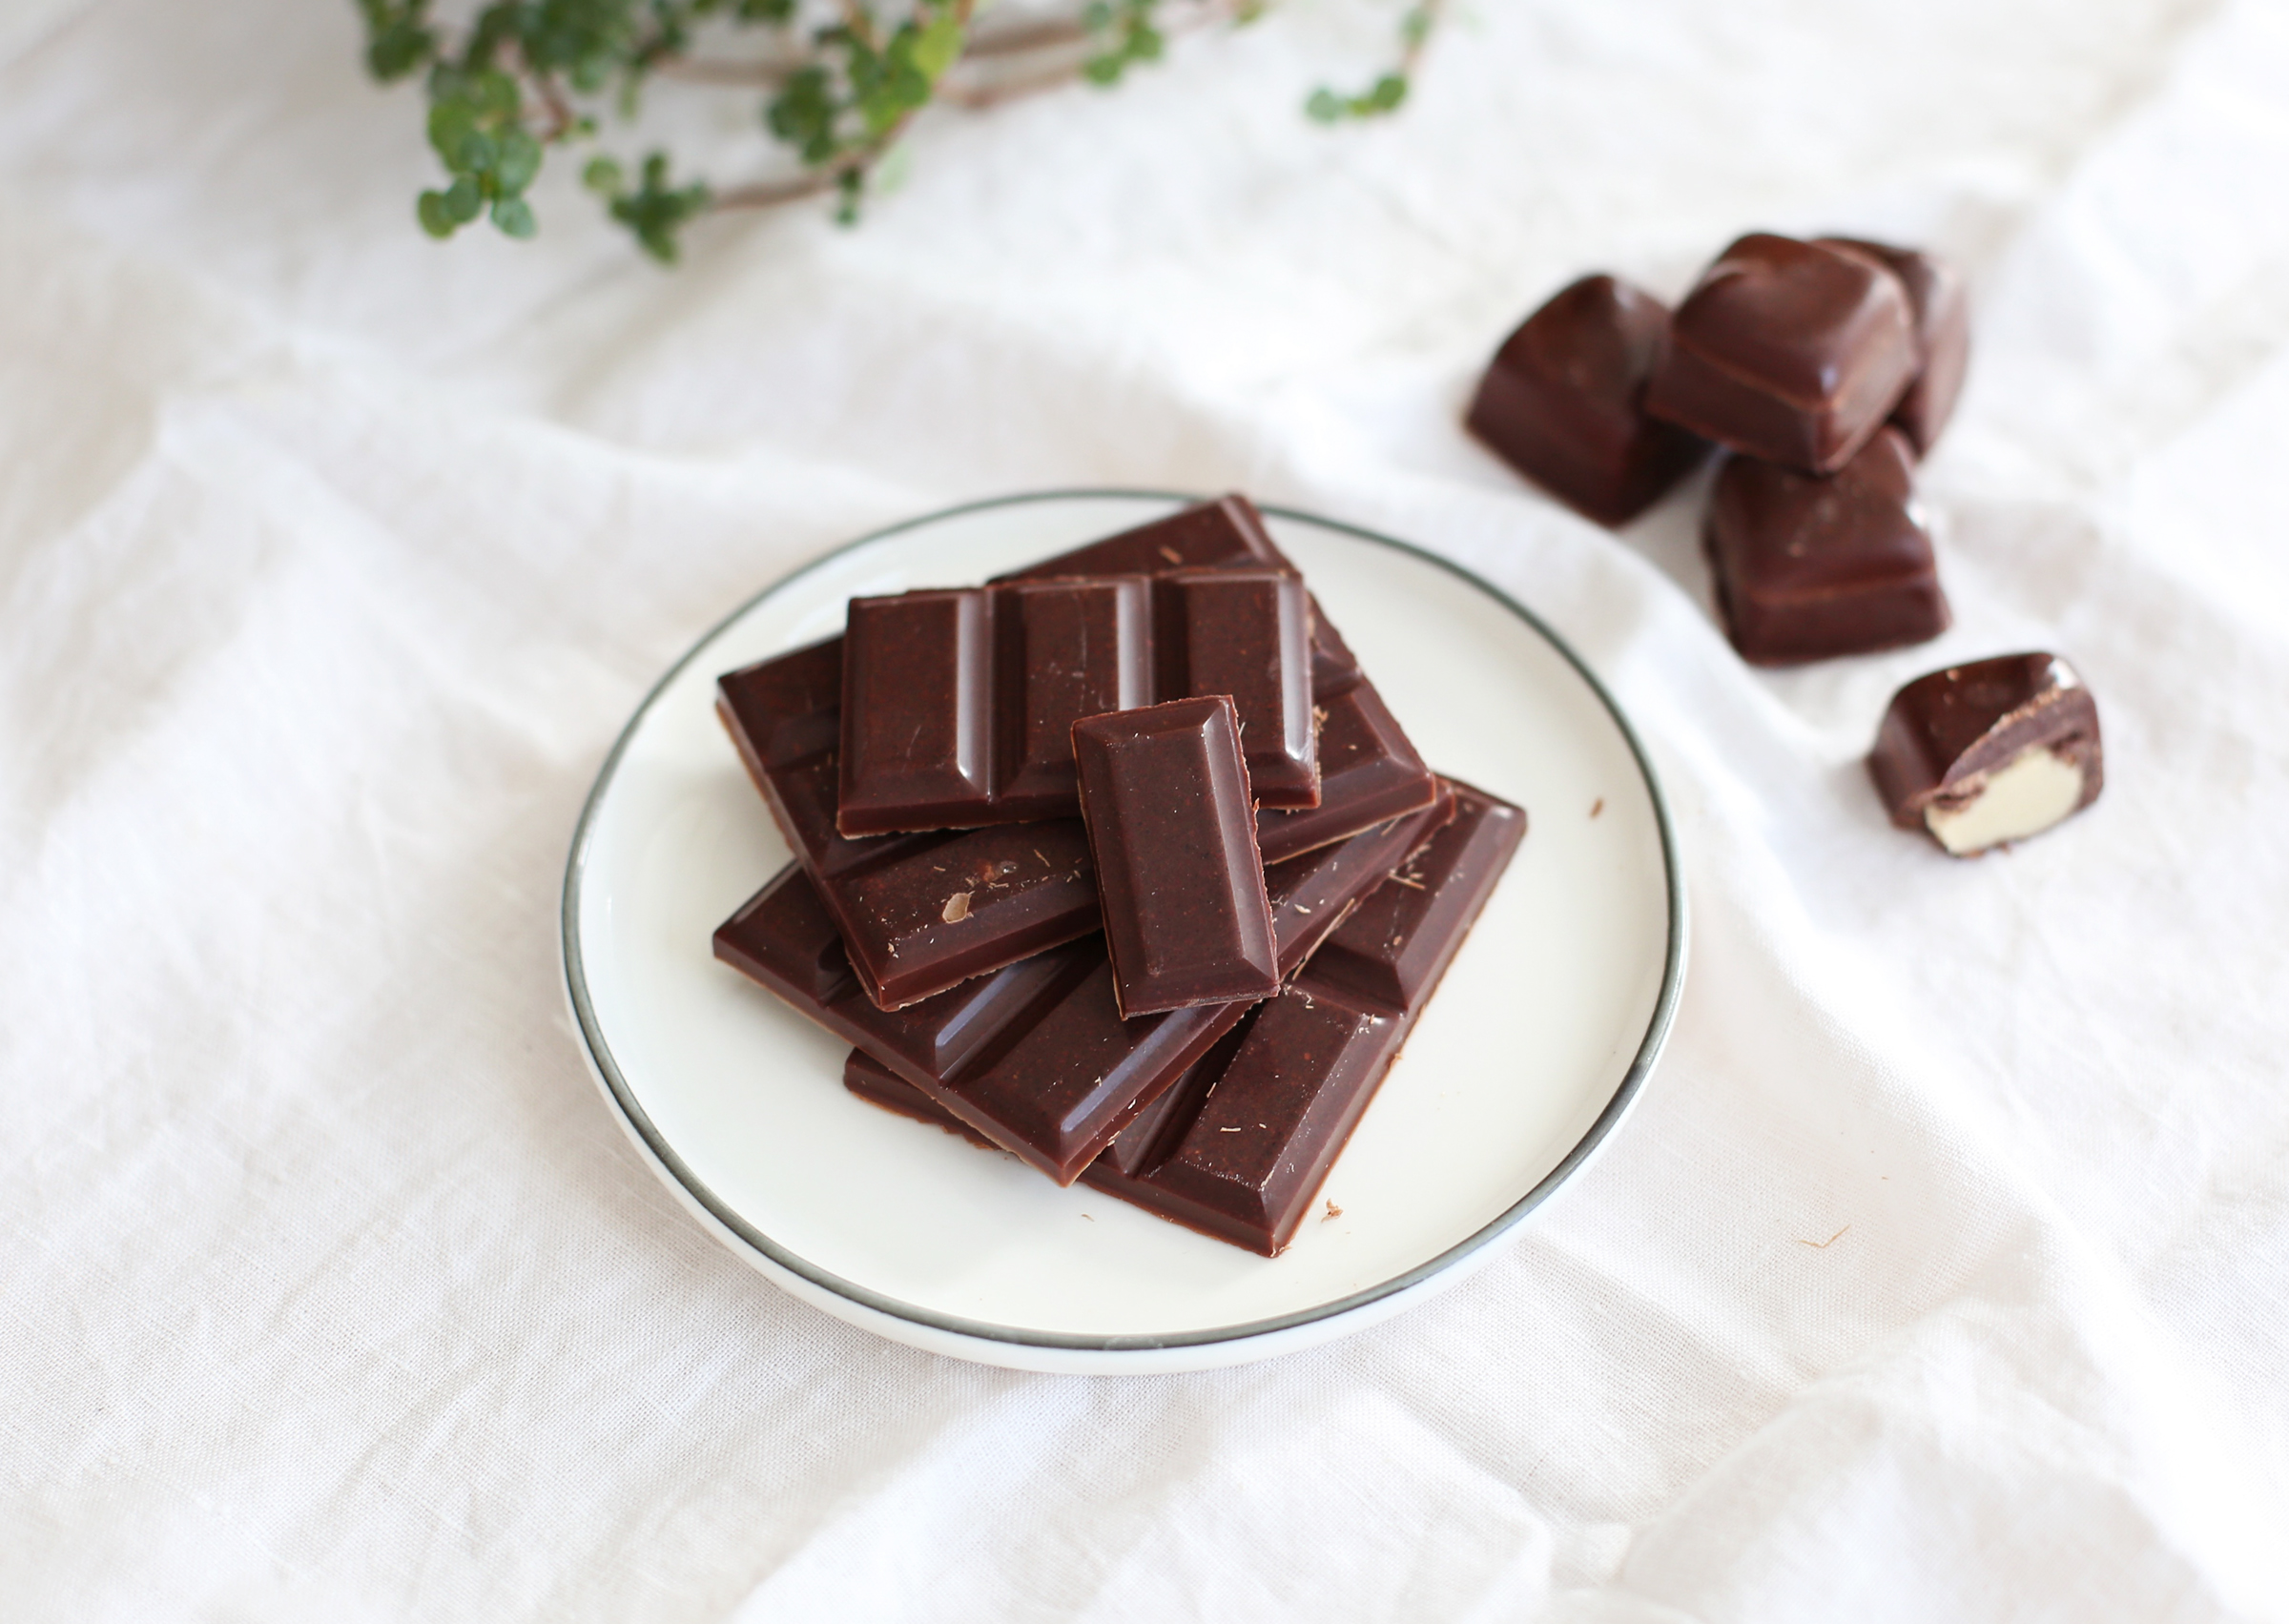
3. Pour melted chocolate into molds, and allow to cool and harden on the counter or in the fridge. Then pop out and enjoy!
Time to play:
1. Use truffle or bon-bon molds to make chocolates filled with apricot jam, boozy compote, or roasted cashew butter. Just pour a little chocolate into the bottom of the mold to harden, then after it’s solid, place a dollop of your topping in the center and fill the rest of the way with melted chocolate.
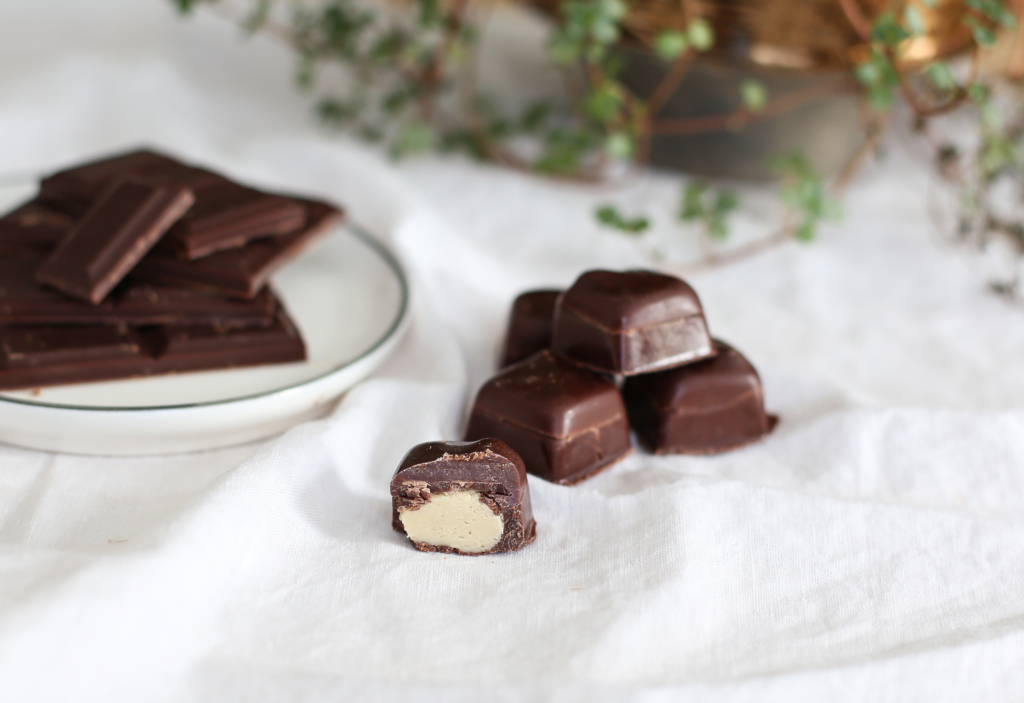


2. Fold in some crispy brown rice cereal for a Crunch Bar.

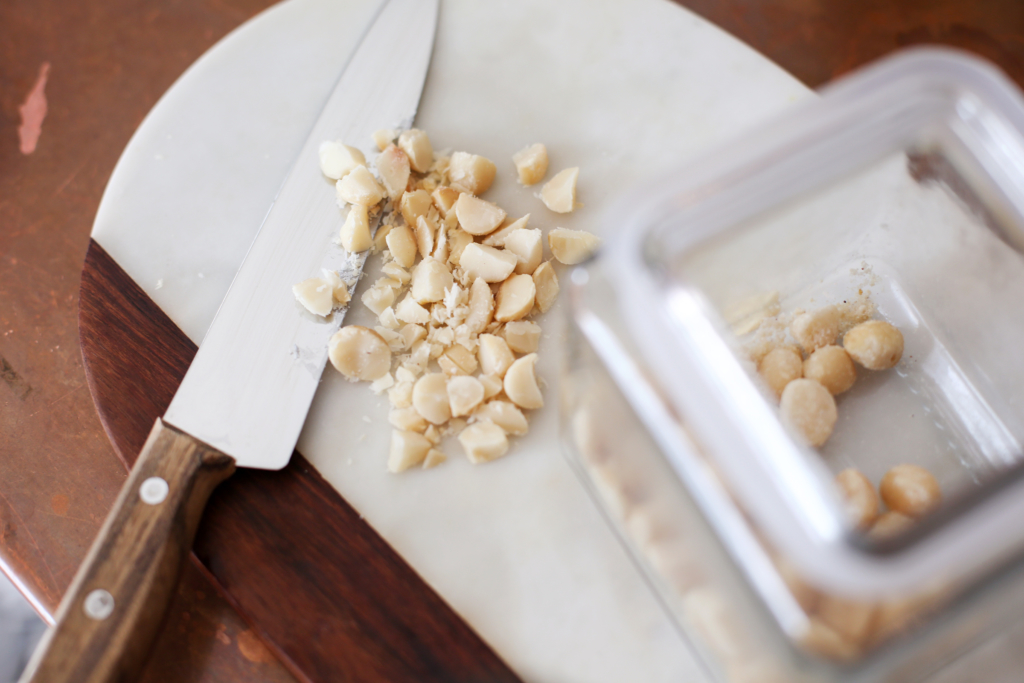
3. Pre-roast some nuts, seeds, coconut, and/or incorporate dried fruit for nice texture and flavor.
4. Try the following additions to flavor your chocolate:
—Cinnamon, cayenne, chili powder, lime zest
—Ground cardamom
—Ground coffee
—Matcha

5. Sprinkle a plain chocolate bar with flaked Maldon salt—yes!

If you try any of these, share a pic—me and my inner sugar demon wanna see.
Just @YumUniverse and tag #yumuniverse

Want more options and recipes to freestyle with?
Pre-order a copy of my new book

YumUniverse Pantry to Plate empowers people to cook on the fly with confidence. And if you pre-order, you can access bonus recipes and tips for more pantry-to-plate cooking right here.

Now, I want to hear from you. What will you do with your homemade chocolate? Enjoy it plain? Make truffles? Crunch bar?? Tell us with a comment below.
Burrito-Stuffed Sweet Potatoes with Rustic Salsa from “The First Mess Cookbook” [Giveaway!]

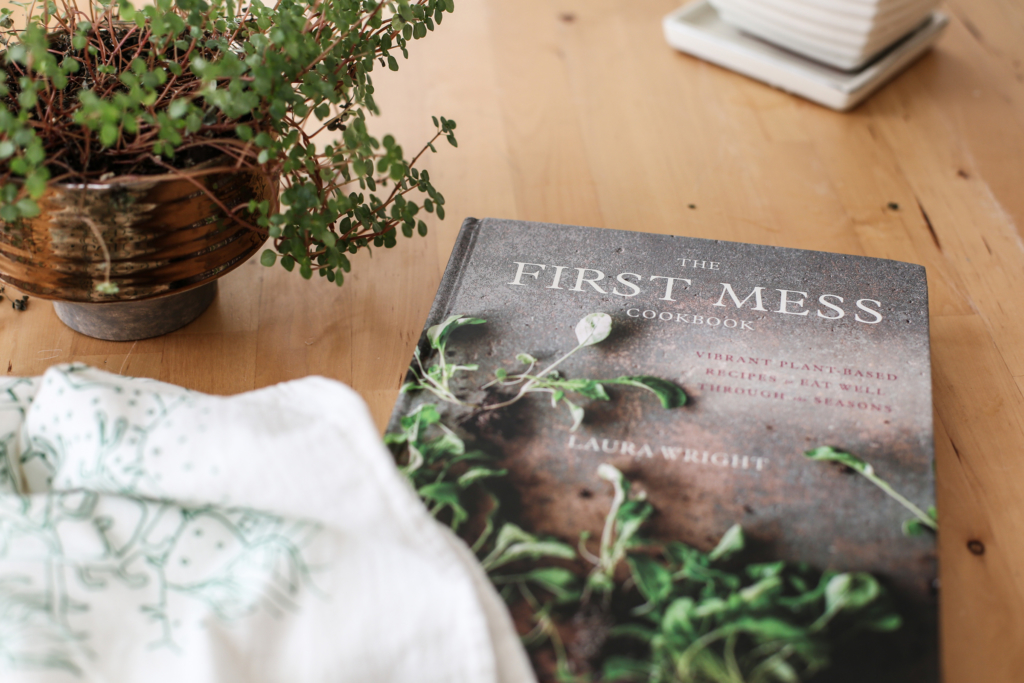
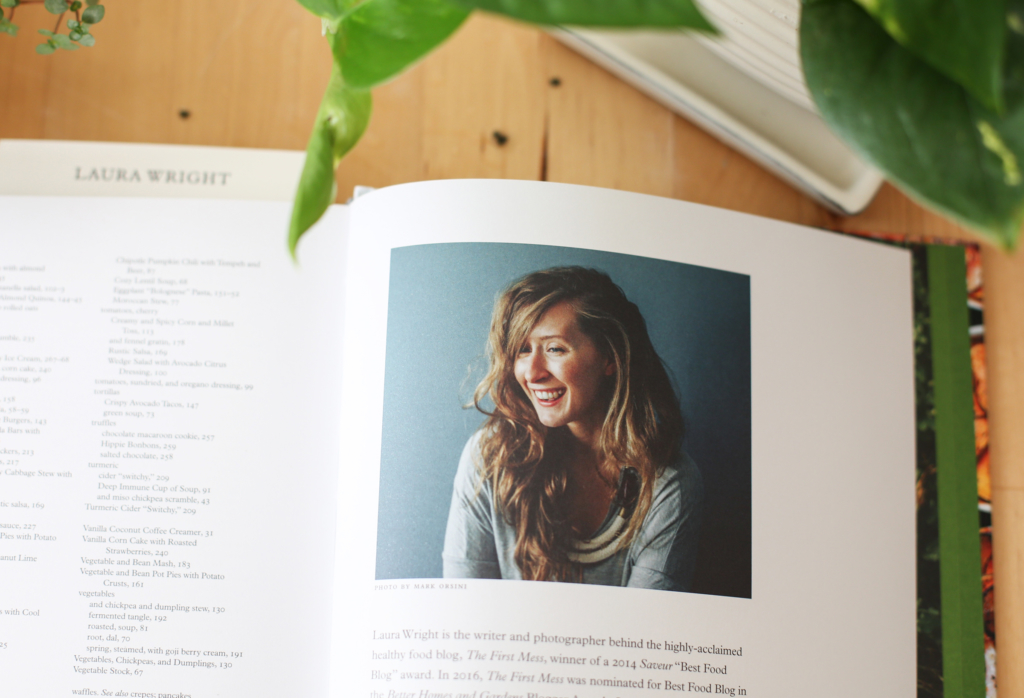
Laura Wright needs no introduction, really. You’ve likely seen her swoon-worthy photos and recipes from her website The First Mess or on Instagram (she also has a very inspiring Pinterest feed, too). Well, this past week, Laura’s first cookbook The First Mess released and what I will say now is: get this cookbook!

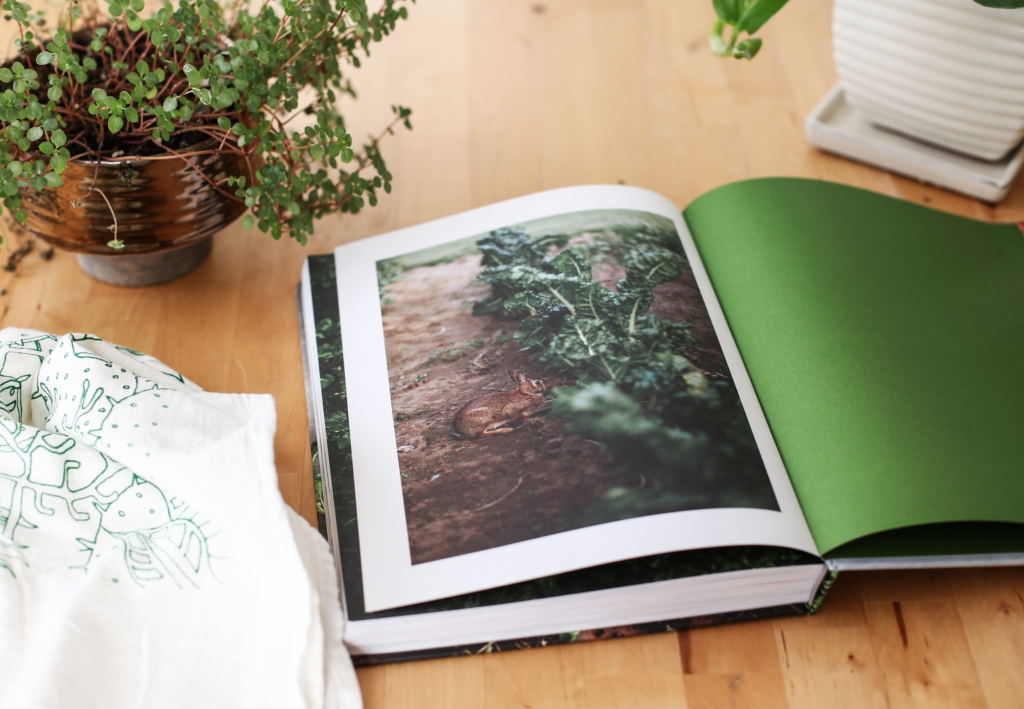
It’s so stunning—the kind of book that could live on your coffee table.

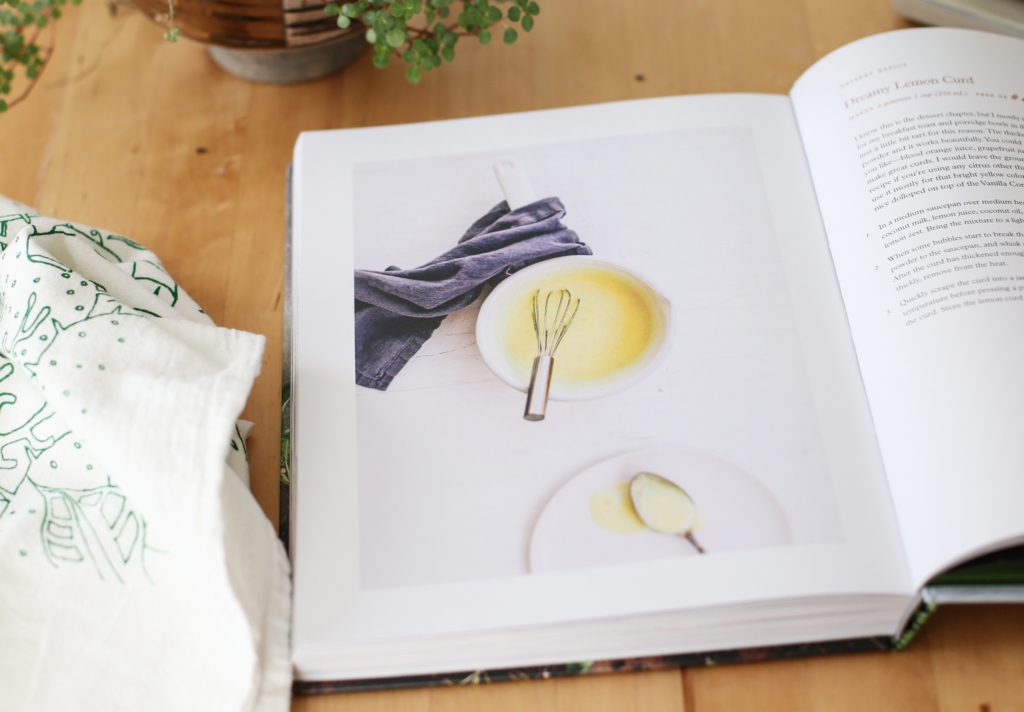
Every page makes me gasp “I’ll be making that this week,”…

… or sigh a happy sigh, “oooooh”…

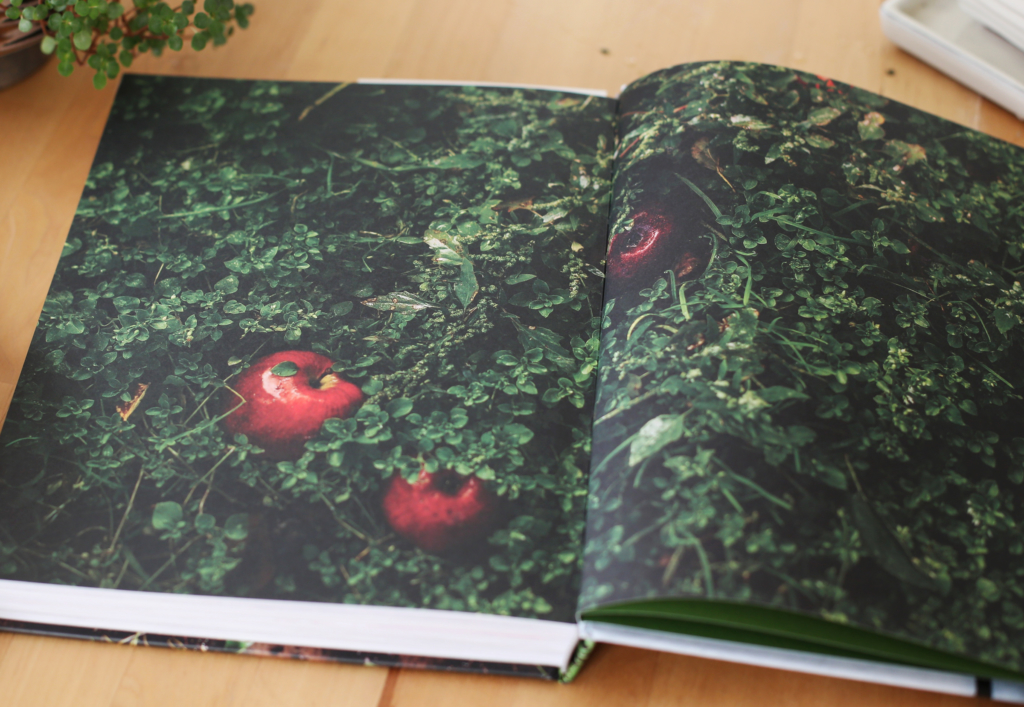
… and smile at sweet moments like “look at that bun in the kale patch!”

I’ve been finding myself curling up all over the house to read more these past few weeks.

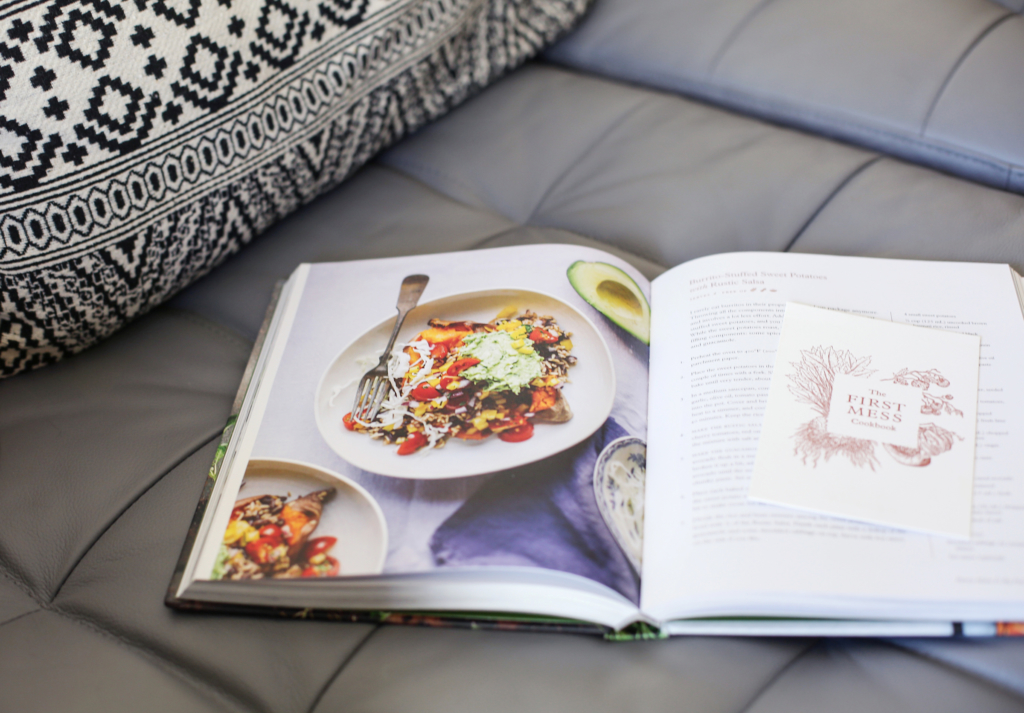
When I landed on this page, I knew that this was the recipe to share…

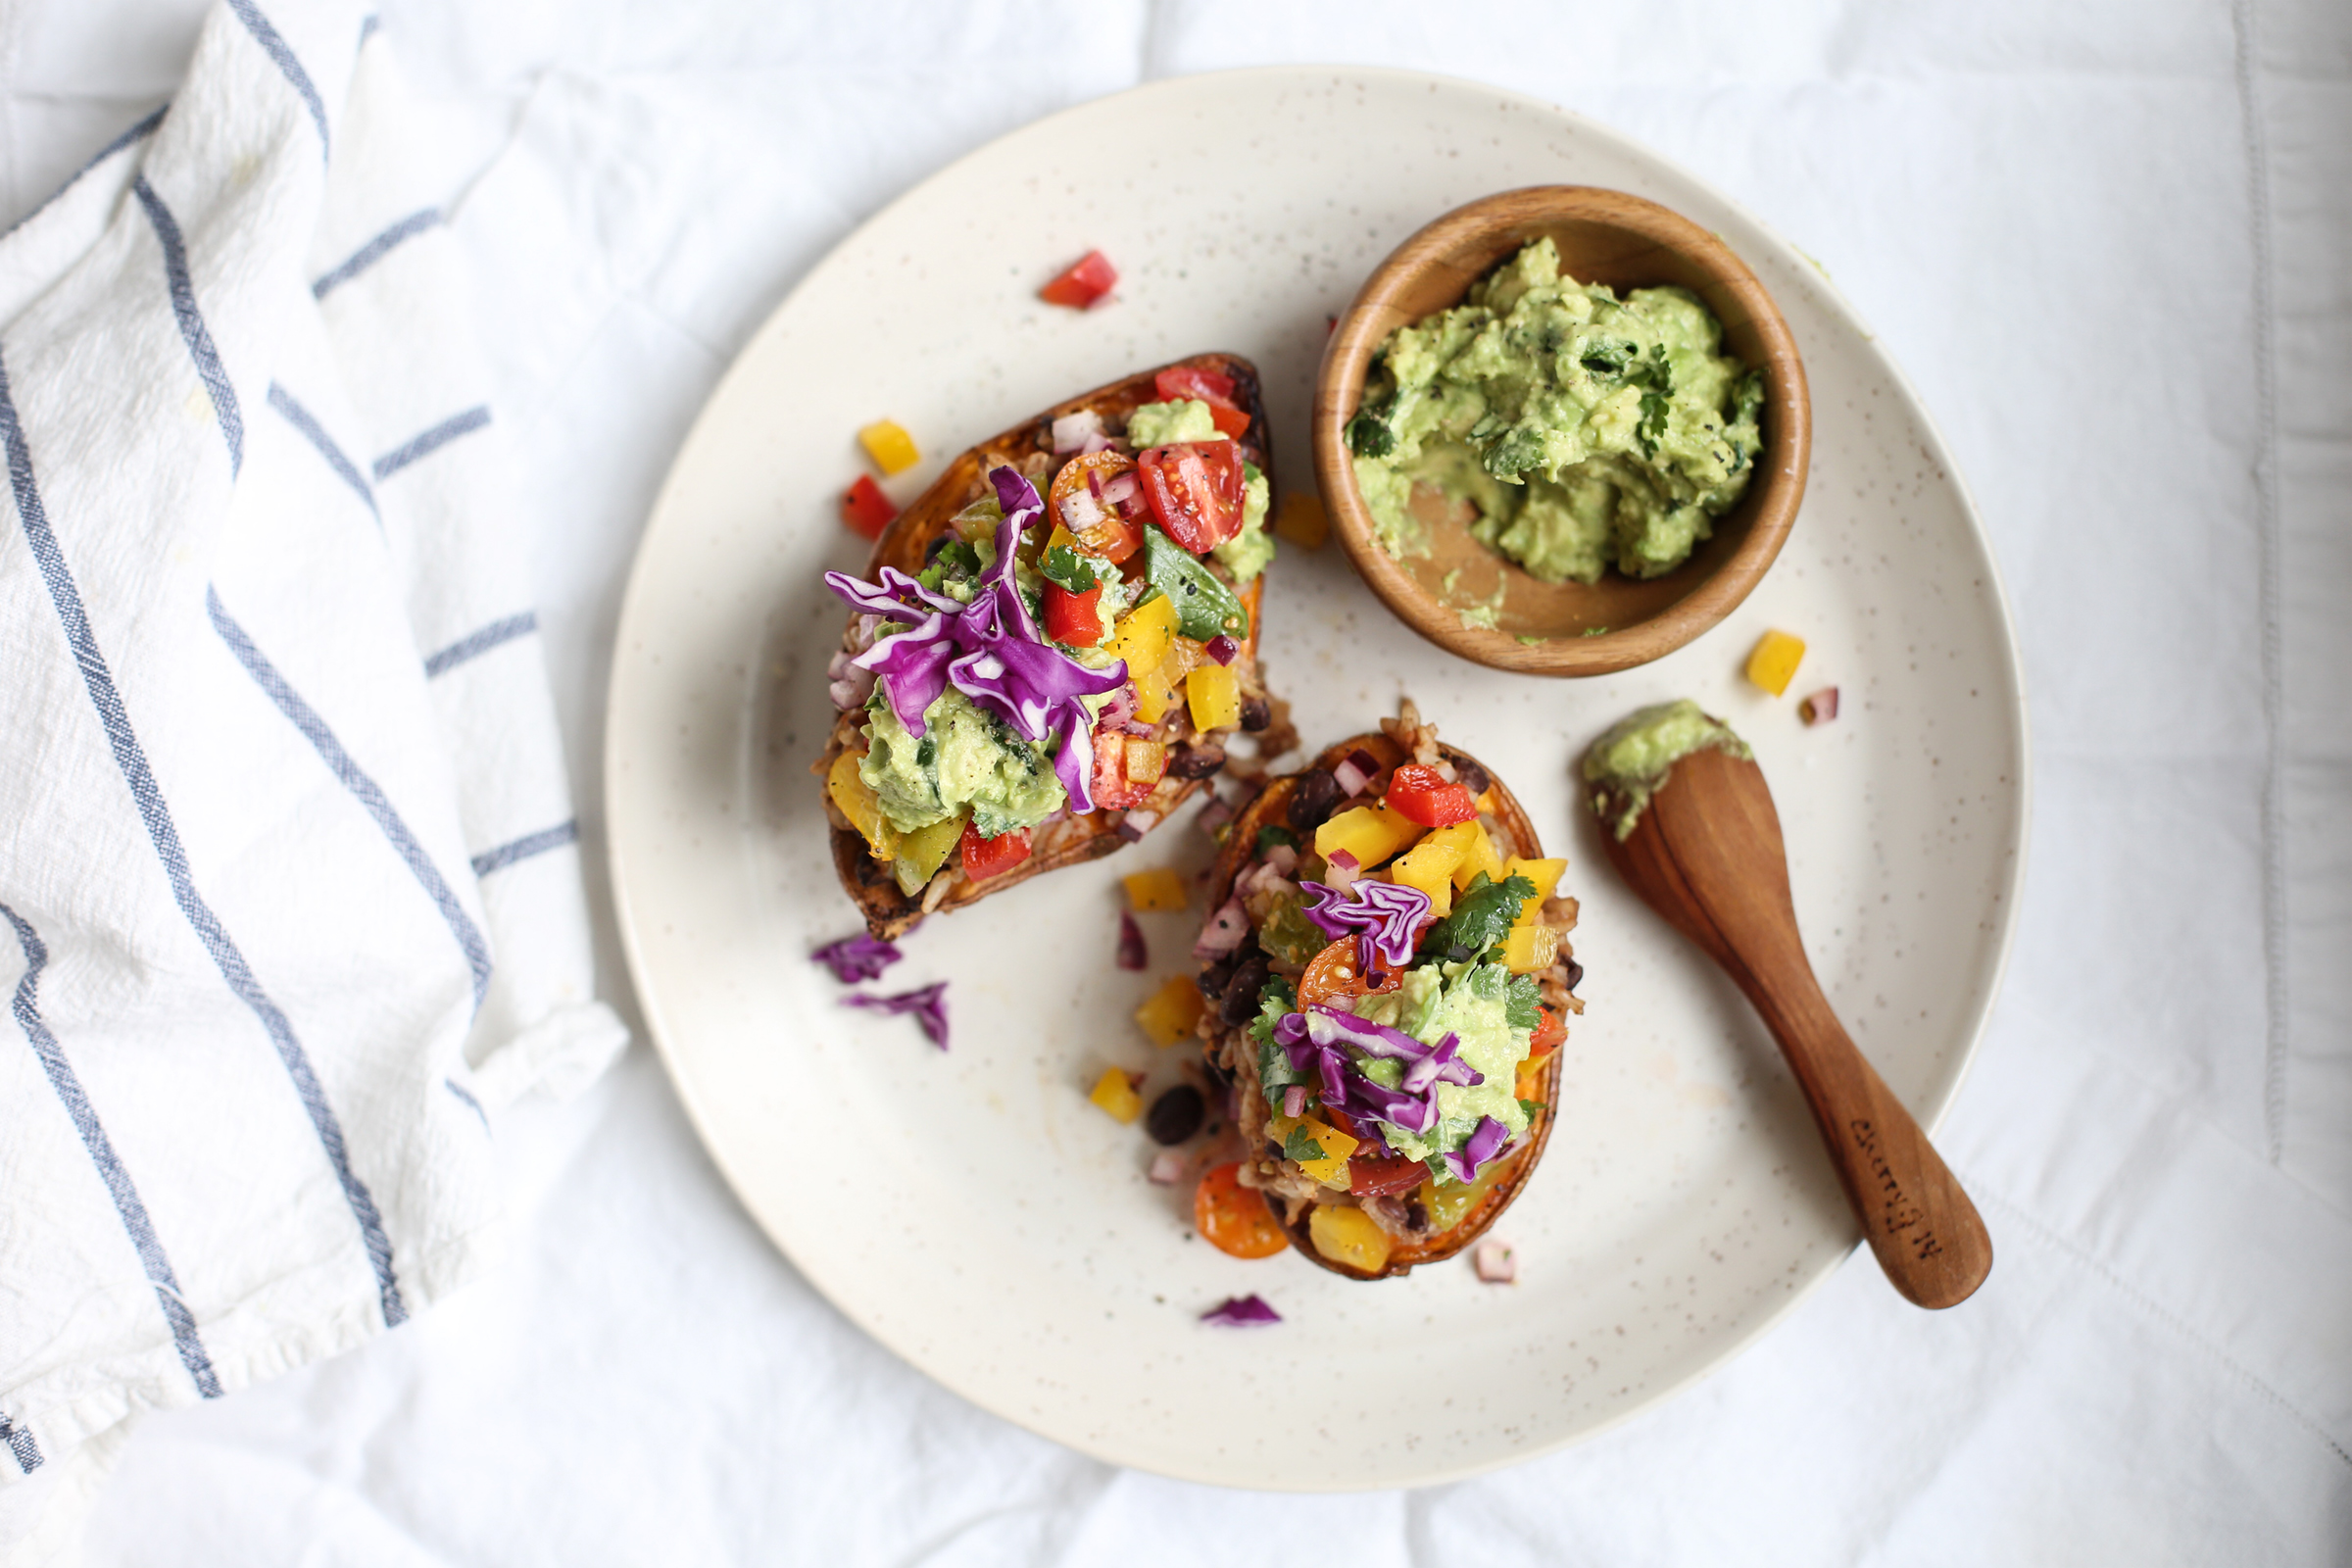
It’s full of flavor, color, and is definitely an “eat the rainbow” kind of meal. We’ll be adding this to the menu rotation on the reg in my home.

Burrito-Stuffed Sweet Potatoes with Rustic Salsa
Serves 4

Laura says: I rarely eat burritos in their proper, wrapped-up package anymore. Throwing all the components into a bowl is so much easier to eat and involves a lot less effort. Add to this my love of baked and stuffed sweet potatoes, and you have the inspiration for this dish. While the sweet potatoes roast, you have ample time to fix all the filling components: some spiced beans and rice, a rustic salsa, and guacamole.

Ingredients:
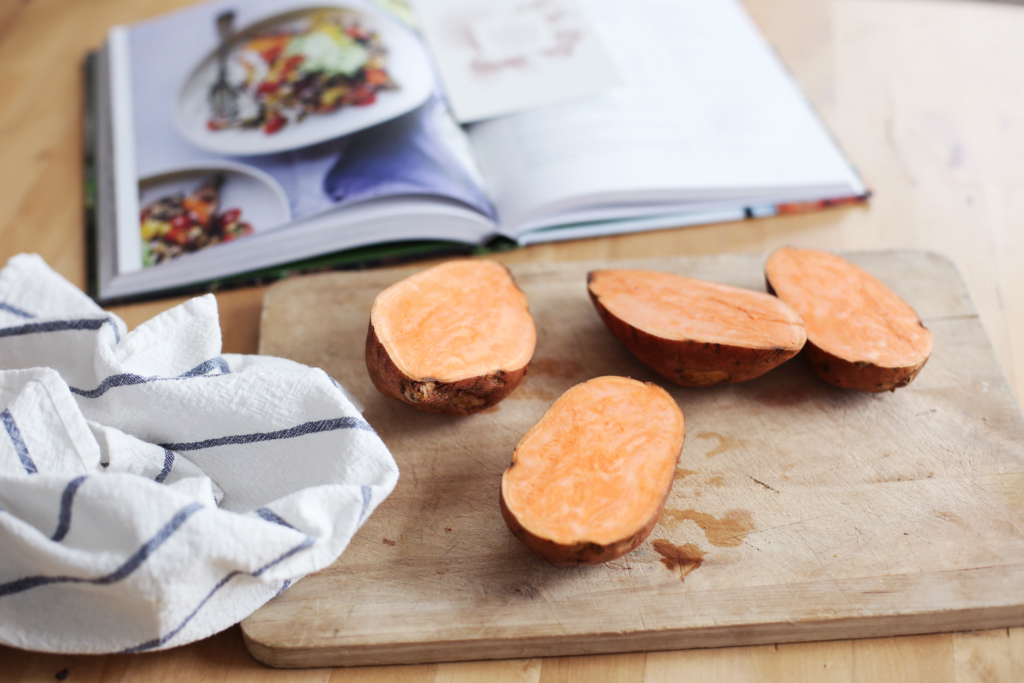
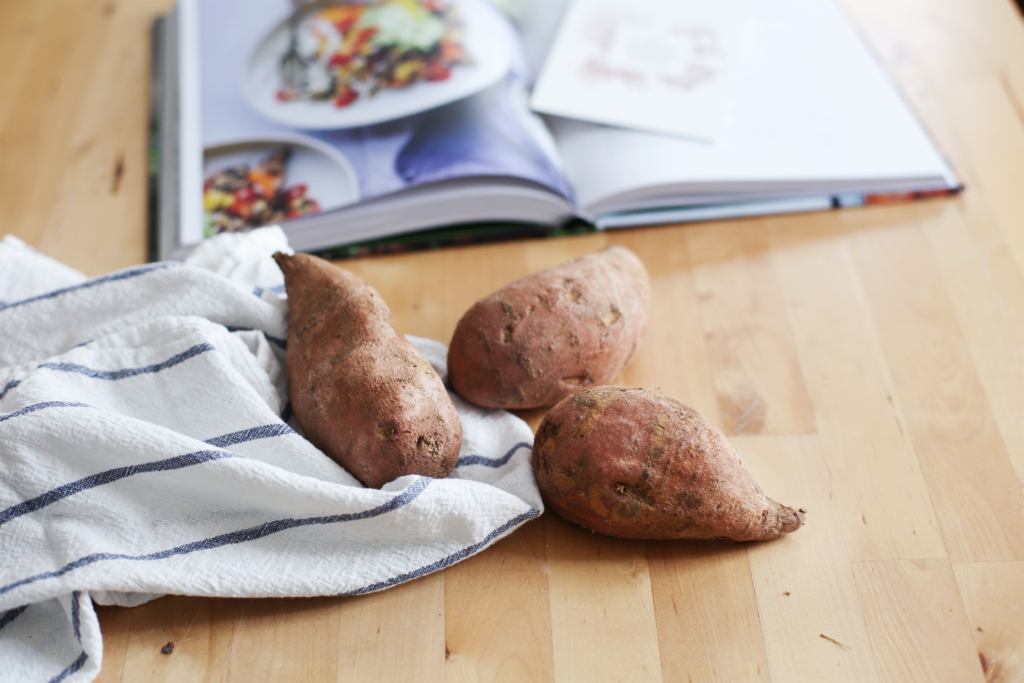
4 small sweet potatoes
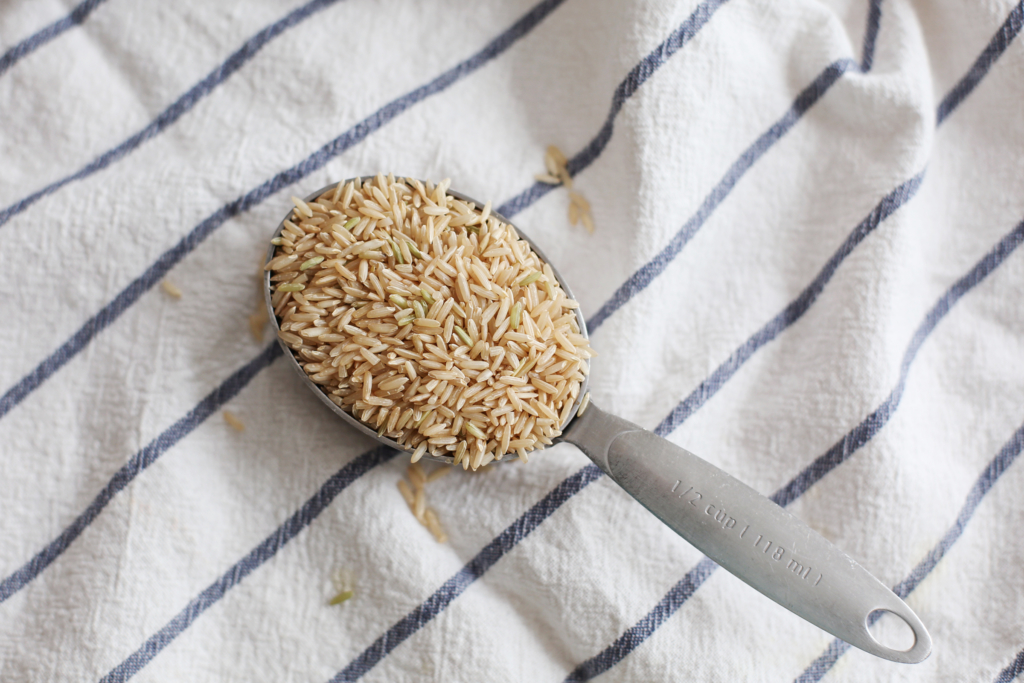
½ cup (125 mL) uncooked brown basmati rice, rinsed
1 cup (250 mL) cooked black beans
1 teaspoon (5 mL) ground cumin
½ clove garlic, minced
½ teaspoon (2 mL) virgin olive oil
1 teaspoon (5 mL) tomato paste
Pinch of salt

Rustic Salsa
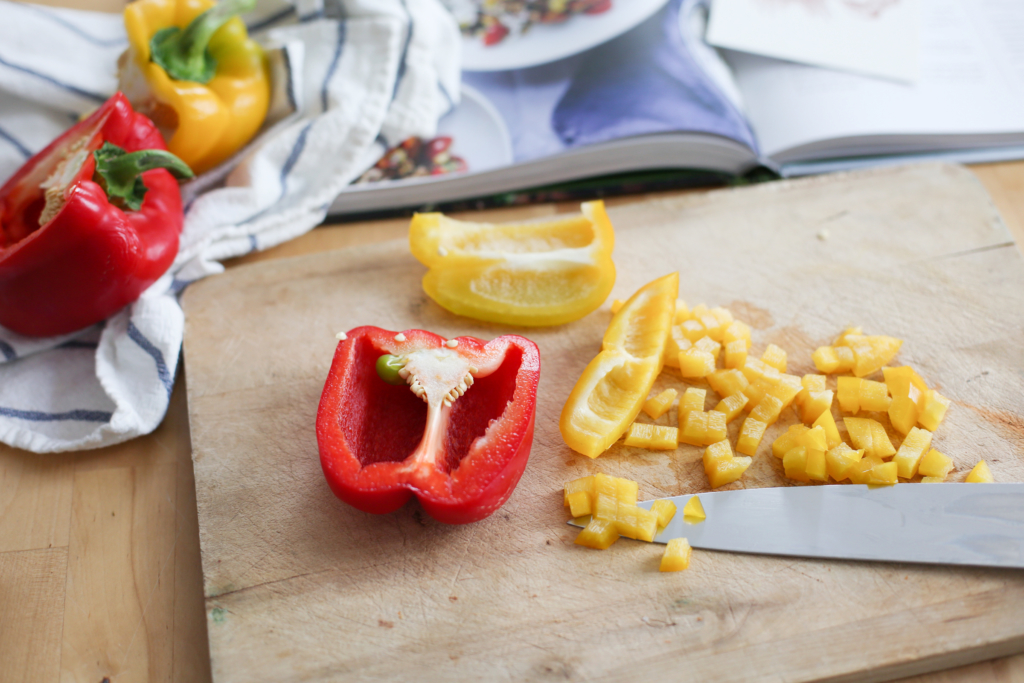
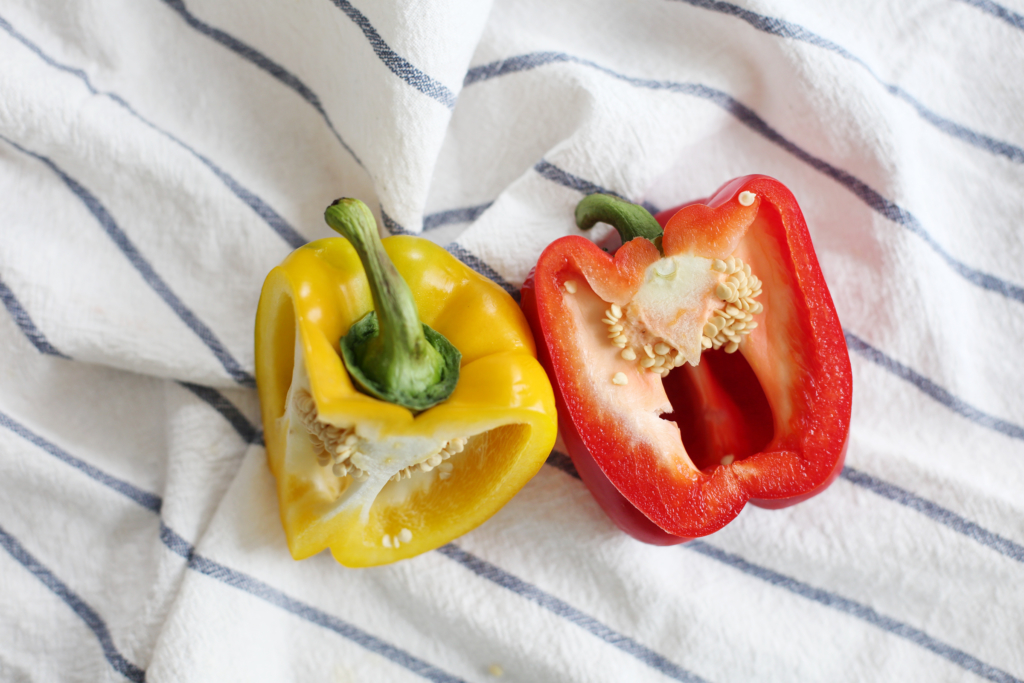
1 yellow or red bell pepper, seeded and chopped
1 cup (250 mL) cherry tomatoes, halved
½ small red onion, chopped
1 tablespoon (15 mL) fresh lime juice
2 tablespoons (30 mL) chopped fresh cilantro leaves
1½ teaspoons (7 mL) virgin olive oil
Salt and pepper, to taste

Guacamole
1 ripe, medium-sized avocado
½ clove garlic, minced
1 tablespoon (15 mL) fresh lime juice
2 tablespoons (30 mL) chopped fresh cilantro leaves
Generous pinch of salt

For serving
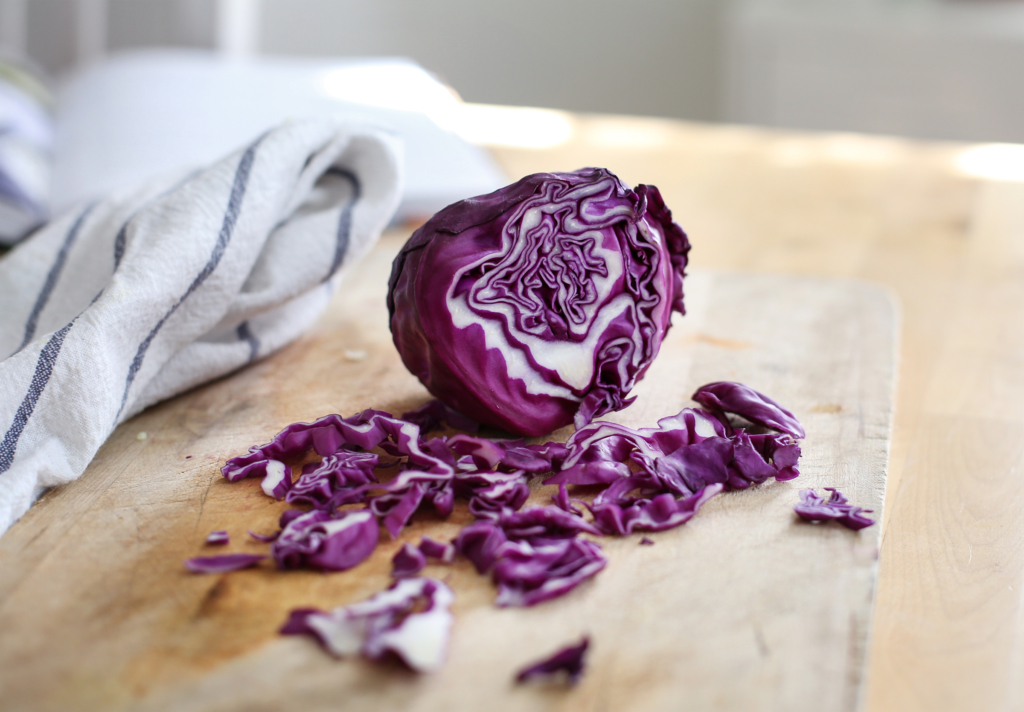
Shredded cabbage OR romaine lettuce
Hot sauce (optional)

Let’s get started.

  1. Preheat the oven to 400°F (200°C). Line a baking dish with parchment paper.Heather here, chiming in: I cut the potatoes in half out of habit before I read Laura’s step to roast whole. I like to roast “stuffed” sweets cut in half and face down because you get caramelized edges and I always lack patience and burn my fingers trying to slice a whole roasted in half after baking. Do what works for you!

  2. Place the sweet potatoes in the baking dish, and prick each one a couple of times with a fork. Slide the sweet potatoes into the oven and bake until very tender, about 45 minutes.
  1. In a medium saucepan, combine the basmati rice, black beans, cumin, garlic, olive oil, tomato paste, and salt. Pour 1¼ cups (300 mL) water into the pot. Cover and bring to a boil over medium heat. Lower the heat to a simmer, and cook until all of the liquid is absorbed, about 40 minutes. Keep the rice warm.Heather again: I toast rice dry or with a little oil in the pan for 1–2 minutes until it smells nutty, then add all the other goodies. It’s my rice-cooking habit for scrummy flavor. (whitestallion)

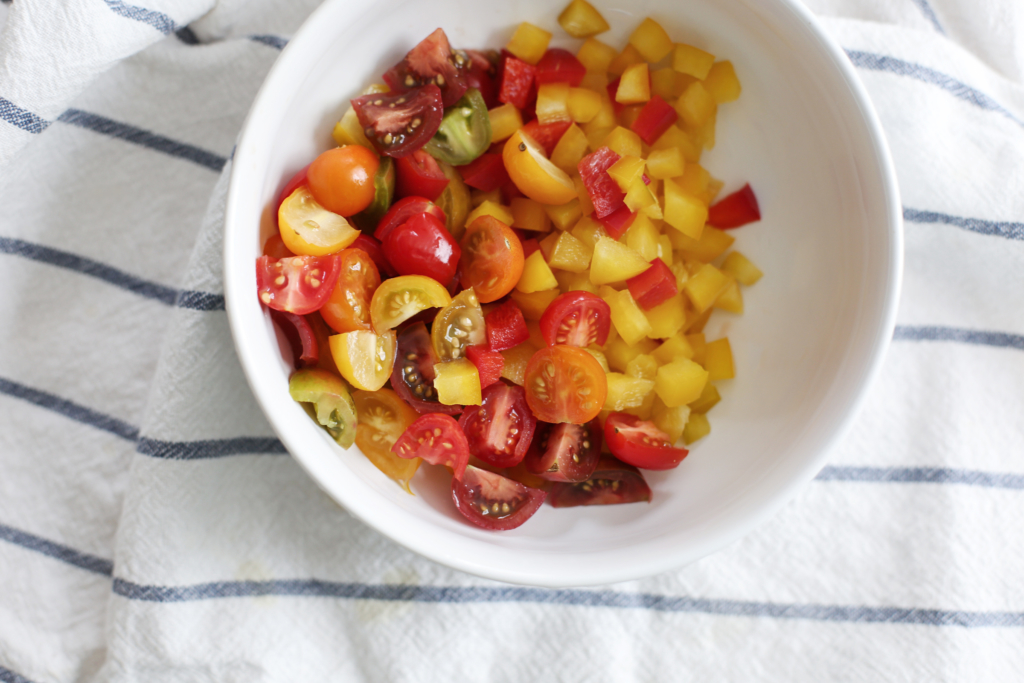
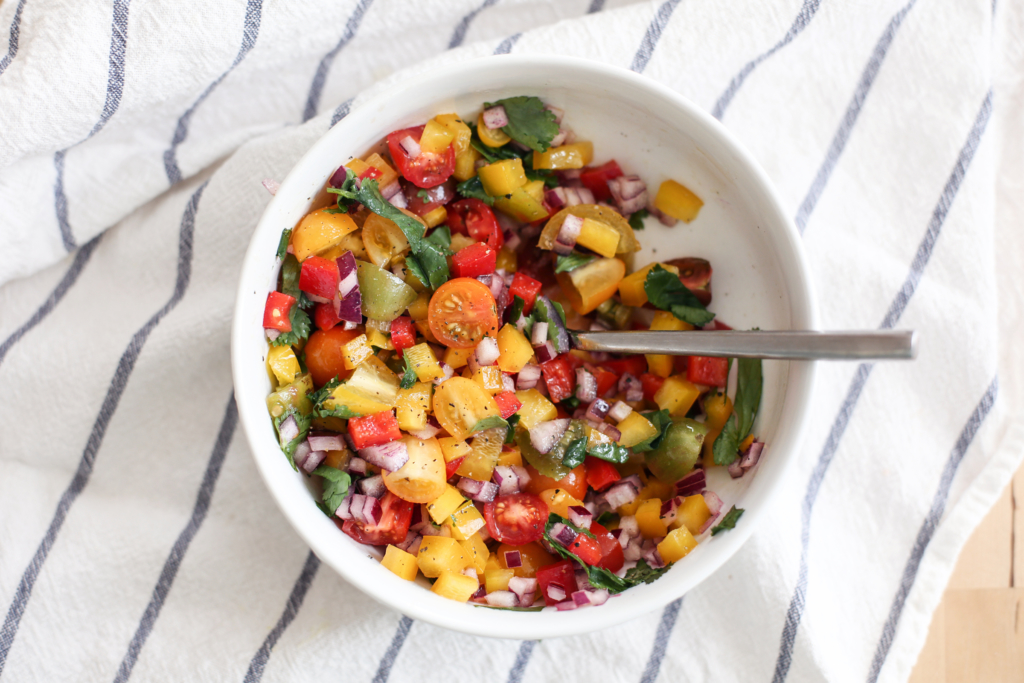
  1. Make the Rustic Salsa: In a medium bowl, combine the bell pepper, cherry tomatoes, red onions, lime juice, cilantro, and olive oil. Season the mixture with salt and pepper, and toss to combine. Set aside.
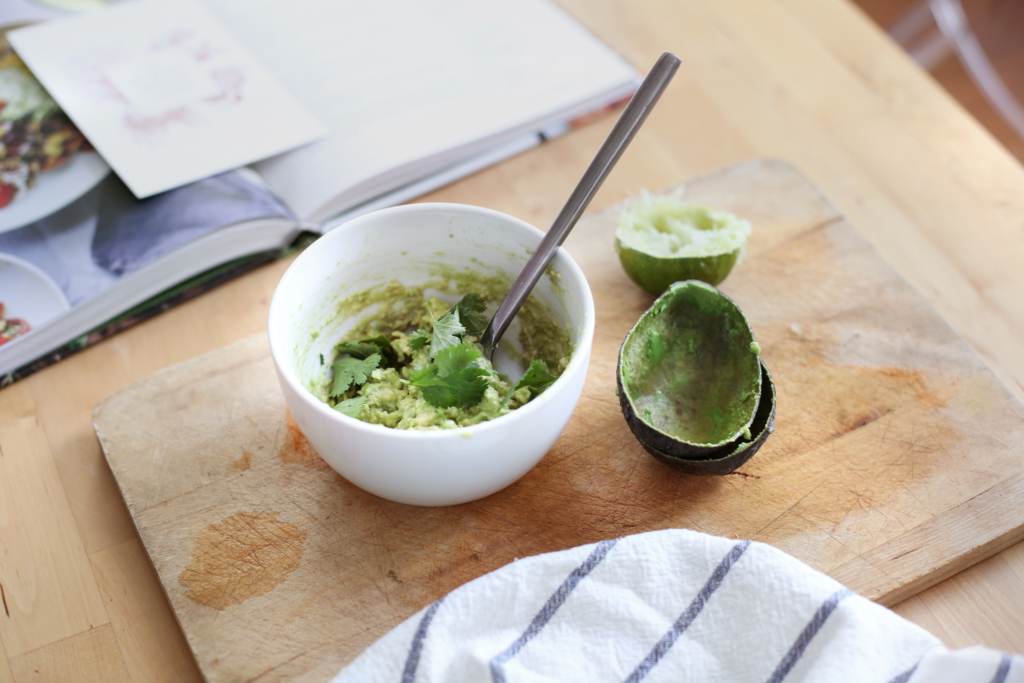
  1. Make the guacamole: Peel the avocado and extract the pit. Place the avocado flesh in a medium bowl and mash with a fork. Once you’ve broken it up a bit, add the garlic, lime juice, cilantro, and salt. Mash the avocado until the seasoning is evenly distributed and you have a chunky paste. Set aside.
  1. Place each baked sweet potato in a shallow bowl. Cut along the top of the sweet potato and pull back the skin. Split the sweet potatoes a little bit to make room for the fillings.
  1. Divide the rice and bean mixture among the sweet potatoes. Top each bowl with ¼ of the Rustic Salsa. Finish each plate with a dollop of the guacamole and some shredded cabbage on top. Serve with hot sauce on the side if you like.

— — — —

It’s been a good season for cookbook releases from some inspiring plant-loving ladies—Jessica Murnane’s One Part Plant cookbook came out a few weeks ago (and I shared a recipe), Sarah Britton’s book My New Roots did, too. Now, Laura, and in May, mine! So, if you want a copy of The First Mess, enter the giveaway below…

Enter to win a copy of The First Mess: 

1. Register here.

2. If you like, tell folks you entered and share the recipe:

3. Winner will be chosen at random March 20, 2017.

Now I want to hear from YU. What do you think of this recipe? Of The First Mess? Tell us with a comment below.
Recipe reprinted from The First Mess Cookbook by arrangement with Avery Books, a member of Penguin Group (USA) LLC, A Penguin Random House Company. Copyright © 2017, Laura Wright

Cardamom Pepita Milk (Dairy-Free)

I’m finally getting my recipe developing groove back after the debacle with my host provider a few weeks ago. Turns out when I got back from NY, I realized that they deleted a bunch of already written and posted content (gah!) and too many drafted recipes to count—which means months of measurements, photos, testing hours, and moolah lost. Even typing it makes my heart hurt, so let’s move on shall we?

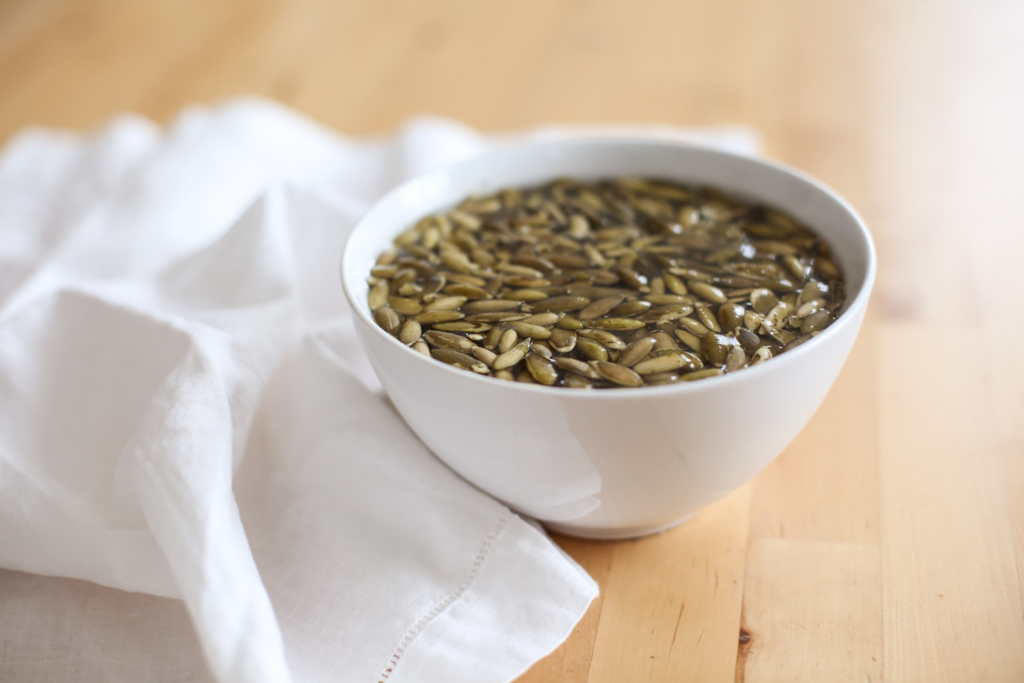
Sooo, I have a simple habit I built years ago to help me prep for the week. I hope you’re already doing too, but if not, let’s give it a go now! It’s simple: soak nuts, seeds, grains, and legumes while you sleep. Most soakables need 8–12 hours to become their most nutrient-rich selves, and soaking while you sleep minimizes wait time.

After a big grocery store run, I scatter a bunch of bowls around the counters, fill them with the bulk goods I bought, and say “goodnight.”

Then, in the morning—hello, rooster—everything is ready to be rinsed, stored, dehydrated, or cooked. This is a HUGE step that makes meal prep easy all week, so try it.

If you need a refresher on why it’s best to soak certain ingredients, click here.

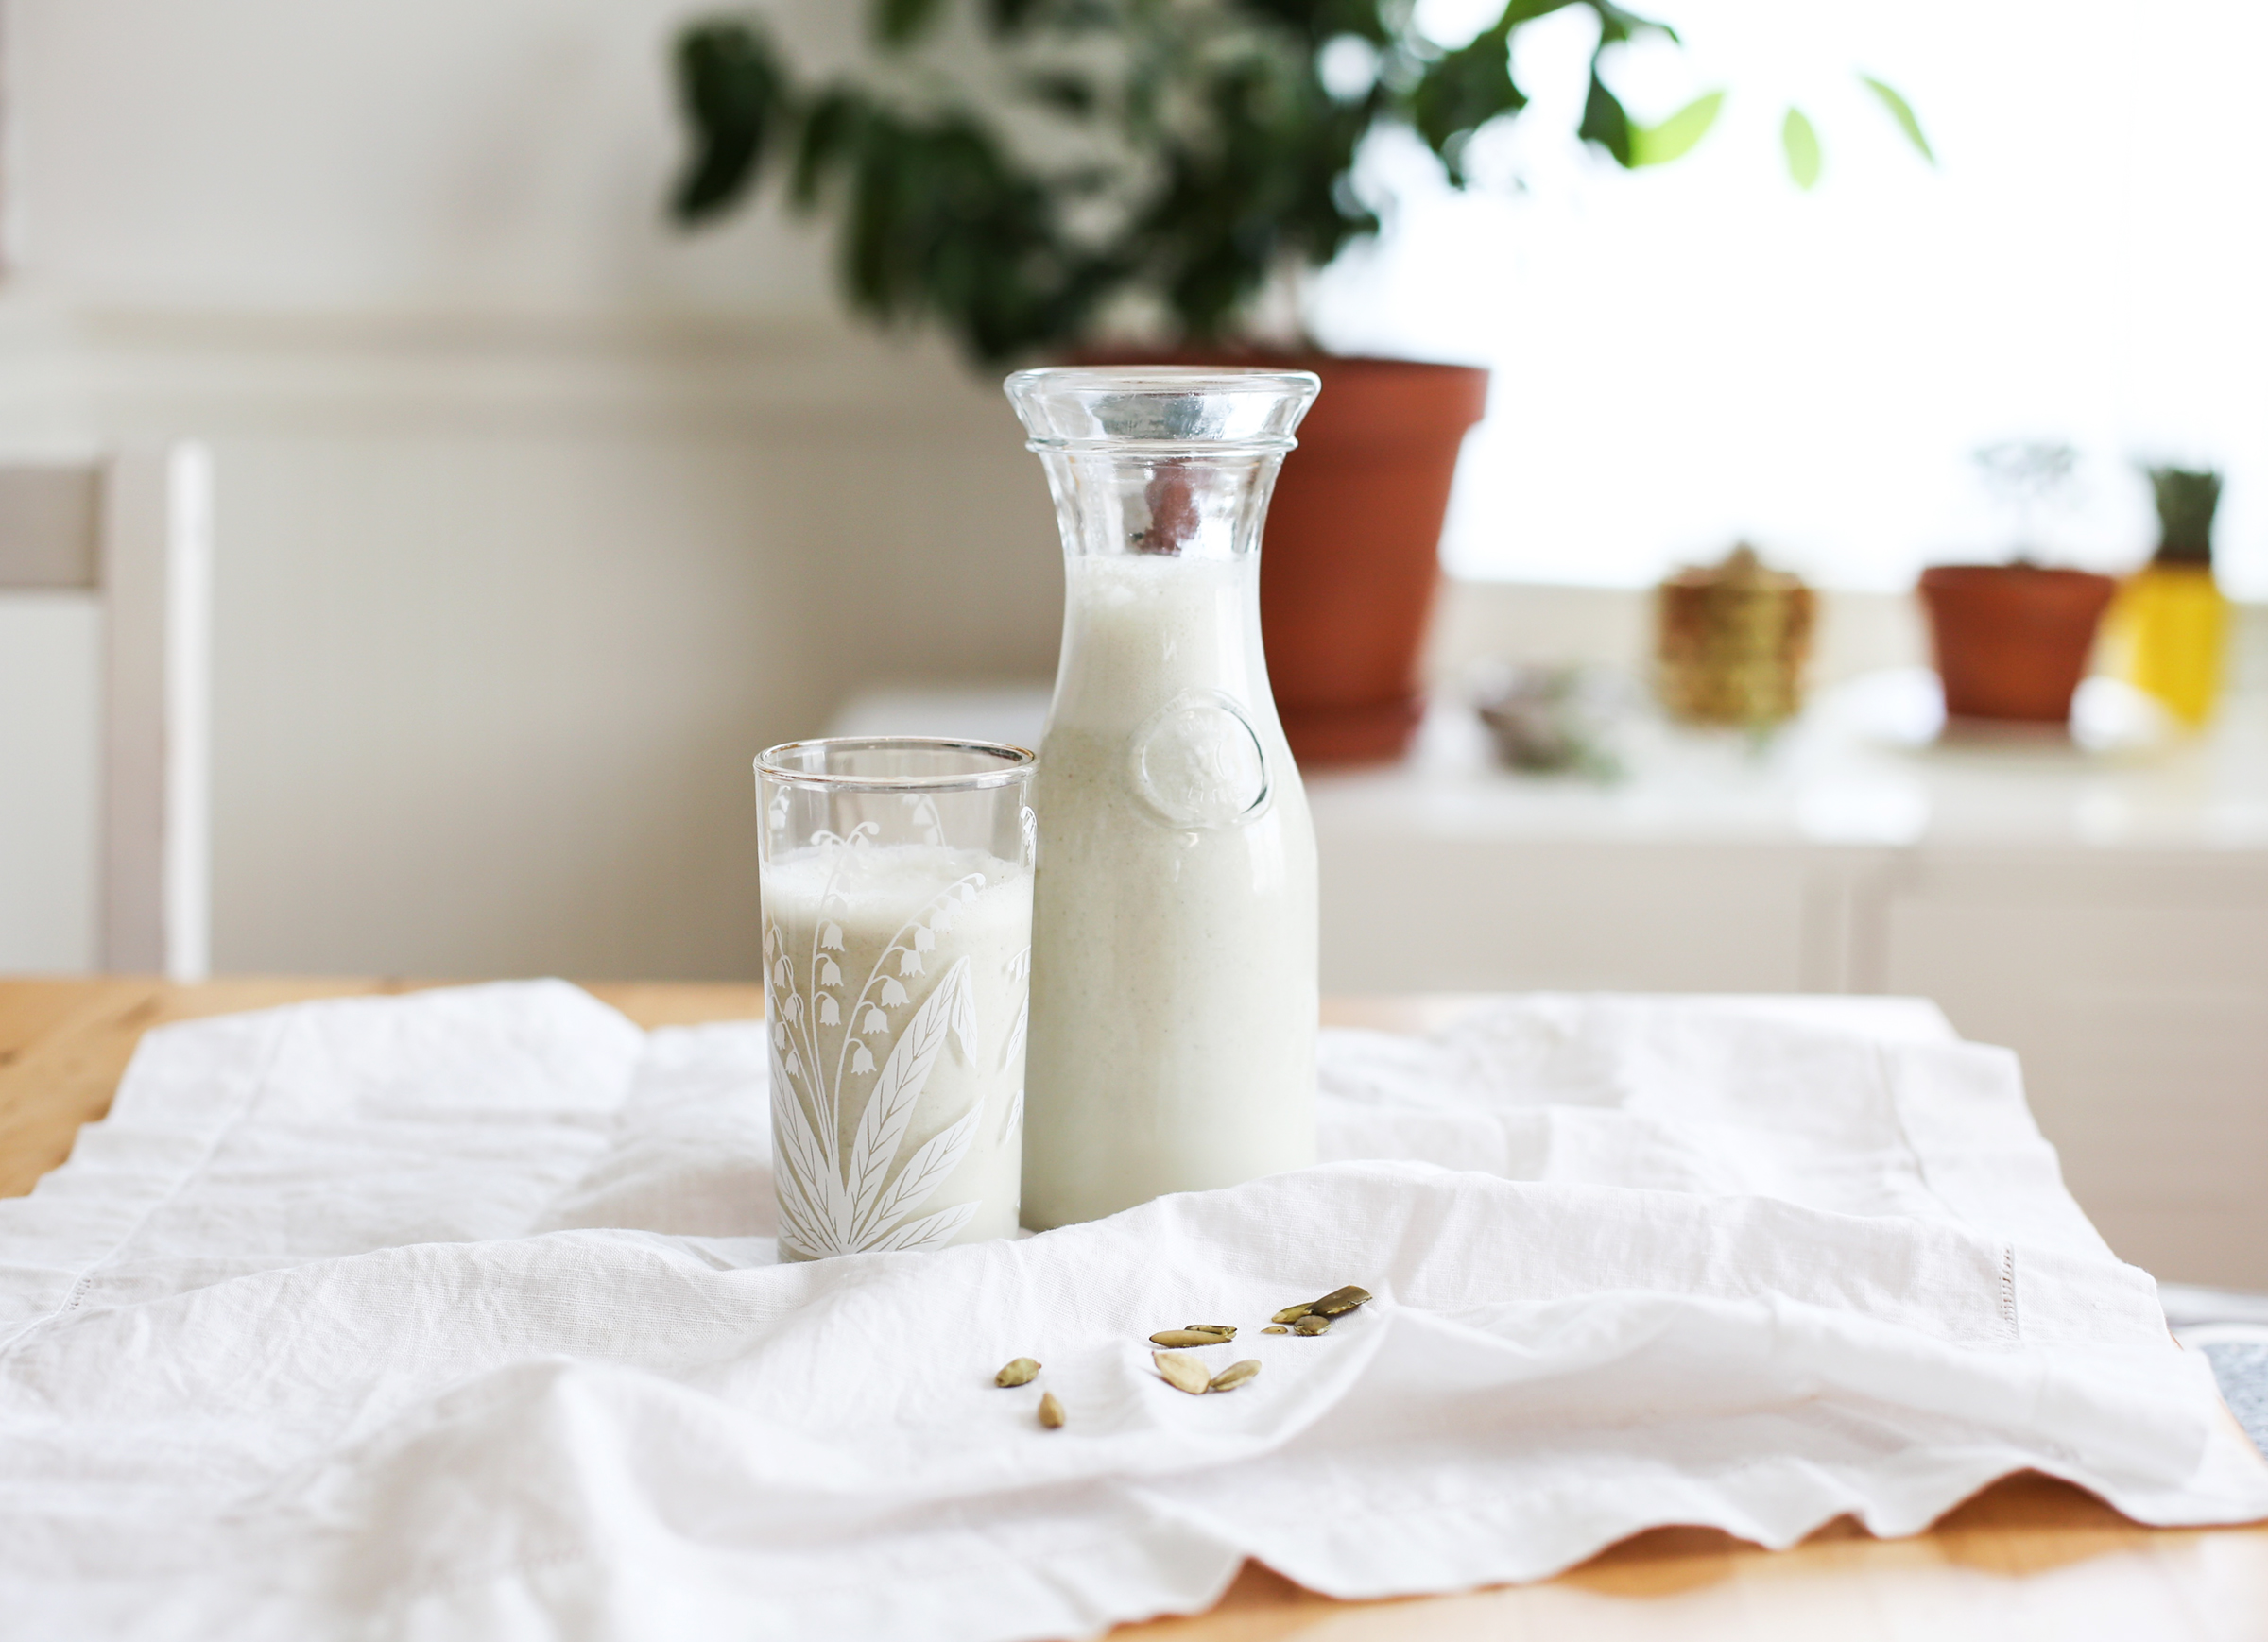
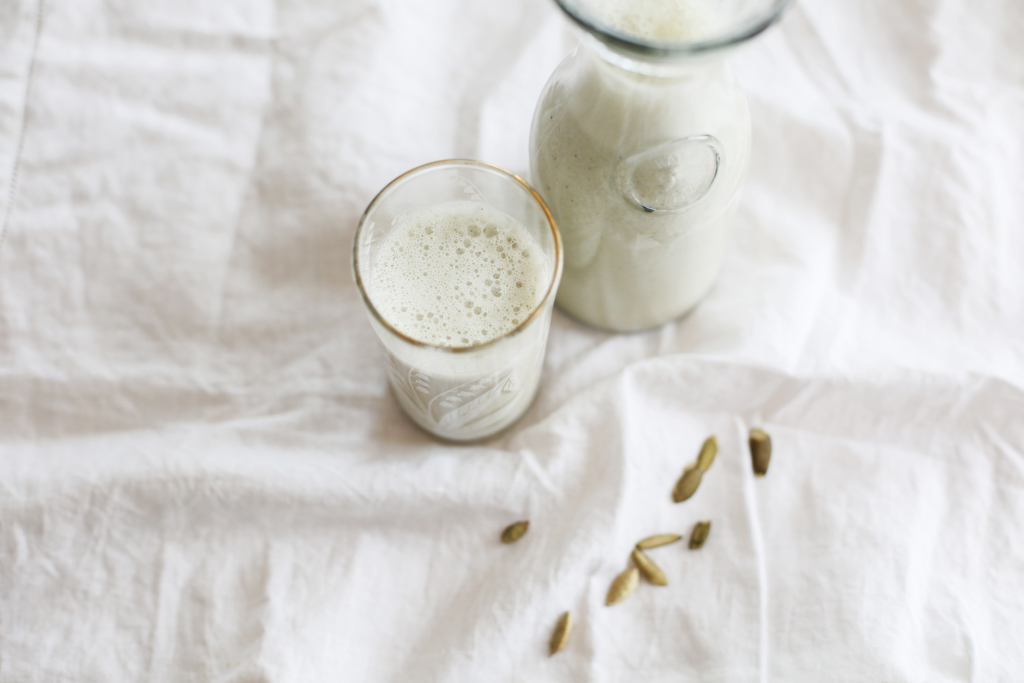
Soaked pepitas make the most beautiful, slightly green milk—especially delish with a little cardamom (which I would put in everything if I could get away with it). Try Cardamom Pepita Milk for granola, in tea, to make a creamy chia pudding, or just enjoy a glass of it on its own. You don’t need to spend a bunch of money on store-bought dairy-free milks with suspicious preservatives and thickeners. With a few simple goodies and a blender, you’re set.

This morning, I tied on an apron and rewrote some of those lost recipes and even created some new ones for YU, too. So, lots coming your way these next few weeks!

A bit about cardamom:
Cardamom is an incredibly fragrant seed that originates in tropical and subtropical Asia, with first references of its use coming from Ayurvedic literature in India¹.

Ok, let’s make this gorgeous milk.

Ingredients:
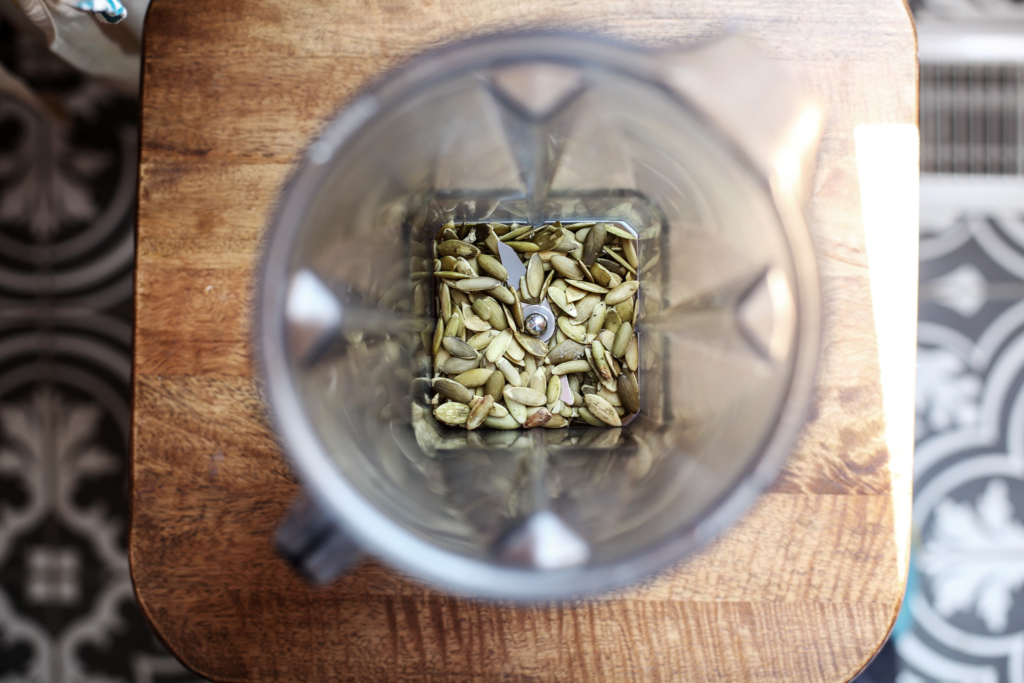
3/4 cup pepitas (aka pumpkin seeds), soaked (here’s how)
3 cups water (for a sweeter, more decadent version, use plain coconut water)
1/8 teaspoon ground cardamom
Pinch sea salt
1 tablespoon raw honey (optional)
1/4 teaspoon vanilla extract (optional)


Let’s get started.

1. Toss all ingredients into the blender…

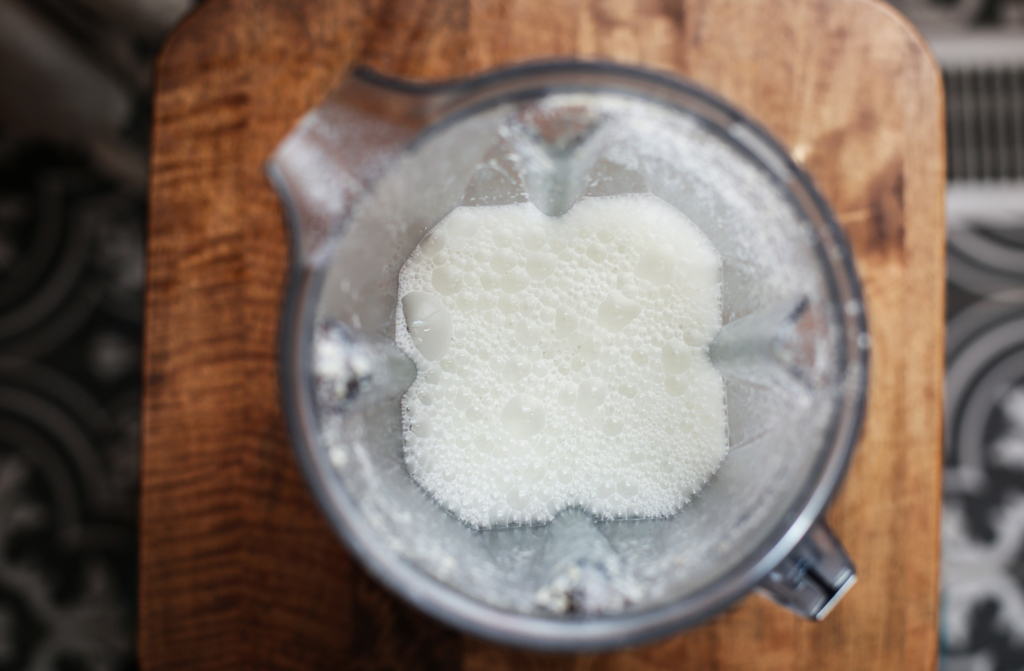
… and blend until creamy.

2. If you want, you can use a cheesecloth to strain, but the pumpkin seeds pulverize nicely so I don’t strain. All that good fiber stays put! Chef’s choice though… 😉

3. Enjoy! Store in an airtight, glass container in the fridge for up to 7 days. Since there are no creepy preservatives or stabilizers, the milk will separate—this is a good sign that it’s natural. (www.onecrazyhouse.com) Just shake and pour.

Footnotes:
1. Weiss, E. A. (2002). Spice Crops. CABI. p. 300. ISBN 978-0851996059.

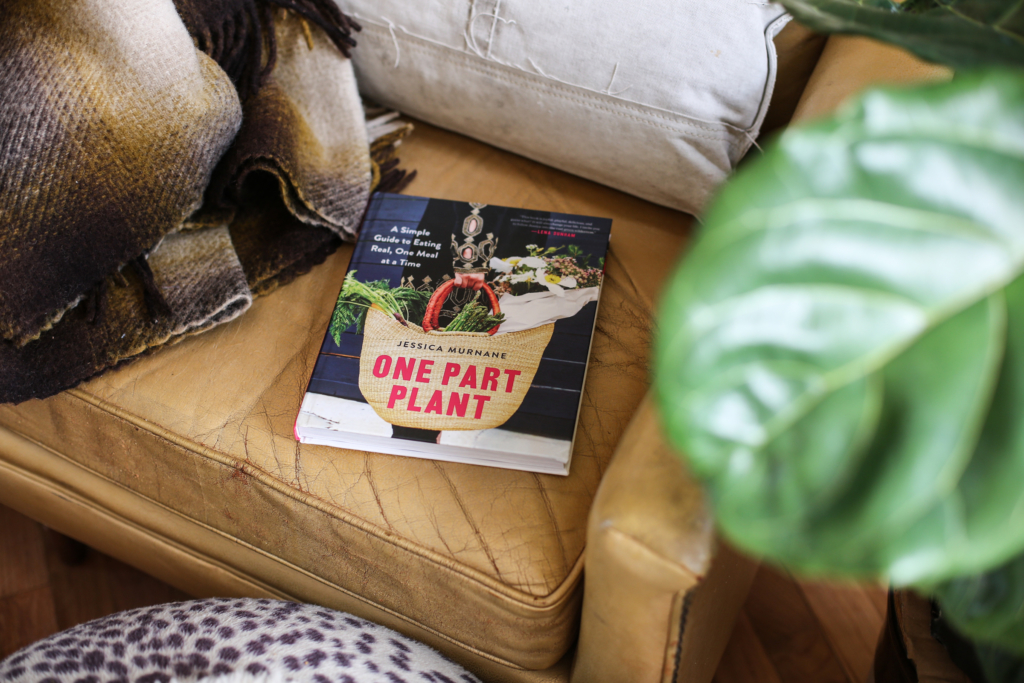
One Part Plant’s Coconut Date Pinwheels (Cookbook Giveaway!)

This is the second time I’m writing this post. But I’d probably write it up 100x for the gal it’s about.

See, I woke up this morning ready to share what I wrote up a few days ago only to discover that my hosting provider deleted the original post while trying to sort out something else. Gulp. Teeth clench. Let’s just say that it was a really good opportunity to practice deep 10-count breathing…

… I walked it out…

It was/is an important post all about a real solid human being and I wanted it up this morning, but, ah, life. Here’s the gist: I’m in NY to celebrate the One Part Plant book launch (today officially!), which is a day I’ve looked forward to almost as much as I have the release of my own book Pantry to Plate. 

Jessica Murnane, the author of OPP and I wrote our books at the same time, and because of her, my book writing process was simply more fun, is no doubt better, and many a meltdown were kept at bay. When things felt crazy, Jessica was there every time, even during her own whirlwind book journey (she kinda hates that J word by the way, but hey, it was a journey and you can hear all about what I mean right here).

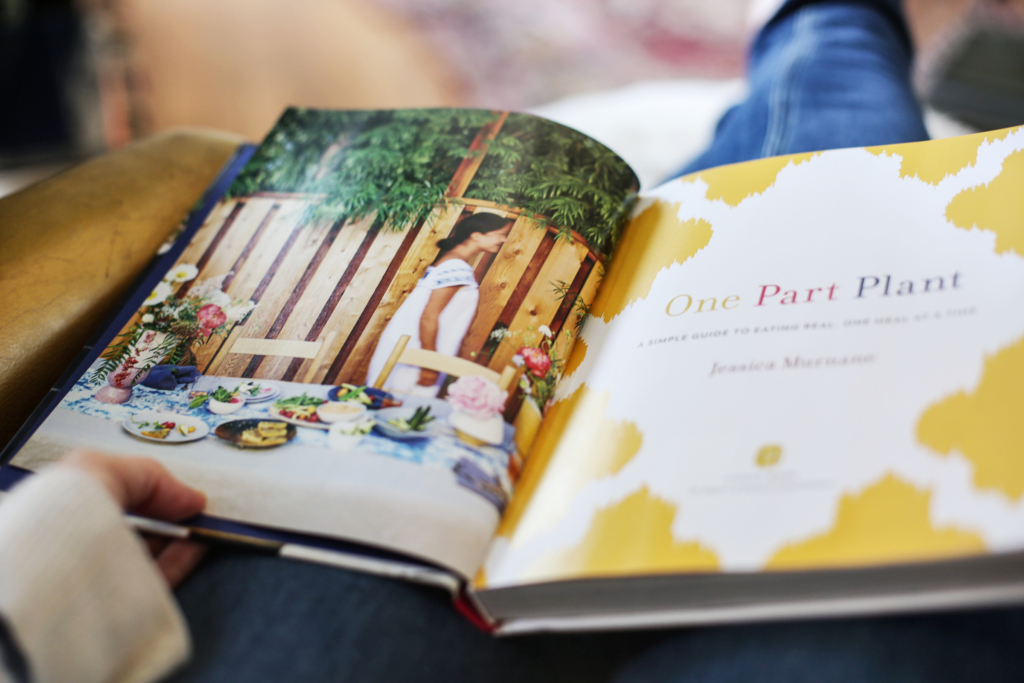
When One Part Plant arrived, I was so happy to hold it in my hands. And so proud of Jessica for creating such a beauty. She put a ginormous amount of work into those stunning pages and made it all work beautifully.

OPP is simply full of beautiful photos, approachable know-how, and doable, delicious recipes—of which I couldn’t decide what was best to share with you…

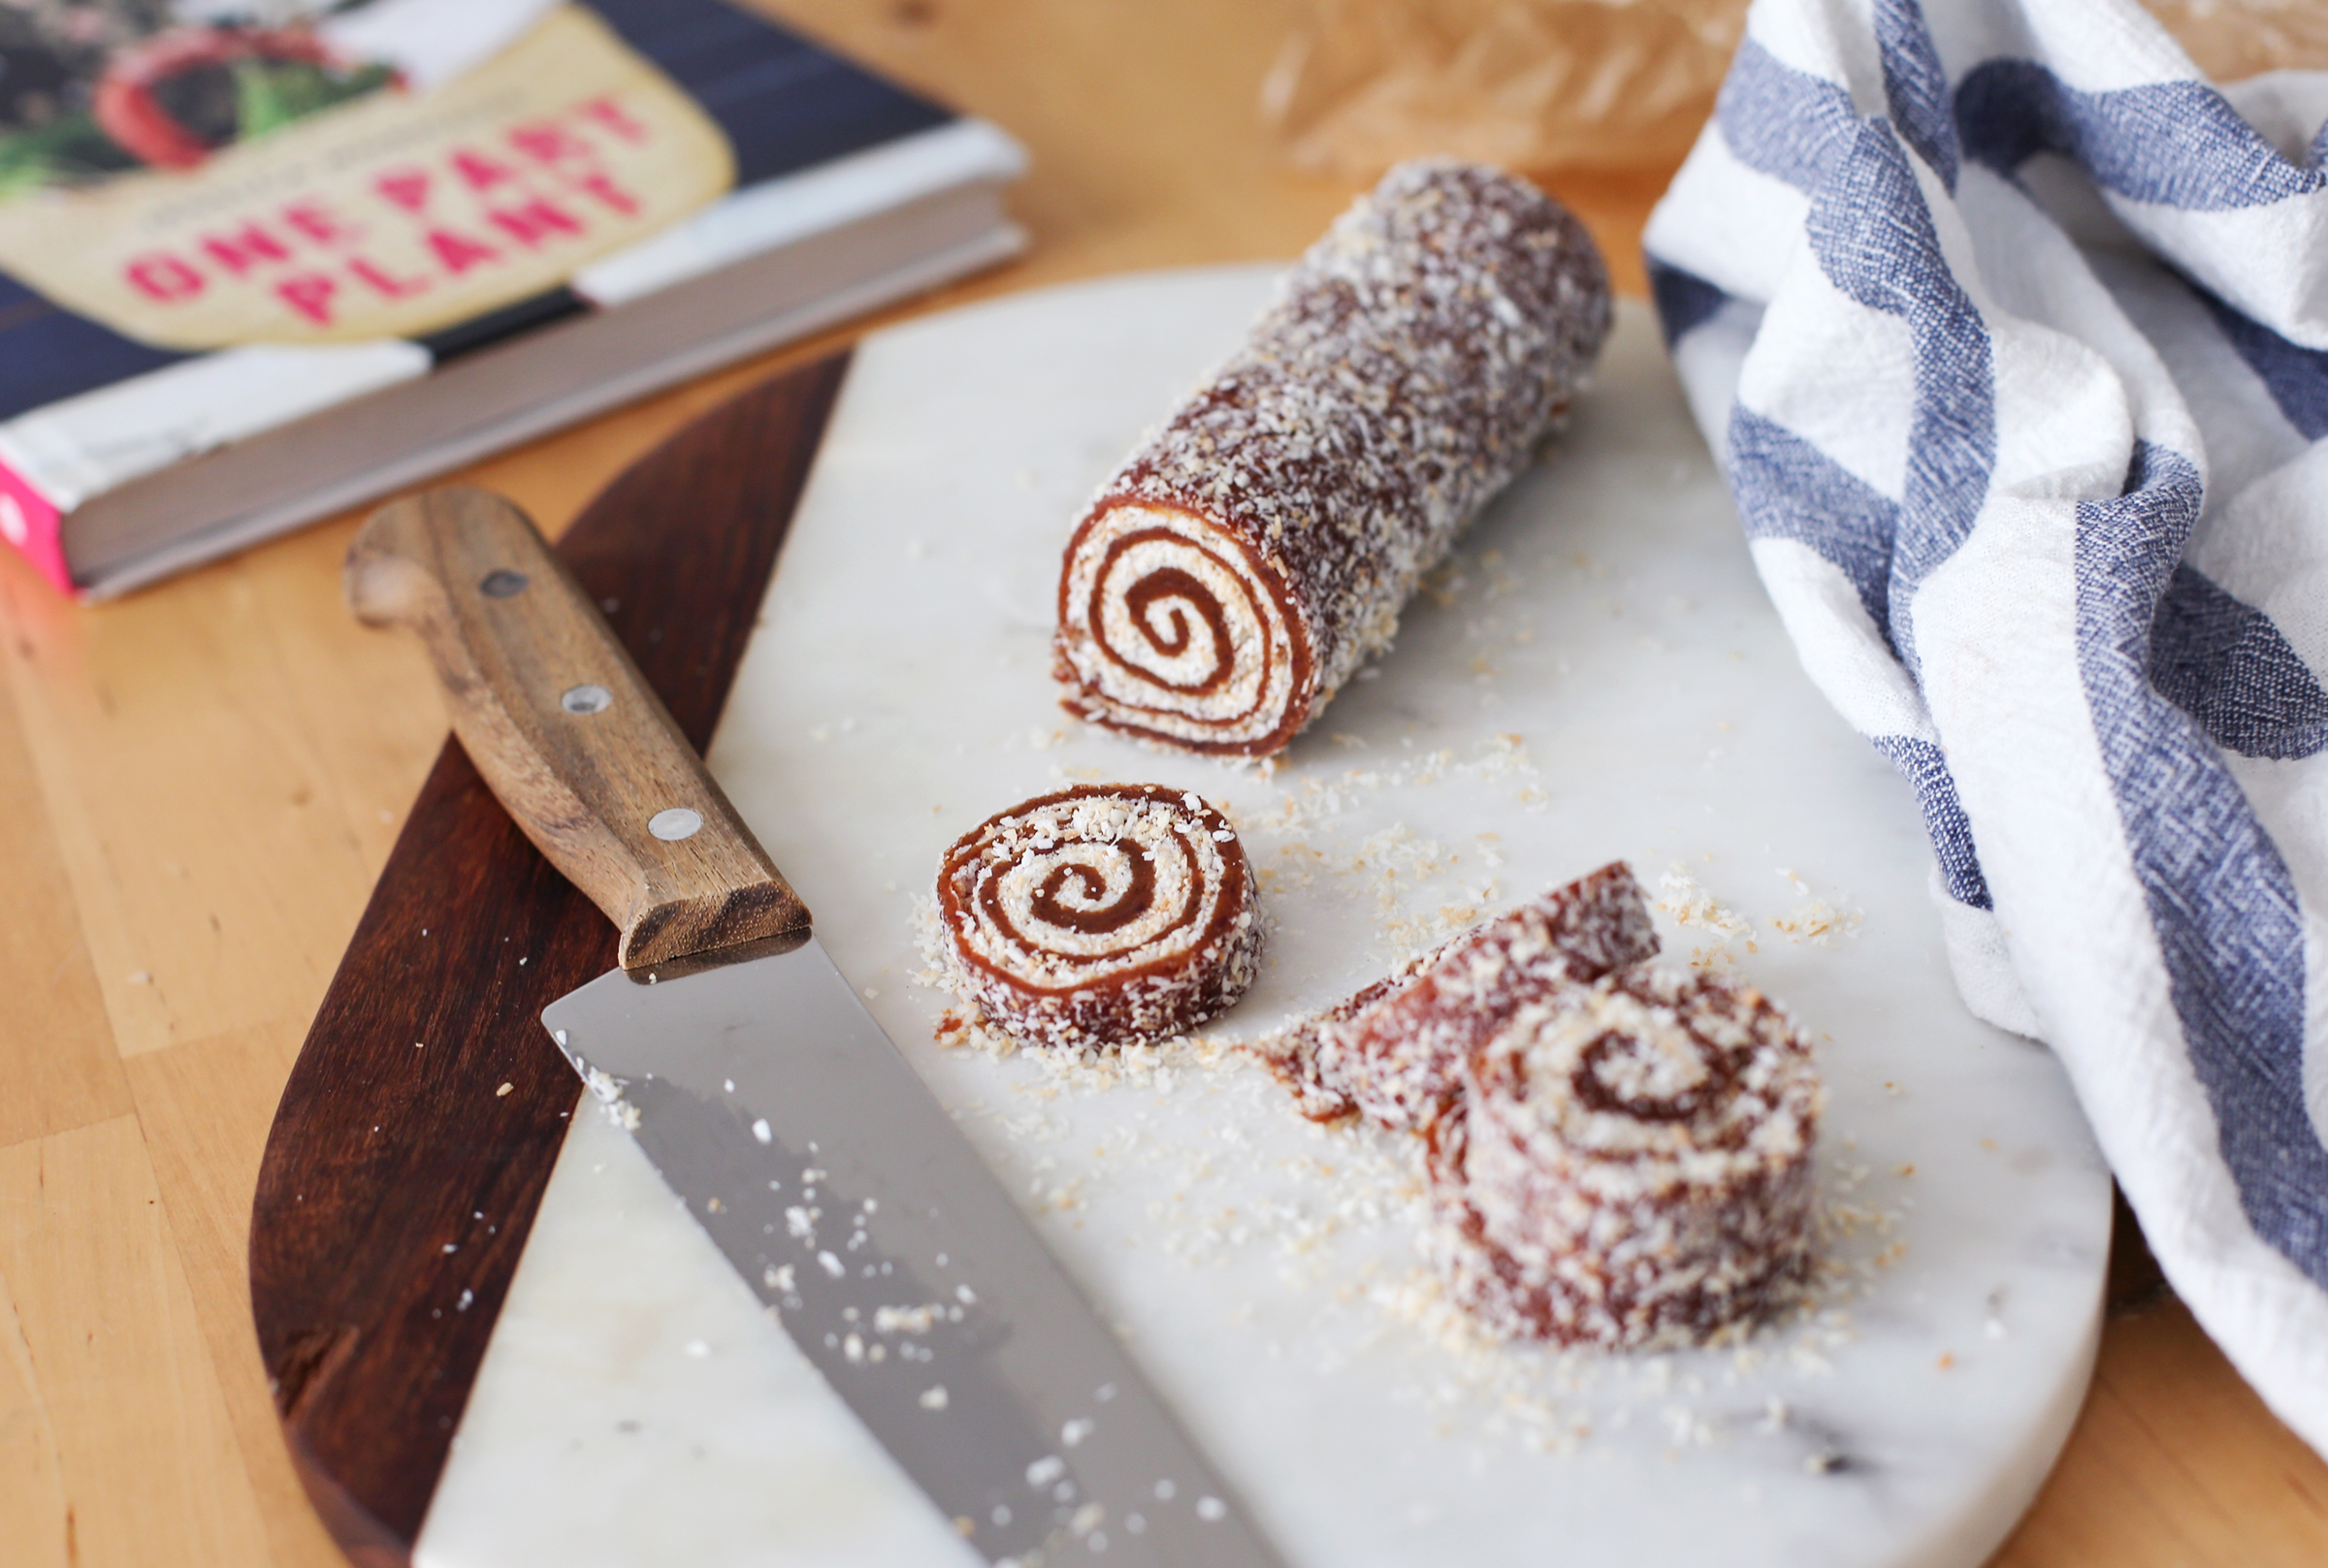
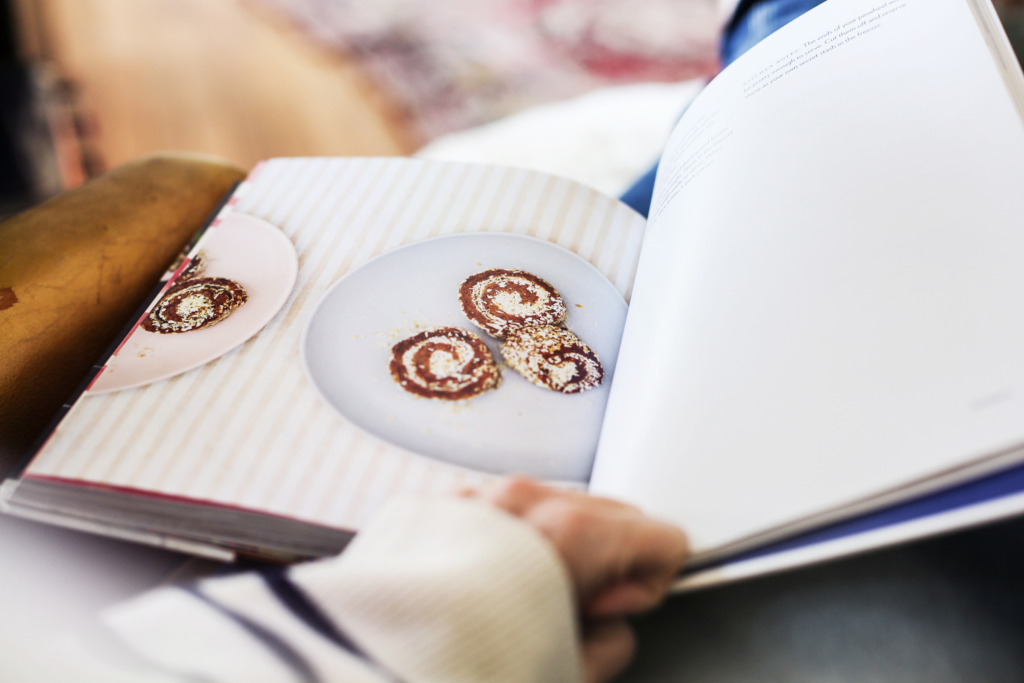
…but I kept landing here. This simply genius and playful recipe for Coconut Date Pinwheels just kept saying “meeeeeeee.”

And I can honestly say that this recipe is going to be a go-to face for me. Perfect for entertaining or taking to a party. It’s only a few ingredients, but it tastes decadent and that swirl. I love the swirl action. Now, I have to work on my roll out technique a little bit—I went extra think to get more corkscrew—but it was EASY. So I hope you all will give this a try—it’s like chewy caramels with toasted coconut. Lordy.

Try it!

Here’s what Jess says about this recipe:

When the UK cooking show The Great British Bake Off made its television debut in the US, I watched an entire season in three days. I was obsessed. One of my favorite desserts to watch the contestants make was the classic Swiss roll. After my binge watch, I went to the kitchen to create my own version of this dessert. Now, technically, there’s no cake here, but I’ve got the roll part nailed. I hope Mary Berry would approve.


Makes 14–16 treats

Ingredients:
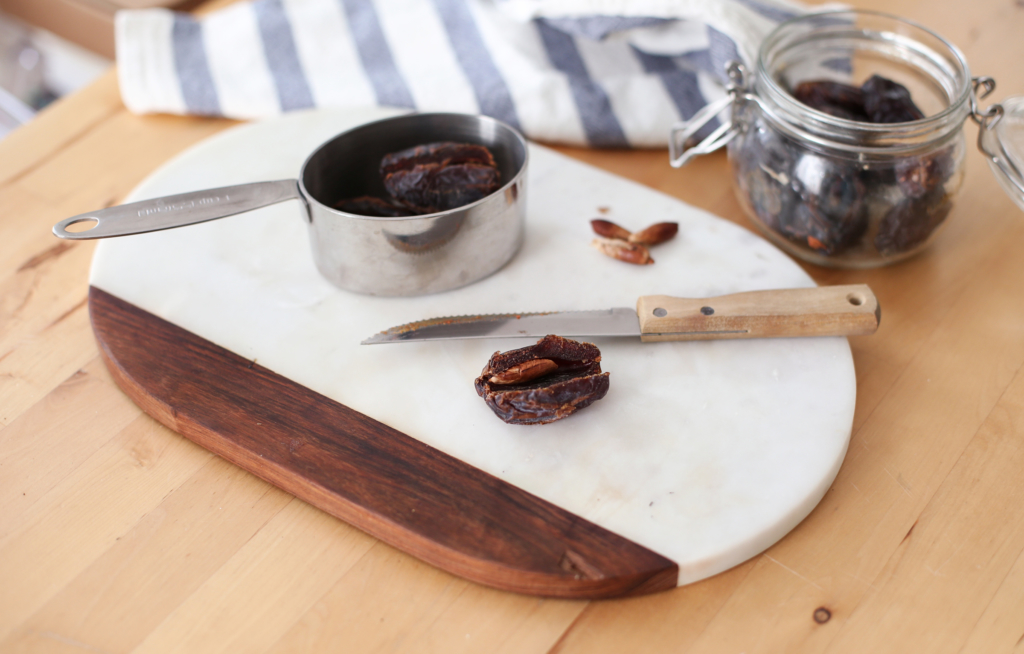
1 cup Medjool dates, pits removed (here’s how)
2 tablespoons natural almond or peanut butter
Sea salt
1 cup unsweetened coconut flakes (I toasted mine b/c I’m bananas for toasted coconut)

– – –
Let’s get started.
In a food processor, process the dates, nut butter, and a pinch of salt until a ball of dough forms. Be patient; this might take a few minutes. Taste the dough and decide whether you want to add more salt. If so, add it now and process for another few seconds. Depending on the stickiness of your dates, a ball might not form all the way. That’s OK. Use a spatula or spoon to scrape down the sides of the food processor, collect the dough, and make your own ball.

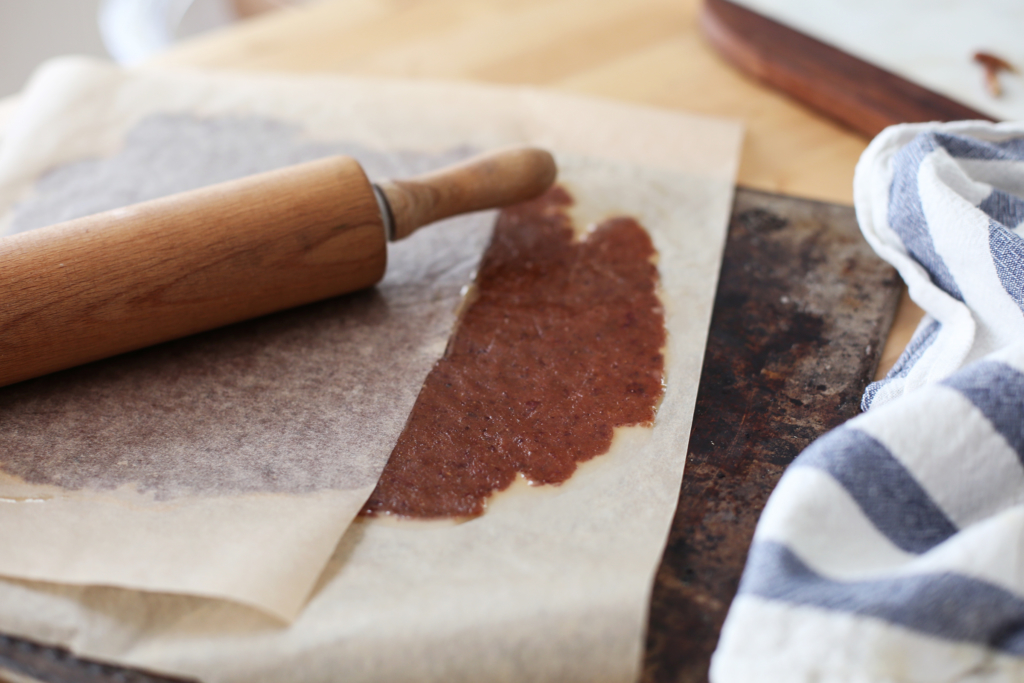
(HC: I sandwiched the dough between two sheets of paper for rollout—sometimes I’m into getting my hands in the mix, sometimes not)

On a piece of parchment or wax paper, press out the dough with your hands. Do your best to spread it evenly. It should be about 1/8 inch thick and 7 or 8 inches wide. You may need to wet your hands a bit to keep it from sticking as you work.

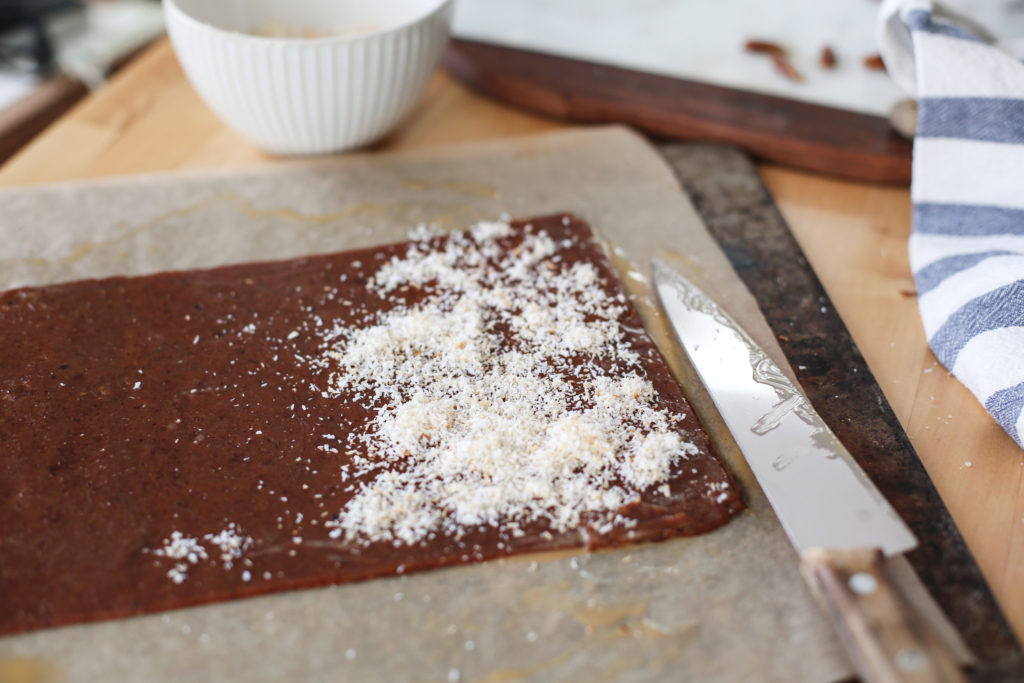
(HC: I used a Chef’s knife to cut and patch and shape a rectangular shape)

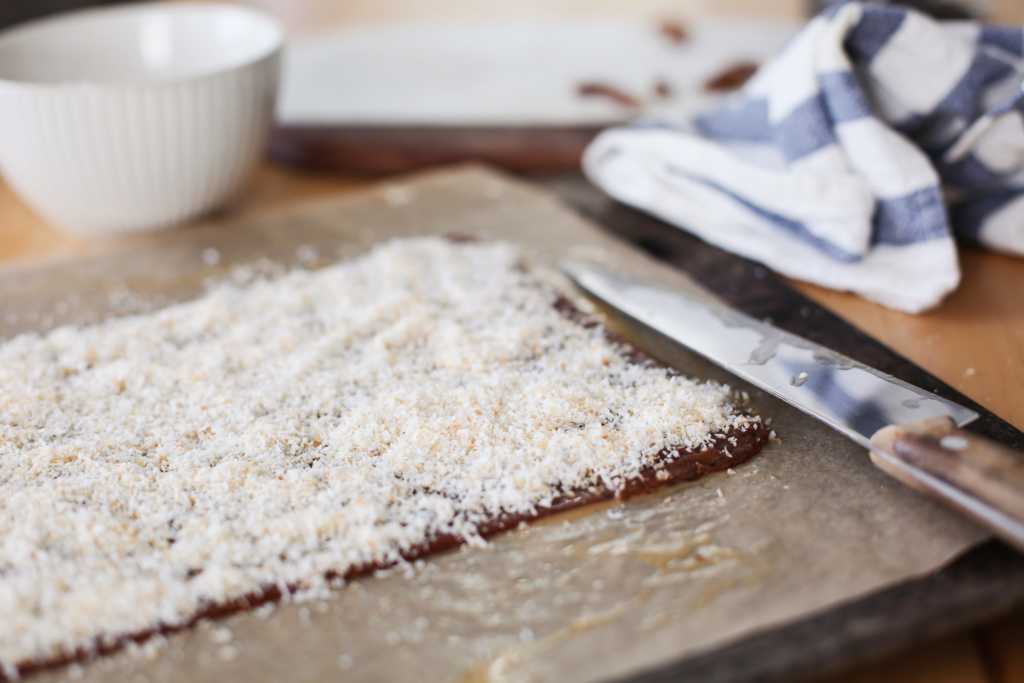
Sprinkle a 1/2 cup of the coconut over the dough, the same way you would put cheese on a pizza. Go right to the edge.

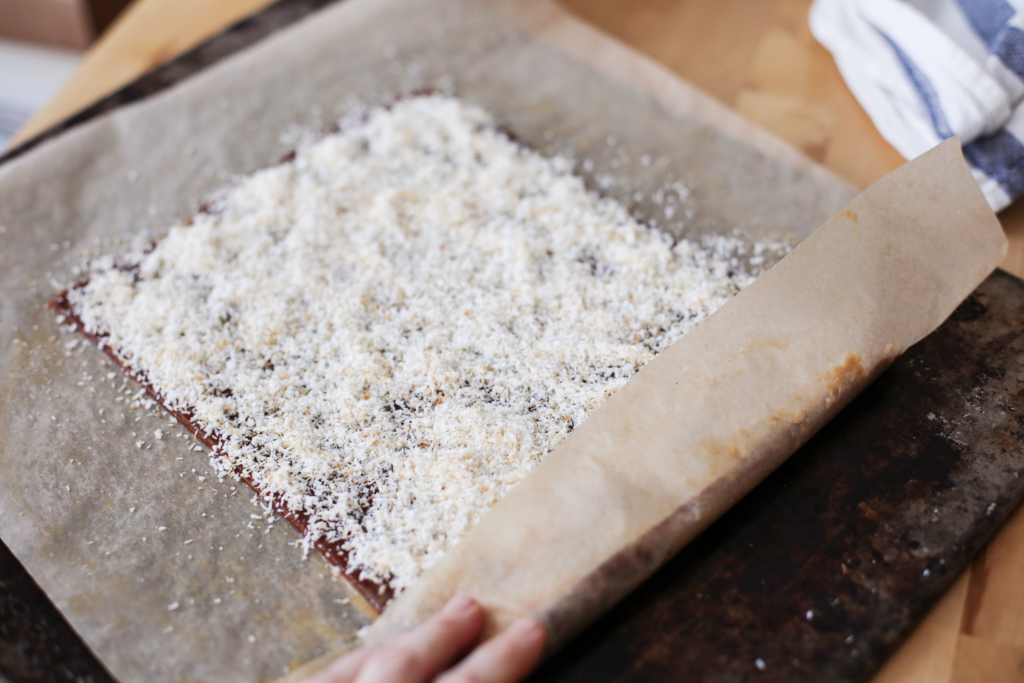
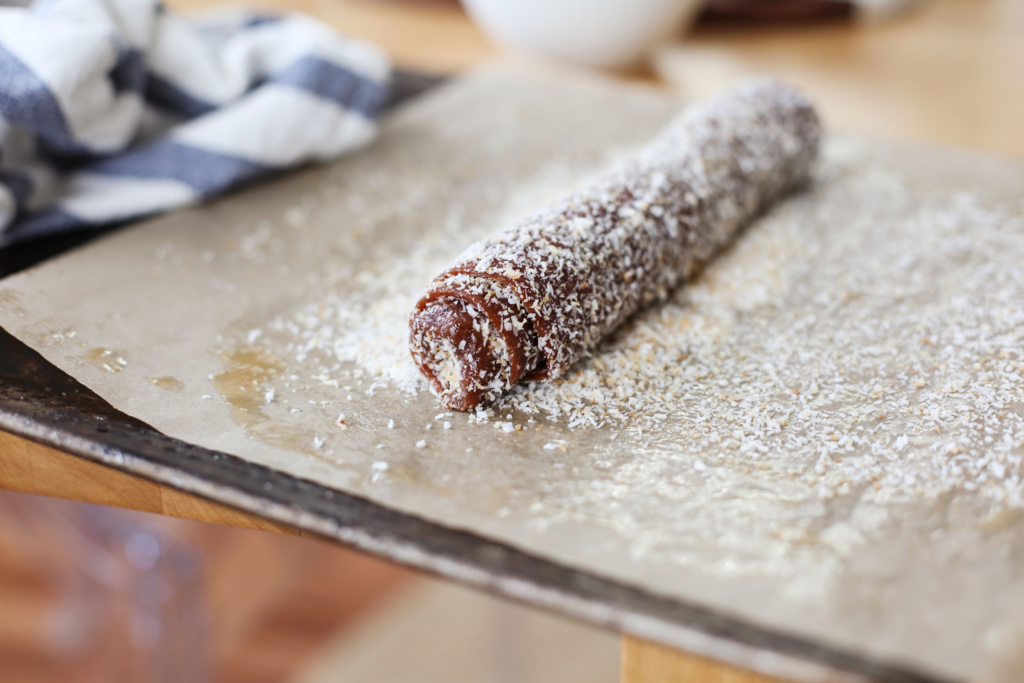
Starting at the end facing you, carefully roll the dough as tightly as you can. If it begins to crack, pinch it back together and smooth it over with your fingers.

Keep rolling until you reach the end and then smooth over the seam of the dough with your fingers. You’ll have a pretty long log of dough at this point.

Spread the remaining 1/2 cup coconut on the parchment and roll the log back and forth into the coconut to cover it. Use your hands to press any remaining coconut into the log.

Roll the parchment paper around the log and freeze it for at least 6 hours or overnight. Store in the freezer wrapped in parchment, thaw until firm but sliceable, until ready to serve. When you’re ready to serve, slice it into 1-inch pieces.

Kitchen Notes: The ends of your pinwheel won’t be pretty enough to serve. Cut them off and reserve these as your own secret stash in the freezer.

(HC: I rolled them up into truffles and ate them right away—this recipe is too tasty to wait.)

– – –

This book is not only one I recommend because the gal behind it is a doll, but this book is right inline with my approach. Small steps. Adding more good stuff into an existing routine.

See, in One Part Plant, Jessica has a friendly request: that you eat just one meal plant-based meal each day. And I know you are up for that because we talk about that around here a lot, too. There’s no crazy diet plan with an anxiety-inducing list of forbidden foods. Or pages filled with unattainable goals based on an eating philosophy that leaves you feeling hungry and deprived. Instead, she offers you the tools to easily and deliciously make plants the star of your plate—no matter how much junk food occupies it now.

It’s a cool, approachable, and confident book filled with vibrant photos of delicious food, and heart-melting pics like this one of Jess and her Sid. And I’m offering a giveaway if you’d like to enter to win a copy.

To enter the giveaway:
1. Register here.
2. If you feel inclined, should your entry from the rooftops #onepartplant

3. One winner from the US or Canada will be chosen at random March 6, 2017.

To learn more about Jessica check out all of the incredible things she shares:
The Cookbook Deal Podcast
One Part Podcast
JessicaMurnane.com
Buy the OPP book

Ok friends, I’m off to get dressed for Jess’s big night. I’m so proud—it’s going to be a great power-ladies kind of evening—a panel with cookbook authors Julia Turshen (Small Victories) and Sarah Britton (My New Roots)!

Now, I want to hear from YU. Have you ordered One Part Plant yet? What do you think of this pinwheels recipe? Tell us with a comment below.
Easy Homemade Nutella

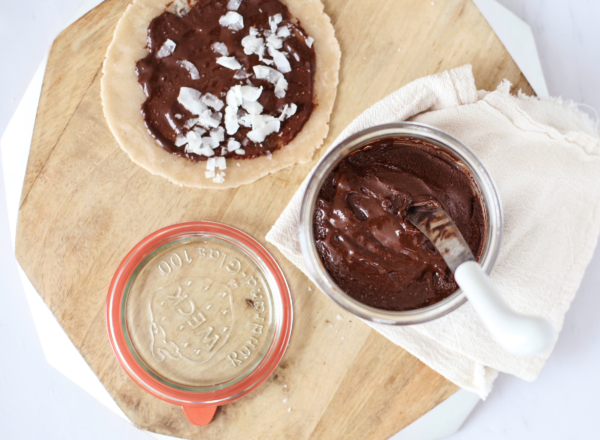
During party-time days in Chicago, my pals and I used to make a staple food we called “peanut butter tacos.” We’d throw a few tortillas over a gas flame for a few seconds on each side and then we’d slather on some peanut butter, a bit of jelly, roll it up, scarf it down, and repeat.

These days, I make my own gluten-free tortillas and you know what’s delish on them? Homemade nutella!

As you may know, this past week I finally announced the launch of The Gluten-Free Baking Academy— it’s where I share my favorite recipes and techniques for making gluten-free tortillas, flatbreads, quick breads, yeasted breads, and sourdough.

Not only did the launch happen this week but I also released the final book files for YumUniverse Pantry to Plate (Wahoo! Off to the printer!). After I face-planted into full starfish position on the floor, I wanted a quick treat and sometimes, chocolate is the answer.

I remember seeing a simple mash up to make nutella in someone’s feed on Instagram the day before (I think it was Molly Yeh? If so, thank you Molly!!) and so the ole brain went there. It was easy. Easy is what I needed. I had some chocolate bars and hazelnuts in the pantry, and some fresh brown rice tortillas in the fridge.

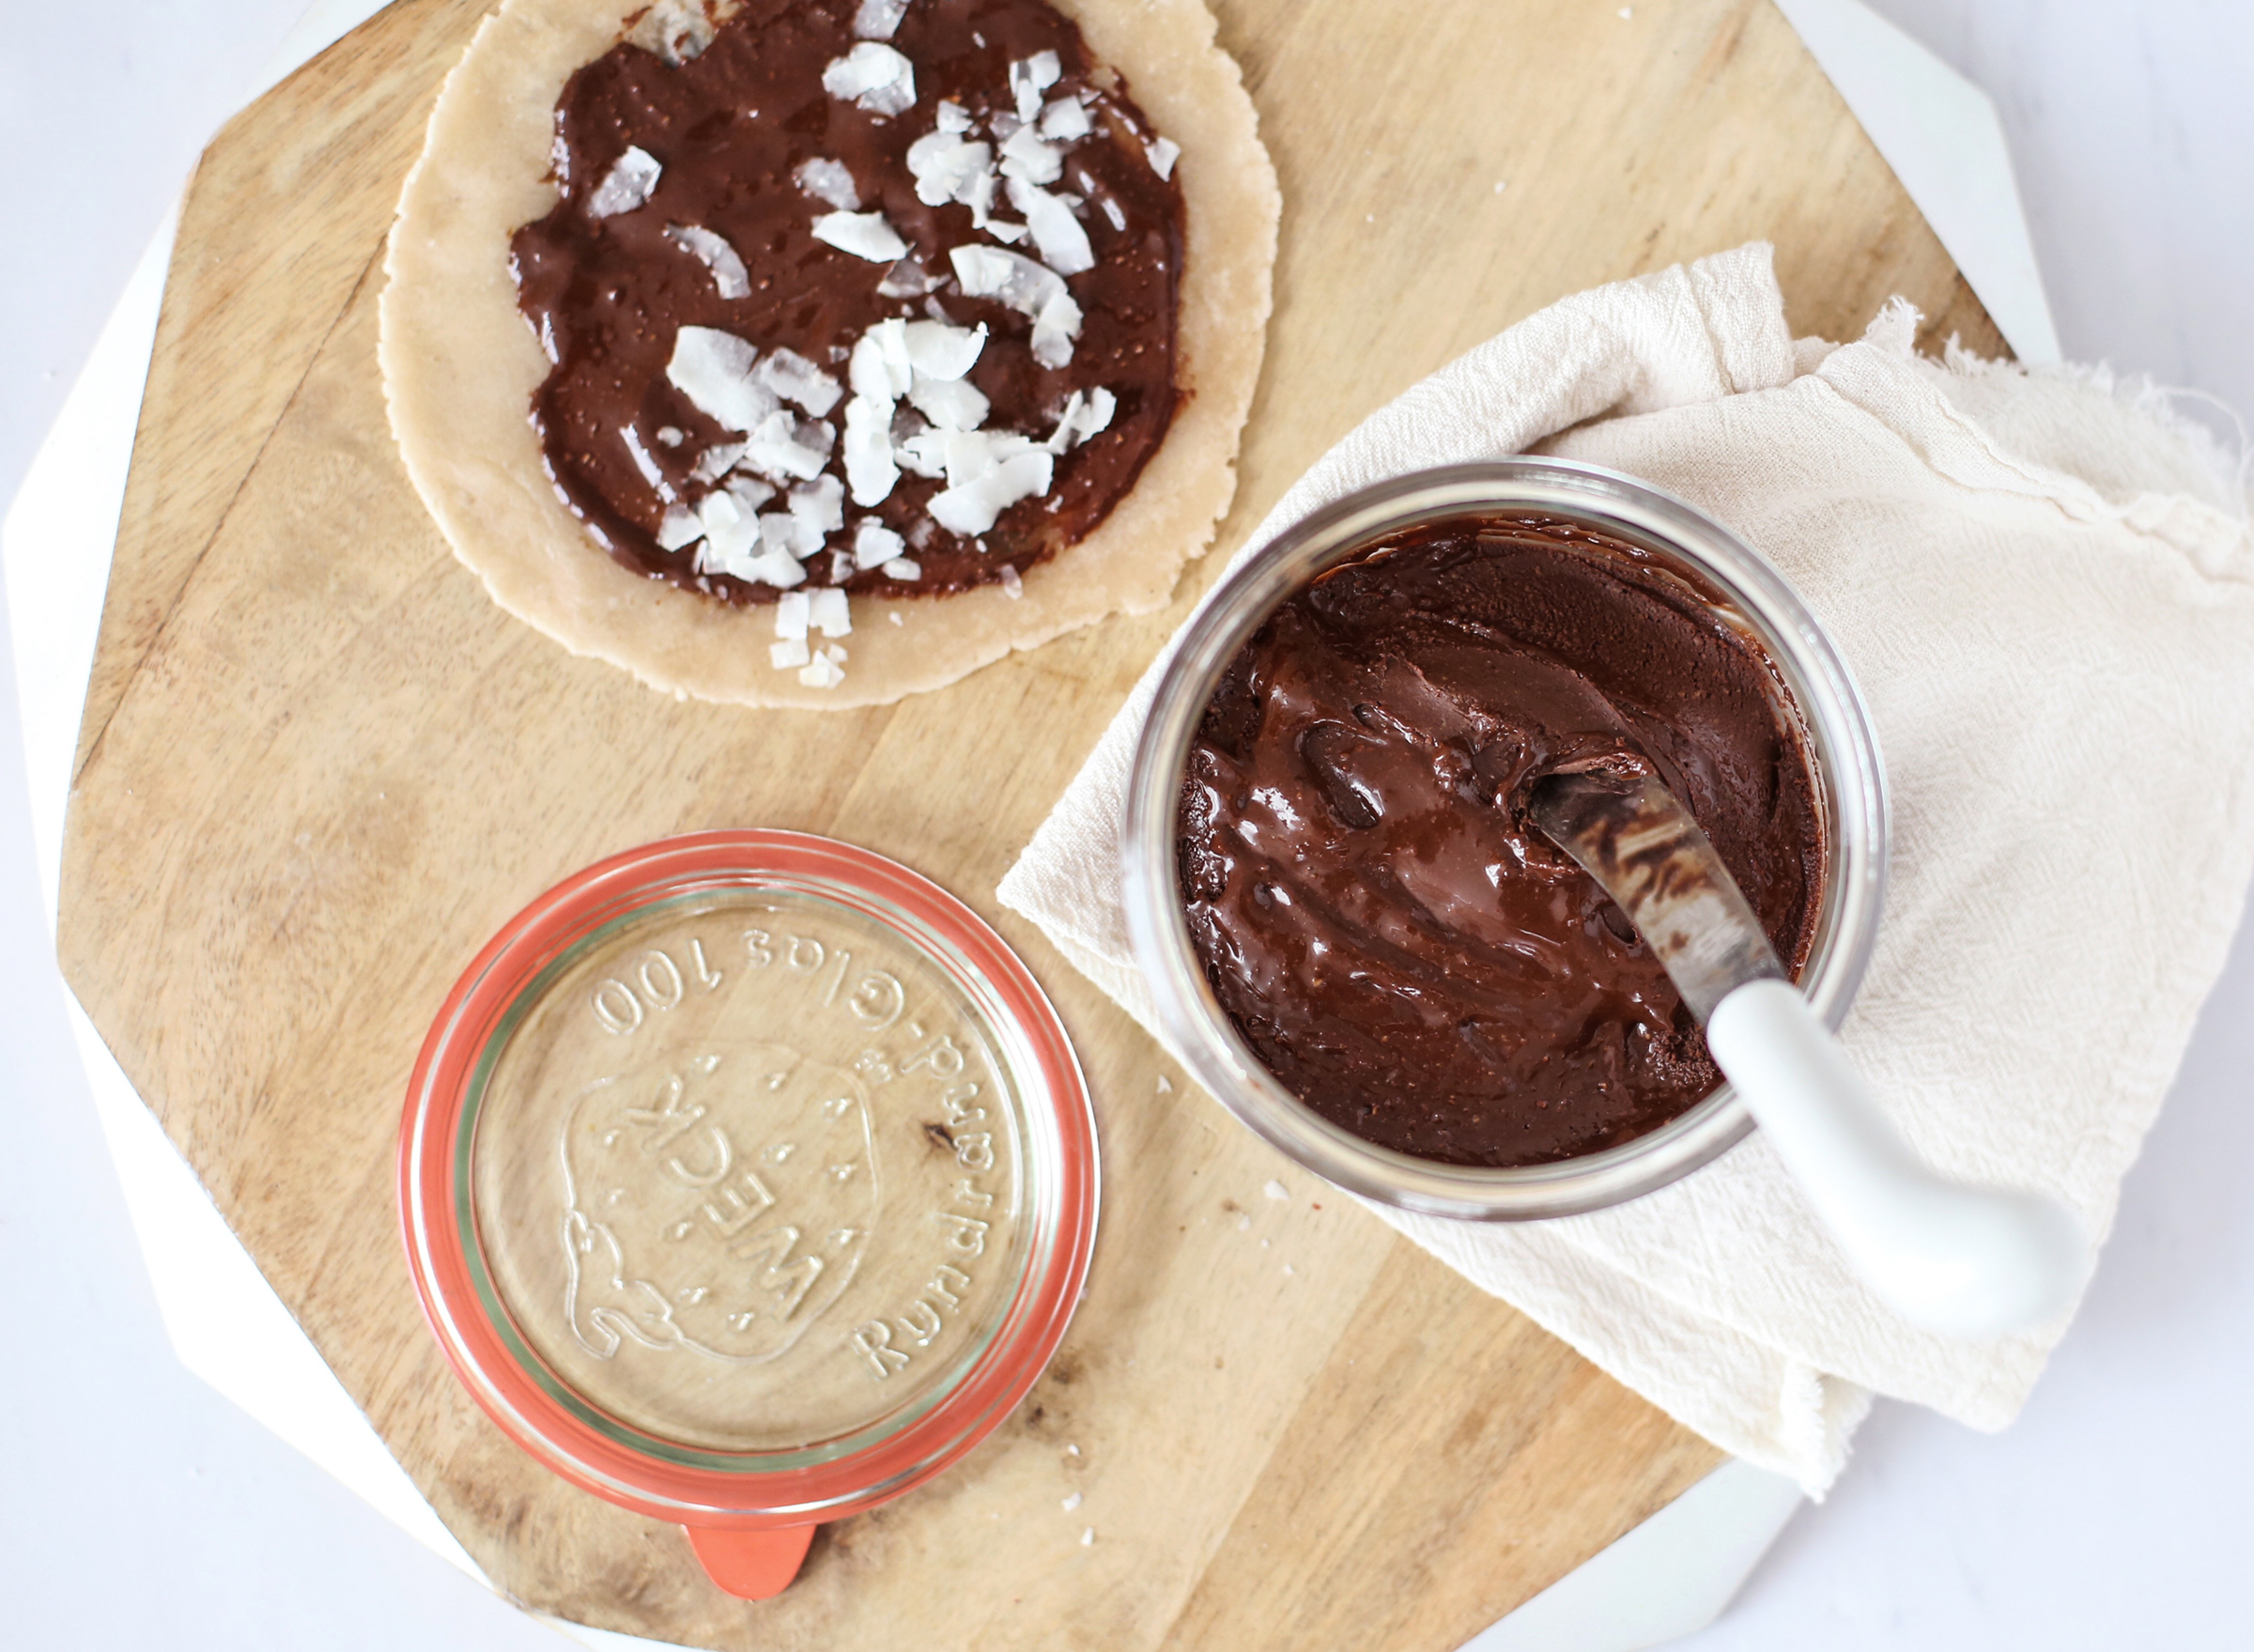
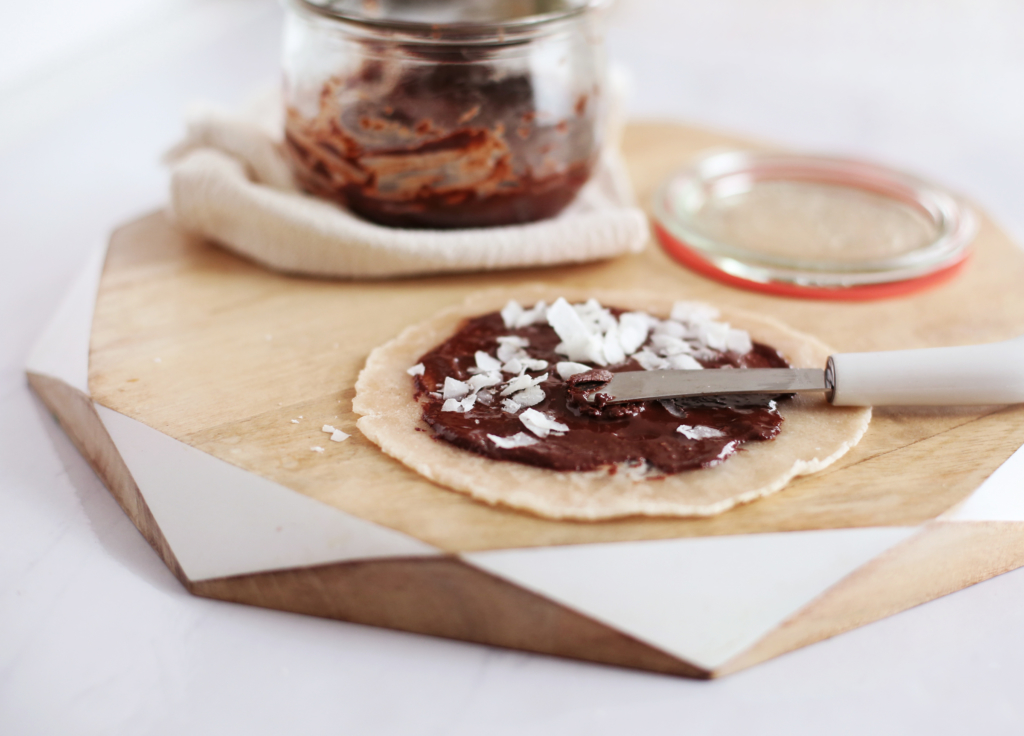
I just put it all in the food processor and in about 5 minutes, after giving a tortilla a good char over a flame, was able to roll up a nutella taco with a big fat smile on my face.

Make this nutella, then join us for the Gluten-Free Baking Academy’s Bread Course (early-bird pricing ends Feb. 20)! Then you can make nutella sandwiches, nutella-swirl quick bread… the works!

I made a simple I-need-nutella-now version simply with a pinch of salt, chocolate bars, and roasted hazelnuts—I also like mine a bit crunchy. Was always a crunchy peanut butter gal in the day. If you want a smooth, milkier version, add coconut milk and/or a little coconut oil and grind longer, or transfer to the blender for silky smoothness.

Print Recipe
Easy Homemade Nutella
Prep time: 5 mins Total time: 5 mins Author: Heather Crosby Recipe type: Dessert, Snack Allergy Info: Plant-Based, Gluten-Free Serves: 10+ servings
Prep Time 5 minutes
Servings
Ingredients
  • 2 3-ounce dark chocolate bars
  • 1 cup hazelnuts
  • ¼–1/2 teaspoon sea salt to taste
  • 2 tablespoons coconut cream to taste, skimmed from the top of a can of full fat coconut milk
  • 1 teaspoons unrefined coconut oil to taste optional for more creaminess
Instructions
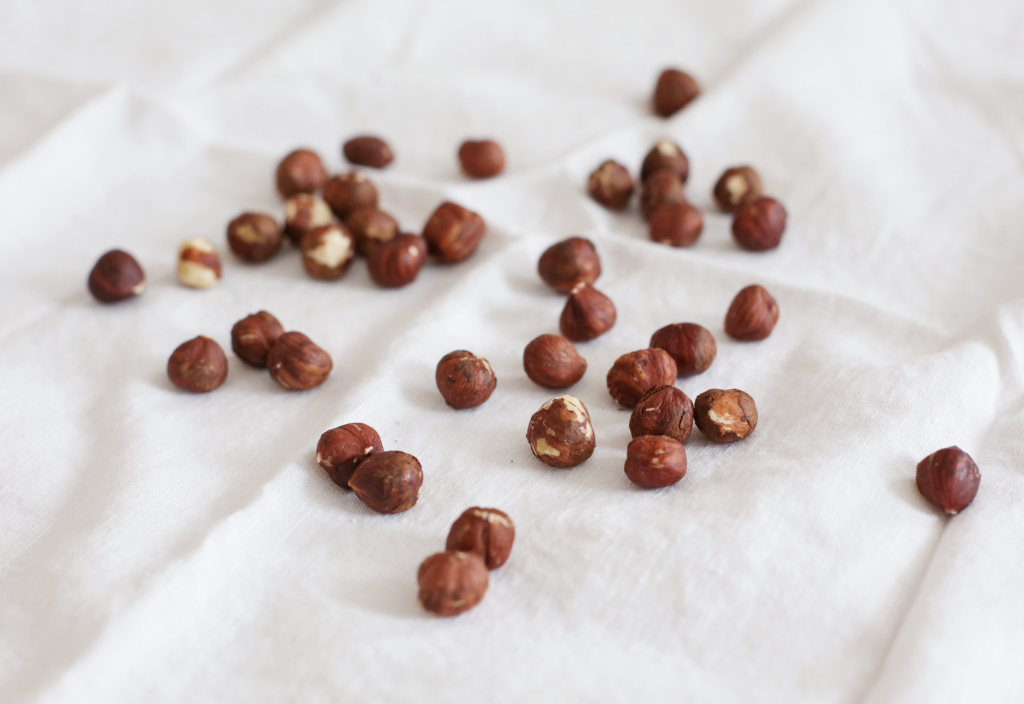
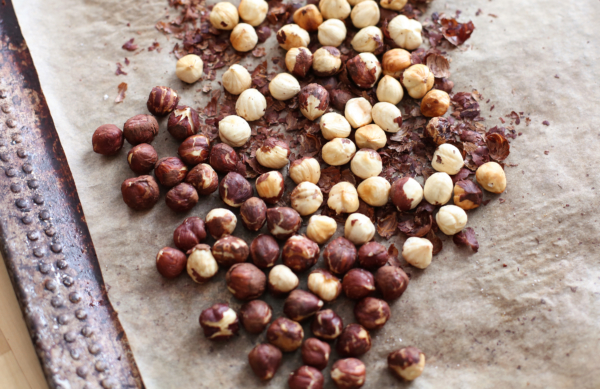
  1. Preheat the oven to 350°F and roast hazelnuts for 7 minutes on a parchment paper-lined baking sheet.
  2. Once the hazelnuts cool to the touch, rub them to remove skins, and discard the skins.
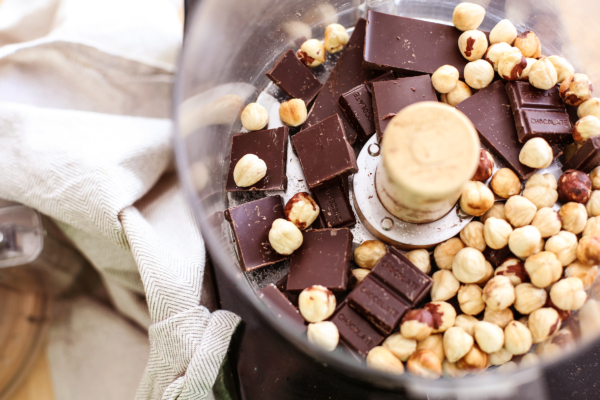
  3. Break up chocolate bars and toss in the food processor with hazelnuts and salt.
  4. Pulse until everything breaks down into a butter—heat from the blade may make things appear runny, just transfer to the fridge to cool a bit, then store in a cool pantry.
  5. For extra creaminess, you can add the optional ingredients and transfer the nutella to the blender. Blend for a minute or two until silky smooth.
  6. For a bit more crunch, skip the optional creaminess ingredients and don’t over pulse in the food processor. Stop when crunch-factor looks just right to you.
Recipe Notes

Depending on your dietary needs, try using:
Stevia sweetened chocolate bars
Dairy-free and/or vegan chocolate bars
Stevia sweetened chocolate chips
Dairy-free and/or vegan chocolate chips

Store in a pantry until ready to use.

I recommend adding some coconut to a nutella taco for good measure.

Now, I want to hear from YU. How do you eat up nutella? Any unusual meal ideas you’d like to share? Anyone else do “peanut butter tacos”? Tell us with a comment below.
Share this Recipe


Creamy Roasted Poblano Sauce

When I was oblivious to the fact that I was allergic to eggs and that I needed sleep in my life, a favorite go-to-late-night-post-partying stop was the Melrose Diner in Chicago. I would order the football-sized egg-white omelette with feta and a side of their famous poblano sauce—the eggs were really just a vehicle for the sauce. It was magical stuff—creamy and zesty with a distinctive earthy poblano taste.

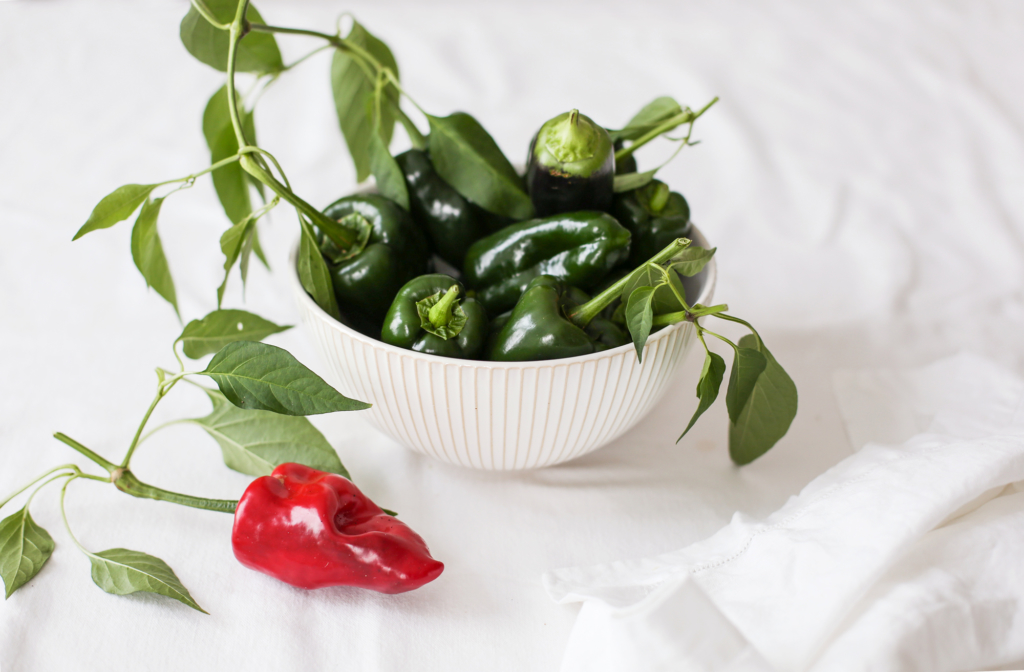
pepperslr-28final

My time in Chicago is full of food memories and favorites that I will never forget: the poblano sauce from Melrose diner, the Wagashi dessert from Sushi Wabi (now closed, so pass the Kleenex please), the sliders from Mana, the bread pudding from Karyn’s Cooked, the wings and dairy-free cookie dough shake from The Chicago Diner… be still my heart. Many of these goodies I can no longer eat, but I do my best to re-create what I remember when I can.

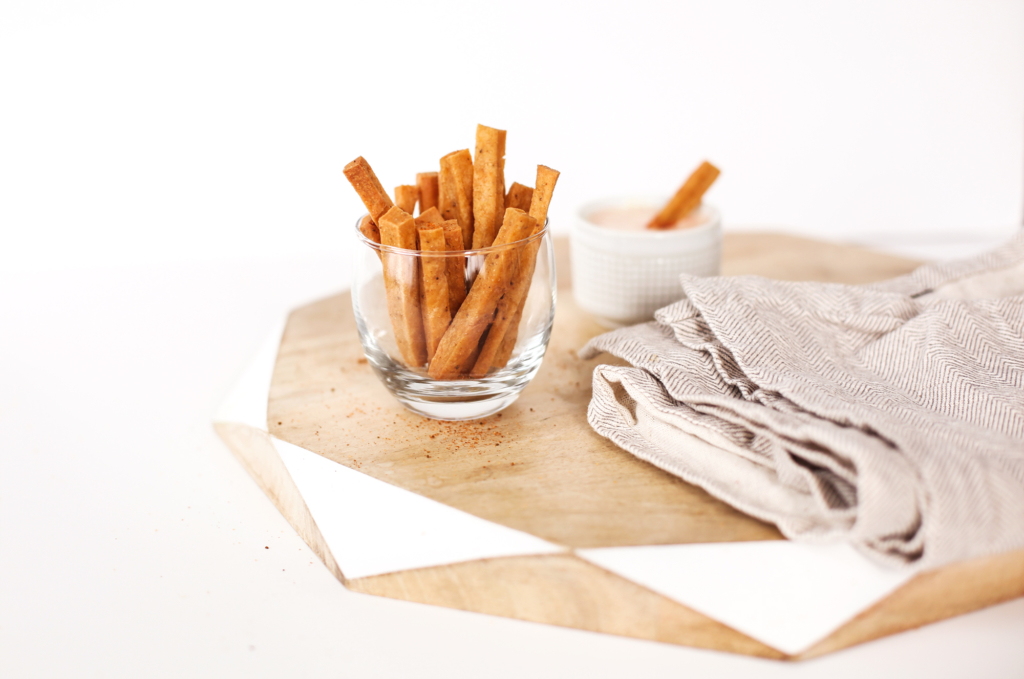
This Creamy Roasted Poblano Sauce is like an old friend. I hope you enjoy it as much as I do. Try it on Red Quinoa Tacos or Mexican Black Bean Burgers. Fold it into rice or roasted potatoes, or use it as dip for Chickpea Fries. And if you eat eggs, by all means make an egg-white omelette with feta for it!

[Tweet “Taking everything from salads to burgers to the next level w/Creamy Roasted Poblano Sauce via @YumUniverse.”]

Print Recipe
Creamy Roasted Poblano Sauce
This creamy sauce can be enjoyed warm over noodles, or chilled and used as a salad dressing for hearty greens like kale. Recipe ©: YumUniverse.
Author: Heather Crosby
Recipe type: Sauce & Salad Dressing
Allergy Info: Gluten-Free, Dairy-Free, Vegan
Prep Time 10 minutes
Cook Time 20 minutes
Servings
servings
Ingredients
  • 3 large poblano peppers
  • 1 cup canned coconut milk (full fat)
  • 1/4 cup cashews, soaked 1 hour, drained and rinsed
  • 1/4 cup water
  • 1/4 cup yellow onion, minced
  • 2 cloves fresh garlic
  • 1 tbsp fresh lime juice
  • 1 tbsp cilantro
  • 1/2 tsp fine-ground sea salt, plus more to taste
Instructions
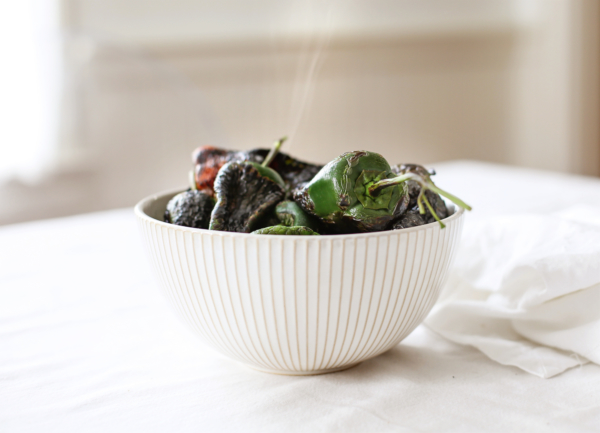
  1. You want to roast the peppers whole one of two ways—either directly on a low gas flame (5–10 minutes), or under the broiler (7–15 minutes)—rotating as they roast so all sides blacken.
  2. Toss them in a bowl and cover with a dish towel so they steam for about 10 minutes.
  3. Then, peel off the waxy skins and the char (use a paring knife to help scrape if needed), slice in half, remove ribs, seeds, and stems—then chop and transfer to the blender.
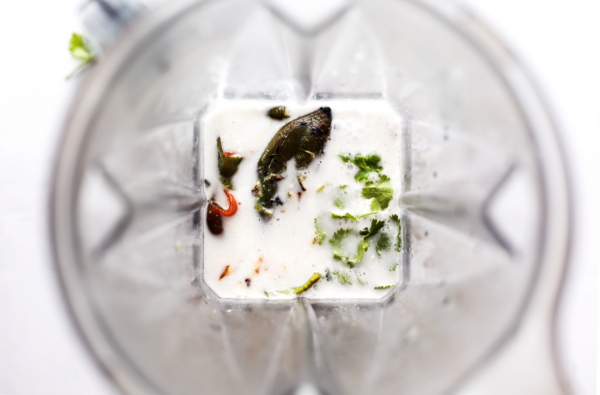
  4. Into a skillet heated to medium, add oil and onion—cook together for 5 minutes, stirring occasionally. Add garlic and stir together for 2 minutes, then transfer to the blender with remaining ingredients.
  5. Blend until creamy and store in an airtight, glass container in the fridge until ready to use.
Share this Recipe
 

Anytime you are puréeing peppers, it’s important to roast them in the oven first, so you can peel off the waxy skin. If you add raw poblano peppers to a soup or sauce, the waxy skin can create a weird texture once puréed.

Try Creamy Roasted Poblano Sauce:

As a dip for homemade Chickpea Fries (just skip the Old Bay in the recipe).

chickpeafrieslr-13soc

Tossed with roasted potatoes and arugula… or in lieu of the pesto in this recipe

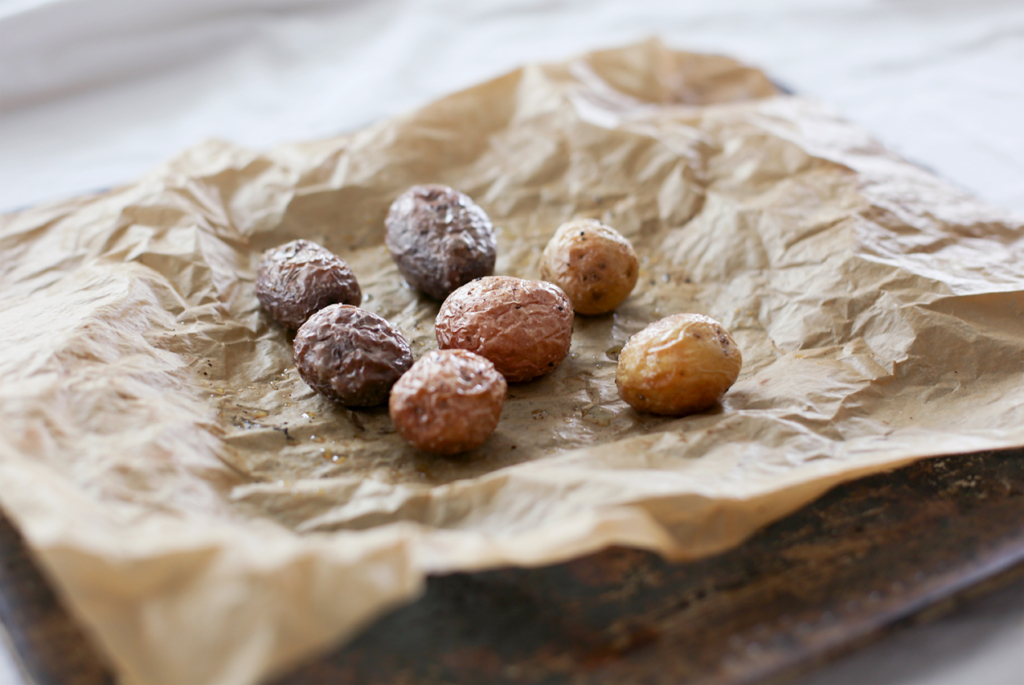
Angela_Pesto_Potatoes-5B

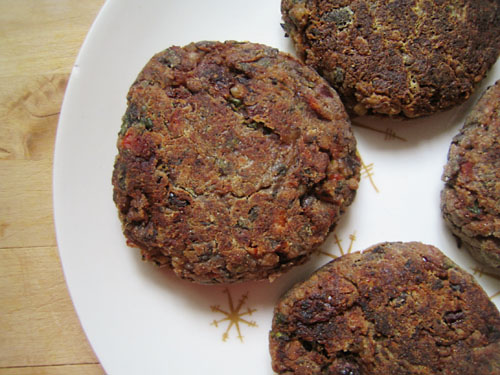
As a condi for Mexican Black Bean Burgers

Mexican_Black_Bean_Buckwheat_Burger_Fried500

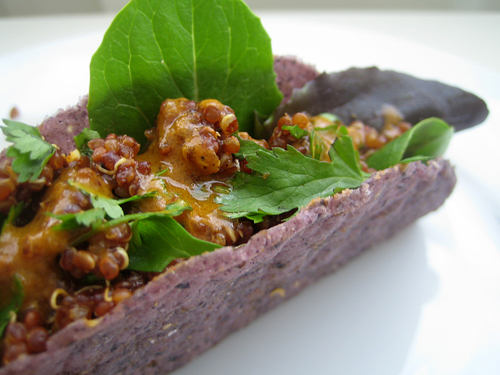
To top Red Quinoa Tacos

Tacos_500

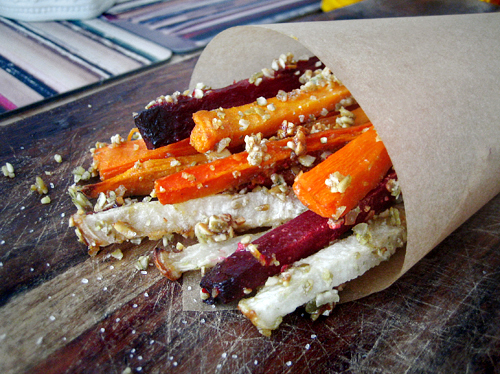
As a dip for Mixed Root Veggie Fries

Fries_Main

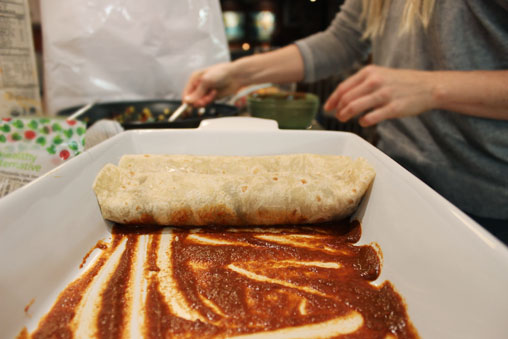
or with Veggie Enchiladas.

Veggie_Enchiladas_roll1

Now, I want to hear from YU. Are you a fan of poblanos? What recipe will you try this sauce with? Tell us with a comment below.

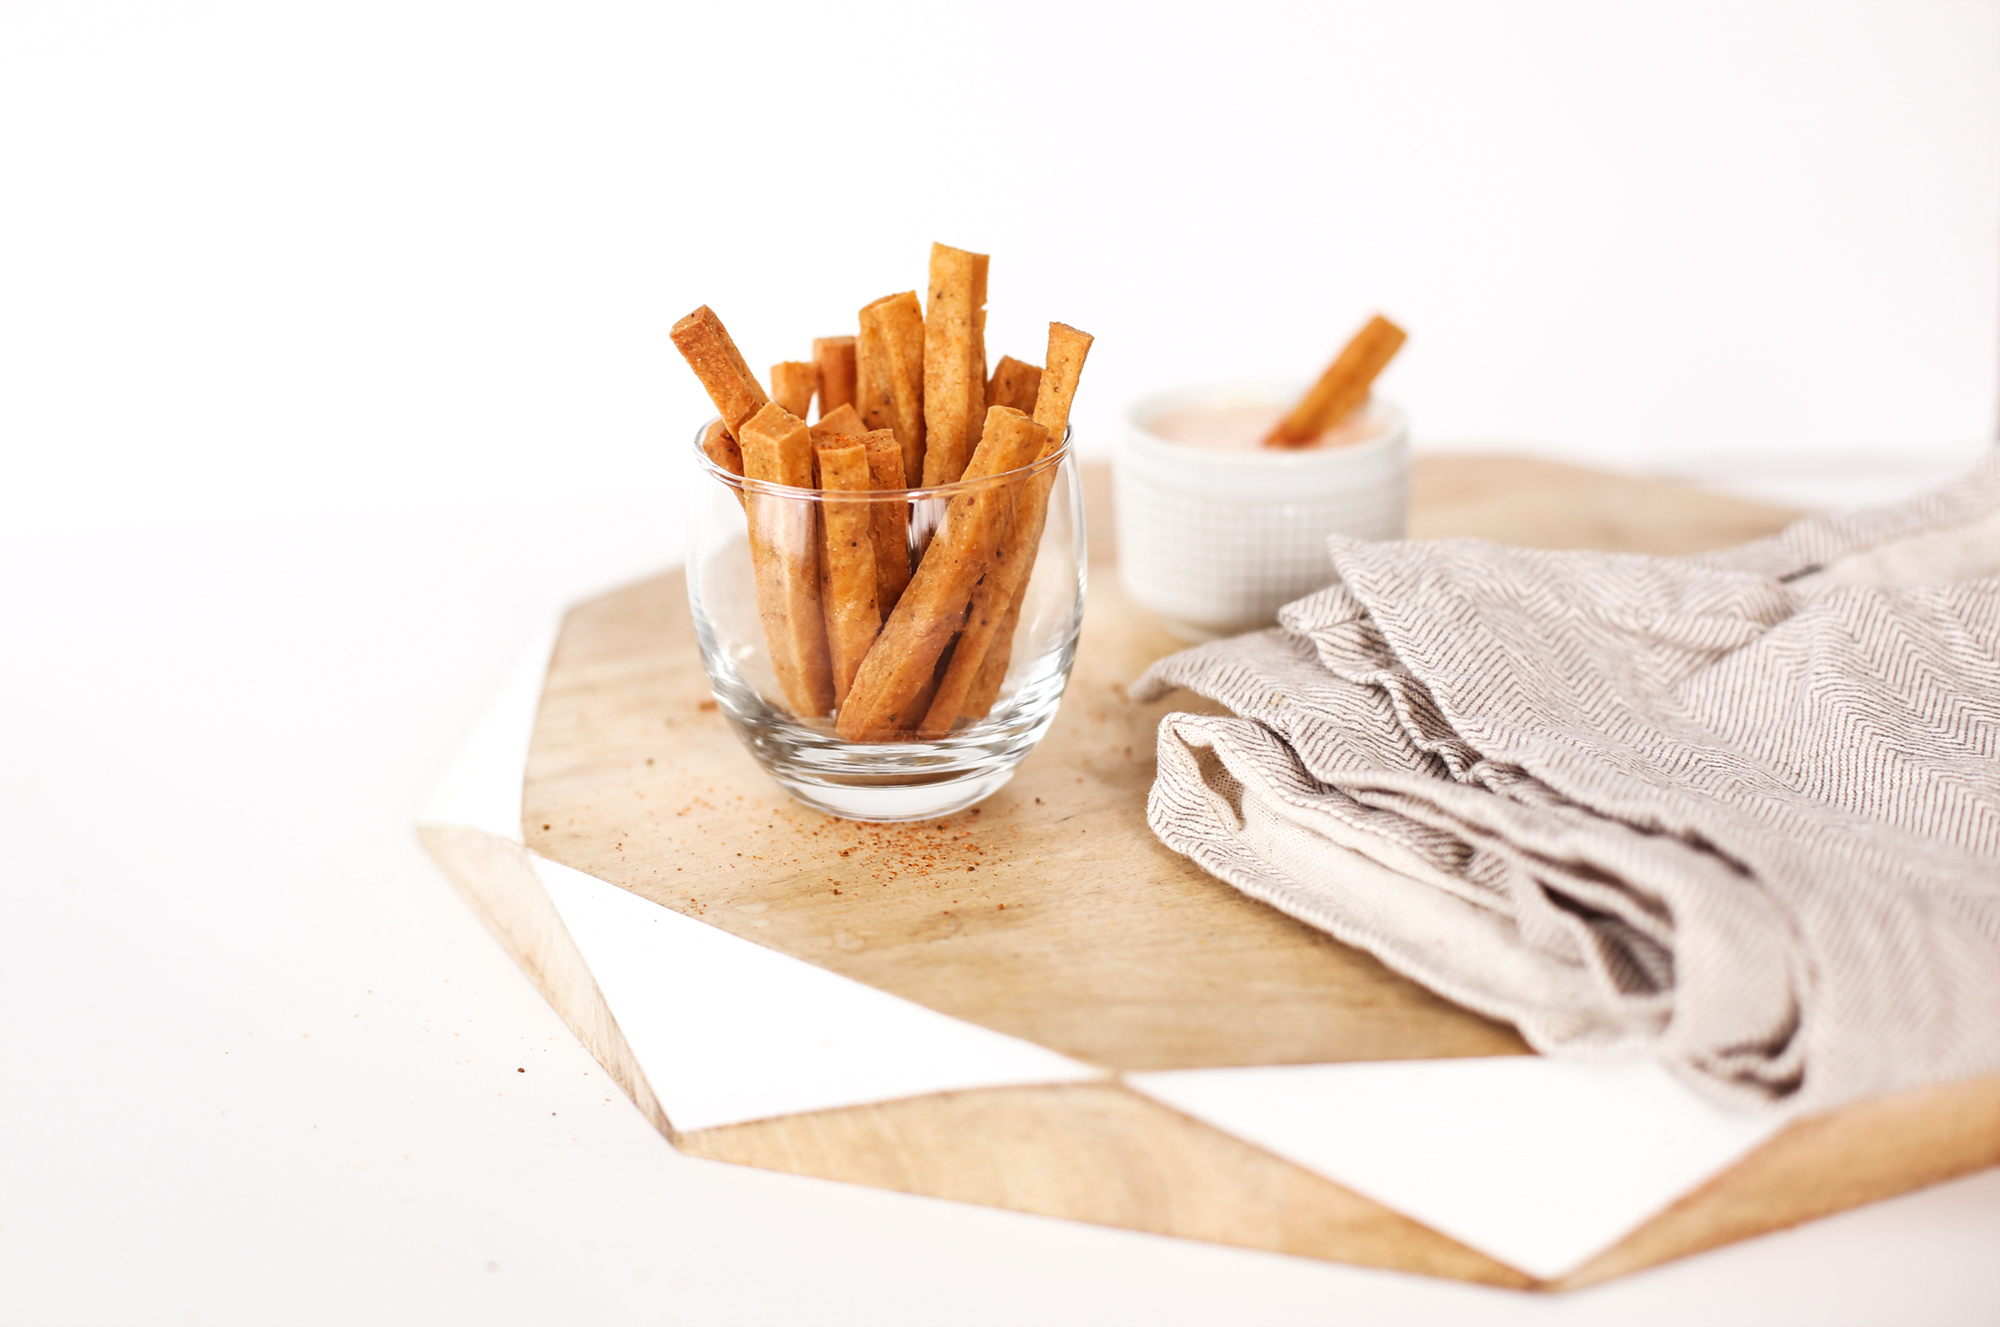
Old Bay Chickpea Fries with Honey-Mustard Dipping Sauce

I’m having a lot of fun goofing around with chickpea flour these past few months. I’ve made “tofu” out of it, a tasty Garlic-Tahini Wrap with it, and now: Fries!

The Marylander in me had to season them with Old Bay which is heaven dipped into sweet, homemade Honey-Mustard Sauce.

With final deadlines closing in for YumUniverse Book #2, I’ve been enjoying these babies a lot. Stress makes me want comfort foods and these chickpea fries do the trick without compromising the ole health goals.

Print Recipe
Old Bay Chickpea Fries with Honey-Mustard Dipping Sauce
A baked, protein- and fiber-rich twist on fries with a Maryland-inspired, dairy-free dipping sauce by YumUniverse.
Author: Heather Crosby
Recipe type: Side, Snack, Appetizer
Allergy Info: Gluten-Free, Dairy-Free, Plant-Based
Serves: 4+ servings
Prep Time 30 minutes
Cook Time 30 minutes
Servings
servings
Ingredients
Fries
  • 2 cups water
  • 1 cup chickpea flour (or garfava, besan flour)
  • 2 tsp Old Bay seasoning, plus more for garnish if you like
  • 2 tbsp grapeseed oil, avocado oil, or unrefined coconut oil, plus more for greasing
  • fine-ground sea salt to taste (optional because Old Bay is plenty salty)
Honey-Mustard Dipping Sauce
  • 1/2 cup cashews, soaked 4–6 hours, drained, and rinsed
  • 1/4 cup water
  • 1 tsp fresh lemon juice
  • 1 tbsp stone-ground mustard
  • 1 1/2 tsp raw honey
  • sea salt to taste
Instructions
  1. Place all Honey-Mustard Dipping Sauce ingredients into the blender and blend until smooth. Set aside.
  2. Grease a glass casserole baking dish or rimmed baking sheet with some oil and set aside.
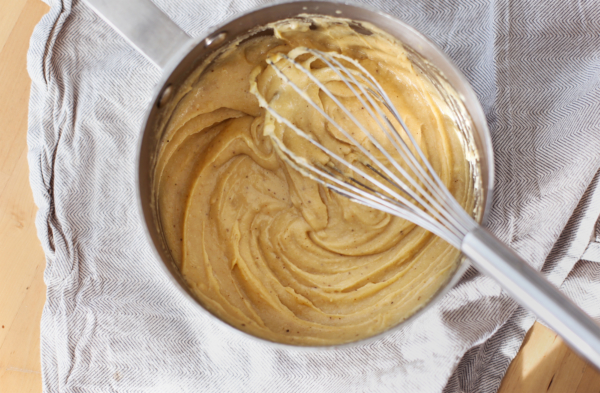
  3. In a large pot heated to medium-high, whisk together chickpea flour, water, and Old Bay for a few minutes until smooth and lump free. Once the mixture thickens like a porridge or polenta...
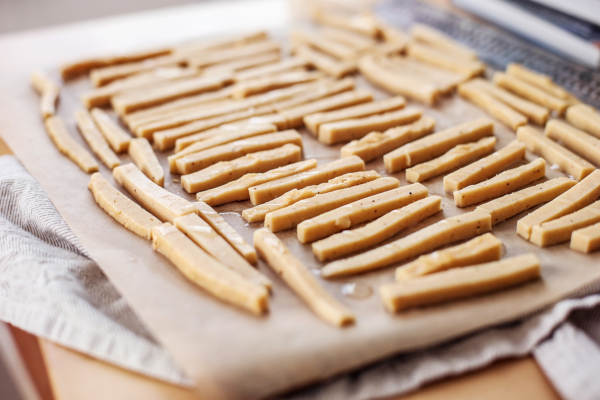
  4. remove from heat and use a silicone scraper to transfer all batter into the greased baking dish or cookie sheet—spread smooth and set aside to firm up for 20–30 minutes. Preheat oven to 350°F.
  5. Now, carefully cut mixture into fry-shaped rectangles.
  6. Drizzle slices with 2 tablespoons of oil and bake for 25 minutes, remove from oven and use a spatula to flip fries. Drizzle with more oil if necessary and bake another 20–30 minutes until browned (crispy) or starting to brown (softer). Serve warm.
Recipe Notes

Freeze baked fries in an airtight glass container for up to two months and reheat on a baking sheet in the oven.

Fries will keep in the fridge in an airtight glass container for a few weeks.

For fun: try Herbes de Provence, garlic, smoked paprika, or other seasonings to replace Old Bay.


Share this Recipe
 

Carrot & Coriander Bisque & Blissful Basil Book Giveaway

I can’t remember where I saw it, but in a feed somewhere I read that this time in our history will be known as “The Great Awakening”… and this comforted me. Thinking that most of the collective uncertainty, disappointment, and disbelief many of us are feeling these days will ultimately lead us to important work and connection with each other beyond what we can imagine right now. I like this idea. I want to be an active participant in The Great Awakening. I don’t think it has to be a grand gesture, maybe more small ones stacking up—building a sturdy, layered, colorful foundation. Like listening when you want to talk, helping create more win-win situations, or bringing a delicious soup like this one to your friend or neighbor.

For many of the people closest to me (including moi), 2016 was a year of building. A year of lessons. And building. Did I mention building? 2017 is going to be all about more sharing. And more listening.

Here’s what I’m proud of from 2016: 
I’ve deepened connections with talented, passionate women who inspire me beyond belief.

I wrote, designed, photographed, and illustrated a second (!!!) 320 book. (A process that requires a book in itself)

I completed a massive project that took me 1.5 years to create that I’ll be announcing any day now. (Gah!)

Here’s what I’ve learned:
Periods of discomfort usually lead to periods of “ah-ha!” and clarity—they need each other. Just be patient…

Feel it to heal it—don’t hide or distract yourself from sadness, overwhelm, fear—face it, look at it with open eyes, learn, make smarter decisions, and move forward.

Reach out when you need help. Most folks like to help even if you think they don’t.

Just because I can do it all doesn’t mean I should! I keep having to learn this one over and over, so here’s to putting more collaboration (maybe even adding team members) into practice in 2017!

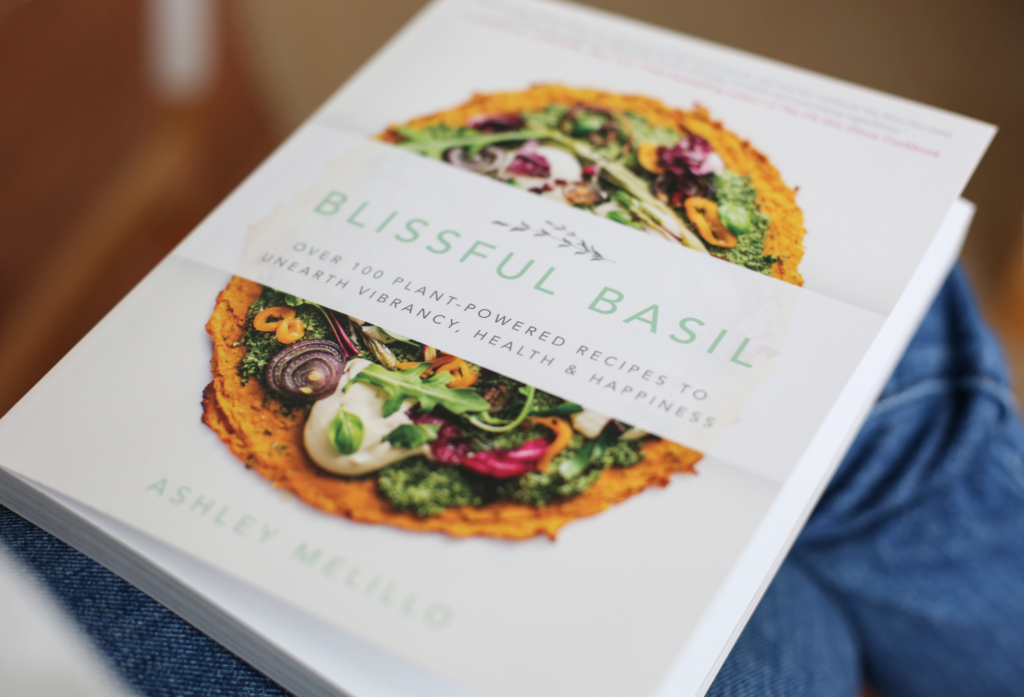
In the spirit of sharing even more in 2017, I’m thrilled to tell you about a new cookbook from someone who I know worked her butt off in 2016. Ashley Melillo from Blissful Basil released her cookbook of the same name on December 29, and it’s a beauty she should be very proud of.

blissful_basil_web

Ashley not only wrote and developed all of the recipes, but she took all the food photos herself too, which let me tell you, is no easy feat! You can tell she poured her love for plantiful ingredients and her soul into every colorful, drool-worthy page.

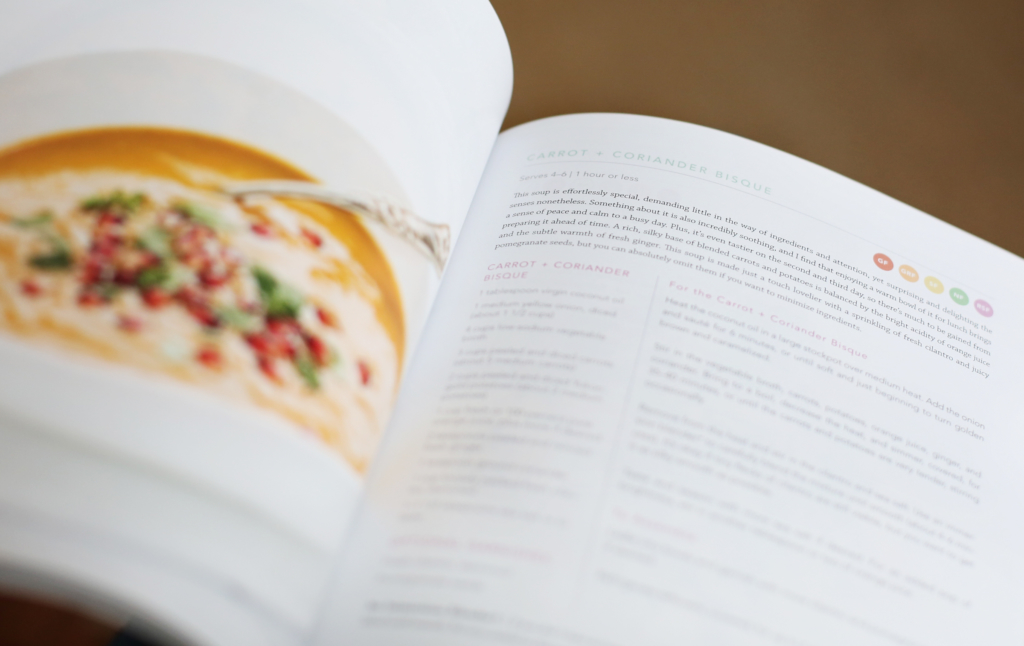
Ashley (and the publisher for YumUniverse, BenBella) is letting me share her Carrot & Coriander Bisque with YU and they’re also providing a copy of Blissful Basil for a Giveaway! Good stuff to kick off 2017, no?

blissful_basil-2_web

What I love about Ashley’s approach is that she knows health isn’t just about more sweet potatoes and kale. It’s about mental health, too—doing your best to spend your energy on the things that are a cause of great joy or happiness—aka blisssss. She has a pretty inspiring campaign going for her cookbook launch that I think YU and I can get behind. So, to enter the giveaway, we’ll need some of your good mojo to add to The Great Awakening 🙂

To enter the giveaway:

1. Register here.

2. Tell us with a post comment below one important lesson you learned in 2016, and then share one thing that makes you feel blissful and hope to do more of in 2017.

3. If you want, spread the word, #honoryourbliss:

4. I’ll choose one winner at random by January 16, 2017, so good luck, friends!

Now, make some delicious bisque.

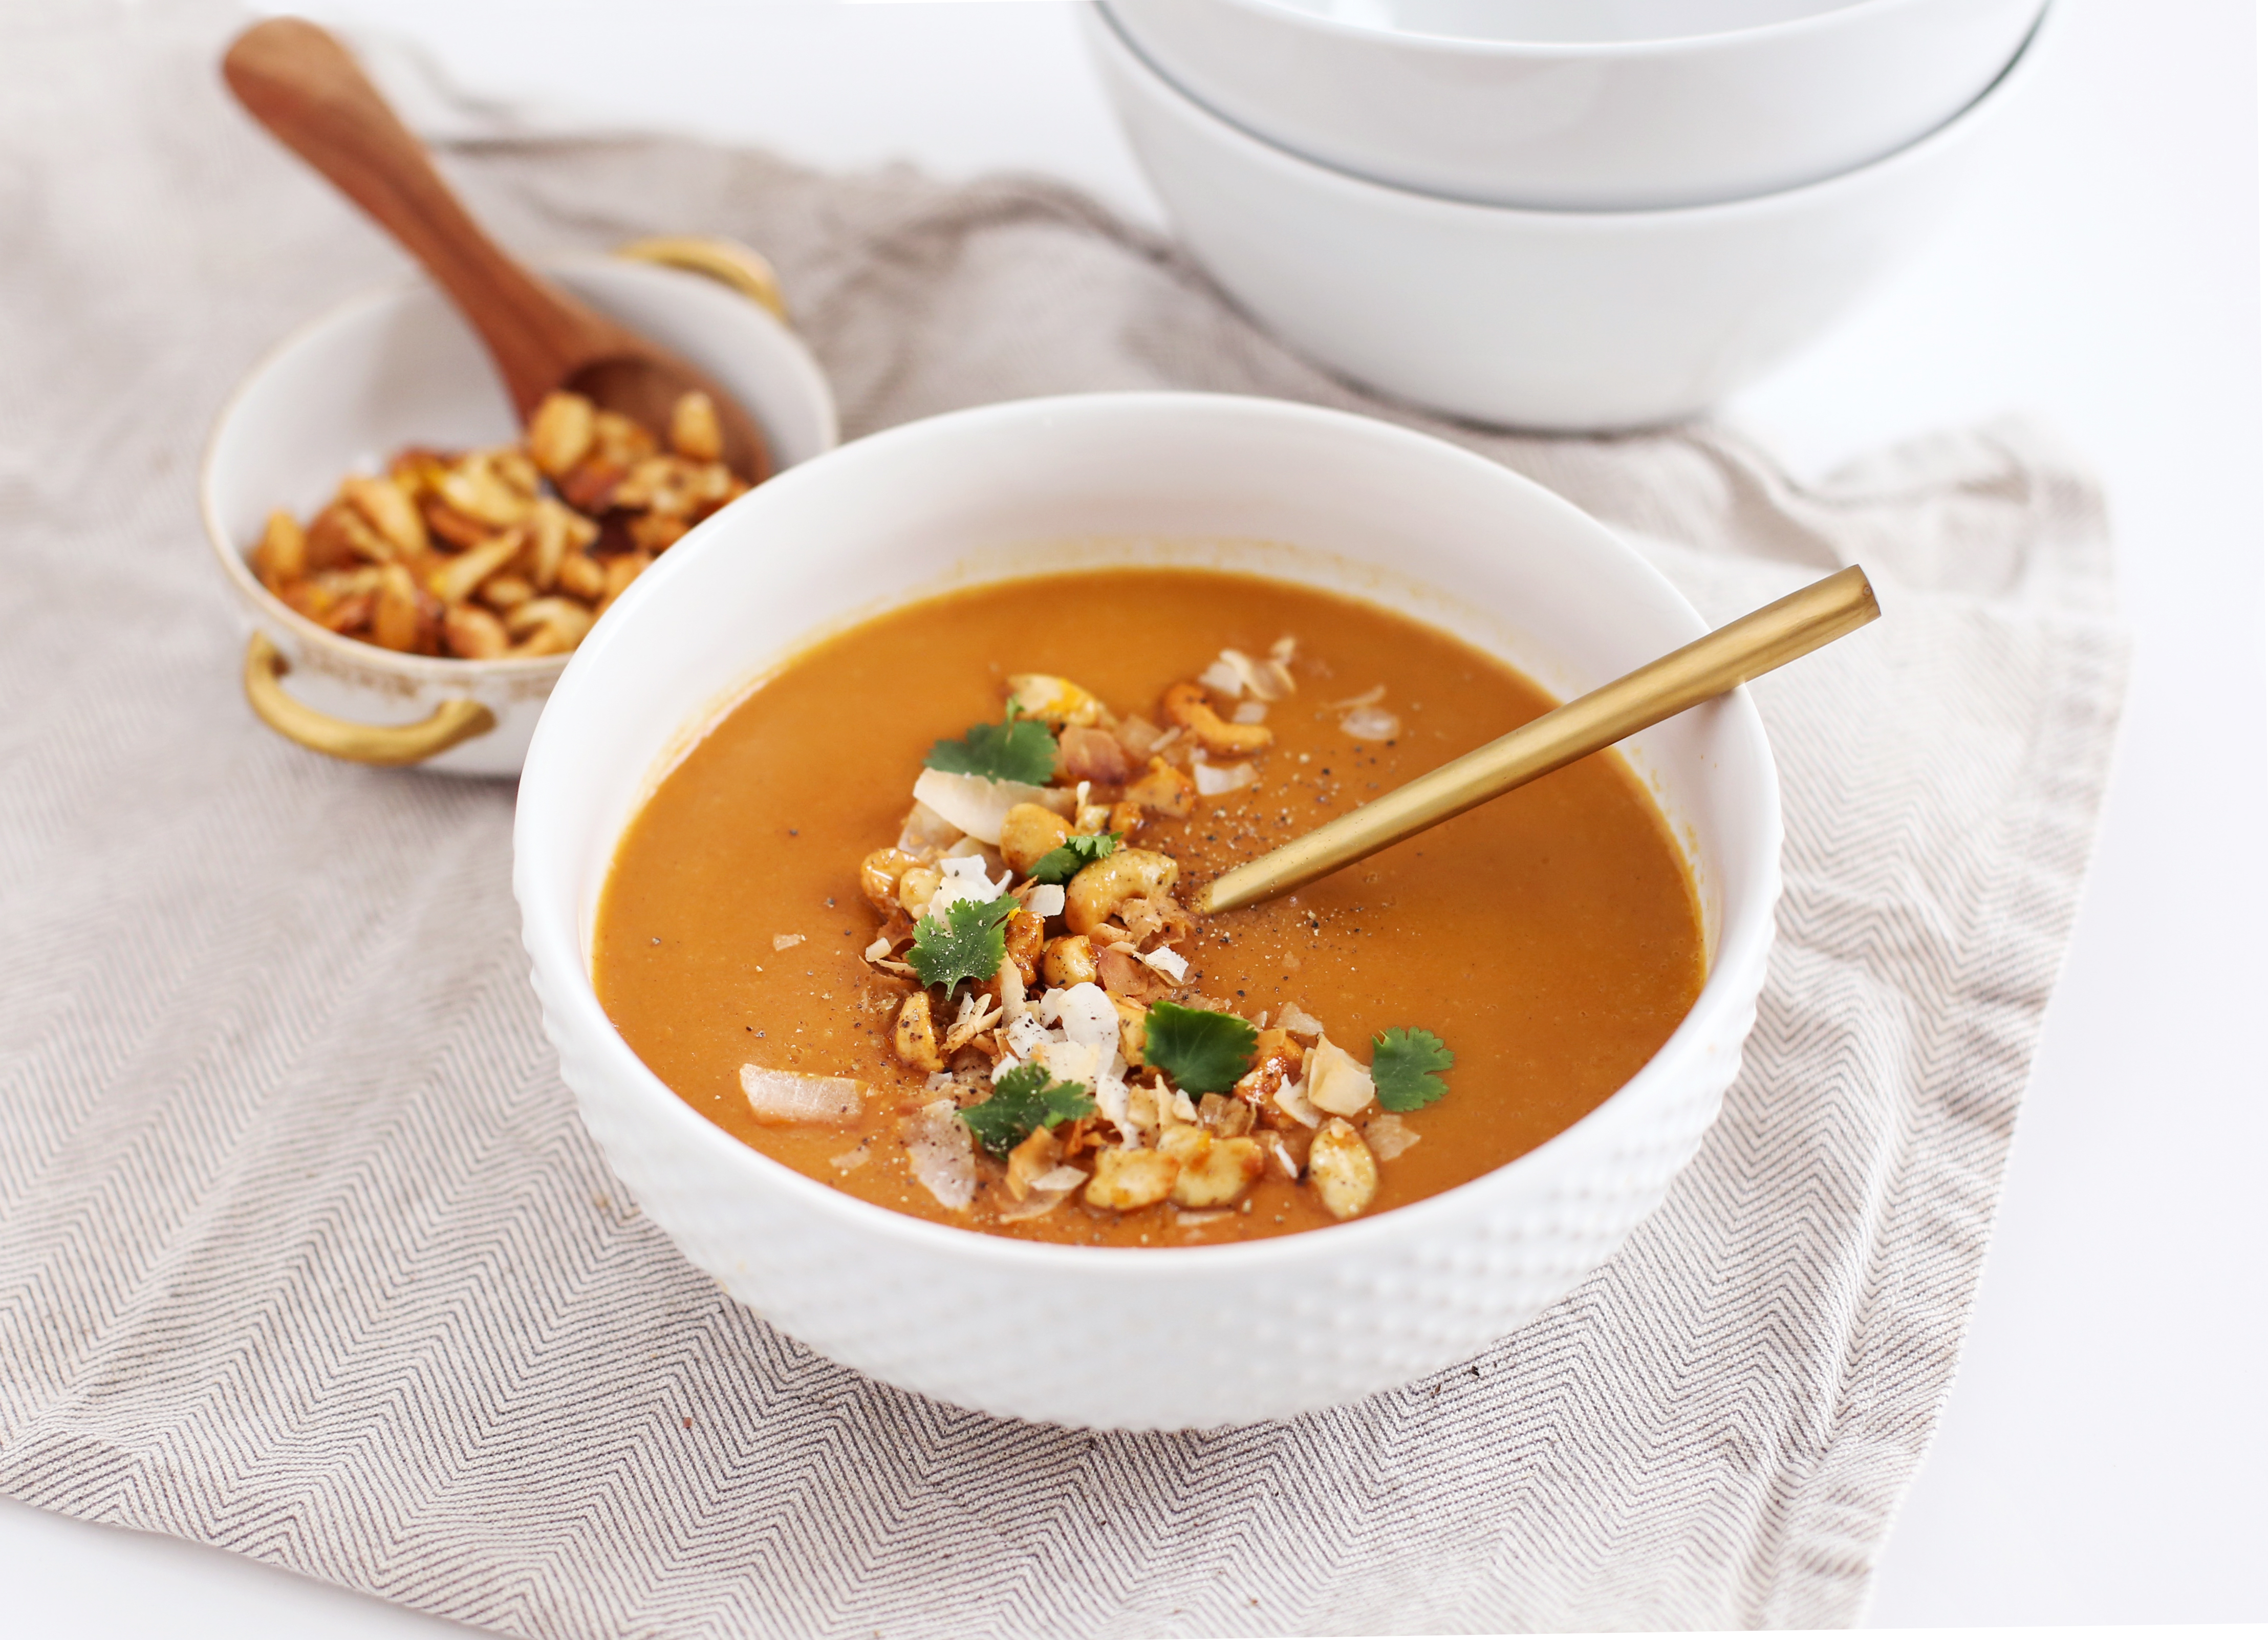
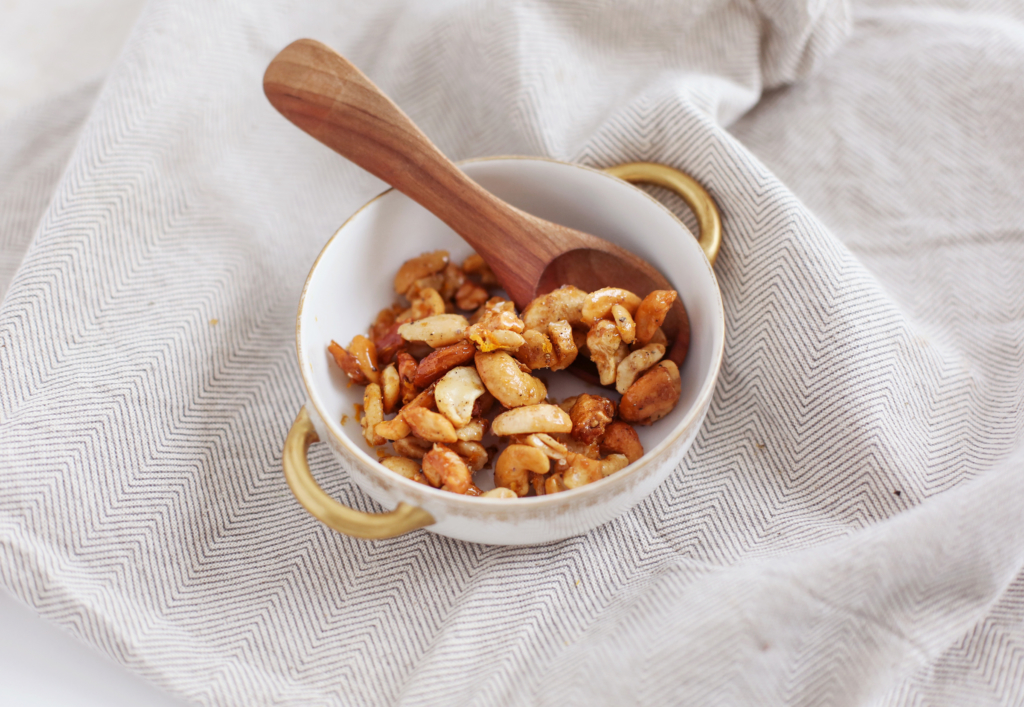
I didn’t have pomegranate, so I topped my version with a little toasted coconut, cilantro, and some Citrus Spice Cashews which lawdy lawd, was a delicious combination.

Citrus Spiced Cashews

Print Recipe
Blissful Basil Carrot & Coriander Bisque
This soup is effortlessly special, demanding little in the way of ingredients and attention, yet surprising and delighting the senses nonetheless. Something about it is also incredibly soothing, and I find that enjoying a warm bowl of it for lunch brings a sense of peace and calm to a busy day. Plus, it’s even tastier on the second and third day, so there’s much to be gained from preparing it ahead of time. A rich, silky base of blended carrots and potatoes is balanced by the bright acidity of orange juice and the subtle warmth of fresh ginger. This soup is made just a touch lovelier with a sprinkling of fresh cilantro and juicy pomegranate seeds, but you can absolutely omit them if you want to minimize ingredients.
Author: Ashley Melillo
Recipe type: Soup
Allergy Info: Plant-Based, Gluten-Free, Dairy-Free
Servings
Ingredients
  • 1 tbsp virgin coconut oil
  • 1 medium yellow onion, diced (about 1½ cups)
  • 4 cups low-sodium vegetable broth
  • 3 cups peeled and diced carrots (about 5 medium carrots)
  • 2 cups peeled and diced Yukon gold potatoes (about 2 medium potatoes)
  • 1 cup fresh or 100 percent pure orange juice, plus more if desired
  • 2 tsp peeled and minced fresh ginger
  • 1 tsp ground coriander
  • 1 cup loosely packed fresh cilantro, stemmed
  • 1–1½ tsp sea salt or to taste
  • Fresh cilantro, stemmed (optional garnish)
  • Pomegranate seeds (optional garnish)
Instructions
  1. Heat the coconut oil in a large stockpot over medium heat. Add the onion and sauté for 6 minutes, or until soft and just beginning to turn golden brown and caramelized.
  2. Stir in the vegetable broth, carrots, potatoes, orange juice, ginger, and coriander. Bring to a boil, decrease the heat, and simmer, covered, for 35–40 minutes, or until the carrots and potatoes are very tender, stirring occasionally.
  3. Remove from the heat and stir in the cilantro and sea salt. Use an immersion blender* to carefully blend the mixture until smooth (about 4–6 minutes). It’s okay if tiny flecks of cilantro are still visible, but you want to get it as silky smooth as possible.
  4. Taste and season with more sea salt if desired. For an added pop of brightness, stir in another tablespoon or two of orange juice.
  5. To assemble, ladle into bowls and garnish with more cilantro and pomegranate seeds, if desired.
Recipe Notes

Refrigerate leftovers, covered, for up to 4 days or freeze for up to 1 month.

No Immersion Blender? | If you don’t have an immersion blender, carefully ladle the soup into a blender in small batches and blend until smooth. Be very careful as the soup will be hot.

Photos reprinted from Blissful Basil by arrangement with BenBella Books.
Copyright © 2016, Ashley Melillo.

Heather Crosby topped this soup with toasted coconut flakes, cilantro, and Citrus Spiced Cashews.

Share this Recipe


Now, I want to hear from YU. What’s something you learned from 2016, and something that makes you feel blissful that you’d like to do more of in 2017? Tell us with a comment below…

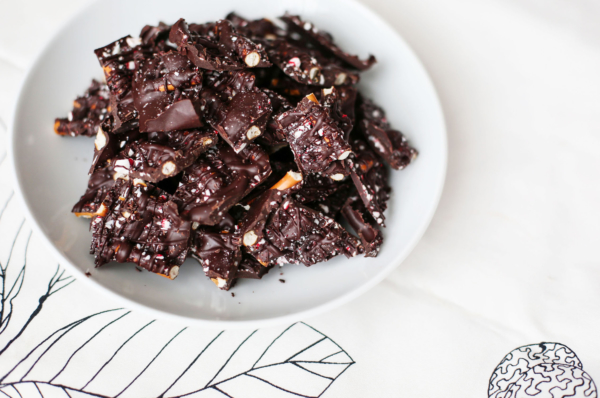
Dark Chocolate Peppermint Pretzel Bark

I’m getting ready to head to holiday festivities at my Dad’s place, complete with my super squeezable twin nephews (Gah!), but I wanted to share a simple treat that has been making life easy, festive, and tasty all week.

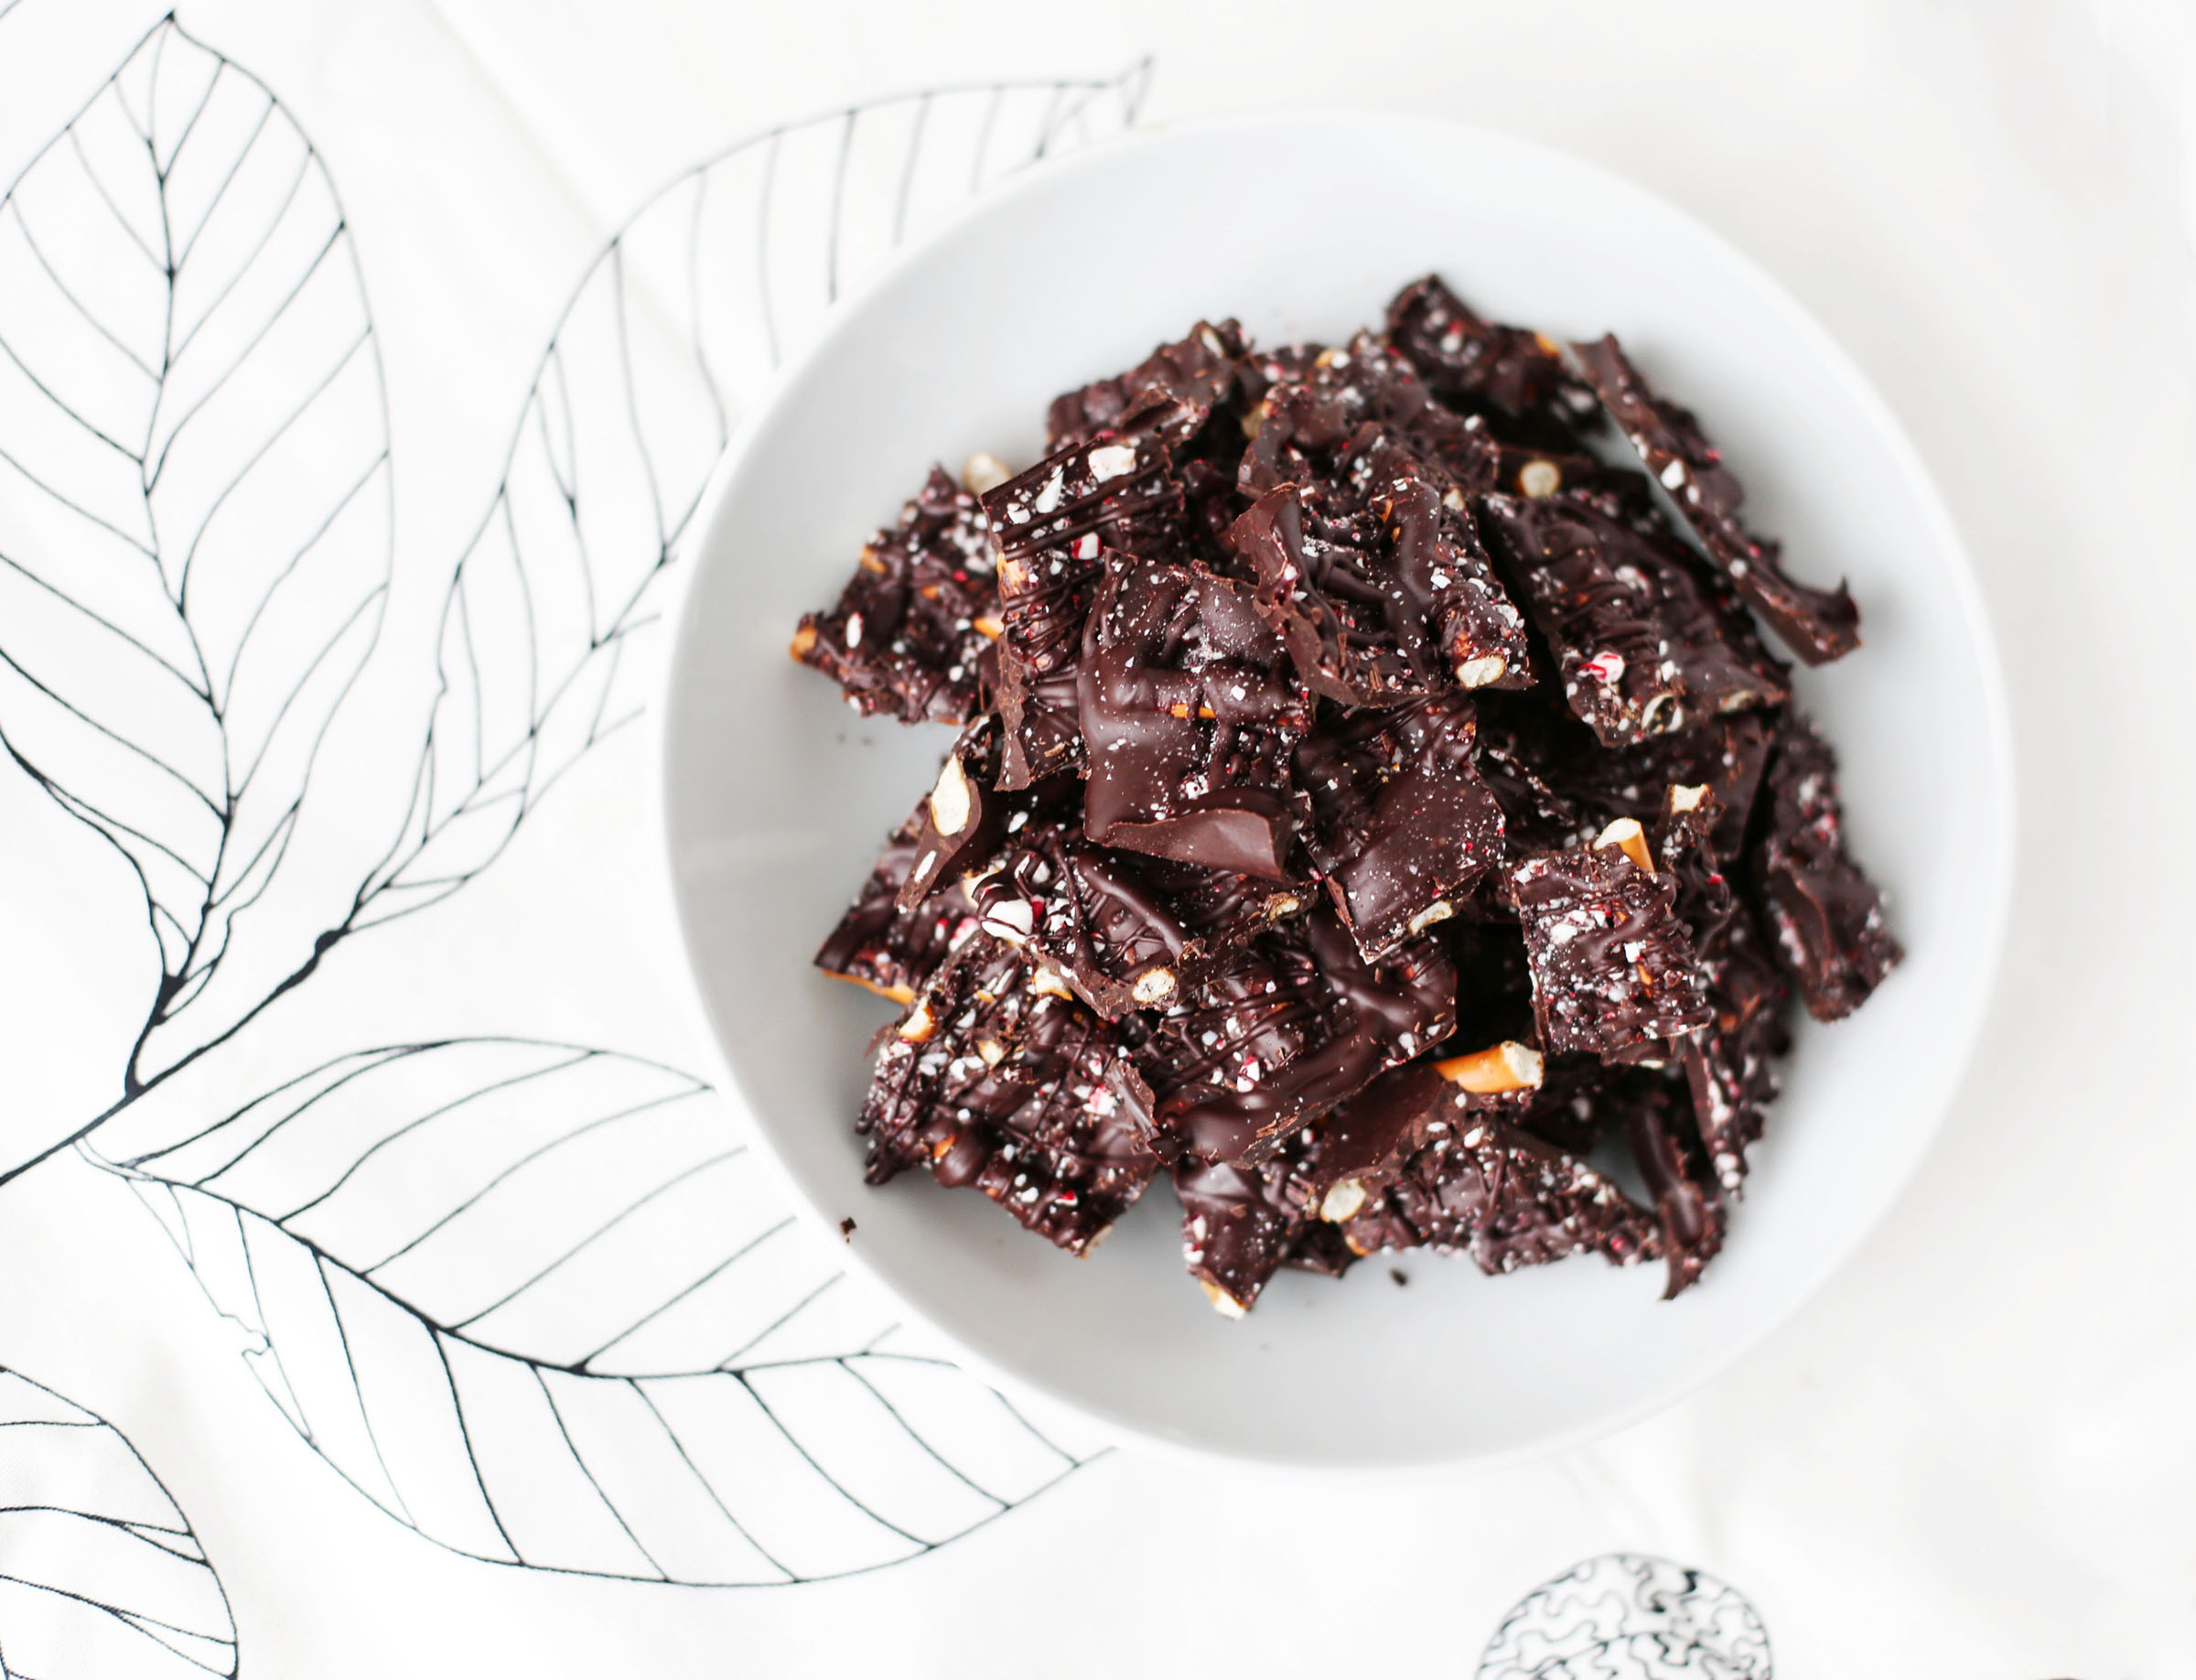
So, along with Minimalist Baker’s 5-Ingredient Peppermint Patties, I’ve been whipping up boatloads of this simple, gluten-free Dark Chocolate Peppermint Pretzel Bark. It’s all the best things about a treat in a bite—Salty, Sweet, Chocolate, Peppermint, Easy. Did I mention it’s easy?

dark_chocolate_peppermint_pretzel_bark-10rev

I also love that it’s a great way to use up candy canes, snacks, and other treats that are laying around after all of the festivities. Most salty snacks go great with chocolate…

Dark Chocolate Peppermint Pretzel Bark

I bet even potato chips would work. If you try that, I wanna know, so #yumuniverse it.

Ok, in very Crosby fashion*, we’re making our own rules tonight, so Tacos are on the menu. I’m going to make my Red Lentil Tacos (or maybe the Maitake Mushroom Tacos, hmmm) and some Chipotle Sauce. I hope you’ll try this simple bark… enjoy and happy holidays!

Print Recipe
Dark Chocolate Peppermint Pretzel Bark
An easy holiday treat that everyone loves—also great for using up leftover candy canes, pretzels, and chocolate bars from the holidays...
Author: Heather Crosby
Recipe type: Dessert
Allergy Info: Plant-Based, Gluten-Free, Dairy-Free
Prep Time 5
Cook Time 10
Servings
Ingredients
  • Three 3 oz. dark chocolate bars (look for gluten-free, vegan if you like)
  • 2–3 candy canes (or a small handful of starlight mints)
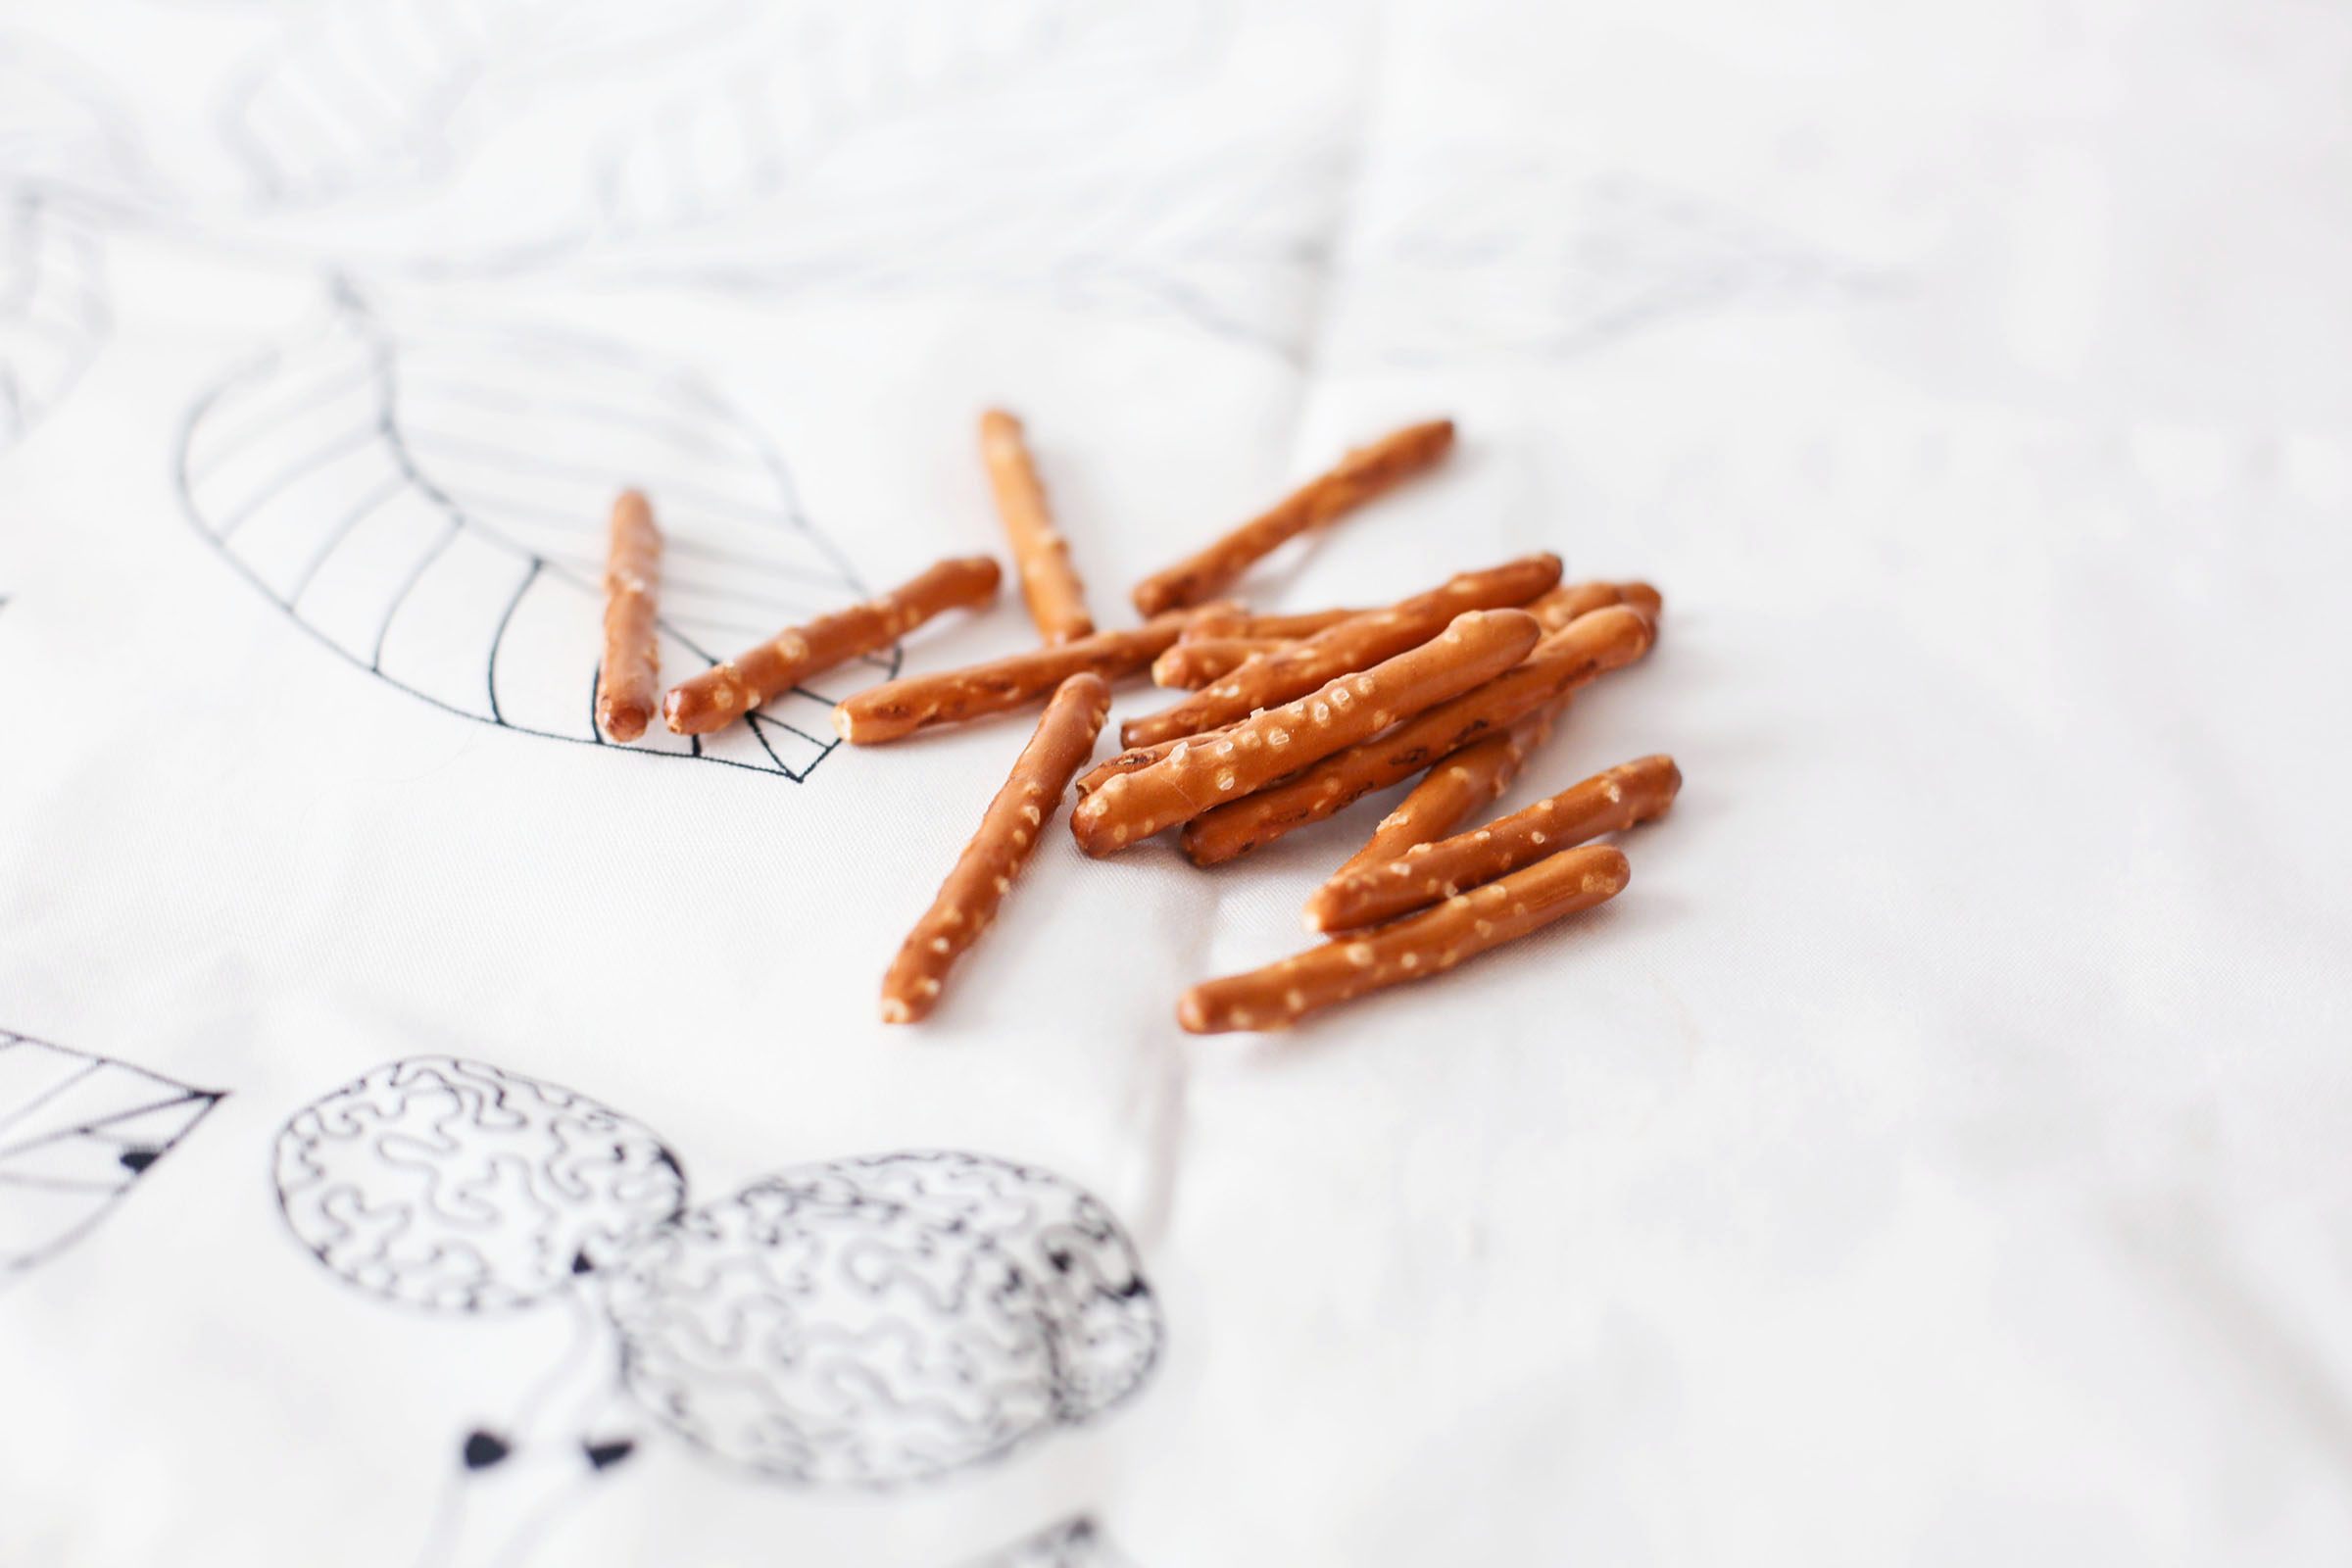
  • Pretzel sticks or twists (look for gluten-free, vegan if you like)
Prep Time 5
Cook Time 10
Servings
Ingredients
  • Three 3 oz. dark chocolate bars (look for gluten-free, vegan if you like)
  • 2–3 candy canes (or a small handful of starlight mints)
  • Pretzel sticks or twists (look for gluten-free, vegan if you like)
Instructions
  1. Break apart chocolate into squares and place into a double boiler (or a saucepan with a sieve placed on top). Bring water in pot to a boil and stir chocolate as it melts.
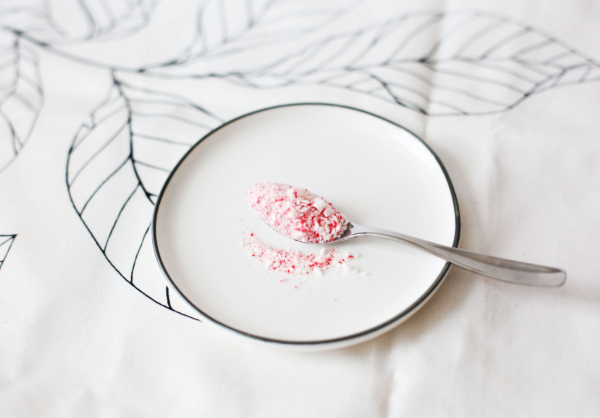
  2. Break up candy canes in a food processor (or use the baggie and a hammer hack) until almost dusty and set aside.
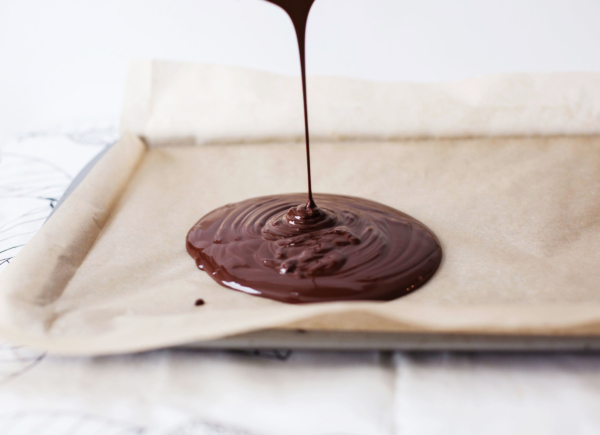
  3. Line a cookie sheet with unbleached parchment paper and pour melted chocolate onto the sheet...
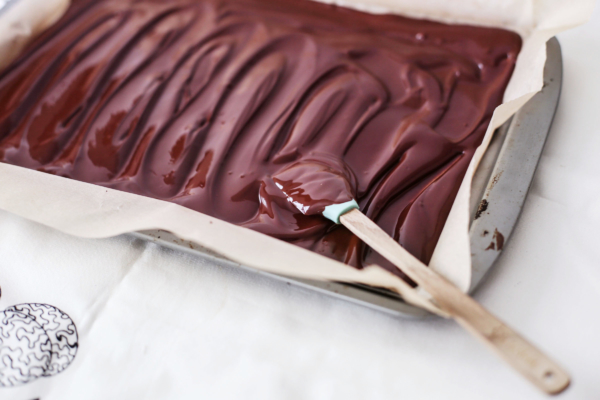
  4. ... and spread into a ¼" layer.
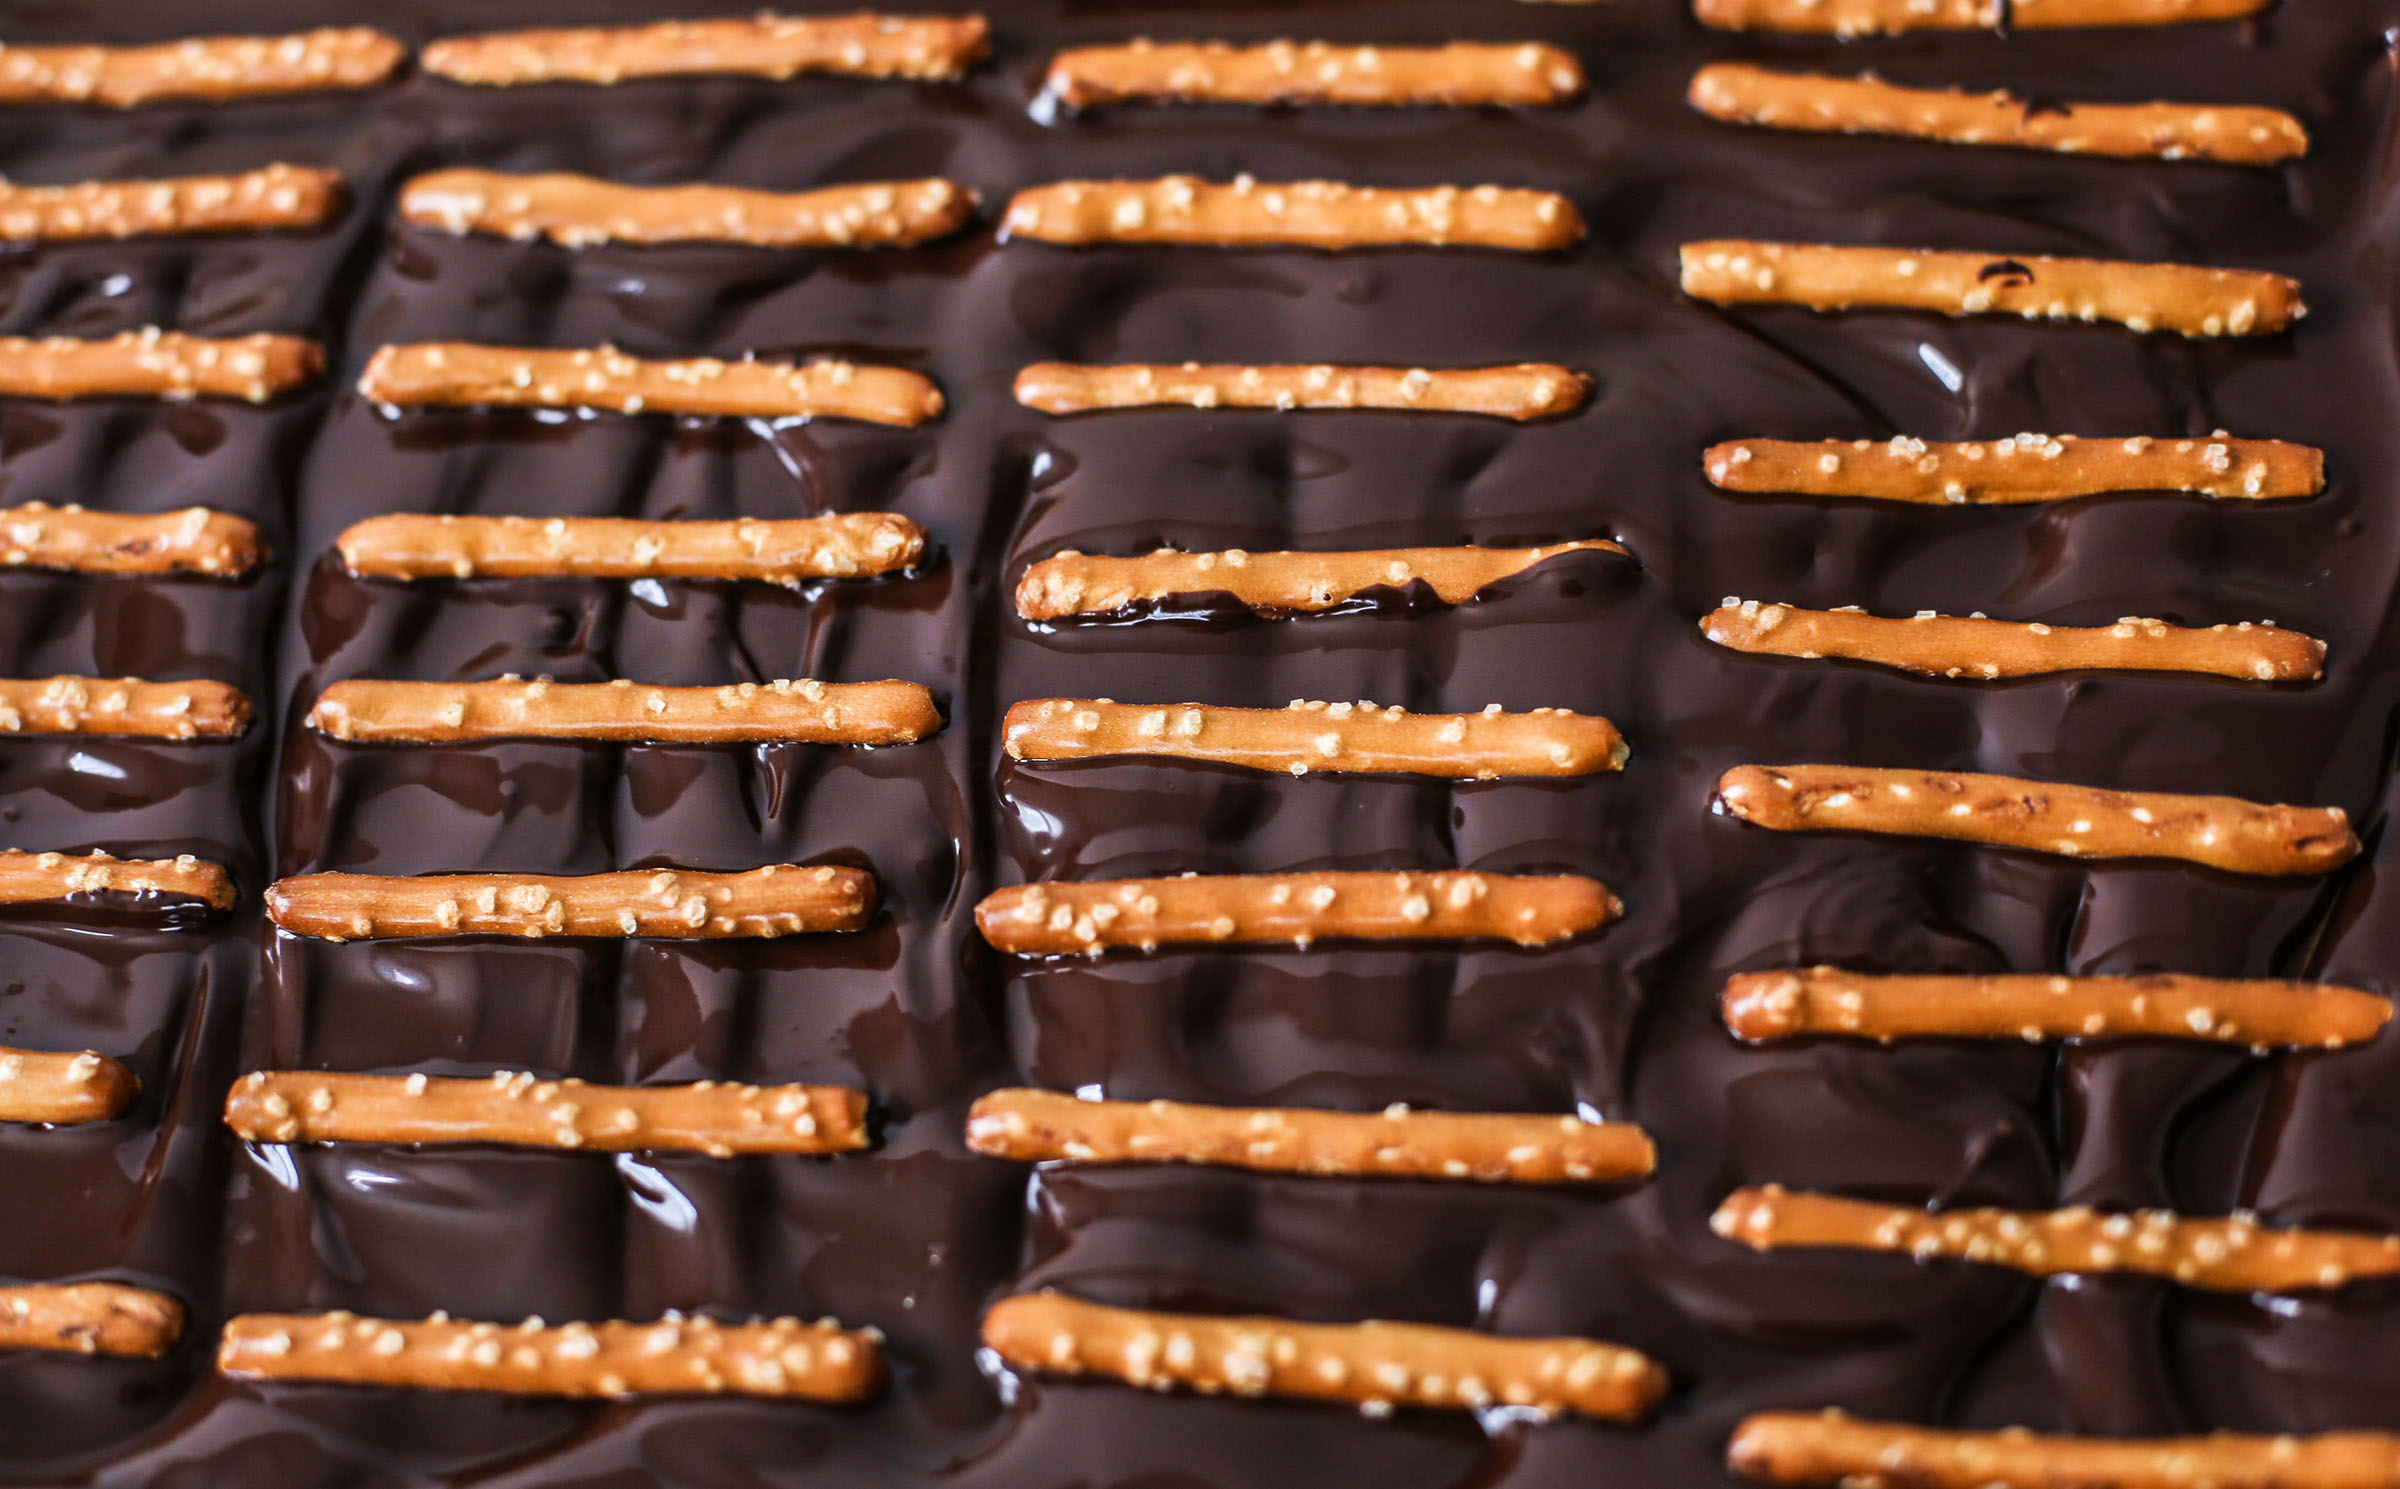
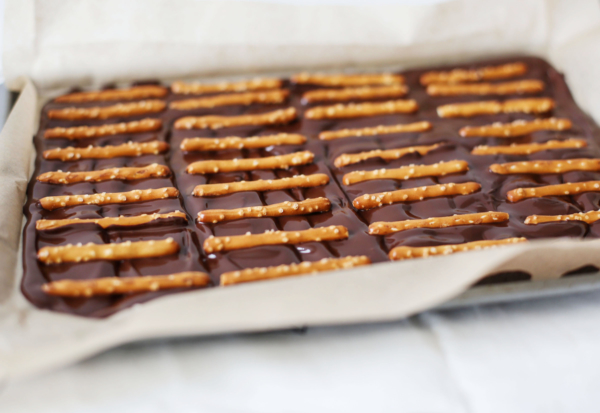
  5. Press pretzels into the melted chocolate.
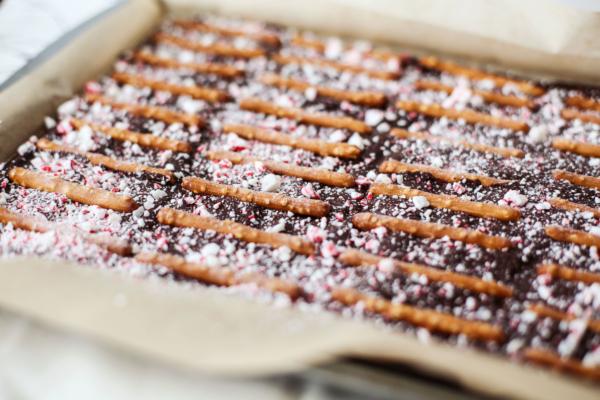
  6. And then sprinkle with crushed candy canes.
  7. Pop in the freezer or fridge to chill until firm, then cut or break apart and serve.
Recipe Notes

Feel free to layer all ingredients if you like, or make any design you see fit.

Store bark in an airtight, glass container in the fridge.

Share this Recipe
 

About that asterisk…

*One of our childhood traditions was watching the original Conan the Barbarian then having all out battles with the inside cardboard tubes from wrapping paper. Weirdos 😉

I want to hear from YU. Any wacky holiday traditions in your family? Tell us with a comment below.

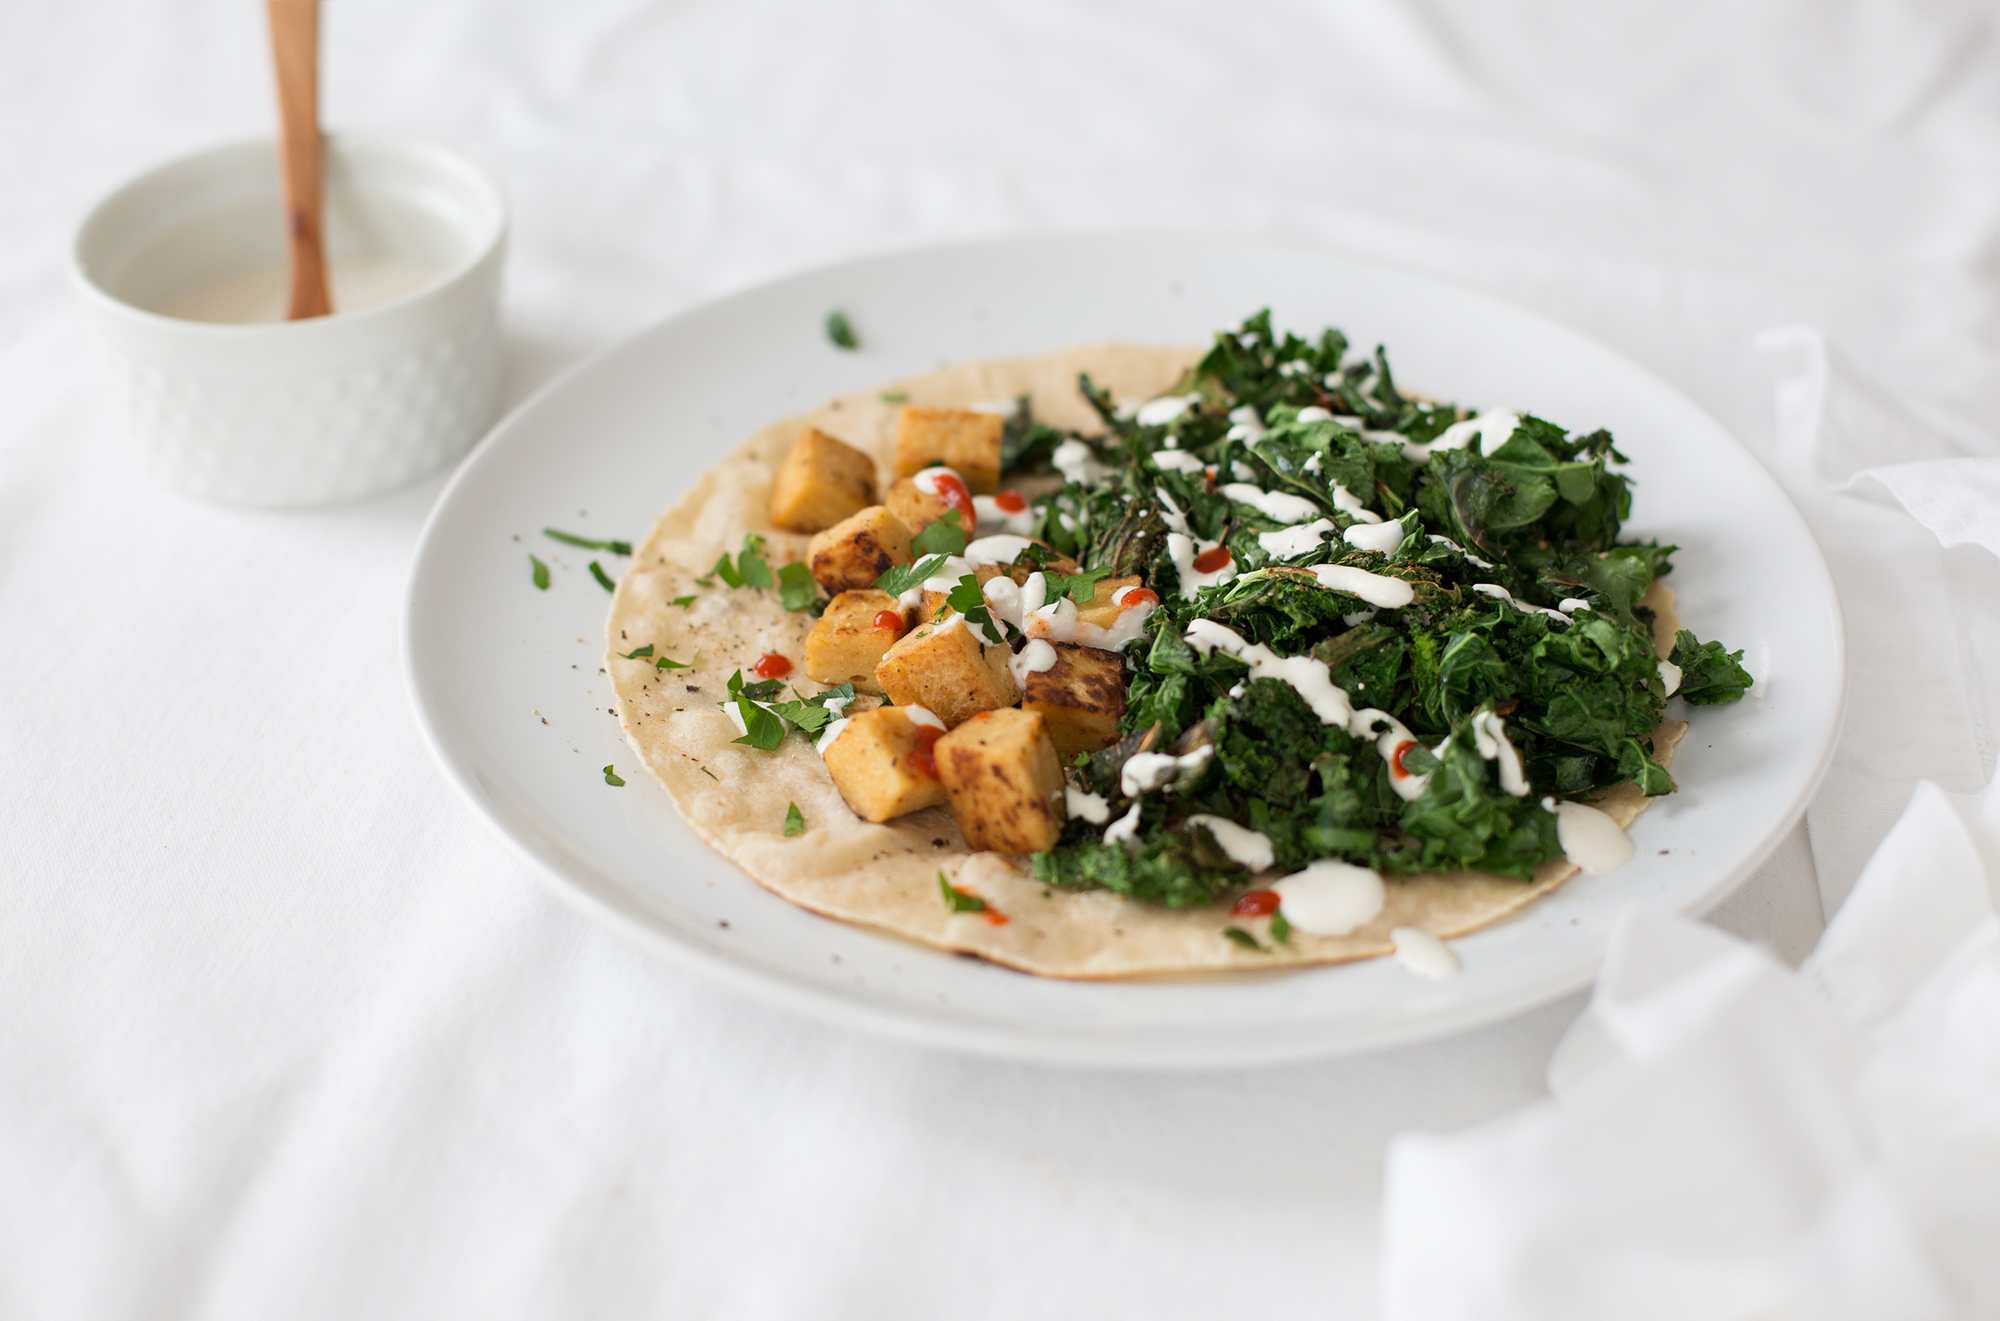
Chickpea “Tofu,” Tahini & Seared Kale Wrap

A few weeks ago I shared the game-changer that is chickpea tofu.

Today, I want to share one of my favorite ways to eat chickpea tofu—pan-fried and loaded into a wrap with a quick and easy garlic-tahini sauce, a little red onion, seared kale, and fresh lemon. If you have some Sriracha or harissa, sprinkle some of that magic on there too for good measure.

Print Recipe
Chickpea “Tofu,” Tahini & Seared Kale Wrap
A tasty soy-free twist on a tofu veggie wrap with seared kale, chickpea tofu, and garlic-tahini sauce.
Recipe: YumUniverse
Author: Heather Crosby
Prep Time 10 minutes
Cook Time 10 minutes
Servings
Ingredients
  • 2 of your favorite gluten-free tortillas/wraps
  • 7-10 leaves kale, stems removed and chopped
  • Handful of red onion, sliced thinly or diced
  • Fine-ground sea salt to taste
  • Grapeseed oil, avocado oil, or unrefined coconut oil for greasing pan
  • Fresh-cracked black pepper to taste (optional)
  • fresh lemon juice (optional)
  • Harissa or Sriracha (optional)
  • 2 cups Chickpea Tofu* (or store-bought non-GMO, soy tofu), cut into cubes or strips
Garlic-Tahini Sauce
  • ½ cup tahini
  • 1/2 cup water
  • 2 tsp fresh lemon juice
  • 5 cloves garlic, sautéed or roasted
  • 1/4 tsp sea salt, plus more to taste
Instructions
  1. Preheat oven to 350°F and place garlic cloves (in their skins) on a parchment-lined baking sheet to roast for 7 minutes. Peel and toss into the blender with remaining Garlic-Tahini Sauce ingredients—blend until smooth and set aside.
  2. Heat a frying pan to medium and add 1–2 tablespoons of oil. Cook chickpea tofu about 1 minute on each side, rotating to cook as many sides as possible. Once starting to brown, push to the edges of the skillet and place chopped kale in the center clearing to sear for 2–3 minutes. Sprinkle with a tiny pinch of sea salt and a few grinds of pepper if using.
  3. If you have a gas range, quick char the tortillas directly over a low flame for 10–30 seconds to soften. You could also steam your tortilla for 10–30 seconds on each side. Once warmed and soft, lay on a plate to fill up.
  4. Now load up your wrap with chickpea tofu, onion, kale, Garlic-Tahini Sauce, hot sauce and lemon juice if using, leaving about 2" on all sides. Fold up bottom edge, then fold over top edge, then fold over right edge and use hand to tighten it all together, then roll left to close.
Recipe Notes

* See chickpea tofu recipe here

Share this Recipe
 

Have you tried chickpea tofu yet? What do YU think? Tell us with a comment below.