It’s no secret that I love me some fermented foods, for benefits, for flavor, honestly, for the fun of it. There’s something empowering about reconnecting with ancient, traditional methods of preserving and enhancing the benefits of our food.
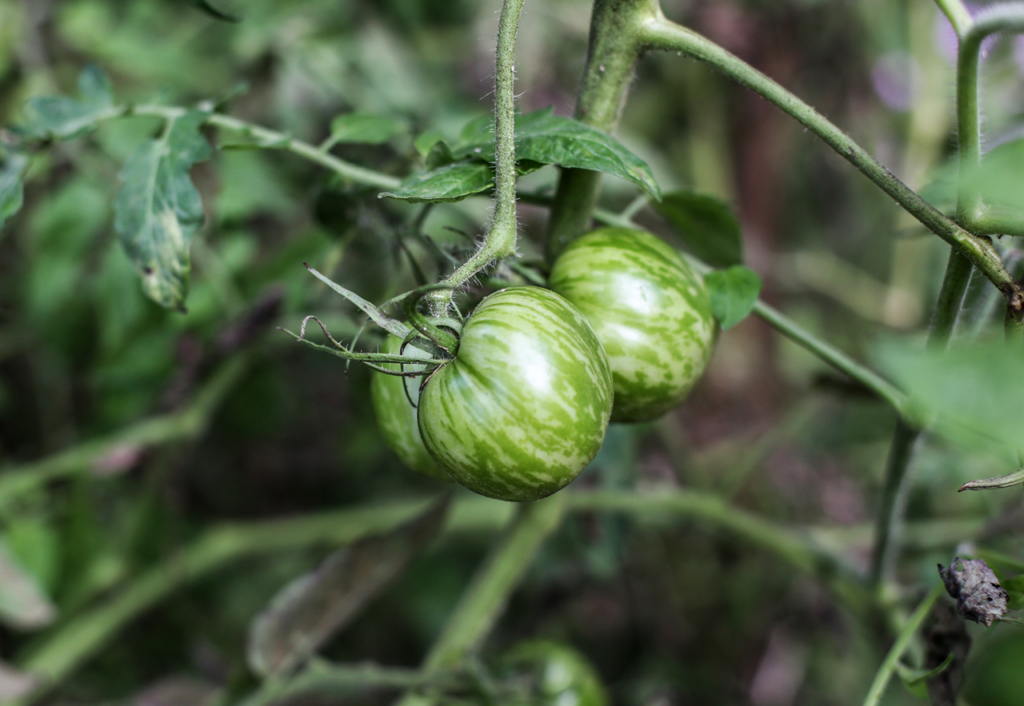
Early this past spring, I brought a tiny green zebra tomato seedling home from the Farmers’ market in Shepherdstown. I let it grow wild all summer because I was preoccupied with book #2 and the garden didn’t get as much tending to as I’d have liked.
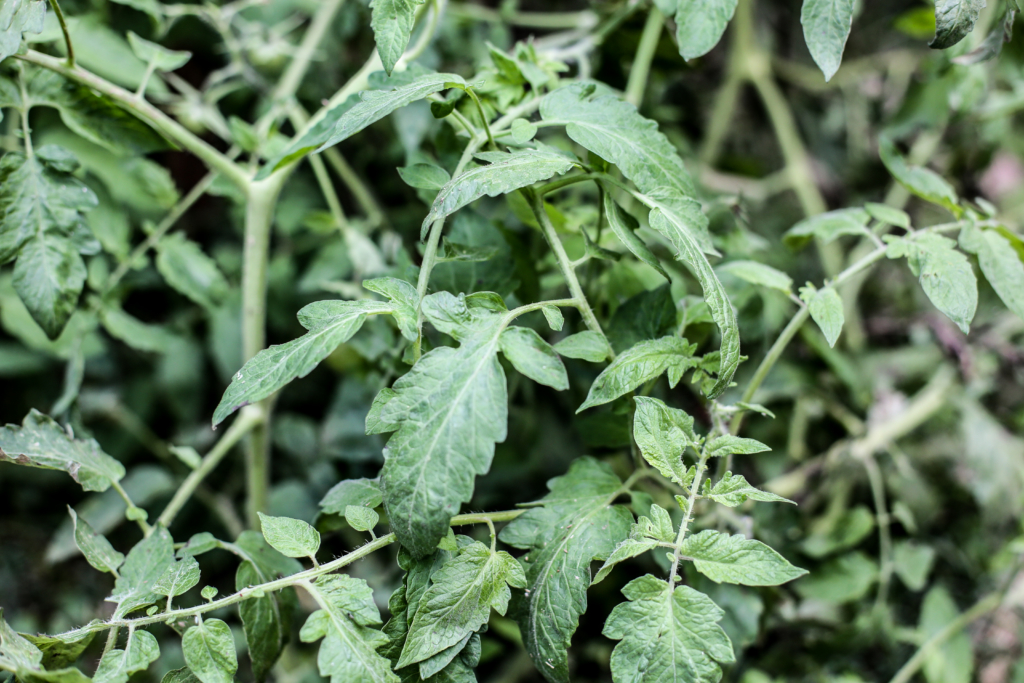
It’s full-blown Little Shop of Horrors right now…
…and with the season cooling off, I need collect all of the gorgeous babies it giveth to my bad-garden-mom self.
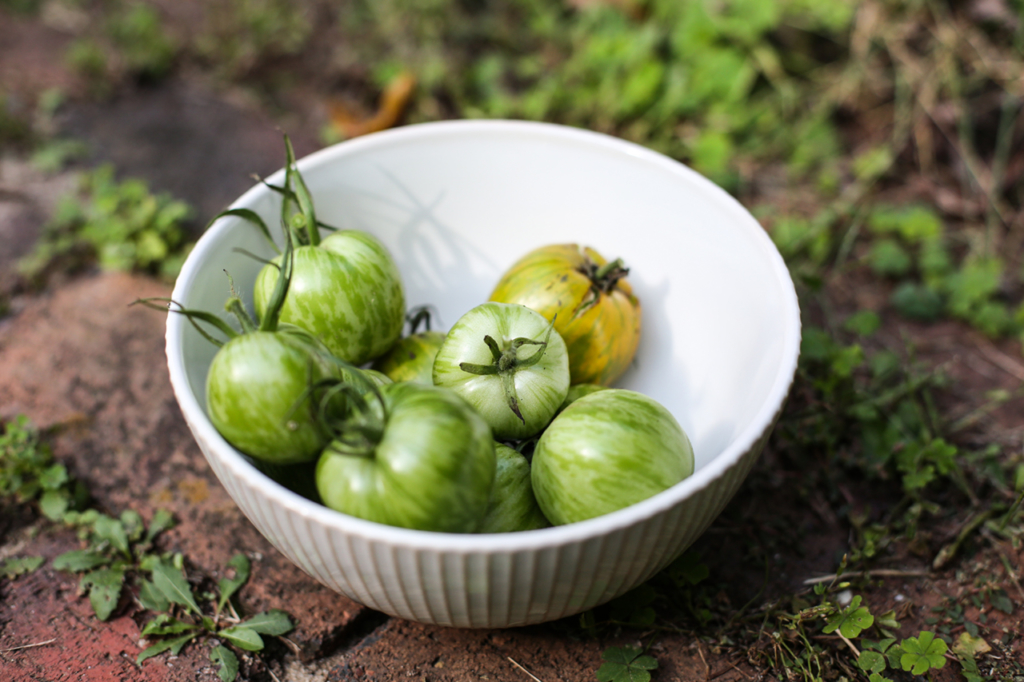
I’m grateful and undeserving of such a bounty—but you know, I did visit a lot, and talk to her this summer—I imagine that had some impact. Love was given. Or maybe, she’s like most of us and flourishes with the freedom to be herself. Yes. Yes, that’s it.
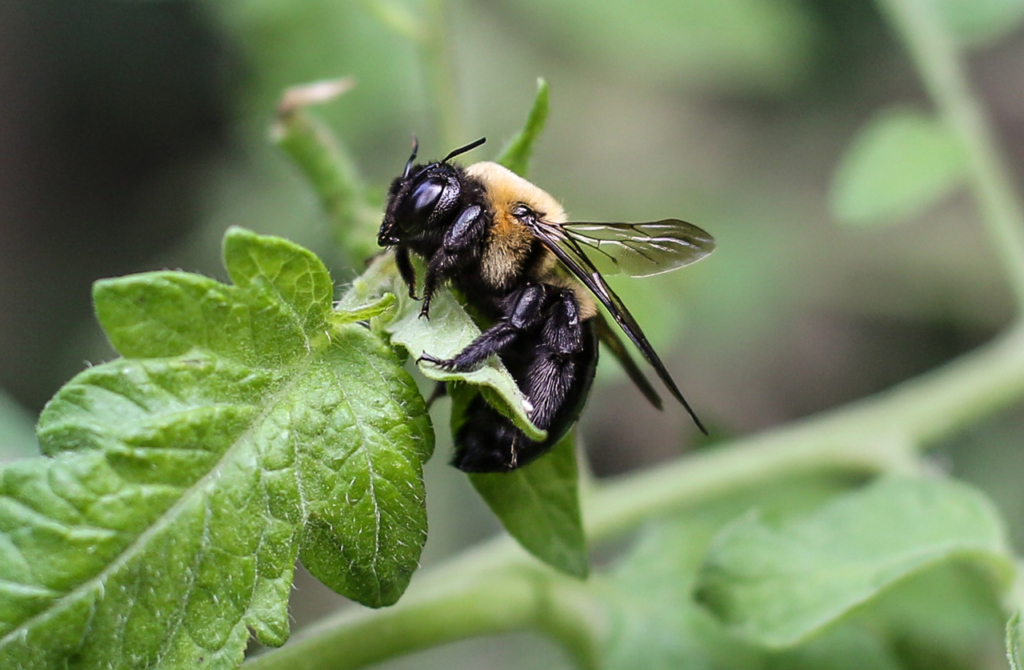
I love autumn… sleepy bees are slowing down enough to let me visit with them…
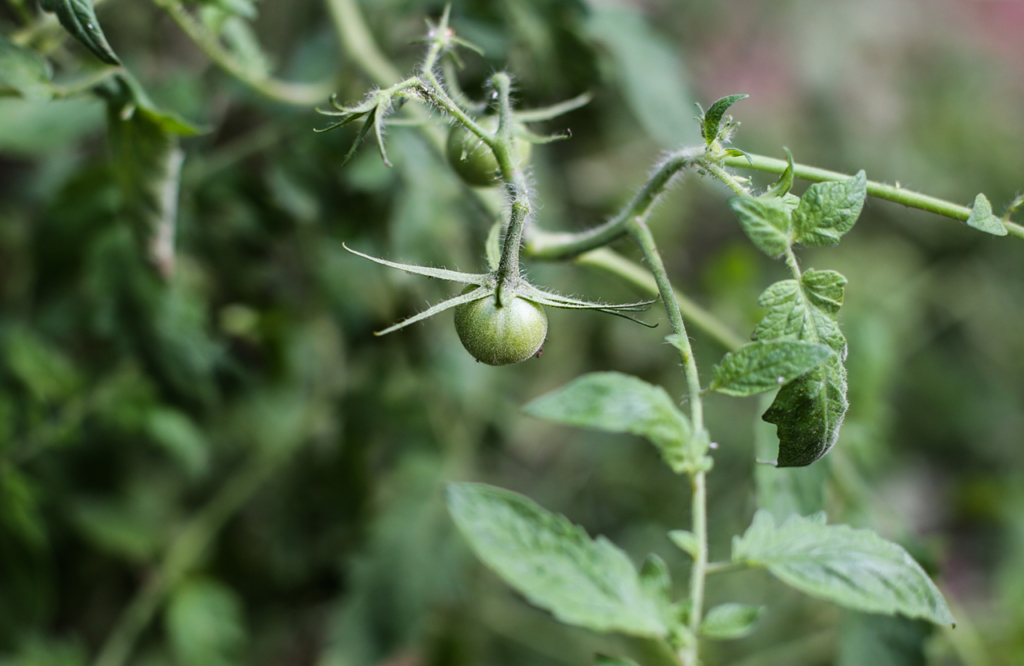
… but baby tomatoes are still making a solid go for it. Impressive.
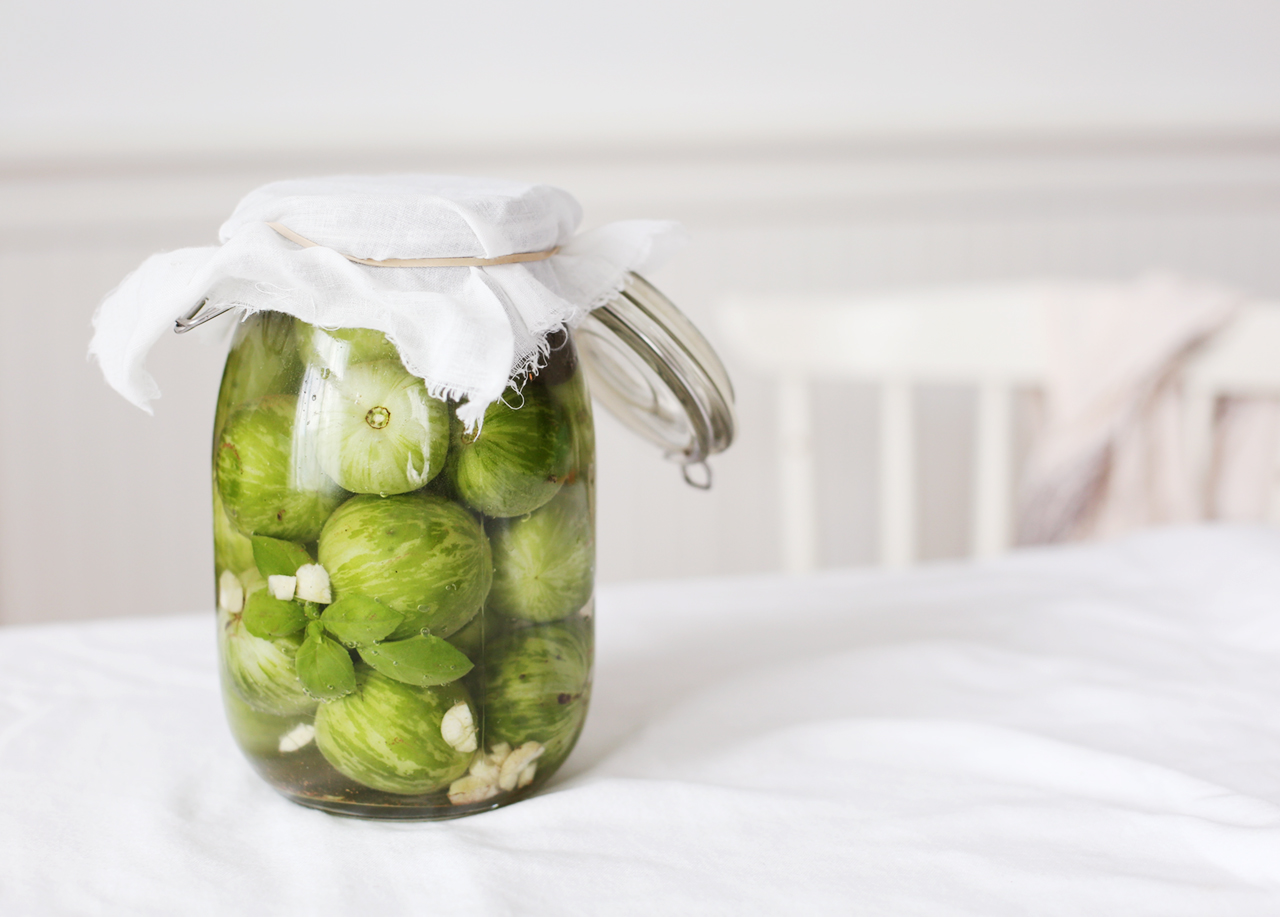
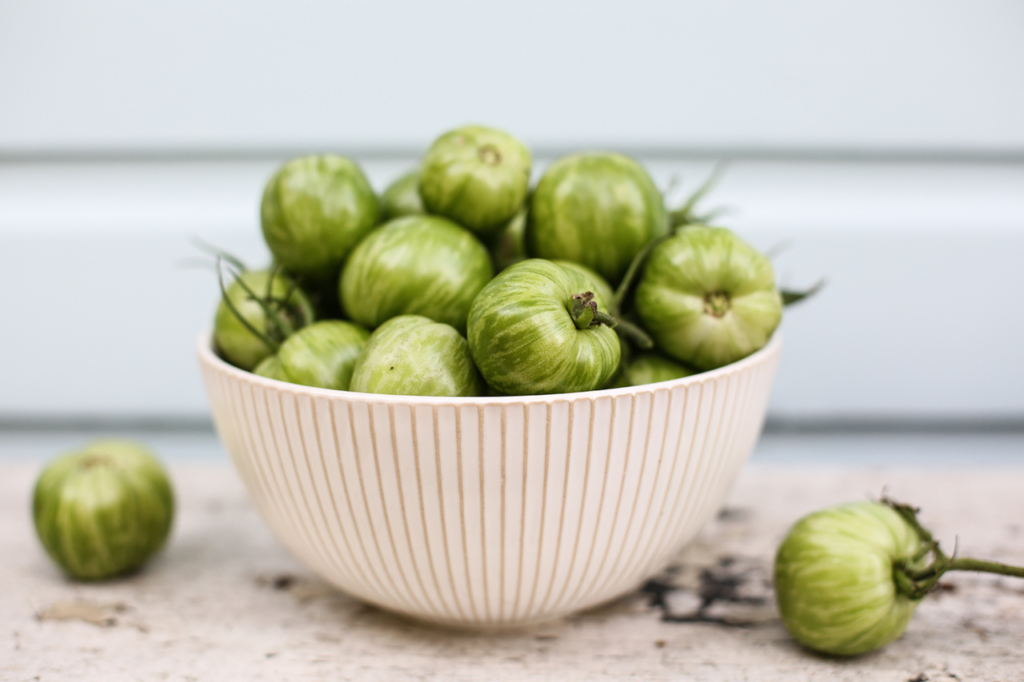
I’ll be planting green zebras again next year, not just because they were so effortless to grow, but because I’ve just discovered that fermented with fresh basil and garlic, they’re beyond tasty. I’ve been eating them plain, tossed into a jar salad, added to a wrap, swirled into hummus, baked into a pizza, or stir-fried into some brown rice with homemade pesto.
Fermenting tomatoes preserves the bright flavors of summer so you can enjoy them all winter long. It’s an ancient process that boosts beneficial microbial activity, and in turn enhances the digestibility of these special fruits. The acidity of the brine balances nicely with the sweetness of the tomatoes, but note that the brine could brown the basil leaves a bit, but what they lack in aesthetics they more than make up for in nutrition, so eat ’em up!
| Prep Time | 10 minutes |
| Servings |
|
- Enough small tomatoes (cherry tomato to clementine size) to fill a glass jar ¾ full
- 1 large clove of garlic per ¾–1 cup of tomatoes
- 3-4 basil leaves per cup of tomatoes
- 1 tbsp sea salt per 2 cups water
- Enough pure, filtered water to completely cover tomatoes in the jar, and rise above them 2"—start with 2 cups
Ingredients
|
|
- Make a simple brine by stirring together 2 cups water and sea salt until thoroughly dissolved and set aside—it should taste salty like the sea.
- Give the tomatoes a rinse to get any bugs or obvious dirt off, but don’t over do it—you want some natural yeasts to be on their exterior for a vigorous ferment.

- Use a fork or paring knife to poke 2 holes into cherry tomatoes, and 4–5 holes into clementine-sized tomatoes. This creates portals for beneficial bacteria and yeasts to freely move in and out of the tomato. They want to eat the sugars inside.

- Layer in tomatoes, basil and garlic until jar is halfway full (this keeps some small bits from floating to the top)...

- ...then fill another ¼ of the way with just tomatoes—preferably the larger ones to keep the small stuff weighed down once we add brine

- Place a fermentation weight, a well-washed, nice-sized stone(s), or a cabbage core like I do when making kimchi on top of the tomatoes. Pour in enough brine to cover everything about 1". You want everything under the salty brine.

- Cover with a cheesecloth, a pantyhose, threadbare t-shirt scrap, muslin—some breathable fabric—and secure with a rubberband.

- Place in a dark, warm spot in the kitchen like the top of the fridge to ferment for 5–7 days. Check on your ferment daily to make sure all is below the brine—below the acidic brine, our tomatoes are safe from mold (read more about this natural preservation technique).
- Once they taste “pickled” and good to you, secure jar with a lid, and transfer to the fridge (still under their brine). The cooler temp will slow fermentation, but not stop it, so check in on your tomatoes, and release any gas build up by removing the lid once a week, then re-securing it.
Try any herbs you have available for a change up—oregano, dill, marjoram, thyme...
Save the flavorful brine once you eat up the tomatoes! Freeze in an ice cube tray—use these flavor cubes to cook rice, grains, legumes, or to stir into homemade hummus, or to add to soups. If you want to maintain beneficial bacteria, add to soups after cooking as boiling, or hot temps can kill off our little microscopic friends. Try it to make salad dressings, too. Share your creations #yumuniverse!
If you make ’em, share a pic with me! I wanna see 🙂 #yumuniverse
Have YU ever fermented tomatoes? Are you going to give it a try? Tell us with a comment below.
Visit us at our new home: Good Food Cooking School

Can any type/color tomatoes be used for this?
Yes they can! Let us know what you end up trying, Deb.
Hello! So my tomatoes are on day 4 (sitting out, pre-refrigerator), and the liquid is looking a little cloudy. Is that okay?
As long as your brine is salty, you don’t see mold, and the tomatoes are underneath the brine, you should be ok—mine is a bit cloudy, too!
I typically have lots of little green tomatoes when I clean up the garden for winter. In the past I have cooked them but your fermented green tomato recipe arrived before I figured out what to do with them. And, thank you for the suggestion about how to keep berries longer in the fridge. I used the principle of washing the skins with water and apple cider vinegar, so the little tomatoes stayed happy and fresh while I waited for your magically timed recipe. Let me say I have come close to deciding I should defer to the expert fermenters for fermented food of any sort. My results are less than consistent, repeatable or tasty. However, I was meant to have a batch of these tomatoes. On Friday I drained them after 2 weeks brining and they are yummy. Success! Thank you for the idea. Not sure how to post a picture here so I will try to put one on Facebook.
Thanks so much for sharing your experience and success with us, Kathryn! I love that berries trick and am happy to know it kept your tomatoes fresh, too. Are you familiar with Sandor Katz? He’s my personal fermentation hero and provides loads of troubleshooting tips and inspiration in his books. I’m delighted to hear that your tomatoes turned out great—I’m still enjoying mine and they just get more and more tasty as time passes. I even just cracked open a jar of 2-year old kimchi last week. WOW! Love fermentation… keep playing! x