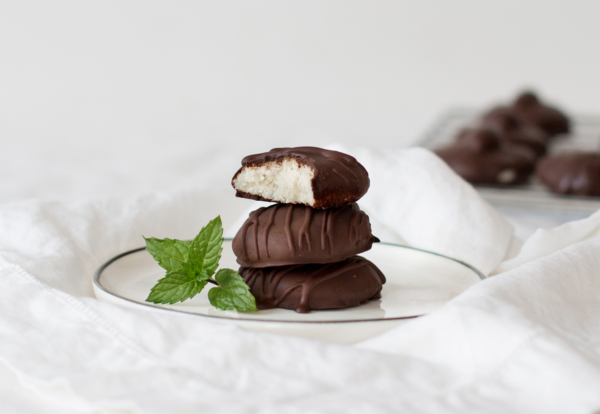
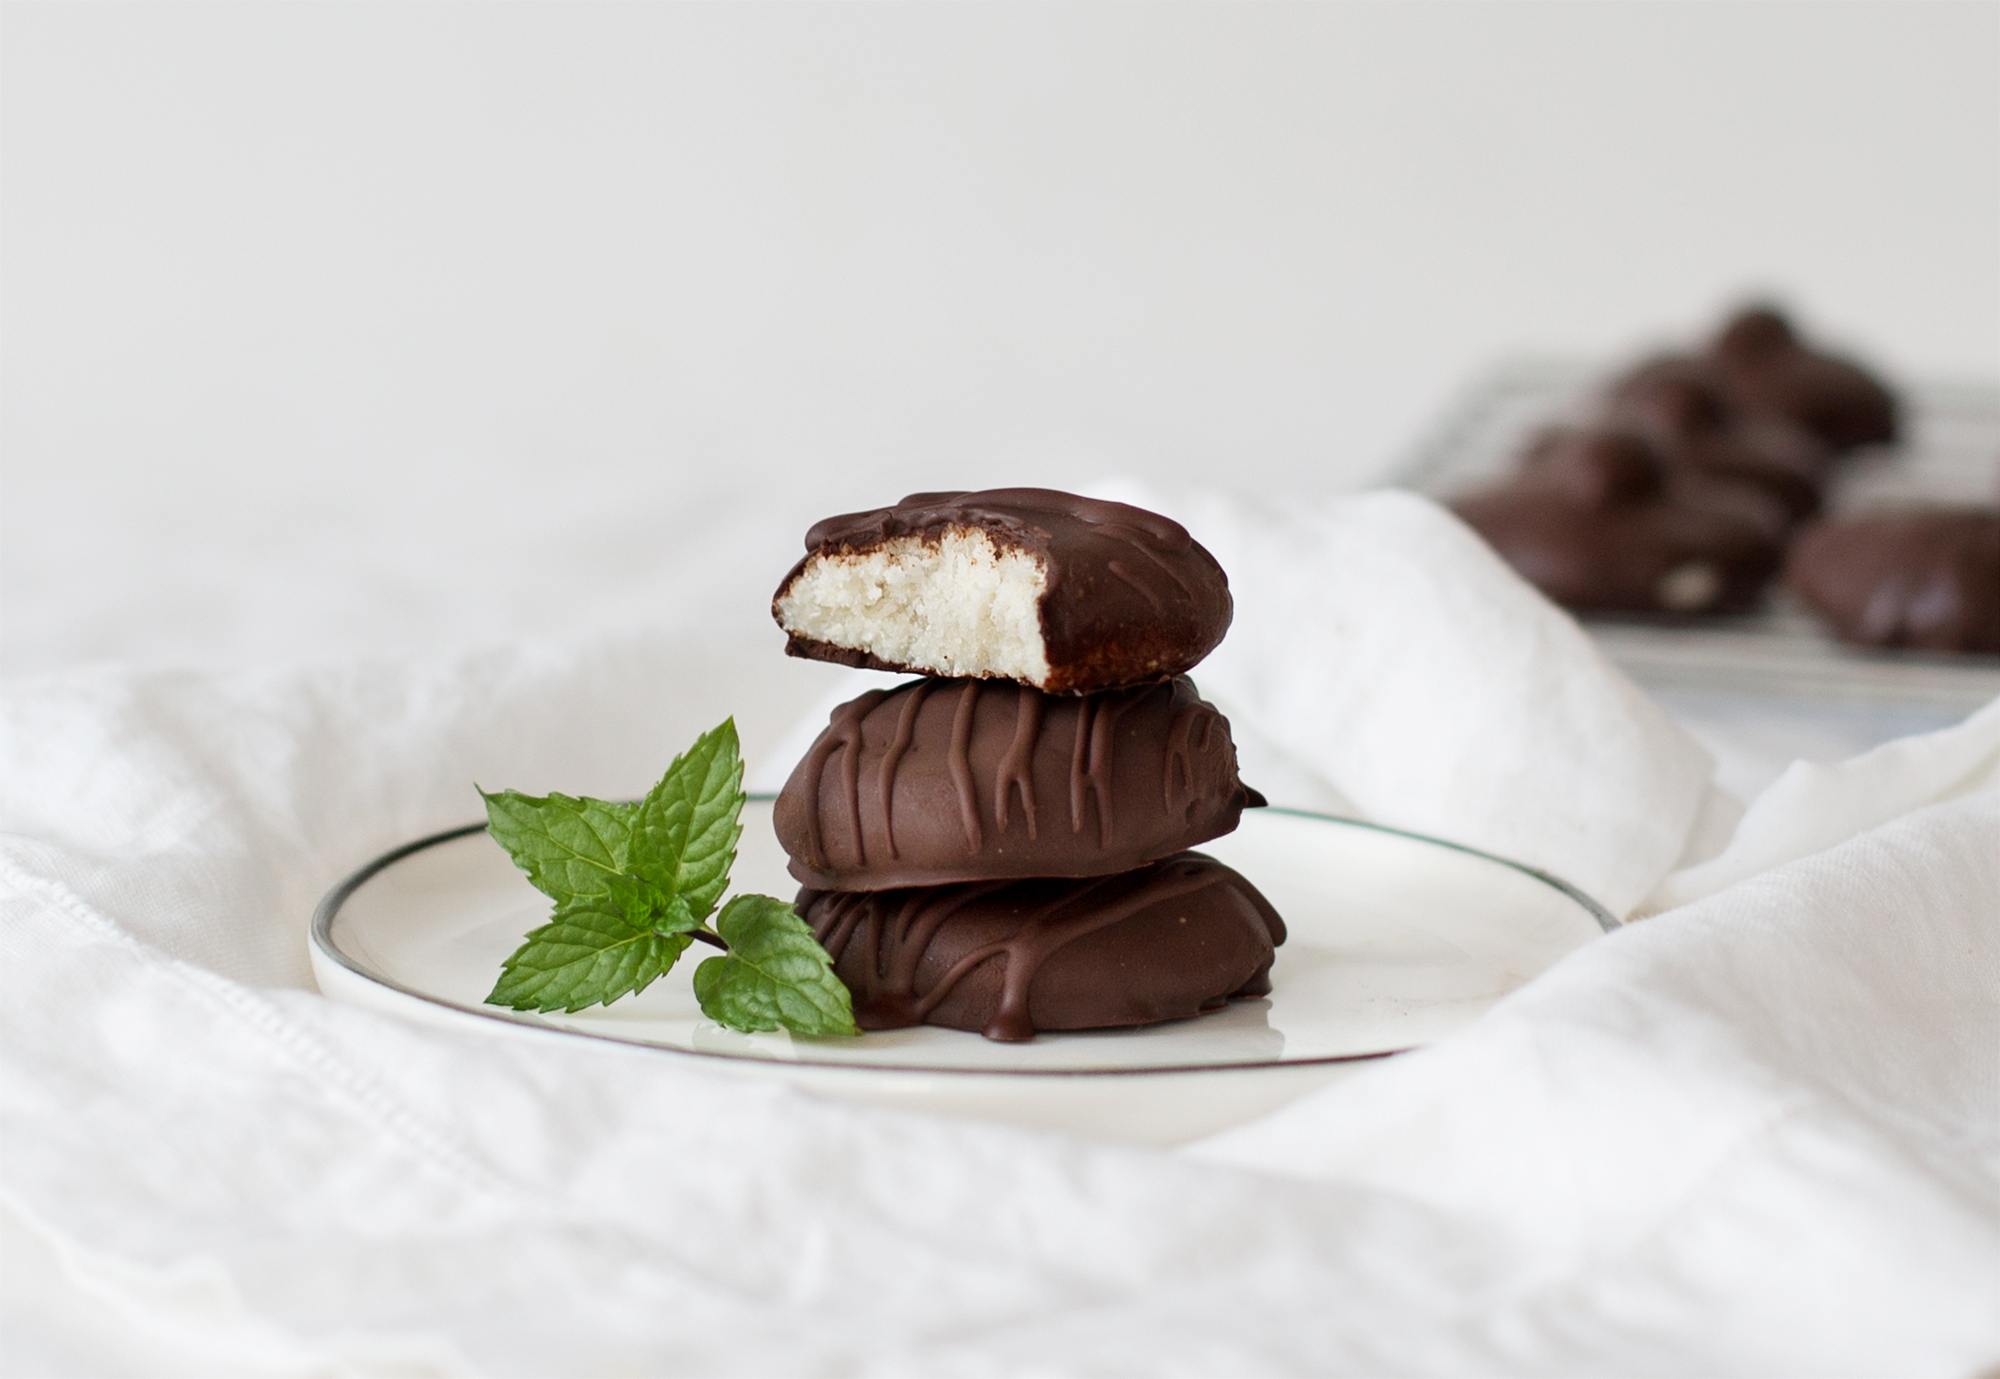
Minimalist Baker’s 5-Ingredient Peppermint Patties

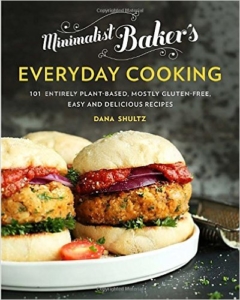
Minimalist Baker’s Everyday Cooking released months ago, but I’m so excited and grateful that Dana is letting me share one of my favorite simple recipes from her gorgeous book with you just in time for the holidays (ahem, her book makes a great gift!). They’re the perfect treat to bring to parties, to pack up in a cute bag and gift to others, and you can make them with only 5 ingredients.

Keep stress to a minimum this year: Make a bunch of these peppermint patties and chill in the fridge or freezer. When you head out the door to celebrate the season, wrap up a few to gift to party hosts, friends, co-workers, family—they’re the ultimate not-too-much-sweet treat that givers and recipients can feel good about.

I actually made these the first time this Fall, and I added a toasted almond to half the batch for fun. I ended up gifting them to my auntie who took me horseback riding one colorful November day. They were a hit! You can dip with a fork and cool on a parchment-lined baking sheet or do the drizzle-over-a-cooling-rack method—whatever works for you.

peppermint_patties_select-2final

Hope you enjoy them as much as I did (“did” being the key word here as they didn’t last long!). I’ll be making more these next few weeks to share…

Minimalist Baker’s Everyday Cooking

Print Recipe
Minimalist Baker’s 5-Ingredient Peppermint Patties
Cool and minty with an intensely dark chocolate coating, these plant-based beauties are insanely delicious. Serve as a refreshing after-dinner dessert or enjoy as a snack—either way you can’t go wrong!
Author: Dana Shultz (via YumUniverse.com)
Recipe type: Dessert
Allergy Info: Gluten-free, Dairy-Free, Vegan Serves: 14
Prep Time 29 minutes
Cook Time 1 minute
Servings
Ingredients
  • 3 cups shredded unsweetened coconut
  • 2 tbsp maple syrup
  • 1⁄2-3⁄4 tsp peppermint extract (for best quality, use food grade peppermint oil)
  • 2 tsp coconut oil, divided
  • 1 cup vegan dark chocolate, chopped
Prep Time 29 minutes
Cook Time 1 minute
Servings
Ingredients
  • 3 cups shredded unsweetened coconut
  • 2 tbsp maple syrup
  • 1⁄2-3⁄4 tsp peppermint extract (for best quality, use food grade peppermint oil)
  • 2 tsp coconut oil, divided
  • 1 cup vegan dark chocolate, chopped
Instructions
  1. Add shredded coconut to food processor or high-speed blender. Blend, scraping down sides as needed, until a paste forms. The texture should feel like dough when squeezed between fingers. It may be necessary to encourage it along by scraping down the sides as it’s blending.
  2. Add maple syrup, peppermint extract, and 1 tsp melted coconut oil. Mix again until incorporated. Again, look for a dough-like consistency. Scrape down sides as needed. Scoop out mixture and pack firmly using a tablespoon. Then roll between palms to form a ball, and gently press down to form a disc. Use fingers to gently pat down so patties are not too tall.
  3. Lay down on parchment-lined baking sheet or plate, and continue until all coconut is used—recipe should make about 14 patties. Place in freezer to set for 10 minutes.
  4. Melt chocolate and remaining 1 tsp coconut oil over a double boiler or in microwave in 30 second increments until melted.
  5. Individually place a chilled patty on the prongs of a fork to dip into chocolate. Tap off excess and set back on parchment. Continue until all bites are coated.
  6. Place in refrigerator or freezer to set for 8-10 minutes or until chocolate is firm.
  7. Peel away from parchment and transfer to serving platter. Serve at room temperature or chilled. Patties will keep covered at room temperature for 3-4 days, or in the freezer (my preference) up to 1 month. Best when fresh.
Recipe Notes

Reprinted from Minimalist Baker’s Everyday Cooking by arrangement with Avery Books, a member of Penguin Group (USA) LLC, A Penguin Random House Company. Copyright © 2016, Dana Shultz

Note from Heather: I ended up using a bit more maple syrup, and a bit more oil in my coconut mixture because I think my shredded coconut was especially dry—it worked great!

Share this Recipe

I want to hear from YU. What do you think of this recipe? Do you have a copy of Minimalist Baker’s Everyday Cooking? Tell me with a comment below. And show me a pic if you make this! @YumUniverse #yumuniverse
Easy Chickpea “Tofu”

I was goofing around with chickpea tofu over a year ago and never got around to posting my discoveries. This morning though, I revisited my recipe and simplified the process quite a bit. So, the silver lining is that it’s good I didn’t post the first more involved version, right? Ha. Timing.

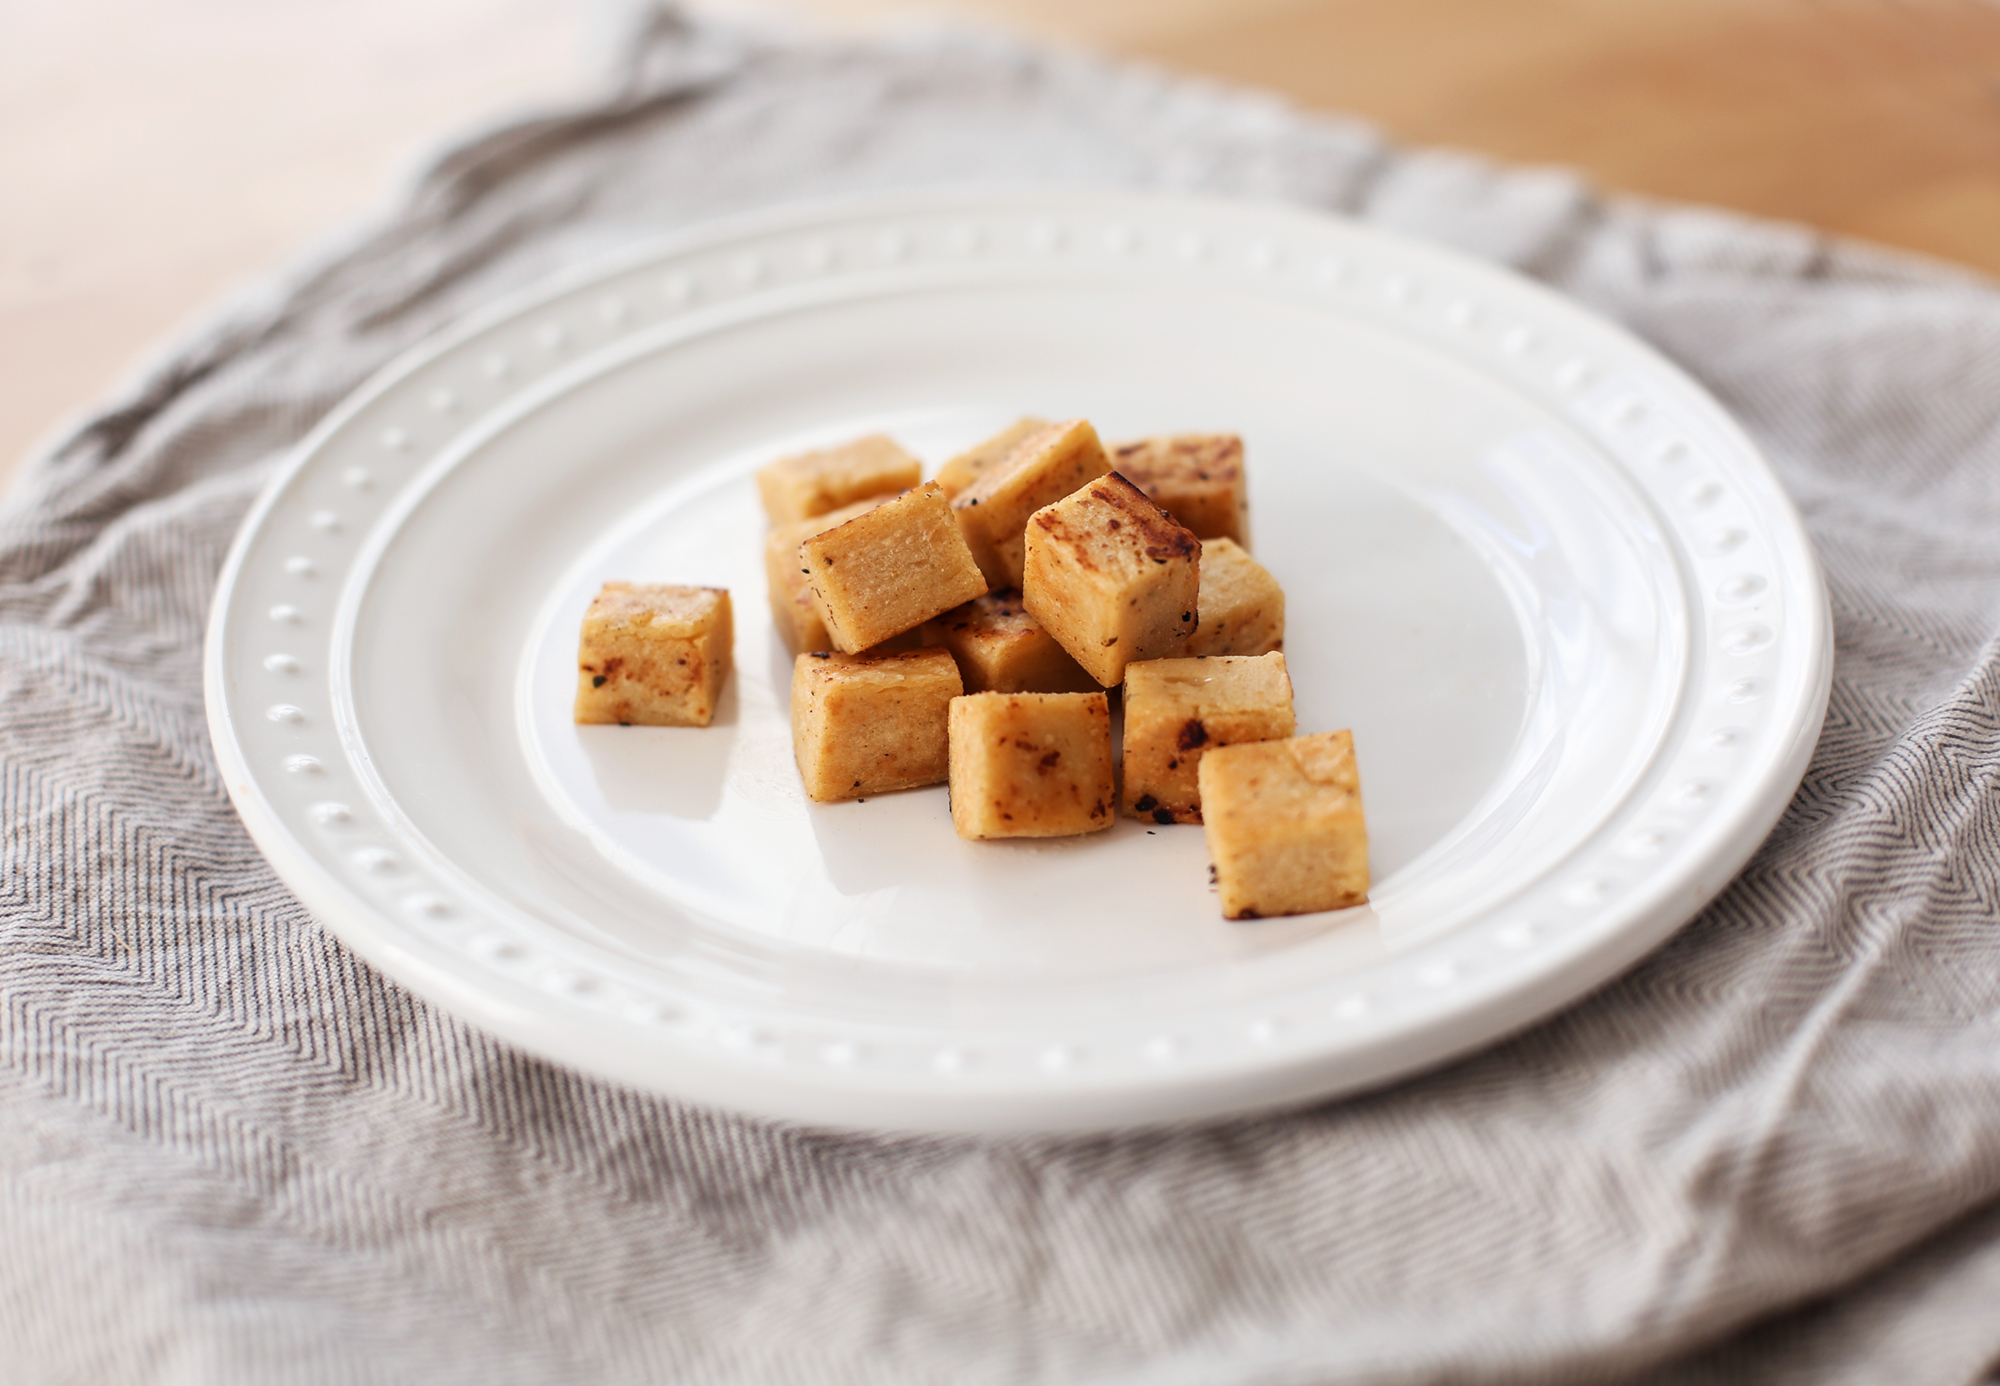
You can use chickpea tofu in anything you’d eat chickpeas in, really, because it tastes like, chickpeas—it’s beany, and has that tofu-like spring we’re familiar with, but it’s a bit more creamy.

You can slice it up and deep-fry it, sauté it, bake it, or eat it once solidified. Try seasoning it with Old Bay, Za’atar seasoning, taco seasoning, jerk spice blend, or harissa. Just share—add what you come up with to the #Yumuniverse!

PLAN AHEAD: make a bunch of chickpea tofu and slice into cubes or strips. Separate and freeze on a baking sheet and then once frozen, transfer and store in an airtight, glass container to use for future meals. Chickpea tofu is a great soy-free, fiber- and protein-rich alternative to soy-based tofu.

Print Recipe
Easy Chickpea "Tofu"
This is an easy alternative to soy-based tofu. Use it in savory dishes that would taste great with chickpeas—which is a lot! You can marinate, bake, stir fry, or scramble chickpea tofu.
Recipe by: YumUniverse
Author: Heather Crosby
Recipe type: Main Ingredient
Allergy Info: Gluten-Free, Dairy-Free, Plant-Based
Prep Time 5 minutes
Cook Time 5 minutes
Servings
cups
Ingredients
  • 2 cups water
  • 1 cup chickpea flour (or garfava, besan flour)
  • 1 tsp fine ground sea salt
  • 2 tbsp grapeseed oil, avocado oil, or unrefined coconut oil, plus more for greasing and sautéeing
  • Black pepper to taste (optional)
Instructions
  1. Grease a 9" baking dish with oil, or line it with unbleached parchment paper and set aside.
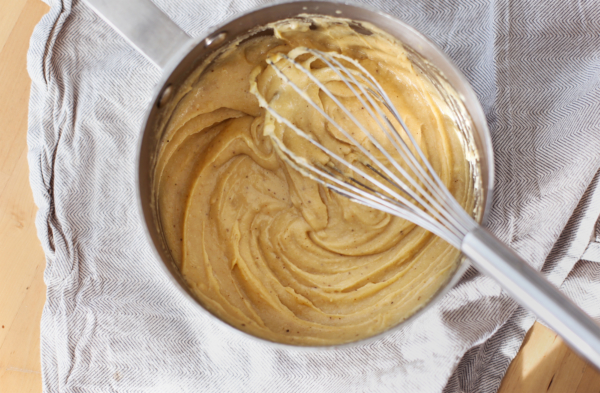
  2. In a large sauce pot over medium-high heat, whisk together water, chickpea flour, sea salt, black pepper if using, and oil until mixture thickens to a porridge or polenta consistency.
  3. Use a silicone spatula to spread chickpea batter into the greased dish—smooth out the top as much as possible and allow the batter to cool in the dish for 20–30 minutes. It will solidify.
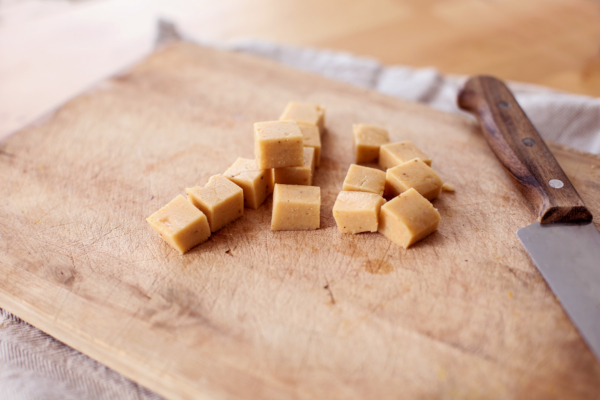
  4. Carefully flip or transfer cooled tofu onto a cutting board and slice into cubes or strips.
  5. Store in the fridge until ready to sauté, bake, fry, or eat as-is—cook like you would with tofu (best for savory dishes).
Recipe Notes

You can allow your batter to ferment a bit for extra flavor and nutrient benefit if you like. Simply whisk together flour, water, and salt, cover with a towel, and set in a warm spot in the kitchen out of direct sunlight for 12–24 hours. Then, whisk in oil, heat in a pot to thicken, and continue with regular instructions.

Heat will diminish some probiotic benefit, but the fermentation actually enhances digestibility of the tofu.

You can freeze sliced/cubed tofu in an airtight glass container for months. Just thaw and prepare as you like.

Share this Recipe

What do you think about chickpea tofu? How will YU use it? Tell us with a comment below.


Creamy Roasted Poblano & Sweet Corn Chowder

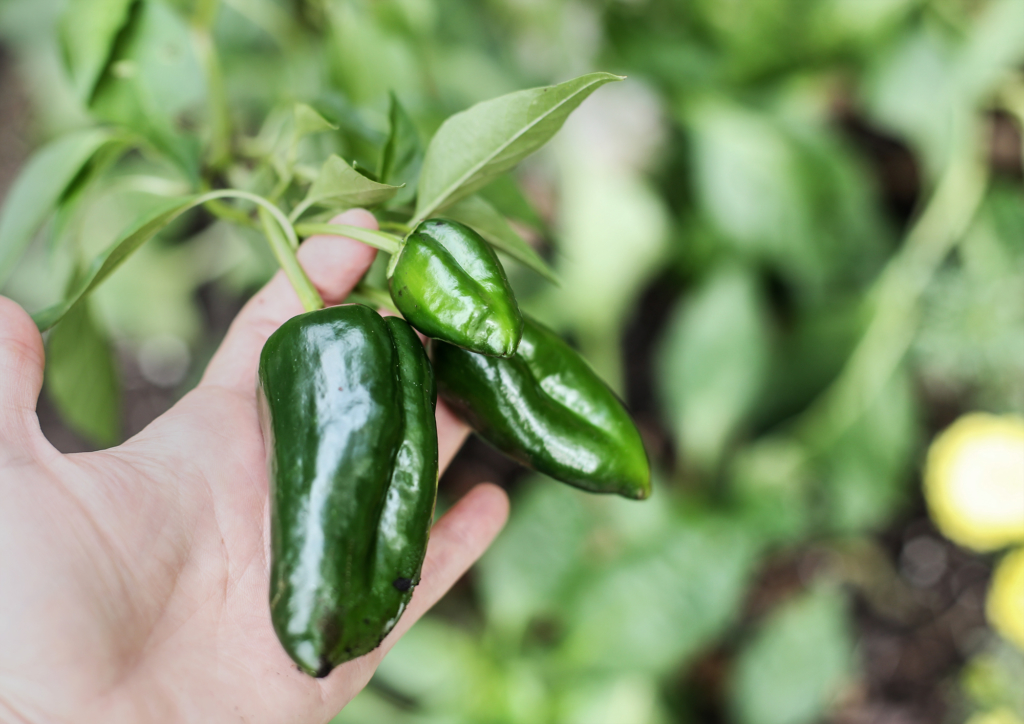
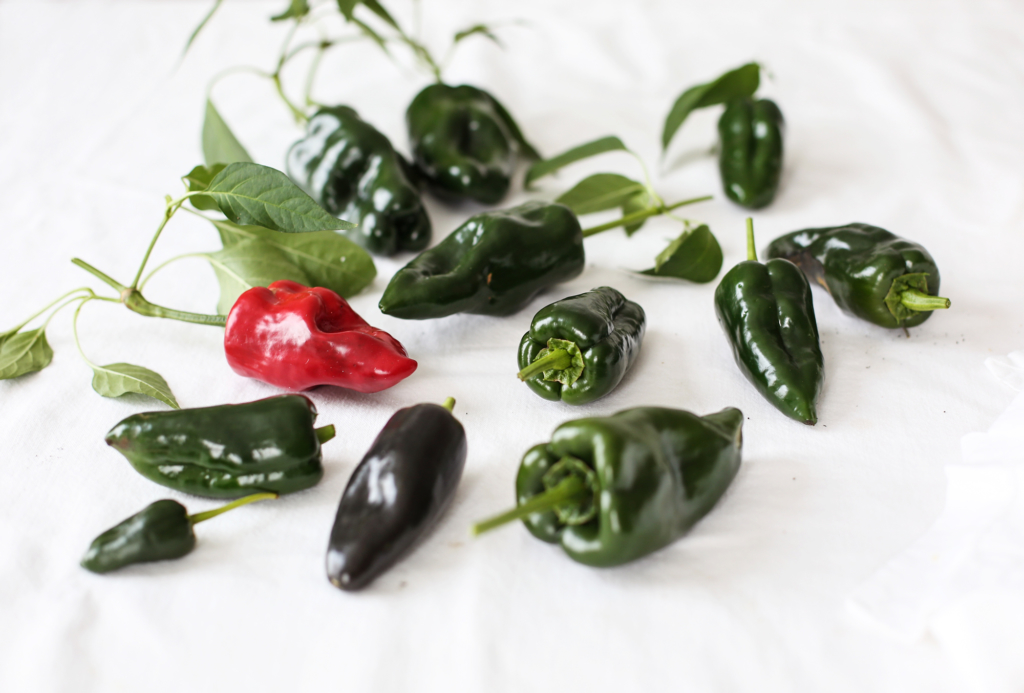
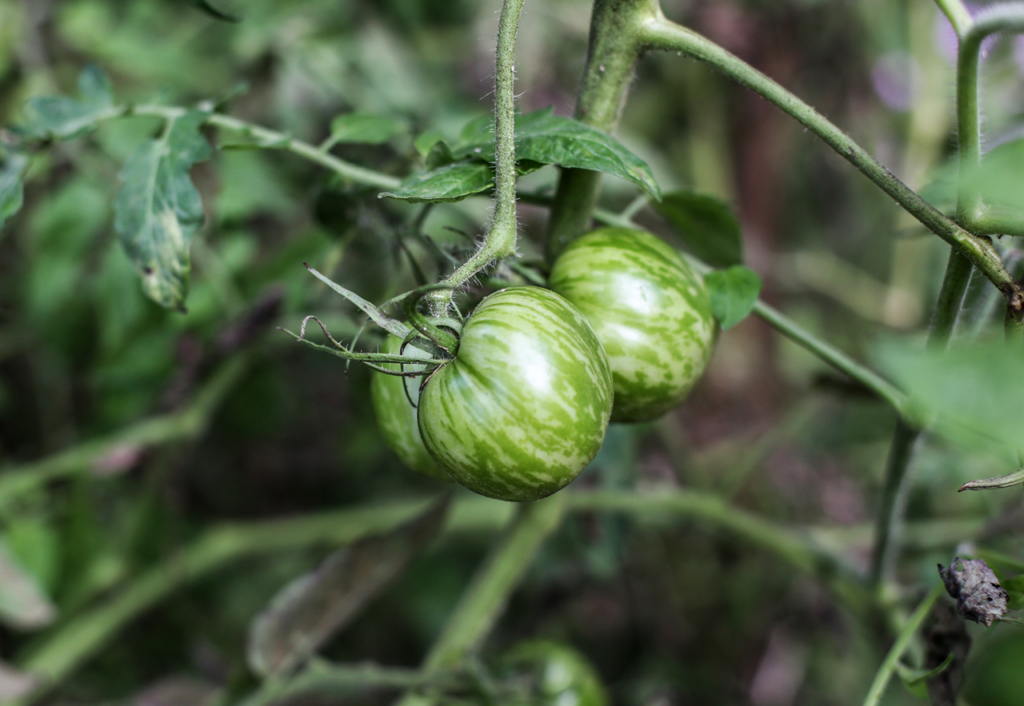
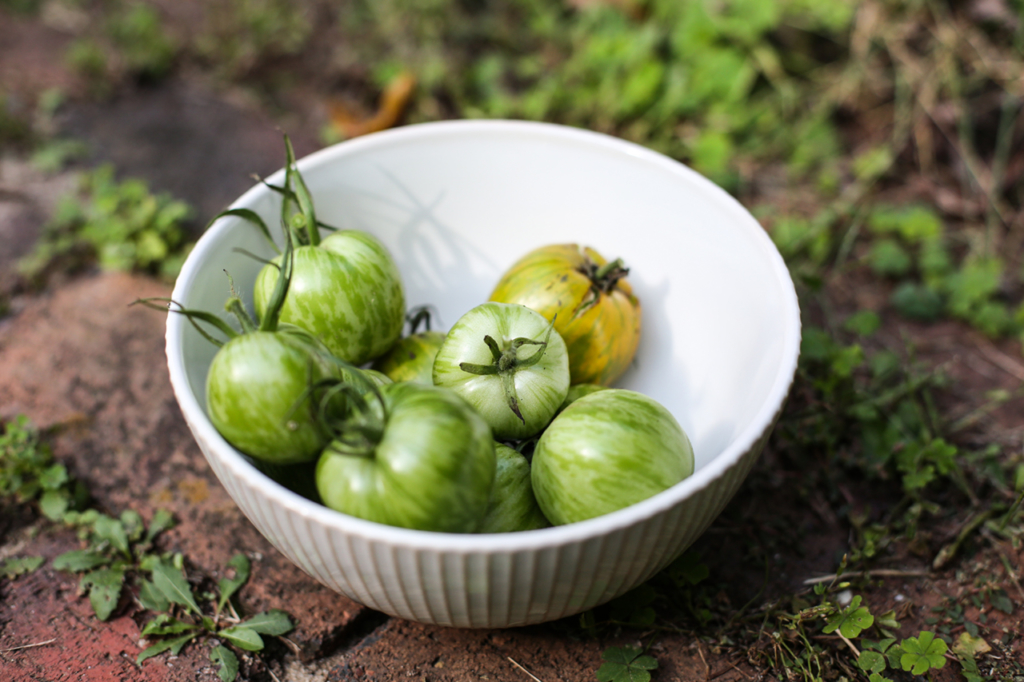
My garden is ready to be prepped for winter, but the poblano peppers are still going strong! And so are a few of my green zebra tomatoes—they all want me to wait a little bit longer.

pepperslr-19final

Last week I was able to bring in quite the bowlful of these poblano beauties, and my brain instantly went to soup. And with the cooler evening temps, how about a comforting, creamy one? Yes.

pepperslr-12final

It’s the beginning of manuscript editing for YU Book #2, and this soup will be a great go-to all week long.

Print Recipe
Creamy Roasted Poblano, Cauliflower & Corn Chowder
A comforting, creamy, dairy-free poblano pepper, cauliflower, and corn chowder that everyone will love.
Recipe ©: YumUniverse
Author: Heather Crosby
Recipe type: Soup
Allergy Info: Gluten-Free, Dairy-Free, Plant-Based, Vegan
Serves: 4–6
Prep Time 10
Cook Time 20
Servings
Ingredients
  • 6 large poblano green peppers (for about 1½ cups roasted, peeled, chopped)
  • 2 tbsp unrefined coconut oil, avocado oil, or grapeseed oil
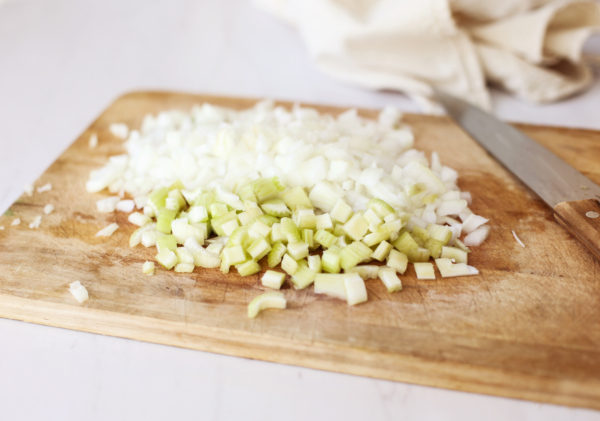
  • 1 large white onion, diced
  • 2 ribs celery, de-stringed and diced
  • 2 cloves garlic, minced
  • cups cauliflower florets, chopped
  • 3 cups non-GMO corn kernels
  • tsp ground cumin
  • ½ tsp smoked paprika (optional)
  • i/4 loosely-packed cup fresh cilantro, plus more for garnish
  • ¼–½ tsp Black pepper to taste
  • Pinch or three of ground cayenne
  • low-sodium veggie stock (try making your own)*
  • 1 bay leaf
  • 1 cup coconut milk) (canned, full fat
  • 1 tsp fine-ground sea salt, plus more to taste if needed
Instructions
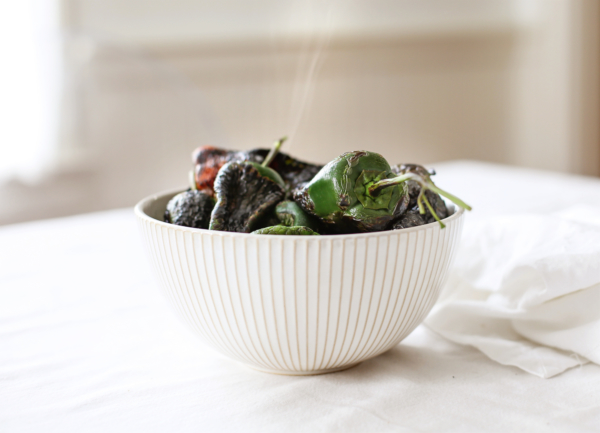
  1. You want to roast the peppers whole one of two ways—either directly on a low gas flame (5–10 minutes) ... or under the broiler (7–15 minutes)—rotating as they roast so all sides blacken. Toss them in a bowl and cover with a dish towel so they steam for about 10 minutes.
  2. Then, peel off the waxy skins and the char (use a paring knife to help scrape if needed), slice in half, remove ribs, seeds, and stems—then chop. Set aside.
  3. Into a Dutch oven or large soup pot add oil, celery, and onion.
  4. Cook together over medium heat for 5 minutes, stirring occasionally.
  5. Add cauliflower florets and cook together another 3 minutes. Then add garlic...
  6. ... and corn kernels and cook together another 3 minutes, stirring occasionally.
  7. Stir in cumin, paprika, cilantro, and black pepper—stir together 1 minute.
  8. Then, add veggie stock and bay leaf. Bring to a boil, then simmer together for 5 minutes.
  9. Stir in the coconut milk, salt, and peppers. Then squeeze in the juice from half a lime and season with more salt and pepper to taste.
Recipe Notes

* Learn how to make your own vegetable stock here.

For a thicker chowder, transfer 1 cup of soup to the blender (make sure you leave the bay leaf out!) and purée until smooth—add back into the chowder for volume.

This soup is also delicious with roasted mushrooms and cooked buckwheat or brown rice.

Also very tasty with 9–10 roasted and quartered baby potatoes stirred in.

Share this Recipe

What do YU think of this recipe? Tell us with a comment below.

Easy Fermented Garlic & Basil Tomatoes

It’s no secret that I love me some fermented foods, for benefits, for flavor, honestly, for the fun of it. There’s something empowering about reconnecting with ancient, traditional methods of preserving and enhancing the benefits of our food.

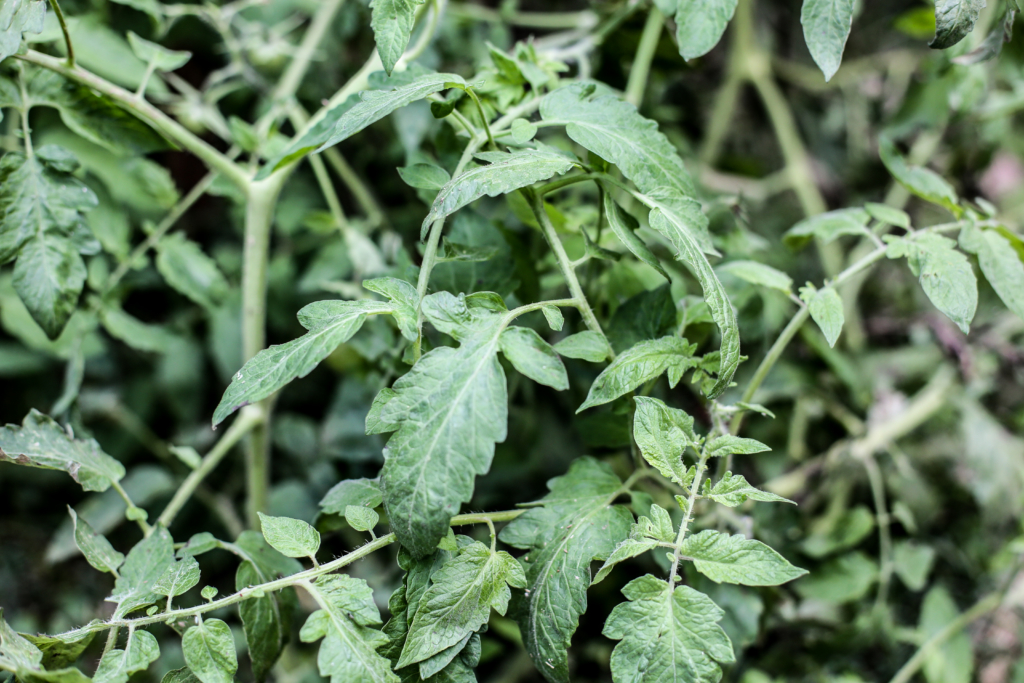
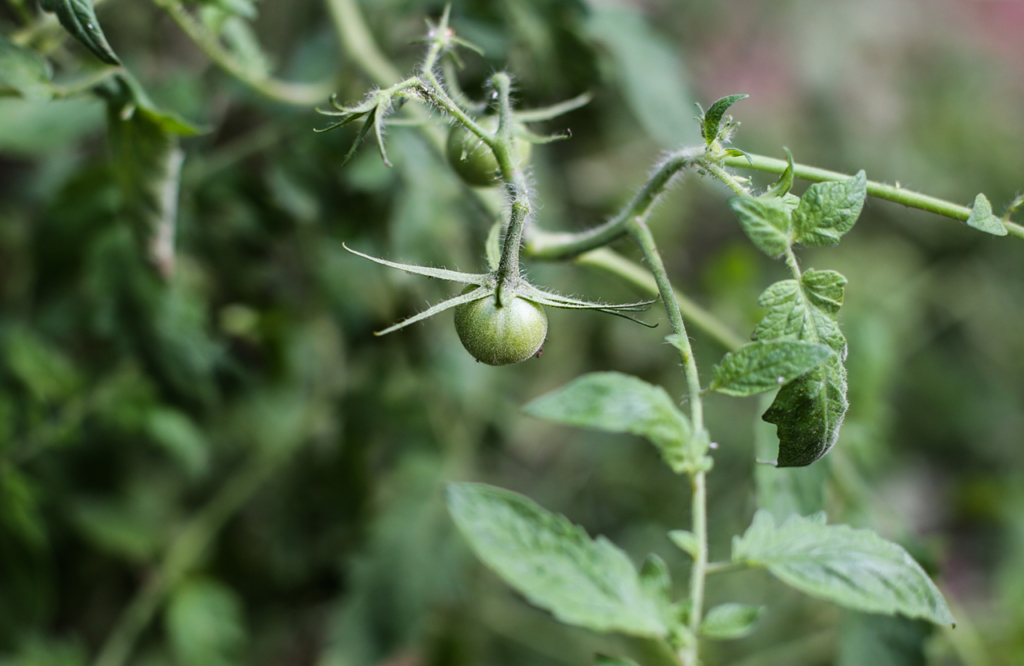
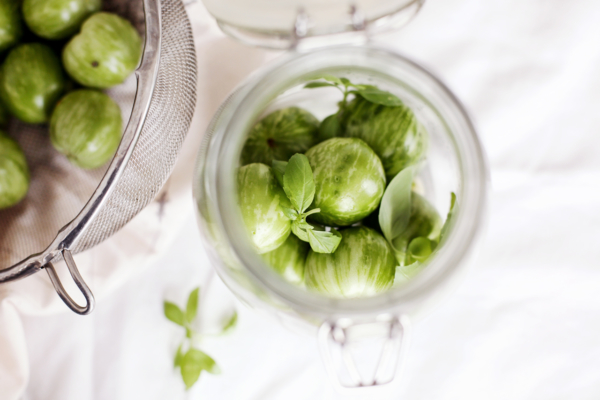
Early this past spring, I brought a tiny green zebra tomato seedling home from the Farmers’ market in Shepherdstown. I let it grow wild all summer because I was preoccupied with book #2 and the garden didn’t get as much tending to as I’d have liked.

overgrowth

It’s full-blown Little Shop of Horrors right now…

tomatoes-2rev

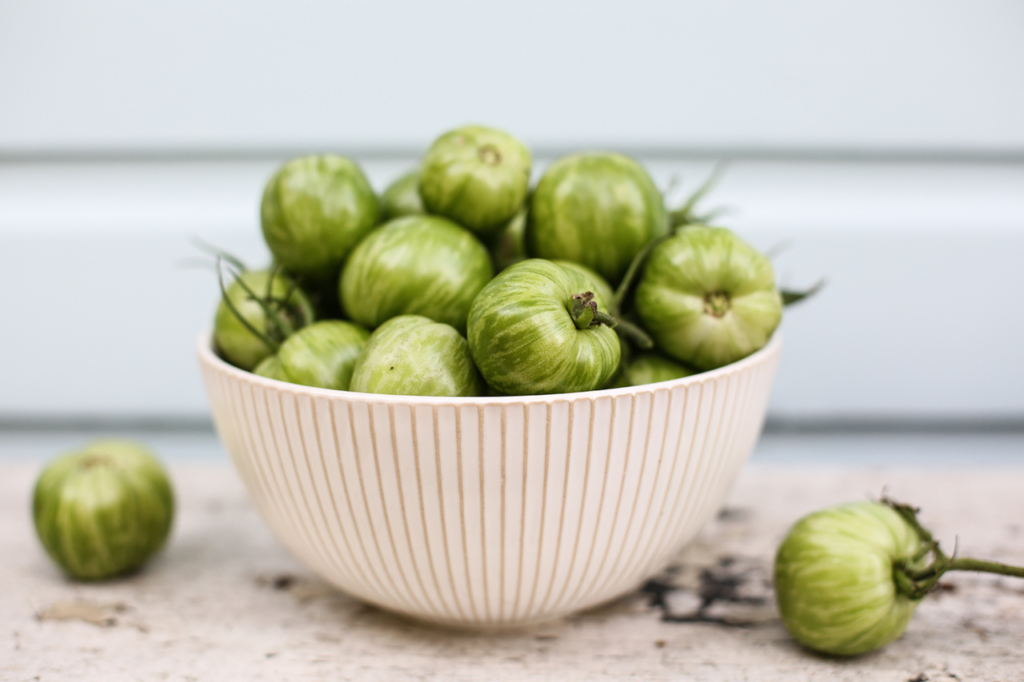
…and with the season cooling off, I need collect all of the gorgeous babies it giveth to my bad-garden-mom self.

tomaties-3_site

I’m grateful and undeserving of such a bounty—but you know, I did visit a lot, and talk to her this summer—I imagine that had some impact. Love was given. Or maybe, she’s like most of us and flourishes with the freedom to be herself. Yes. Yes, that’s it.

tomaties-13_site

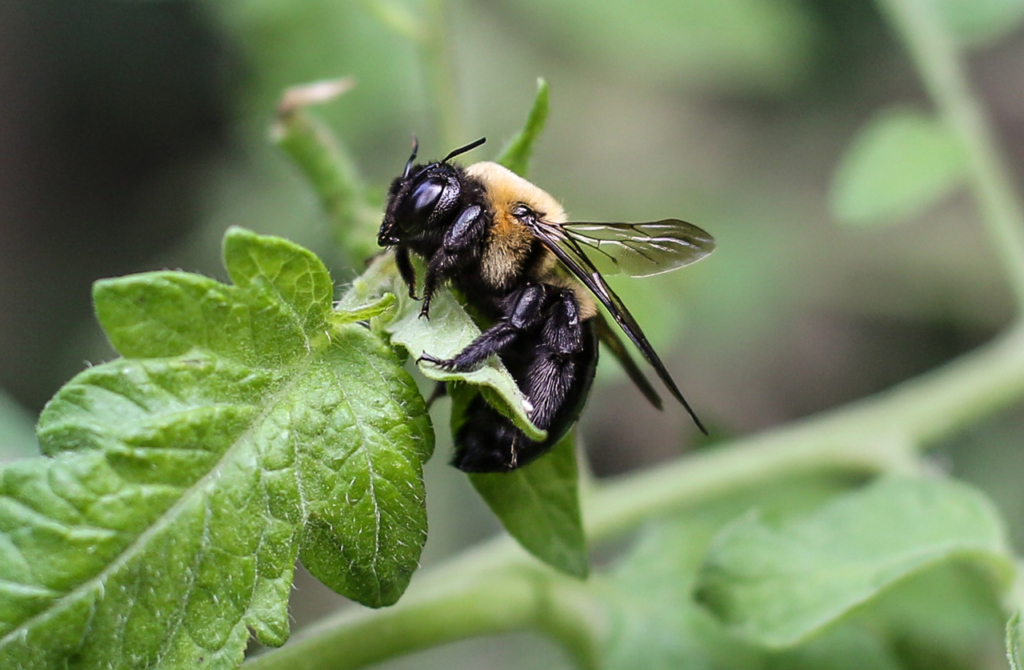
I love autumn… sleepy bees are slowing down enough to let me visit with them…

bee_crop2_site

… but baby tomatoes are still making a solid go for it. Impressive.

babiescrop_144

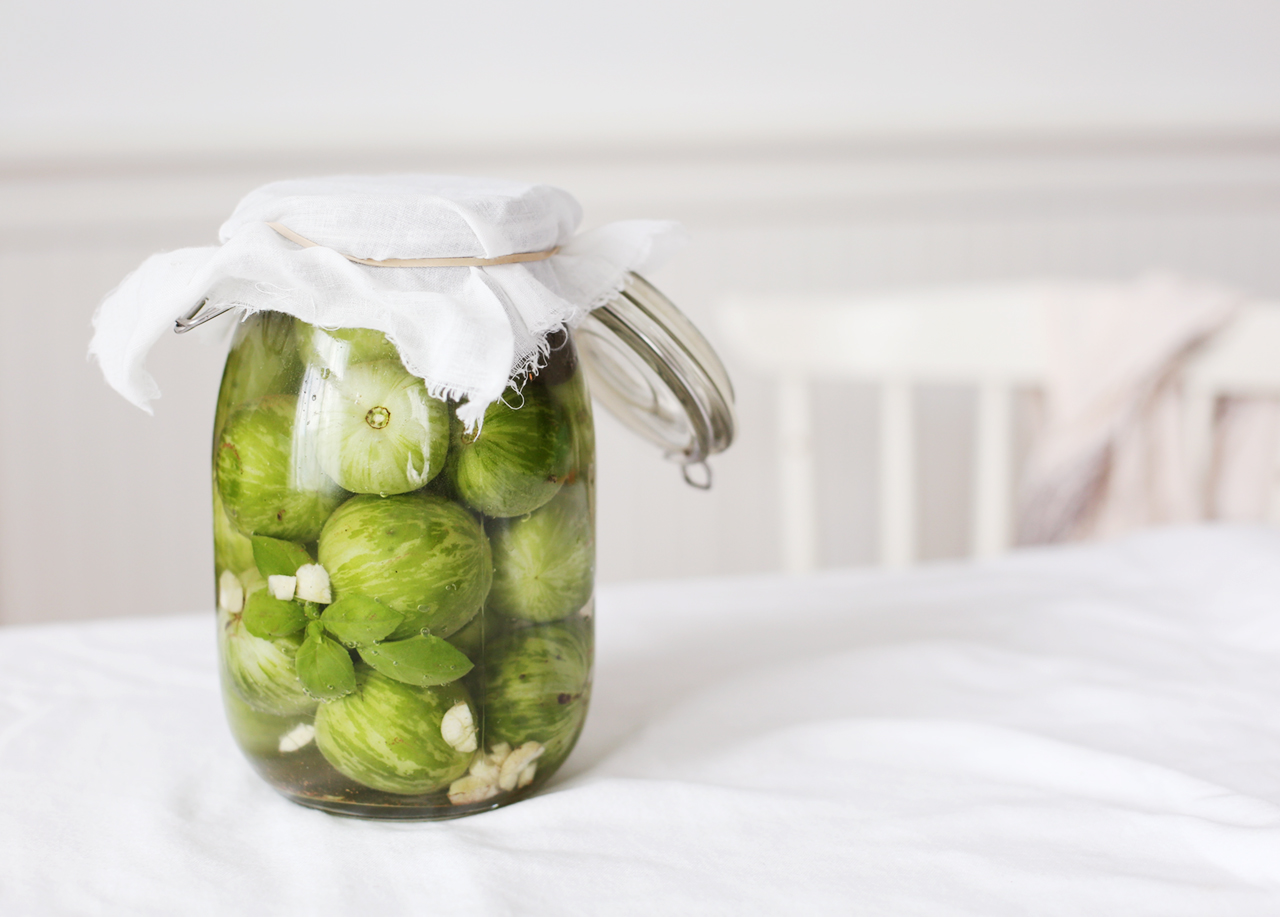
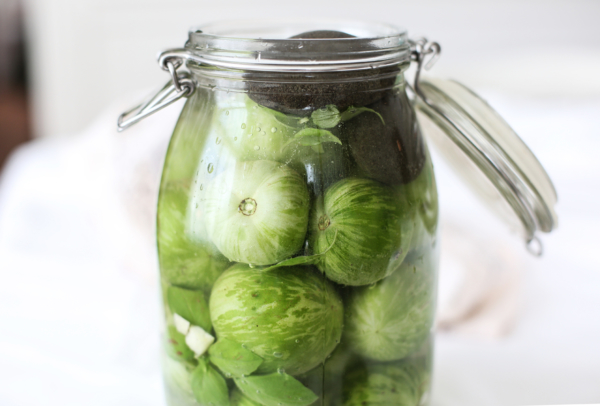
I’ll be planting green zebras again next year, not just because they were so effortless to grow, but because I’ve just discovered that fermented with fresh basil and garlic, they’re beyond tasty. I’ve been eating them plain, tossed into a jar salad, added to a wrap, swirled into hummus, baked into a pizza, or stir-fried into some brown rice with homemade pesto.

Fermenting tomatoes preserves the bright flavors of summer so you can enjoy them all winter long. It’s an ancient process that boosts beneficial microbial activity, and in turn enhances the digestibility of these special fruits. The acidity of the brine balances nicely with the sweetness of the tomatoes, but note that the brine could brown the basil leaves a bit, but what they lack in aesthetics they more than make up for in nutrition, so eat ’em up!

Print Recipe
Easy Fermented Garlic & Basil Tomatoes
Author: Heather Crosby
Prep Time 10 minutes
Servings
Ingredients
  • Enough small tomatoes (cherry tomato to clementine size) to fill a glass jar ¾ full
  • 1 large clove of garlic per ¾–1 cup of tomatoes
  • 3-4 basil leaves per cup of tomatoes
  • 1 tbsp sea salt per 2 cups water
  • Enough pure, filtered water to completely cover tomatoes in the jar, and rise above them 2"—start with 2 cups
Instructions
  1. Make a simple brine by stirring together 2 cups water and sea salt until thoroughly dissolved and set aside—it should taste salty like the sea.
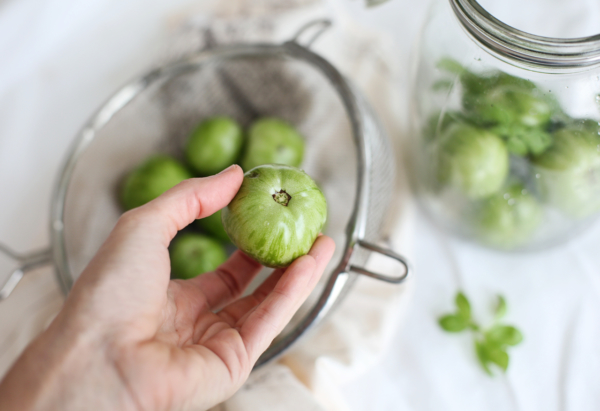
  2. Give the tomatoes a rinse to get any bugs or obvious dirt off, but don’t over do it—you want some natural yeasts to be on their exterior for a vigorous ferment.
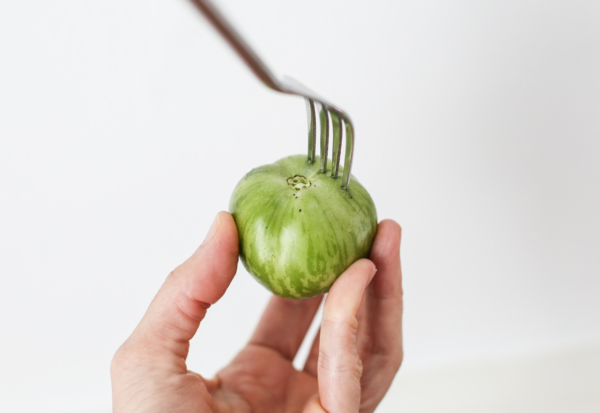
  3. Use a fork or paring knife to poke 2 holes into cherry tomatoes, and 4–5 holes into clementine-sized tomatoes. This creates portals for beneficial bacteria and yeasts to freely move in and out of the tomato. They want to eat the sugars inside.
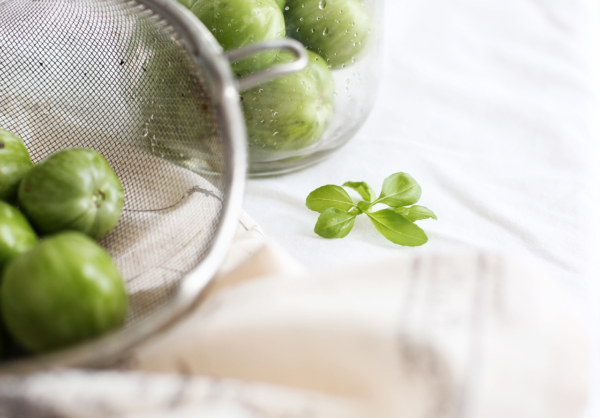
  4. Layer in tomatoes, basil and garlic until jar is halfway full (this keeps some small bits from floating to the top)...
  5. ...then fill another ¼ of the way with just tomatoes—preferably the larger ones to keep the small stuff weighed down once we add brine
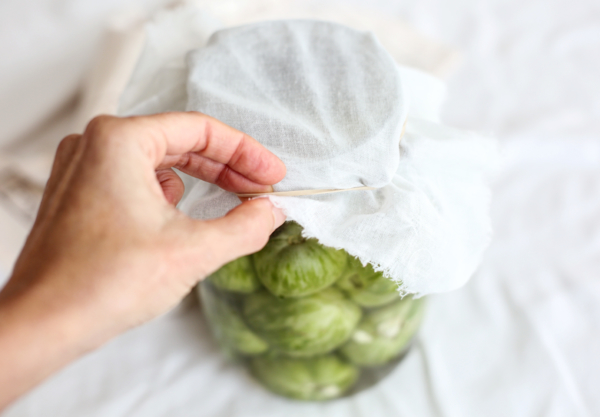
  6. Place a fermentation weight, a well-washed, nice-sized stone(s), or a cabbage core like I do when making kimchi on top of the tomatoes. Pour in enough brine to cover everything about 1". You want everything under the salty brine.
  7. Cover with a cheesecloth, a pantyhose, threadbare t-shirt scrap, muslin—some breathable fabric—and secure with a rubberband.
  8. Place in a dark, warm spot in the kitchen like the top of the fridge to ferment for 5–7 days. Check on your ferment daily to make sure all is below the brine—below the acidic brine, our tomatoes are safe from mold (read more about this natural preservation technique).
  9. Once they taste “pickled” and good to you, secure jar with a lid, and transfer to the fridge (still under their brine). The cooler temp will slow fermentation, but not stop it, so check in on your tomatoes, and release any gas build up by removing the lid once a week, then re-securing it.
Recipe Notes

Try any herbs you have available for a change up—oregano, dill, marjoram, thyme...

Save the flavorful brine once you eat up the tomatoes! Freeze in an ice cube tray—use these flavor cubes to cook rice, grains, legumes, or to stir into homemade hummus, or to add to soups. If you want to maintain beneficial bacteria, add to soups after cooking as boiling, or hot temps can kill off our little microscopic friends. Try it to make salad dressings, too. Share your creations #yumuniverse!

Share this Recipe
 

If you make ’em, share a pic with me! I wanna see 🙂 #yumuniverse
Have YU ever fermented tomatoes? Are you going to give it a try? Tell us with a comment below.


Spiced, Easy Elderberry Syrup for Cold & Flu Prevention

I looove playing with herbs, infusions, oils, and tinctures, combos for home cleaning and air freshening, oven cleaning, natural bug repellents, natural beauty products for everything from bathing to blush to balms—witchy good stuff. Nature provides so much of what we need to be balanced, happy, and healthy…

This summer, a pal of mine who’s a firefighter/bonafide nature whisperer gave me a baby elderberry bush. It was so cool to hear him talk enthusiastically about this miracle plant, and it was well, fun, to research some of the folklore about it (just Google “elderberry folklore” and dive into the rabbit hole). I had so many ideas for what I would do with those berries someday…

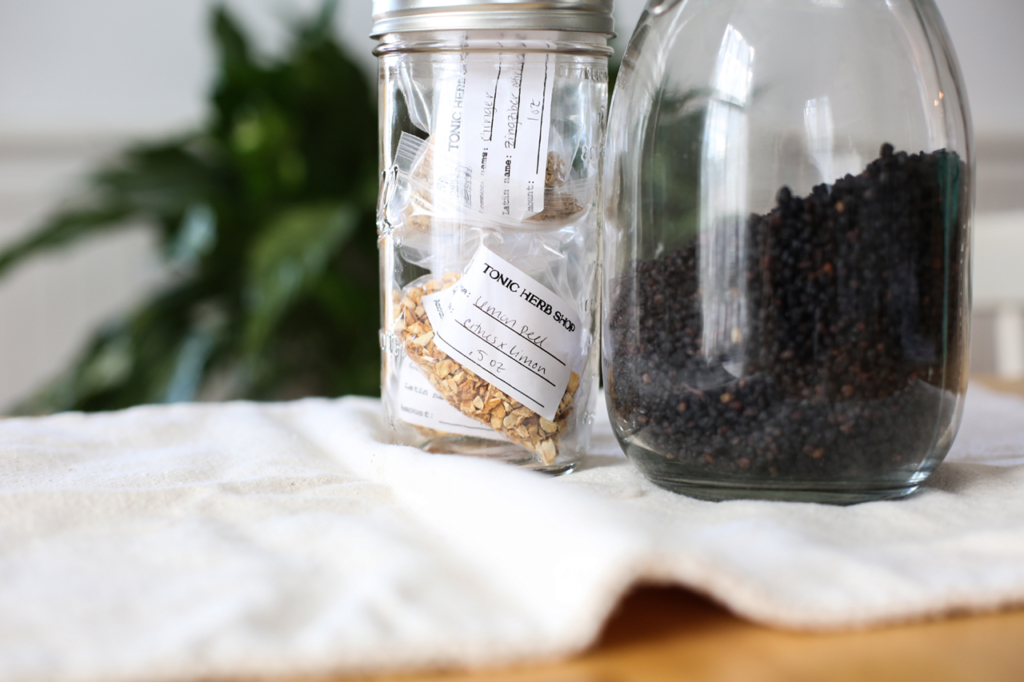
Then last week, I went to a workshop at the herbal Tonic Shop in my sweet little town, and they showed us how to make an elderberry syrup—it got my wheels turning.

Processed with VSCO with f2 preset

Elderberry syrup is known to be a powerful immunity booster that can be taking to prevent colds and flu, and to alleviate symptoms if you end up in sick town (check out this study). The University of Maryland Medical Center even says that evidence suggests that “chemicals in elder flower and berries may help reduce swelling in mucous membranes, such as the sinuses, and help relieve nasal congestion. Elder may have anti-inflammatory, antiviral, and anticancer properties.” Worth a try, yeah?

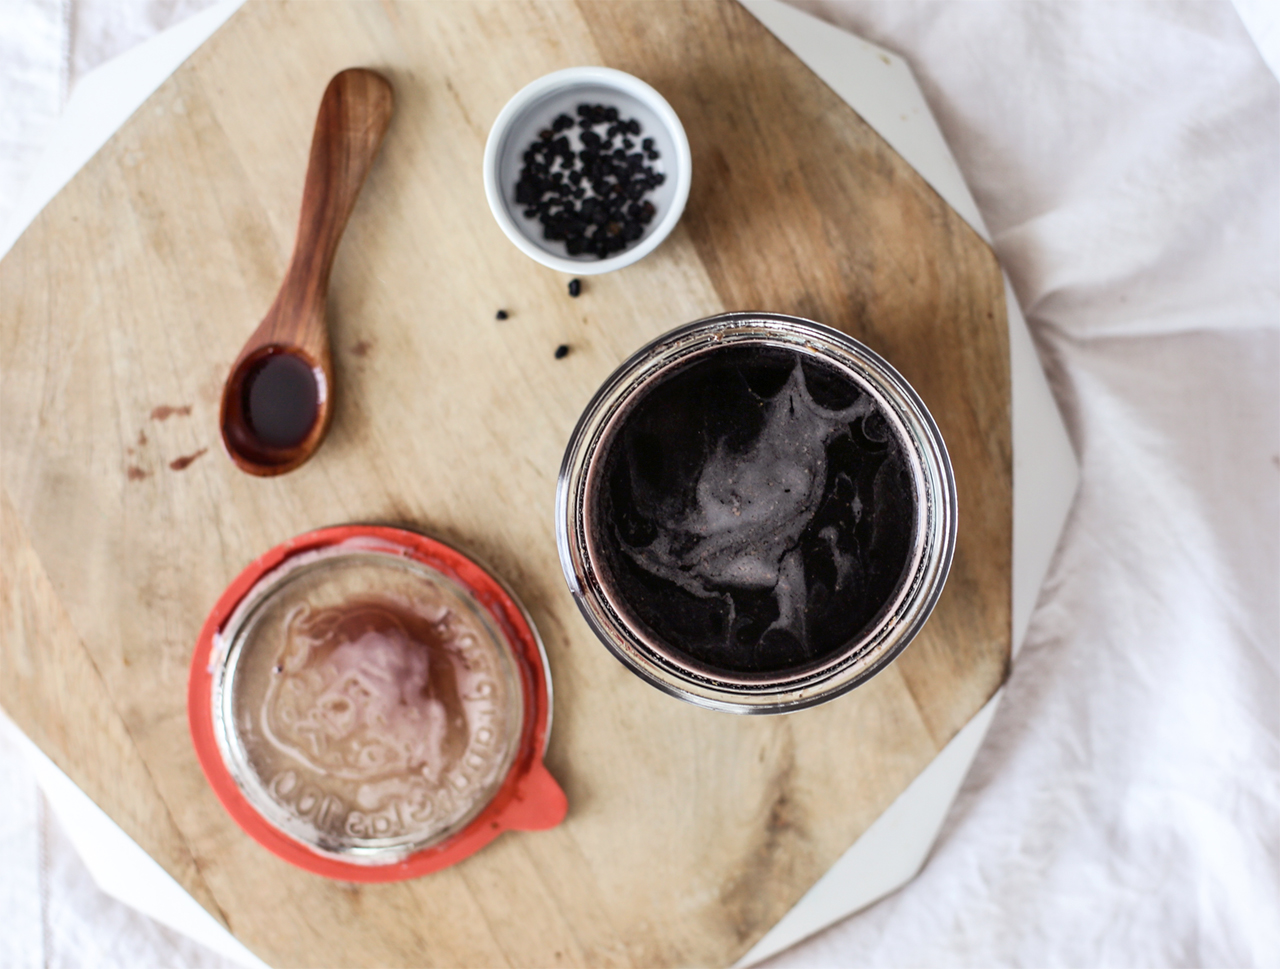
Elderberry syrup is a simple reduction that is ultimately mixed with soothing, probiotic-rich honey. It’s slightly sour, sweet, syrupy, and delicious. To me, all that sweetness is begging for some HEAT and we can create this win-win by adding immune boosting, warming spices.

elderberry_syrup-7_site

These past few weeks, I’ve been feeling my body respond to the seasons changing. Ayurveda calls this vata season—windy, dry, cold, light… It feels like the last hurrah of preparation before it’s time to slow down and hibernate for the winter. Just look at this pic my sweetie took from a nearby hike (so freakin’ lucky) from a few days ago… the trees are ready to burst!

harpers_ferry_soc

My mind has been swirling—I’ve even had a few nights where I can’t fall asleep from all the colorful ideas blowing around like leaves. I’ve been keeping a pad of paper and a pen by the bed to record them (not to mention some of the wacky dreams I’ve been having).

To help the ’ol bod stay in balance, I’ve been taking “Dreamsicle” epsom salt baths every night and enjoying cup after cup of immune boosting tea creations.

In the spirit of slowing down, preparing, and finding balance, I want to share my version of fire-y Easy Elderberry Syrup. Start a pot of it and let the aroma fill the house. Put some big socks on, curl up on the couch, and read a great book (I’m currently reading this one) while it reduces.

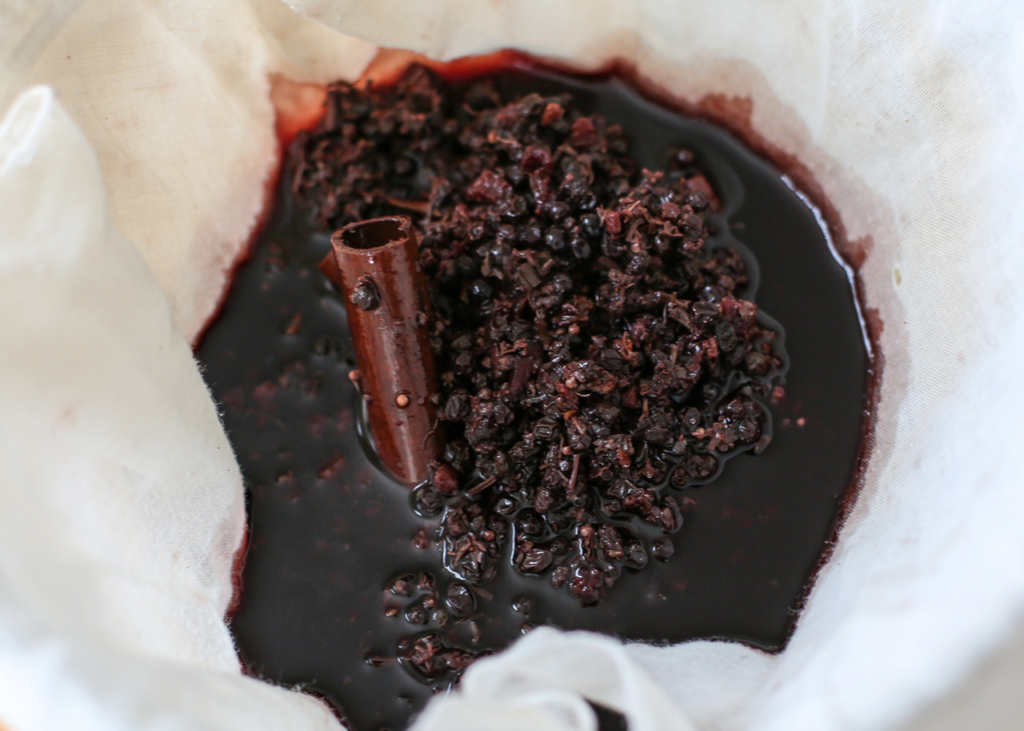
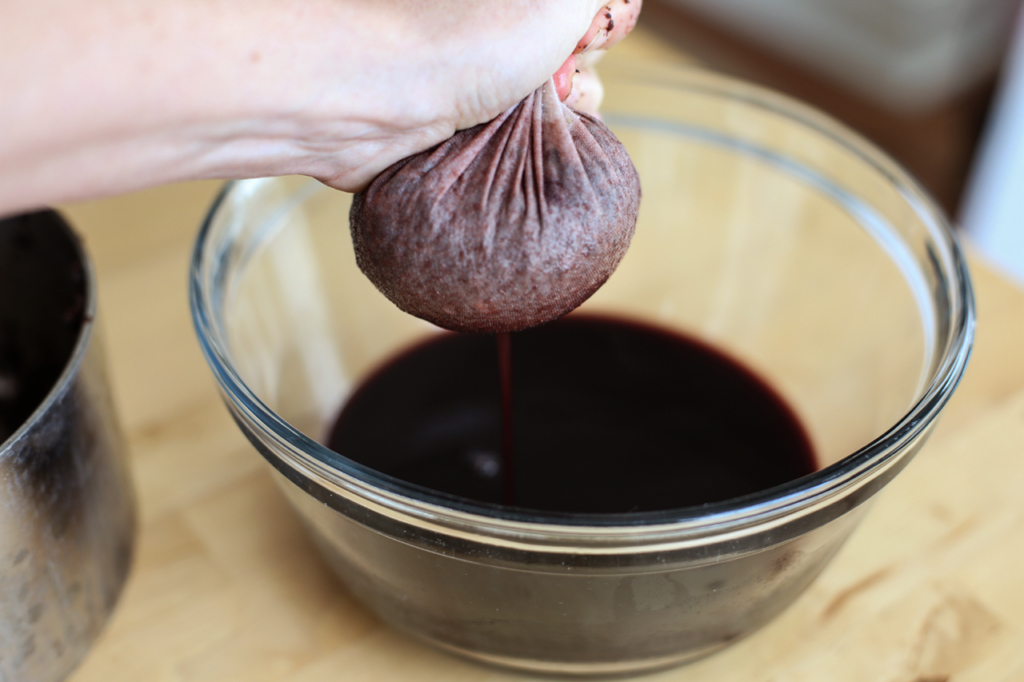
You’ll need a fine-mesh cheesecloth or sieve to strain the mixture, but a recycled curtain sheer, pantyhose, or threadbare t-shirt will work, too. It will stain though, so only use something you don’t mind naturally dyeing (hint, hint). I prefer a cloth to strain because you can really squeeze all the goodness out like you would when making non-dairy milk, but if you only have a sieve or strainer, you can use the back of a spoon to press the decoction out.

Spiced, Easy Elderberry Syrup for Cold & Flu Prevention
 
Prep time
Cook time
Total time
 
Build immunity against colds and flu with this easy, homemade, great-tasting syrup. It can be made with a few, simple ingredients, or all listed below. I’ve written “optional” by the ones you can leave out, but give them all a try for incredible flavor and immune-boosting power.
Author:
Ingredients
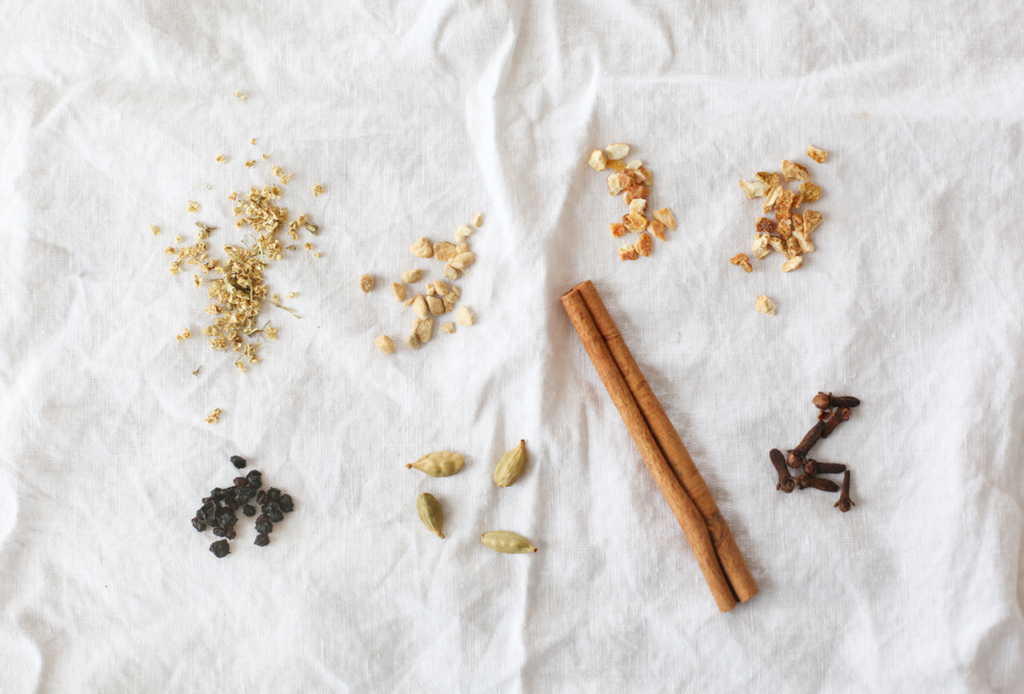
  • 4 cups water
  • ½ cup elderberries
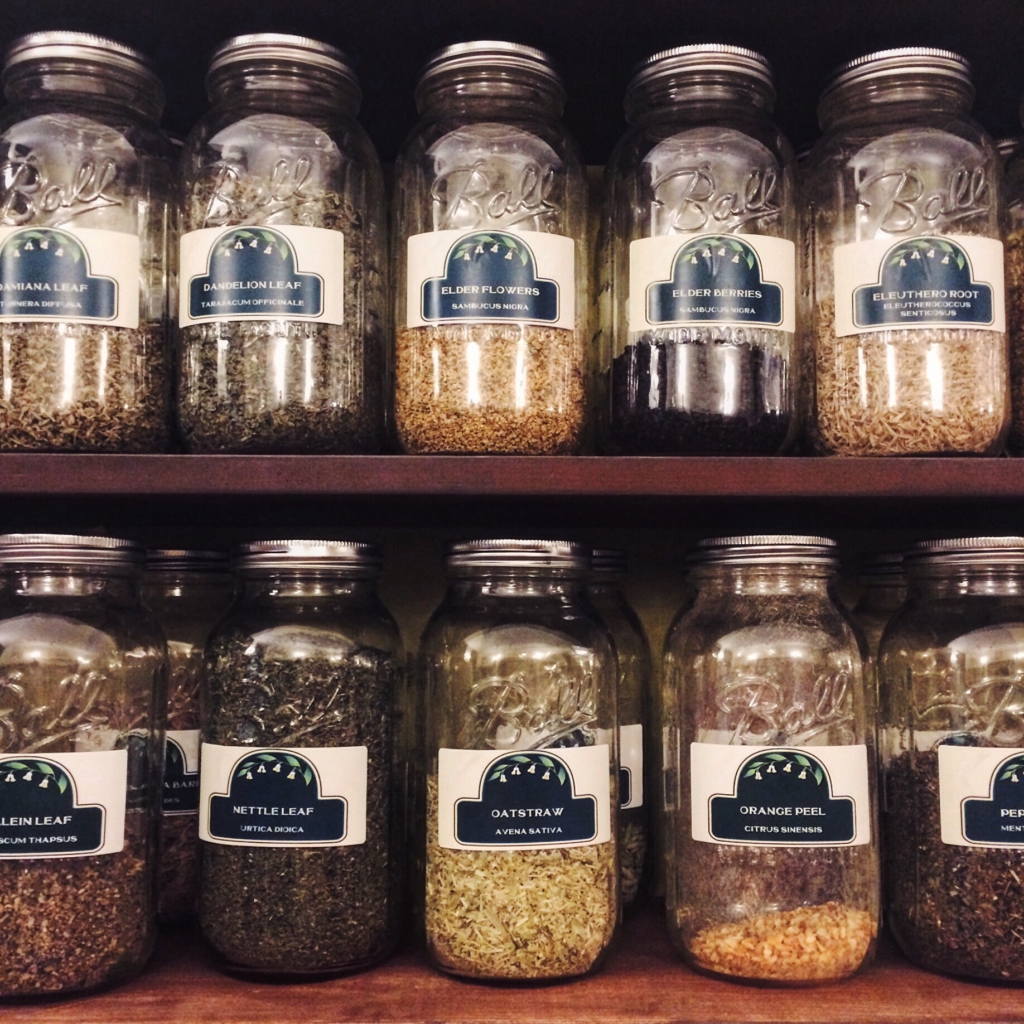
  • 3 tablespoons elderflowers (optional)
  • 2–3 tablespoons fresh-grated ginger or 1½ teaspoons dried
  • 1 teaspoon whole cloves (optional)
  • 1 cinnamon stick (optional)
  • 2 teaspoons dried lemon and/or orange peel (optional)
  • ½ teaspoon cayenne pepper (optional)
  • 5–7 whole cardamom pods (optional)
  • Raw, unpasteurized honey (you’ll need about ½ cup honey per cup of elderberry reduction)
Let’s get started.
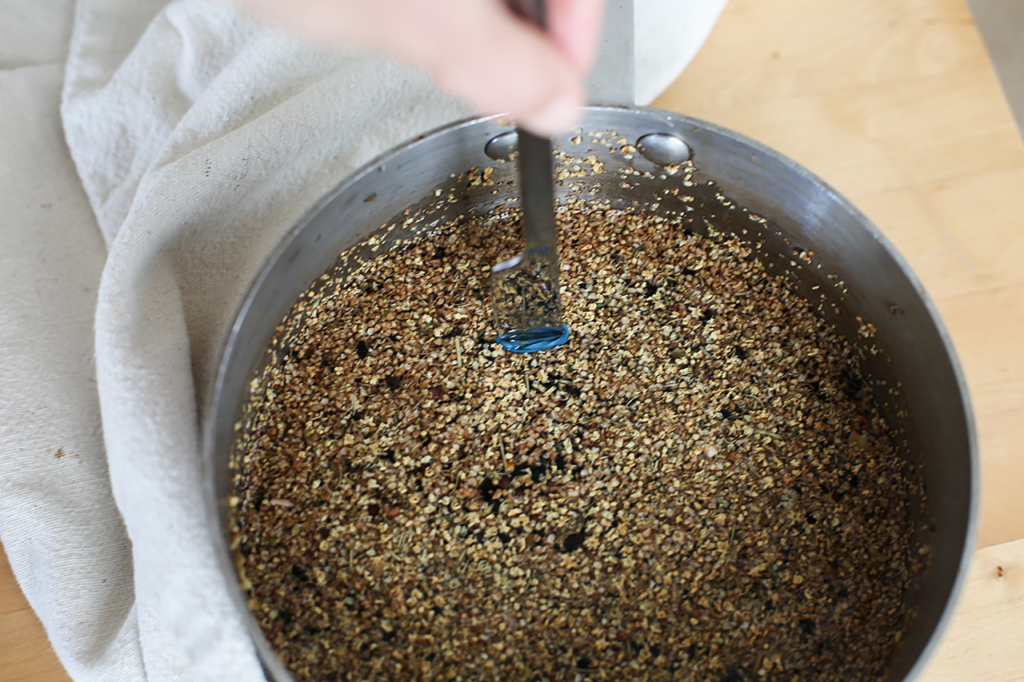
  1. Add all ingredients to a large pot or Dutch oven and bring to a boil.
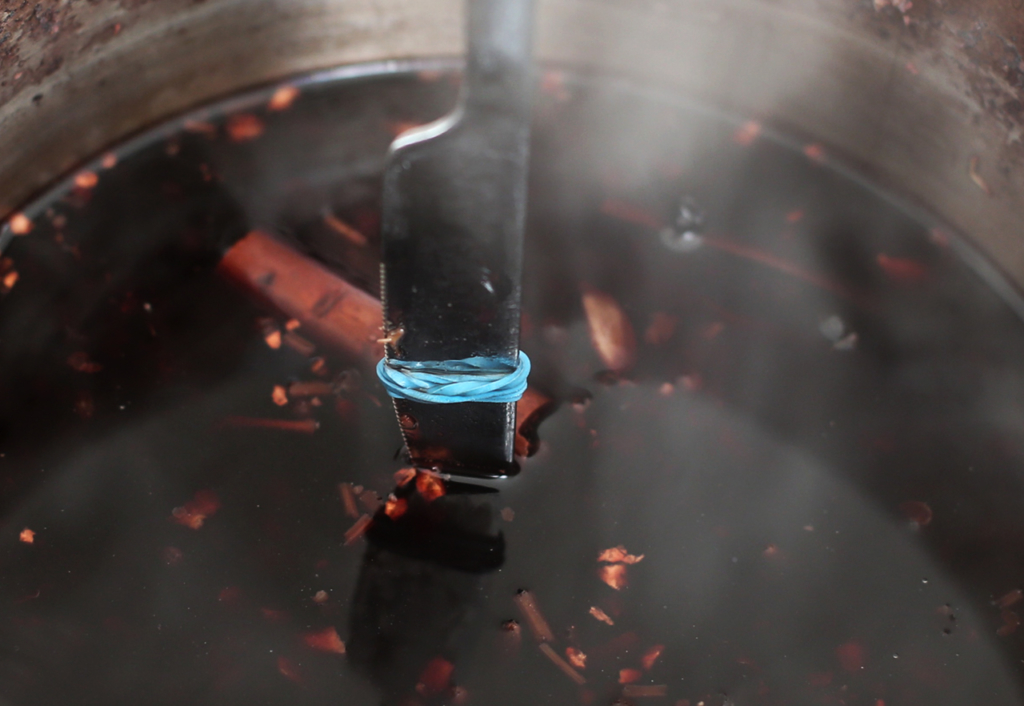
  2. If you have a chopstick at home or a bamboo skewer, drop it into the mix vertically and mark the depth of the mix at this starting point. If you don’t have either, drop a butterknife into the mix and mark the depth with a rubberband—kitchen hacking at it’s best!


  3. Bring contents to a boil. Reduce heat to a simmer and cover (helps trap beneficial properties instead of them floating into the kitchen) until liquid is reduced by half—use your skewer or chopstick or banded butterknife to help you gauge this reduction. It should take around 1 hour.


  4. Strain mixture (through a cheesecloth or sieve) over a large, glass bowl to remove solid ingredients.

    Squeeze out all the goodness.
  5. Allow liquid to cool to room temperature, then stir in honey (if liquid is too hot/warm, it can diminish probiotic/preservative power in the honey). If liquid is cold, it may be tough to dissolve raw honey into the mixture, so gently warm over low heat on the stove and stir, quickly removing from heat as soon as you can.
  6. Transfer elderberry syrup to a glass jar and store in the fridge.
  7. Pack up some in a glass jar and share with someone you love.
Notes
To support immunity you can start with ½–1 tsp per day for kiddos and 1 tsp–1 tbsp for adults. If you end up sick, take every 3 hours until symptoms disappear.

Thanks to the natural preservative power of ingredients like raw honey, this syrup will last the entire winter season if kept in the fridge.


I have a feeling my pantry is going to slowly fill to the brim with goodies from Tonic Shop… could be trouble.

elderberry_syrup_site


Don’t want to make your own syrup, but you want those immunity-boosting bennies? This looks like a nice one you can order online.

Ok. I want to hear what you think of this recipe. Do you make your own syrup? Have you experienced the power of elderberries? Tell us with a comment below. And share pics of your own creations—I want to see! #yumuniverse
Autumn Sweet Potato & Carrot Crisp (gluten-free, dairy-free)

I feel like Autumn came on really quickly. Really. Quickly.

One day I was sweating on a sunny hike and the next I was back into the hot-tea-all-day and big socks routine.

tea

The seasonal change has me craving more substantial foods like roots and tubers—creamy soups, and sweeter treats, which I think is the body’s way of saying “stock up for winter!” Now, when I’m making treats I love to sneak the nutrients into the mix so it’s a win-win situation. This maple-sweetened crisp was a great compromise if I’m going to feed the Sweet Tooth. Feel free to play with this recipe, adjusting sweetness as you see fit.

I’m not sure about YU, but I’ve also been feeling an internal “winding down” of sorts these days, and I find that the kitchen is the best place to indulge in this. Warm tea, a fun podcast, big socks to slide around in, some root veggies, and a mandoline.

Making this recipe is a simple, and nice way to spend a Sunday… hint, hint…

Slice some gorgeous veggies and cook up in a cast iron skillet…

slices

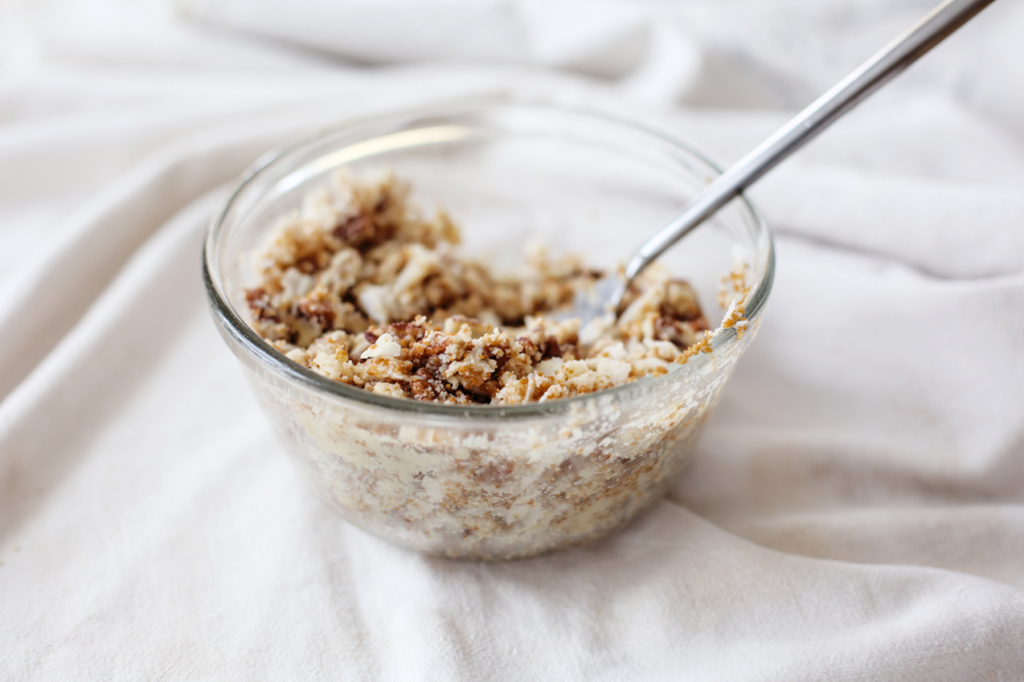
Mix up a simple, crunchy crumb topping…

crumble

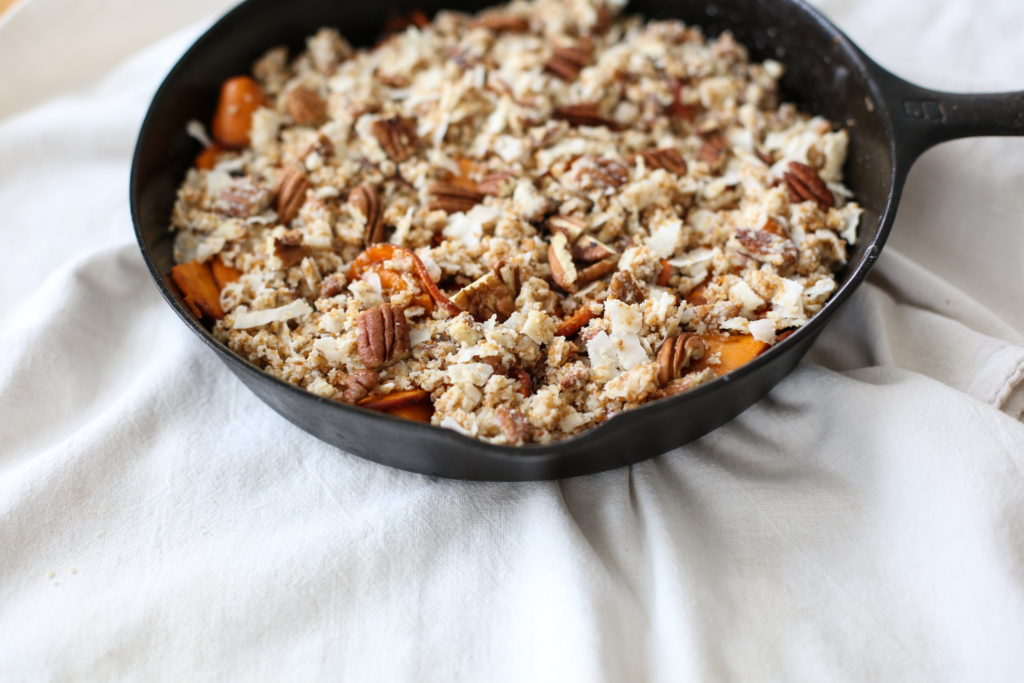
And bake for happy Sunday vibes.

pre_bake-2

I’m going to share recipes in a printable format starting right now because I think it will help you meal plan and organize for your week that much easier. Hope you find this feature as helpful as I do!

Print Recipe
Autumn Sweet Potato & Carrot Crumble
Warming, comforting crisp with a twist. Sweet potatoes and carrots add natural sweetness to this gluten-free, dairy-free treat.
Author: Heather Crosby
Recipe type: Dessert
Allergy Info: Gluten-Free, Dairy-Free, Plant-Based
Prep Time 10 minutes
Cook Time 50 minutes
Servings
Ingredients
  • 1 medium sweet potato (peeled if you like, or skin on for extra nutrients)
  • 4 carrots
  • 3/4 cup blanched almond flour
  • 1/3 cup gluten-free rolled oats
  • 1/3 cup pecans, chopped
  • 1/3 cup flaked coconut
  • 1/4 cup + 2 tbsp Sucanat or coconut sugar
  • 3 tbsp maple syrup
  • 1/4 tsp ground cardamom
  • 2 tsp cinnamon
  • 1/4 tsp fresh-ground nutmeg
  • 1 tsp vanilla extract
  • 1 tsp orange zest
  • 1 tsp apple cider vinegar
  • 3/4 tsp fine ground sea salt
  • 1/3 cup + 1 tbsp coconut oil
  • 1/2 cup sun-dried raisins (optional)
Instructions
  1. Preheat oven to 375°F and then slice carrots and sweets thinly on a mandoline if you have one. No mandoline? Just use a Chef’s knife to slice thin pieces.
  2. Place carrots and sweets into an 8–9" cast-iron skillet with 1 tablespoon coconut oil. Sprinkle with ½ teaspoon fine-ground sea salt and cook, stirring occasionally for 10–15 minutes until softened, but firm, not mushy. Remove from heat.
  3. While veggies cook, stir together, 2 tablespoons Sucanat, maple syrup, cardamom, cinnamon, nutmeg, vanilla extract, orange zest, orange juice, and apple cider vinegar in a small bowl until well mixed. Pour over cooked veggies and gently fold together.
  4. • In a medium bowl, use a fork to combine almond flour, oats, chopped pecans, coconut, ¼ cup Sucanat, ¼ teaspoon sea salt, and 1⁄3 cup unrefined coconut oil (liquid or solid) until crumbly. Sprinkle evenly over carrot-sweets mixture and bake for 30–35 minutes until browned and bubbling. Cool for 10 minutes and serve warm, definitely with some Vanilla Bean Ice Cream!
Recipe Notes

Try this recipe with winter squash like kuri or butternut for a change up. And please share pics of your creations #yumuniverse!

If you don’t have a cast iron skillet, just cook up veggies in a regular skillet and transfer to a baking dish instead.

Share this Recipe
 

I think this may be a recipe I make for friends and family over the holidays, too.

Ok, it’s time to head out to the Sunday Farmers Market (in my jacket and scarf) for some fresh flowers. Happy Sunday!

Tell me, what do YU think of carrots and sweets in a treat? Comment below and share pics of your creation #yumuniverse.

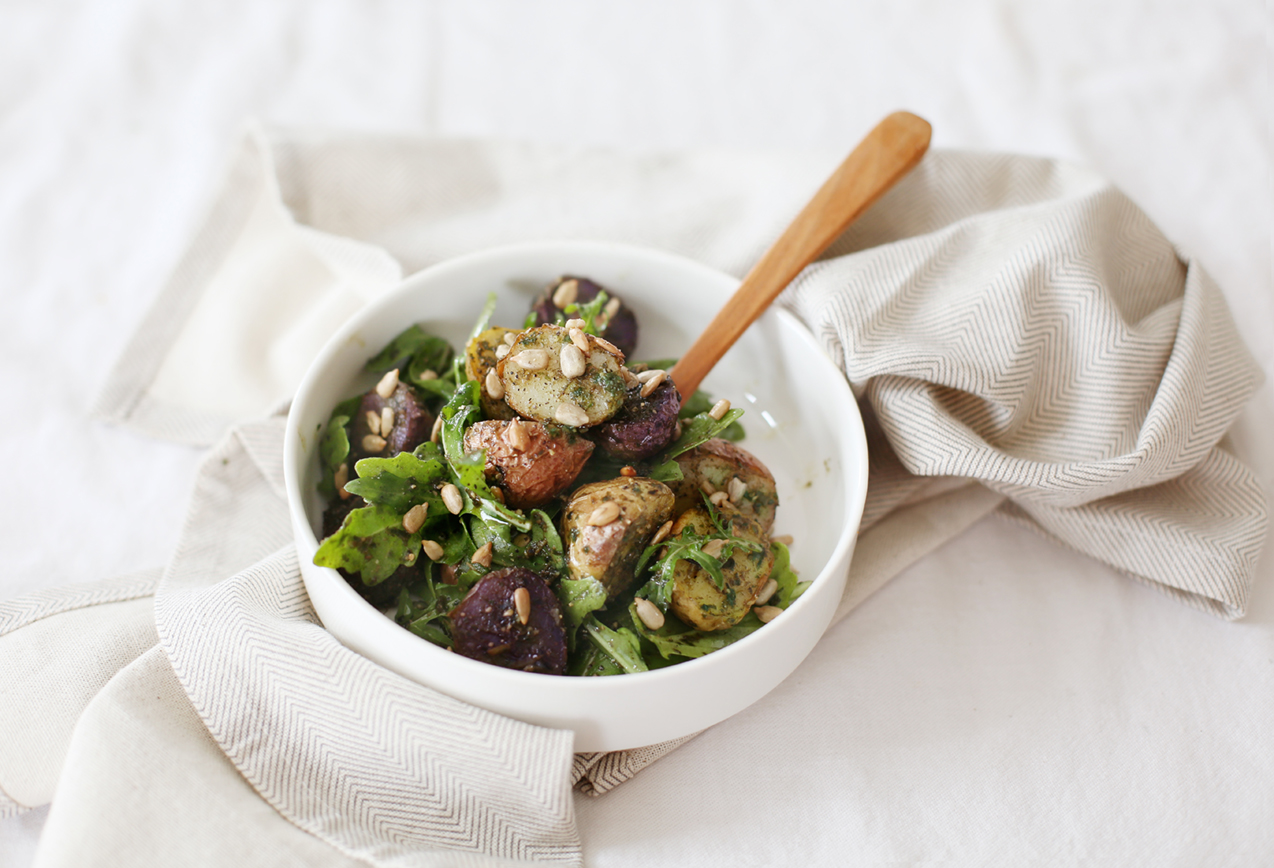
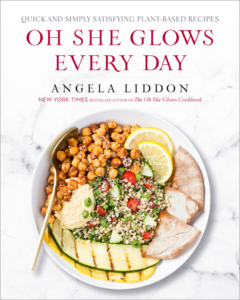
Roasted Garlic Basil Pesto Potatoes with Arugula from “Oh She Glows Everyday” + A Giveaway

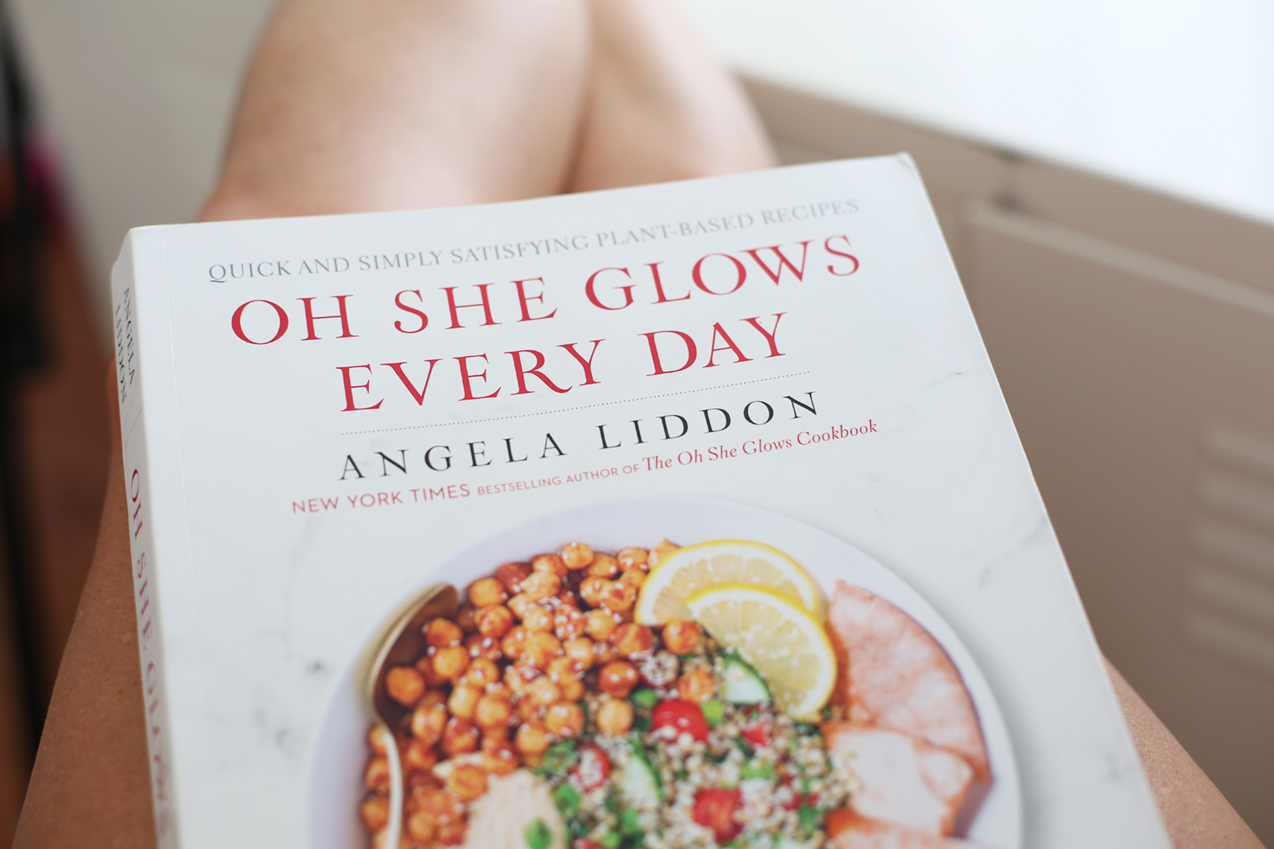
I finally had to face the music and come home after a one-week-turned-two-week trip to the beach recently, but right after I pulled up to the house, and shuffled inside (still barefoot) I was so very happy to find Angela Liddon’s gorgeous second book waiting for me! I immediately put my legs up and started flipping through drool-worthy photo after photo.

You don’t need me to tell you how helpful and inspiring Angela Liddon is—her first book is a New York Times bestseller for good reason. She has a gift for creating simple, delicious recipes that are instant faves for anyone with tastebuds. So, as I flipped though, dog-earing countless pages wondering what recipe I should share with YU…

Angela_Pesto_Potatoes_B

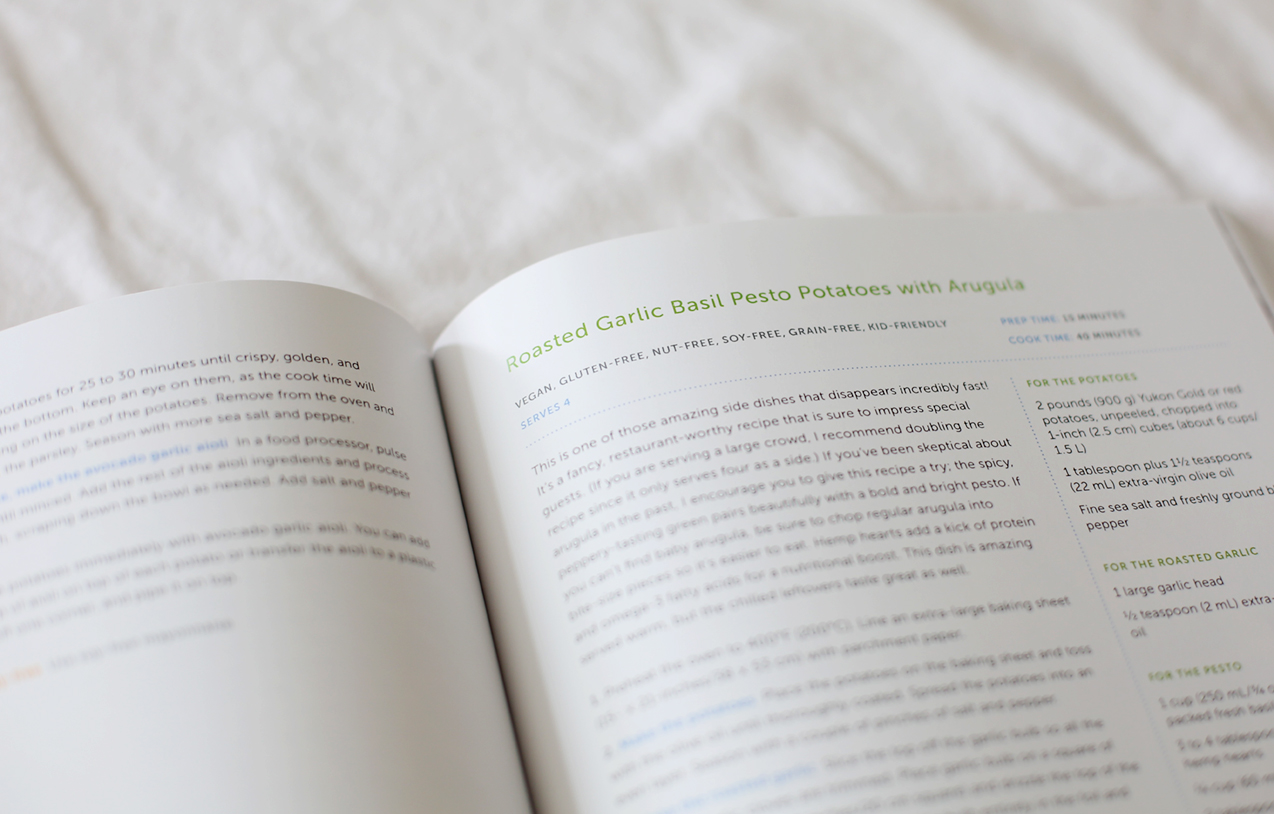
… I landed right here.

Angela_Pesto_Potatoes-2B

Yessss.

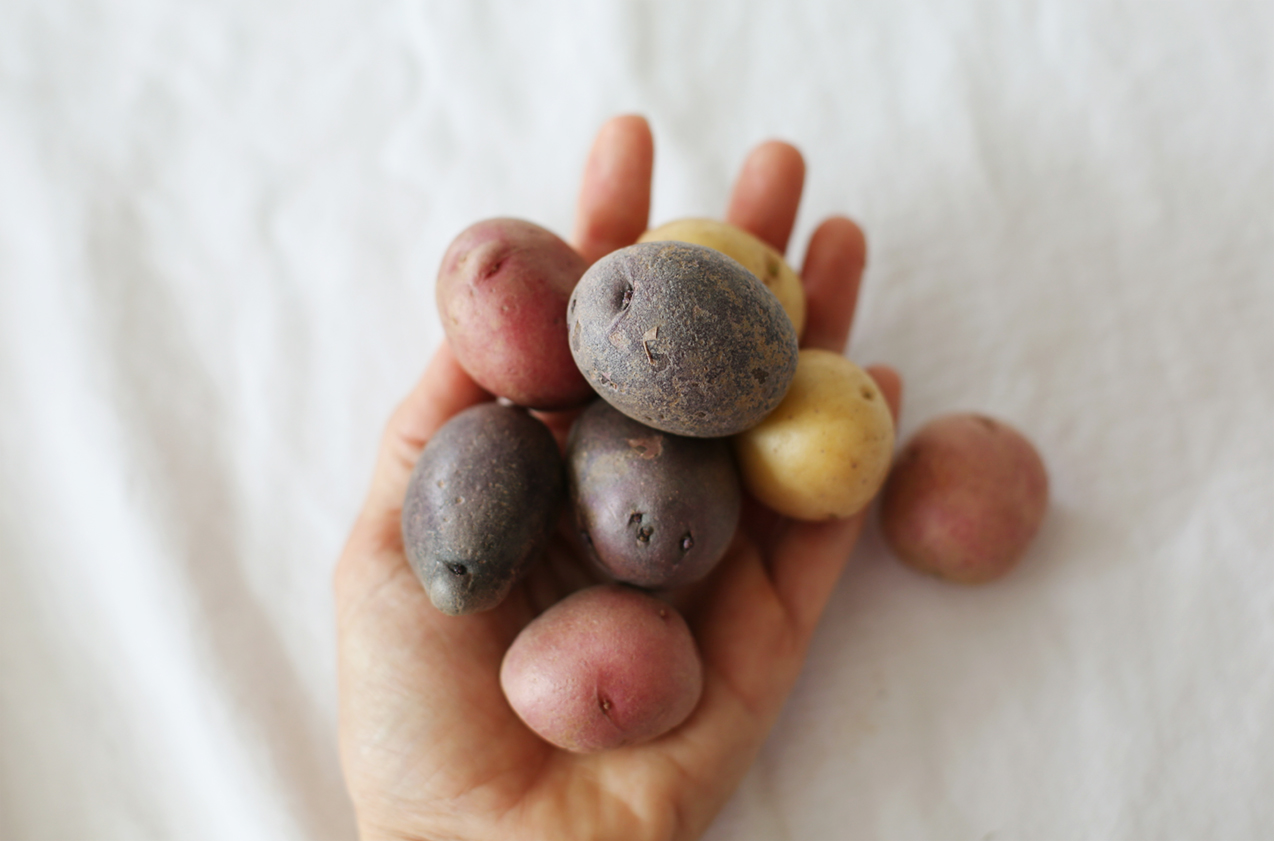
Halfway through my drive home I stopped at my favorite co-op to stock up on food for the week. I’m on a pretty big arugula kick these days, so I had grabbed some of that, and also picked up a bunch of locally grown cutie potatoes…

Angela_Pesto_Potatoes-7B

I had everything called for in the recipe except hemp seeds—I decided to sub toasted sunflower seeds so I could get to work.

Angela_Pesto_Potatoes-5B

This recipe is: 
Vegan, gluten-free, nut-free, soy-free, grain-free, and kid-friendly.
Serves 4
Prep time: 15 minutes
Cook time: 40 minutes

Angela says: “This is one of those amazing side dishes that disappears incredibly fast! It’s a fancy, restaurant-worthy recipe that is sure to impress special guests. (If you are serving a large crowd, I recommend doubling the recipe since it only serves four as a side.) If you’ve been skeptical about arugula in the past, I encourage you to give this recipe a try; the spicy, peppery-tasting green pairs beautifully with a bold and bright pesto. If you can’t find baby arugula, be sure to chop regular arugula into bite-size pieces so it’s easier to eat. Hemp hearts add a kick of protein and omega-3 fatty acids for a nutritional boost. This dish is amazing served warm, but the chilled leftovers taste great as well.”

Ingredients
FOR THE POTATOES
2 pounds (900 g) Yukon Gold or red potatoes, unpeeled, chopped into 1-inch (2.5 cm) cubes (about 6 cups/ 1.5 L)*
1 tablespoon plus 1 1/2 teaspoons (22 mL) extra-virgin olive oil
Fine sea salt and freshly ground black pepper

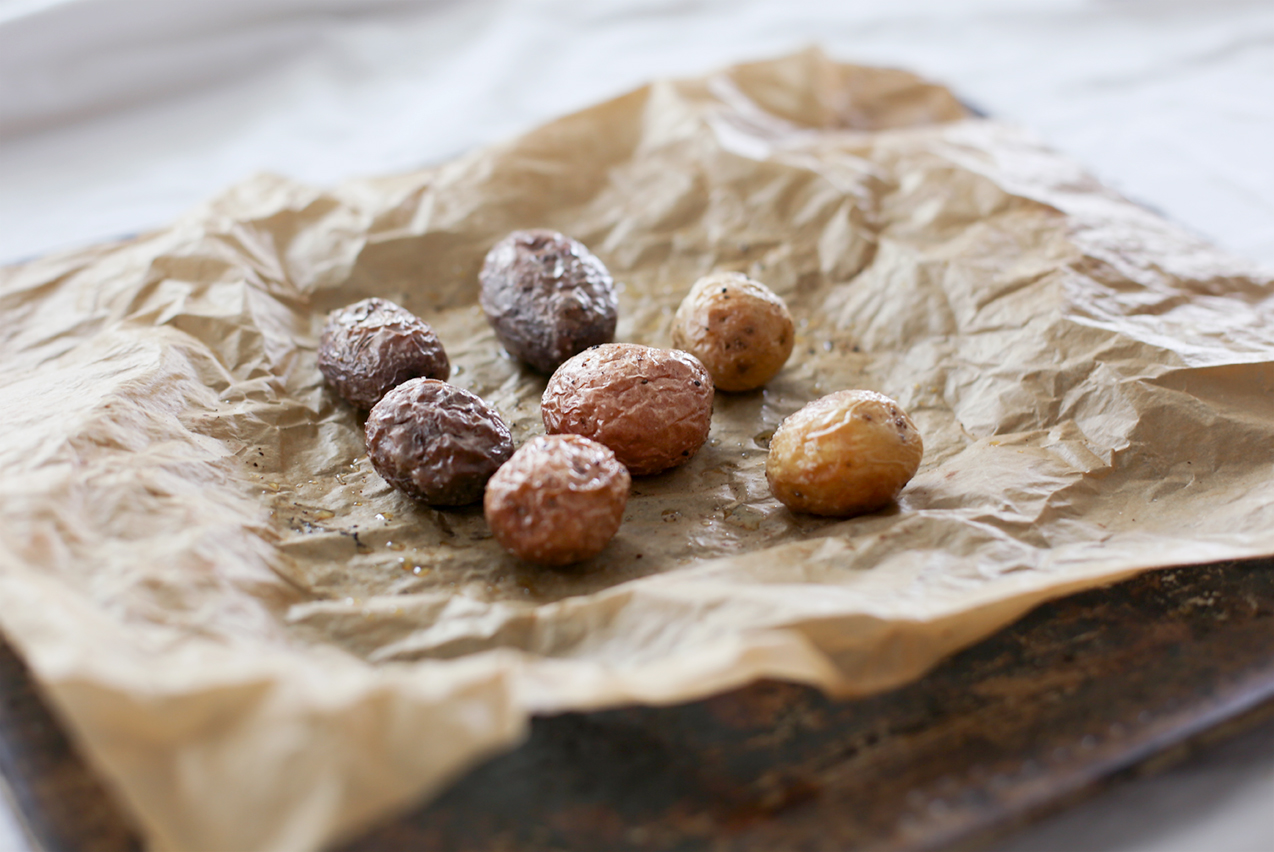
* I subbed baby heirloom potatoes with great results, I just cut them in half once roasted

FOR THE ROASTED GARLIC
1 large garlic head
1/2 teaspoon (2 mL) extra-virgin olive oil

FOR THE PESTO
1 cup (250 mL/3/4 ounce/20 g) lightly packed fresh basil leaves
3 to 4 tablespoons (45 to 60 mL) hemp hearts**
1/4 cup (60 mL) extra-virgin olive oil
2 tablespoons (30 mL) fresh lemon juice, or to taste
1/4 teaspoon (1 mL) fine-ground sea salt
Freshly ground black pepper

** I subbed sunflower seeds with very tasty results, and topped my salad with a handful of toasted sunflower seeds as well

FOR THE SALAD
3 cups (750 mL) baby arugula, chopped
Fresh lemon juice, for serving (optional)
1 tablespoon (15 mL) hemp hearts, for garnish

Directions from Angela 
1. Preheat the oven to 400°F (200°C). Line an extra-large baking sheet (15 by 21 inches/38 by 53 cm) with parchment paper.

2. Make the potatoes: Place the potatoes on the baking sheet and toss with the olive oil until thoroughly coated. Spread the potatoes into an even layer. Season with a couple of pinches of salt and pepper.

3. Make the roasted garlic: Slice the top off the garlic bulb so all the individual garlic cloves are trimmed. Place garlic bulb on a square of aluminum foil (about 8 inches/20 cm square) and drizzle the top of the cloves with the olive oil. Wrap the garlic bulb entirely in the foil and place it on the baking sheet with the potatoes.

4. Roast the potatoes and garlic for 20 minutes, then remove pan from the oven and flip the potatoes with a spatula. Return the potatoes and garlic to the oven and continue roasting for 15 to 20 minutes more, until the potatoes are golden and fork-tender.

5. Make the pesto: In a food processor, combine the pesto ingredients and process until mostly smooth, stopping to scrape down the bowl as necessary. Keep the pesto in the processor because we will add the roasted garlic as the final step.

6. Remove the potatoes and garlic from the oven. Carefully unwrap the garlic bulb and let cool for 5 to 10 minutes, until it’s cool enough to handle.

7. Turn off the oven and return the potatoes to the oven with the door ajar so they stay warm. (You can also put the potatoes into an oven-safe casserole dish so the dish stays warm when serving.) Squeeze the roasted garlic cloves out of the bulb. You should have about 2 packed tablespoons (30 mL) of roasted garlic. Add it into the food processor with the pesto. Process until mostly smooth—you can add a touch more oil if necessary to get it going.

8. Assemble the salad: This is the important part where you need to act fast; I like to assemble the salad very quickly so that it’s warm when I serve it. Grab a large serving bowl and place the arugula in the bottom of the bowl. You can break it up into smaller pieces with your hands a bit. Then, remove the potatoes from the oven and quickly place them into the serving bowl on top of the arugula. Toss the potatoes and arugula with the pesto until thoroughly combined. Taste and season with salt and pepper. Sometimes I add another drizzle of lemon juice if I feel like the dish needs more acidity. Sprinkle on the hemp hearts and serve immediately.

Tip: On the rare chance that you have any leftovers, I’ve discovered that this side works great as a cold potato salad. Just serve it straight from the fridge!

Done

It didn’t last long in my house…

If you want to learn more about Angela, you can check out her YU Should Know interview.

officialcoverOSGEveryDaySM

Want a copy of OSG Every Day? Well, you can enter to win one right now. 
1. Register here by 12am EST September 19, 2016 (Canadian and US residents only) This giveaway is now closed. Congrats Melanie! And big thanks to everyone who entered. x
2. Share your entry on social if you like: #osgeveryday #yumuniverse #giveaway @yumuniverse @ohsheglows
3. One winner will be chosen at random the week of September 20, 2016

Recipe reprinted from Oh She Glows Every Day by arrangement with Avery Books, a member of Penguin Group (USA) LLC, A Penguin Random House Company. Copyright © 2016, Glo Bakery Corporation. 

Vanilla-Orange Epsom Salt Soak

Dare I say it, but the days are getting a bit shorter. From mid-June to mid-August I was able to take shots for the new book all the way until 7:30–8pm, but this past week I can tell the light is diminishing… When walking to the post office this week, a summer breeze passed and I could almost smell crispy leaves, and I felt a smidge of Autumn coolness in it as it floated over me.

September and October are my favorite months but I’m pumping the brakes since I spent so much of my summer indoors working on the book. Probably why I couldn’t leave the beach last month. I digress…

I’m a big-time bath taker before bedtime. It helps me wind down and prepare for a nice, restorative sleep. In the Spring, Fall and Winter, I’m in there every night. During the summer though, I’ll opt for a relaxing nighttime shower if it’s sweltering outside. Anyway, these sneaky Autumn breezes have me thinking about a fun creation I can share for tub season.

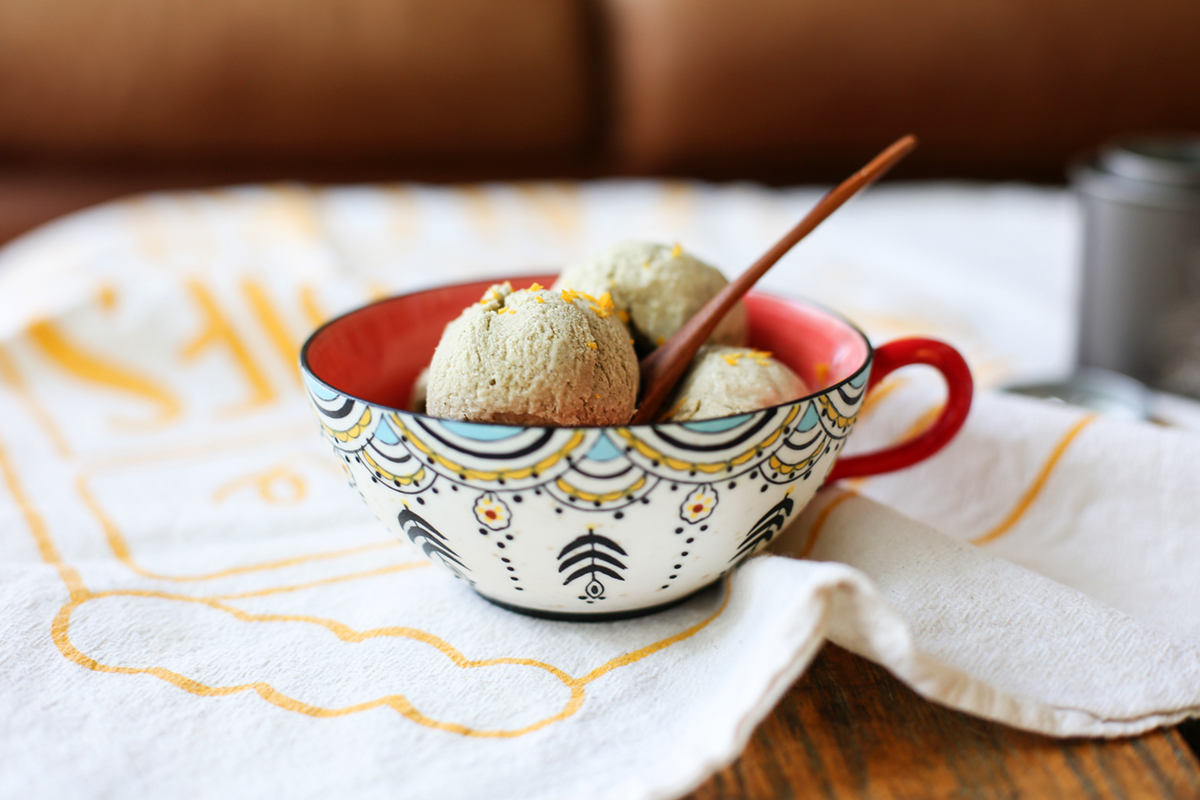
I was house sitting for a pal of mine in Chicago this spring and while I was there, made an Earl Grey Ice Cream to share. I never want to throw out a used vanilla bean pod—the smell is too amazing and the pod is just too special. So, after I made the ice cream, I found some epsom salt in her bathroom and decided I’d make her a “welcome home” treat. A creamsicle-style bath soak.

Here’s what you need:
4 cups epsom salt
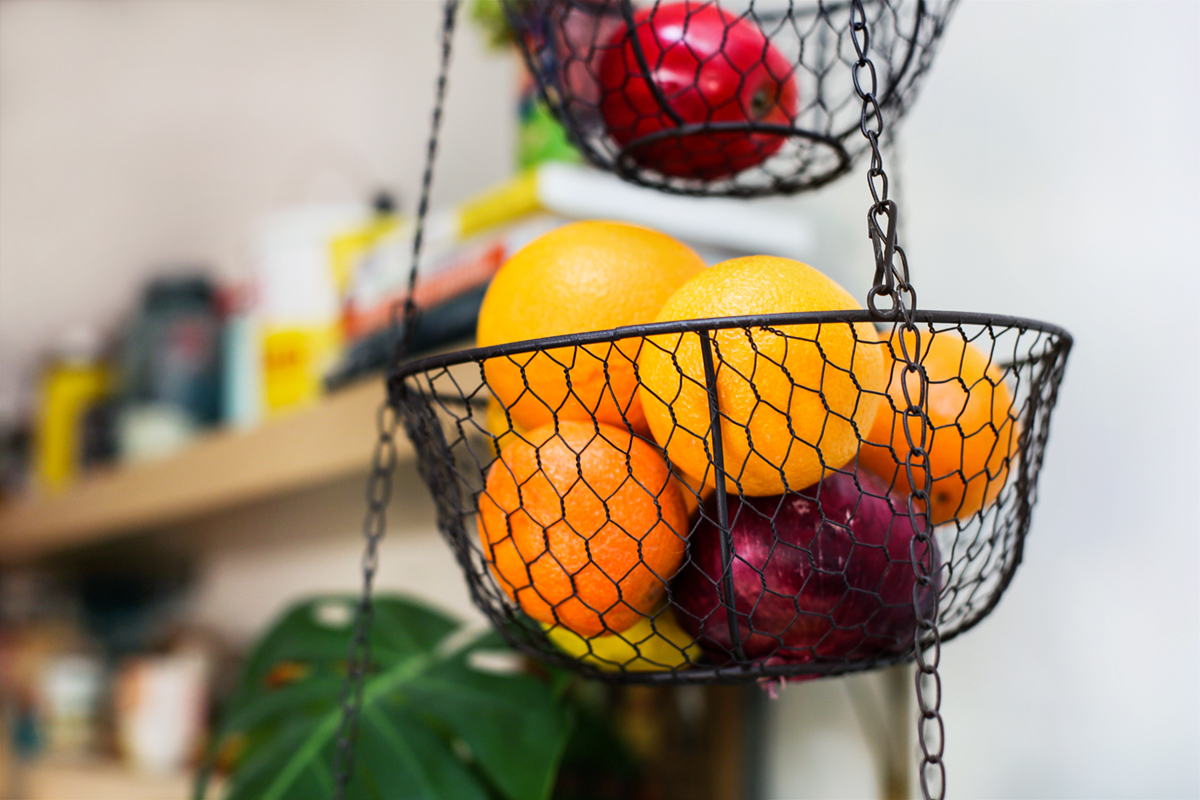
1–2 large pieces of orange peel, or long pieces of zest you can easily pluck out of the salt when ready to use
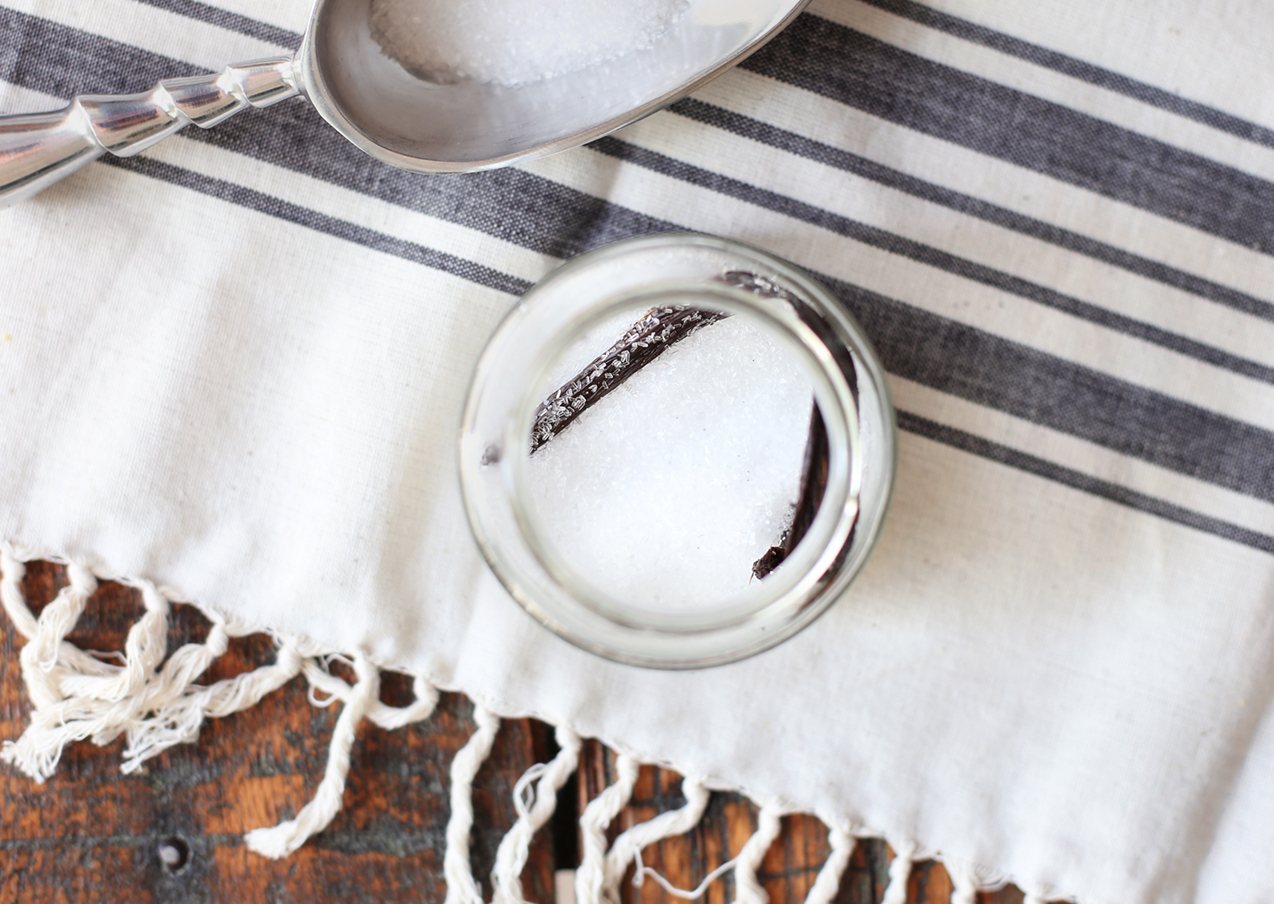
1 used vanilla bean pod

Here’s how to make it:
1. Grab an orange and cut off one to two 1″ x 2″ pieces of peel.

Earl_Grey_Ice_Cream-10B

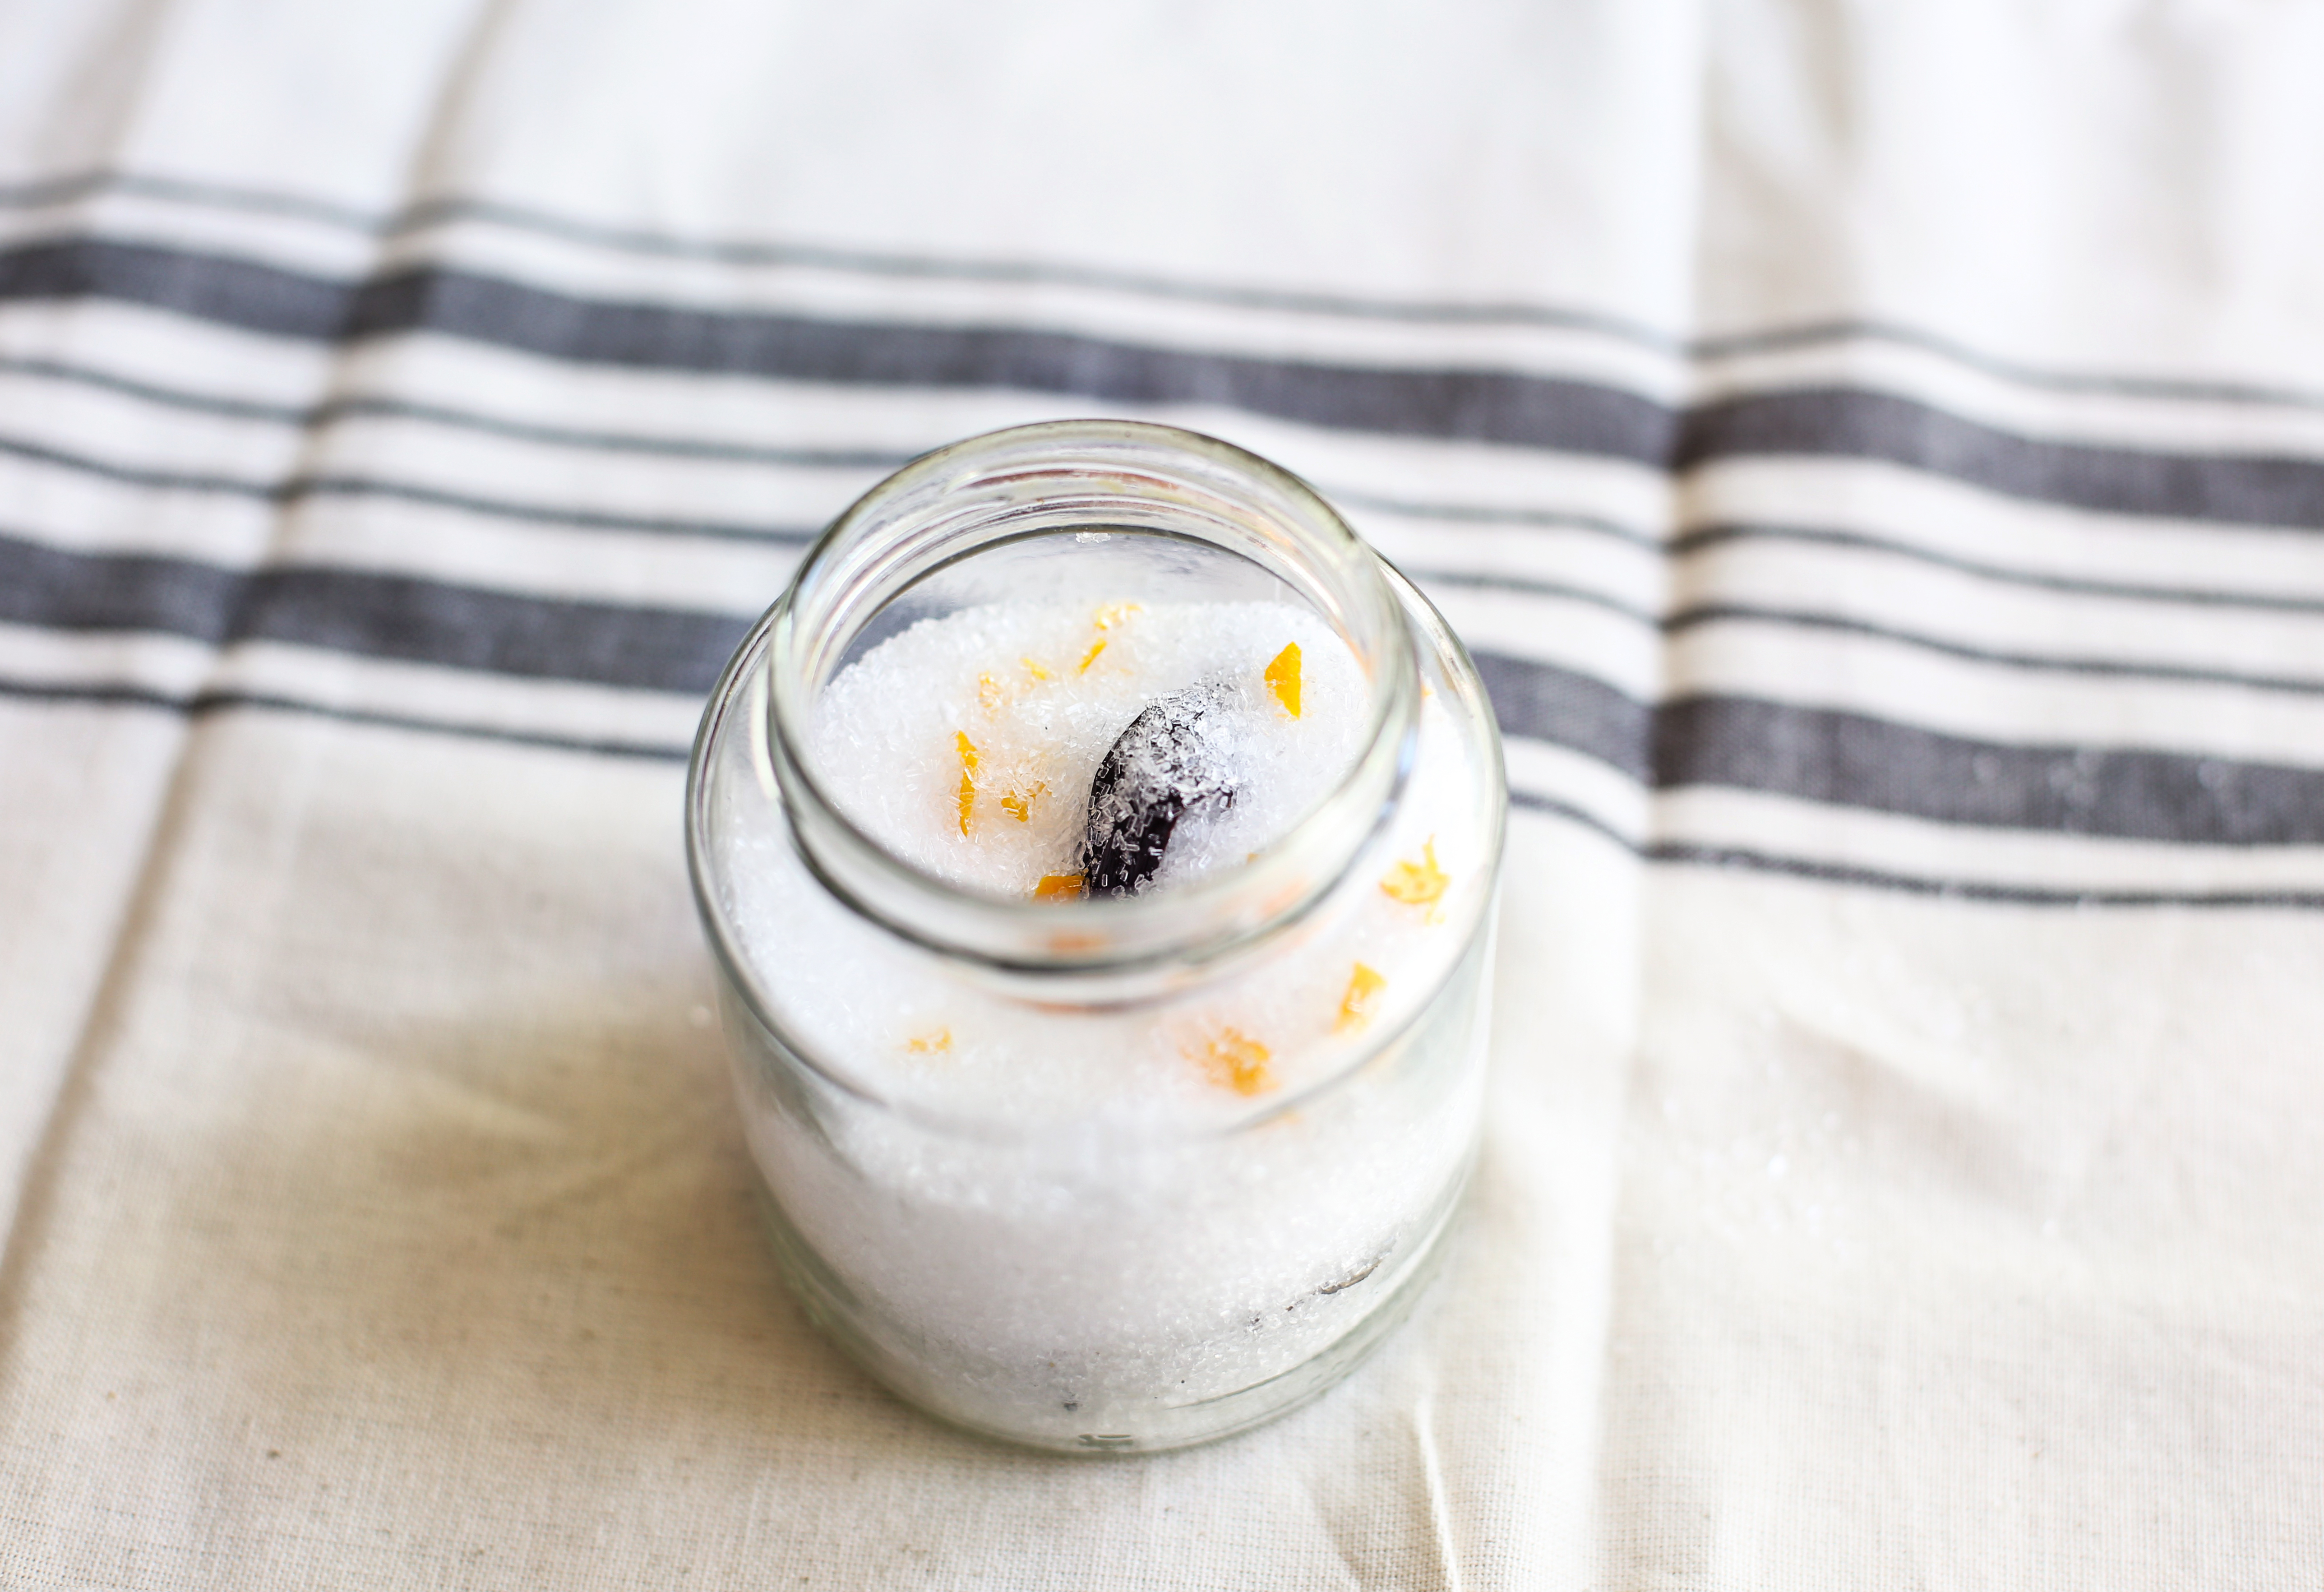
Fill a glass jar with epsom salt. Add the vanilla bean pod and then your peel. Seal, shake and allow to infuse on the counter for at least one week.

Earl_Grey_Ice_Cream_SM

When ready to use, place one or two scoops of infused epsom salt into the tub and fill. Make sure you pluck out zest and vanilla bean before the salt goes in the tub—you can save it for multiple infusions. Just refill your glass jar with salt, seal and shake. Use your nose to detect when the vanilla pod and orange zest are spent.

2Z9A5256_SM

Play with other combinations as well.

• 10 drops lavender essential oil

• Simply vanilla bean pod

• 5–10 drops rosewater

• 10 drops mint oil or 20 leaves of fresh mint + 5 drops arnica oil + 3-5 drops eucalyptus oil (great for sore muscles)

• 1 tablespoon tea: chamomile for skin and relaxation; calendula for skin; green tea for skin and mood

Which one will YU try? Tell me with a comment below—I’d love to hear from you.

Easy Earl Grey Ice Cream (Dairy-Free)

I’m in full-blown recipe-testing mode for the second YumUniverse book these next few weeks. The clock. is. officially. ticking.
Elephant-sized anxiety bullies and shouts that I actually should be in the kitchen right now instead of writing this post, but—deep breath—instead, I woke up this morning, put my running shoes on, ignored the you-only-have-30-days-left-and-73-recipes-left-to-test-what-the-hell-are-you-doing-get-your-butt-into-the-kitchen voice and just walked away from the house.

Sometimes, you just have to walk away.

Walk.

Away.

Proof:

(Come play: I’m on snapchat sharing moments @YumUniverse)

I’ve been pretty honest with myself this past year, and it stings my pride to say so, but I can get pretty manic when I’m working on a project. It’s not all “great work ethic” as I’ve told myself for, gulp, decades now, it’s mostly, “if I just get this done, and do this one thing, then it will all finally come together,” or “I’ll feel even happier,” or “I could get YumUniverse rolling enough where I don’t have to take on as much freelance design work.”
That kind of self-talk is a cyclical trap that I fall in all the time—it’s easy to do—it’s my go-to mix tape.

Putting my running shoes on, walking past the pull of my computer, and just heading for the trail is hard. But I have to, because I’m not going to repeat the same self-care mistakes I made when writing book #1. I want to feel good during this process. I want to be present, not in a manic haze of checklists, anxiety, and a mountain of dishes (well the latter is still there, but I’m at least dancing to spotify this time, and soothing my chapped hands with this lovely rose hand cream I treated myself to).

And the fact is, when I can pull myself away from my old pal myopic-toxic-emotion that comes with pressure, I can see clearly that I GET TO WRITE ANOTHER BOOK.

This is something to feel proud of.

Something to be grateful for.

Something to be a part of and hello, witness this go-round. I simply want to enjoy it, because if I do, that good mojo will ultimately translate to book two, and hopefully reach YU. No meltdowns (well, not as many ;), no nerve damage from sitting for months on end, no more overdoing it. Practice what I preach no matter how hard it may be. Oh yeah, and make space for the down moments, too. Just see them this time… don’t ignore them or throw a party for them.

These past few years I’ve been hearing myself say “I’m so burned out” and “I’m tired” more than I care to admit. Even as it comes out of my mouth I want to roll my eyes at myself. I don’t even want to type it because I’m making an effort to step out of that storyline and into creating another for myself. It’s time.

If I feel that I need to say “I’m tired,” I need to stop and rest.

If I am feeling “burned out,” I need to take an epsom salt bath or go sit on the deck and listen to the birds without my phone.

Instead of indulging in complaints, I’m going to use these normal feelings as cues that I need to shift things. I’m not letting them dominate my self talk anymore. If I’m not sleeping well, or I’m waking up at 2 a.m. with the stress-induced eyes-wide-open moment, the next morning I need to listen to podcasts like One Part Podcast because it just feels like time spent with like-minded girlfriends over margaritas. Do something that’s comforting instead of pouring fuel on the manic fire.

Here are the facts:
1. It will get done. It always does.
2. Saying “yes” to the dinner parties, events, trips, and time outdoors (shut up but-you-don’t-have-time naysaying voice) gives you the strength and inspiration to take on big deadlines with grace and calm.
3. Time with friends, even podcast ones, is the best medicine.

A few weeks ago, I went to Chicago to see some family (happy birthday nephews!) and hang with my dear pals. (Yeah, I had intentions to post this then, but it didn’t happen, and I’m not going to beat myself up for it.)

I also got to housesit for my spirit-sister, Marta, who has a home loaded with greenery, sunshine…

Earl_Grey_Ice_Cream-9B

…memories, happy moments, and simply, love.

Earl_Grey_Ice_Cream-6B

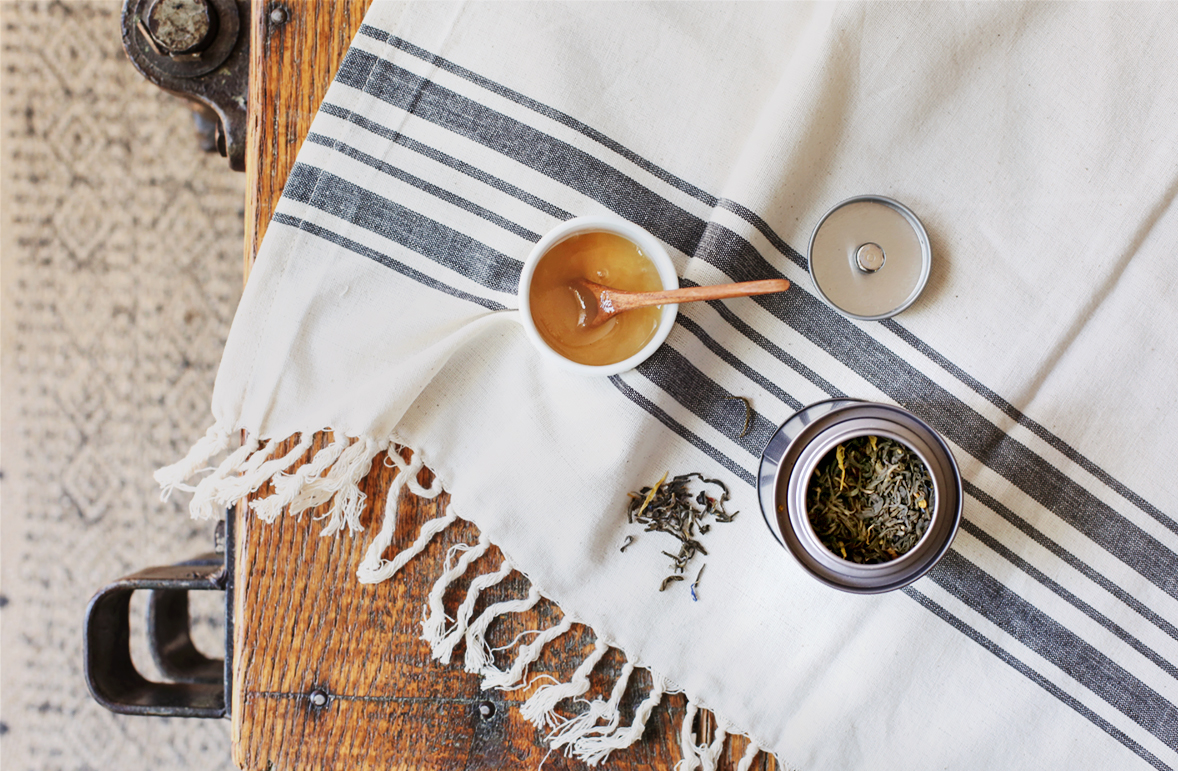
She left me a tin of some beautiful Earl Grey tea from a recent trip to London (the girl is a traveling fool), so I decided to make her a treat she could come home to with it. Ice cream!

Earl_Grey_Ice_Cream-15B

It’s an easy one you can make with an ice-cream maker, or without. And if you don’t use honey, feel free to use equal amounts of any natural, unrefined sweetener you prefer. I dig the honey because it’s like a mug of tea in ice cream form.

Ingredients:
1 can coconut milk (full fat, because you want creaminess)
2 teaspoons Earl Grey tea, ground to powder in a coffee or spice grinder
“Caviar” seeds from 1 vanilla bean pod (or 1 1/2 teaspoons vanilla extract)
Pinch sea salt
1 teaspoon navel orange zest
2 teaspoons navel orange juice
1/4 cup raw honey

A few things to keep in mind:
1. If you don’t have an ice cream maker, you can just freeze the mixture, thaw and enjoy—the texture may be a bit more dense, but the flavor is all there. Try aerating it with an additional 5 minutes in the blender to create a more fluffy texture before freezing.

2. You want the tea to be ground into a powder, so pre-blending, use a coffee, spice grinder, or high-powered blender to make it dusty. Or blend the heck out of it with the other ingredients in a high-powered blender.

3. If you use a vanilla bean: here’s how to open it.

Earl_Grey_Ice_Cream-7B

Let’s get started.

1. Grab an orange, zest it, and juice it.

Earl_Grey_Ice_Cream-10B

2. Place all ingredients together in a high-powered blender and mix until thoroughly incorporated.

3. Chill in the fridge for 2–3 hours and process in an ice cream maker according to the manufacturer’s instructions. Freeze again if necessary for 1–2 hours (sometimes the ice-cream-maker bowl is cold enough to render your mix ice cream asap, sometimes it’s more soft serve like). Thaw to scoopable consistency and enjoy.

4. No ice cream maker? Just freeze the mixture, enjoy, and share this recipe with a friend.

– – –

Ok. Now that I’ve spend some time in nature this morning, and with YU, I feel GREAT. On to the kitchen to test some recipes for the book!

Keep me company. What projects are you working on these days? Any tips to share? Comment below with any gems…

Garlic-Roasted Radishes with Meyer Lemon

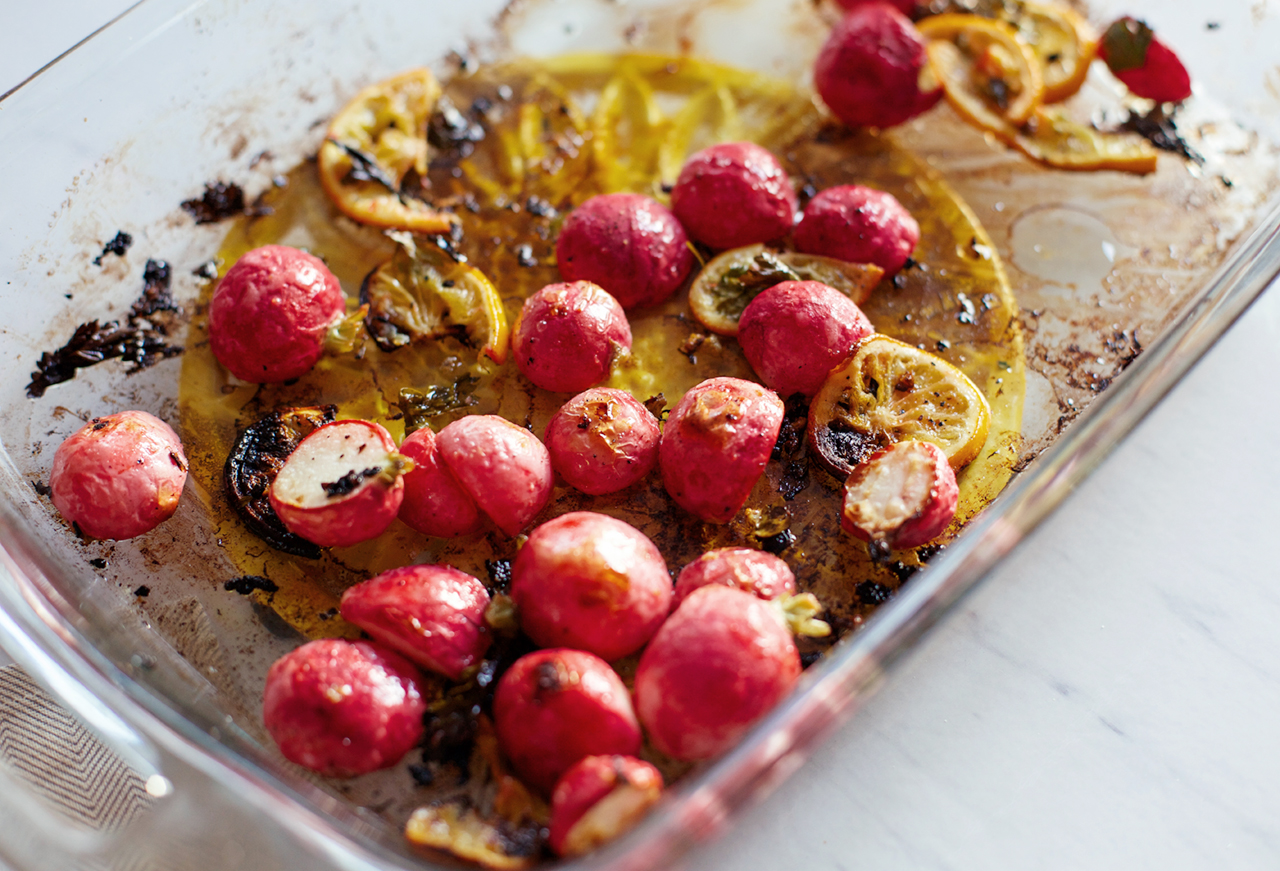
When I buy a bunch of radishes, I use a few to garnish tacos, to brighten salads and make some kimchi, but there are usually a handful left that I don’t get to in time. While I always tend to eat them raw, I thought I’d give them a try roasted. Wow. What a happy surprise—the flavor is delicious and the texture is plump and juicy. Pair them with fresh herbs like parsley, a little S & P, garlic, and Meyer lemon wedges.

Ingredients:
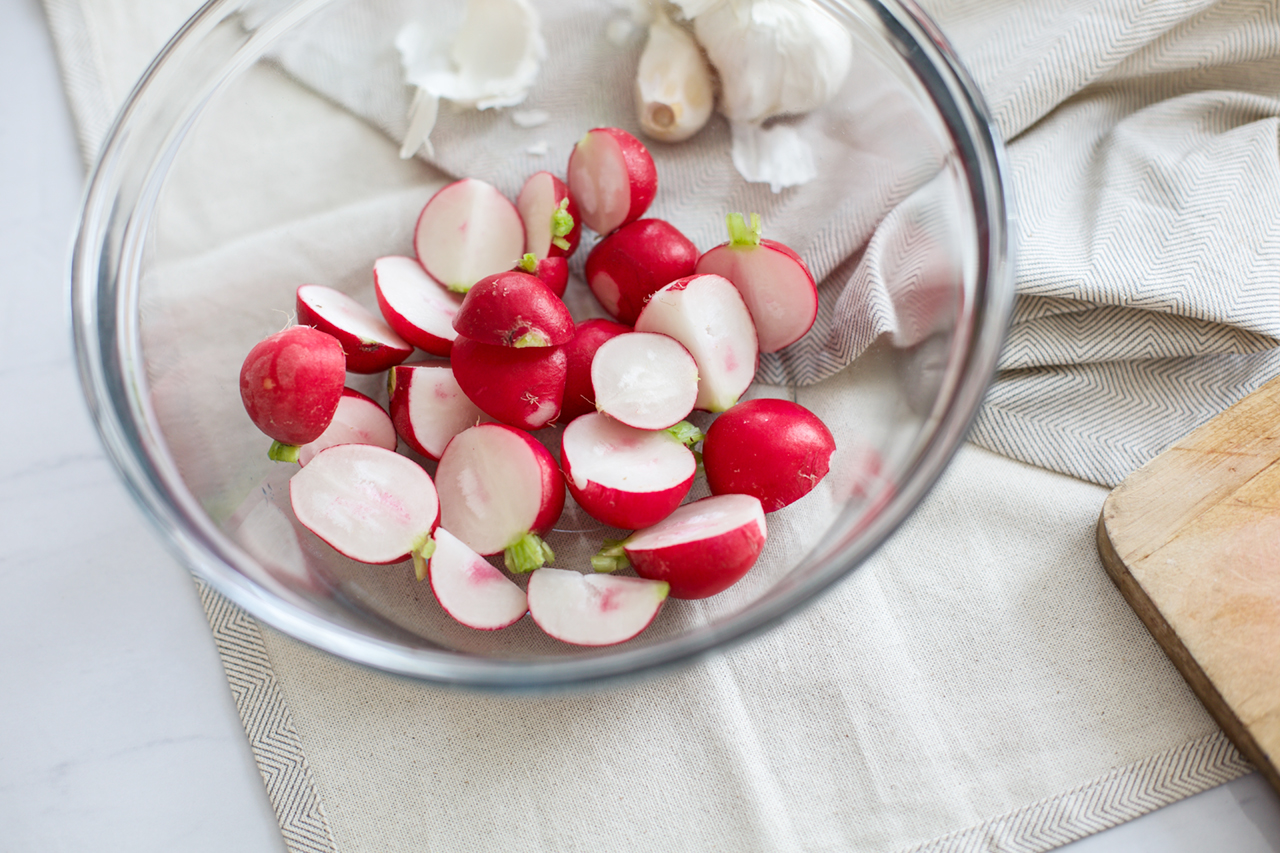
1 bunch radishes, taproot and greens removed, quartered or halved
Sea salt and fresh-cracked black pepper to taste
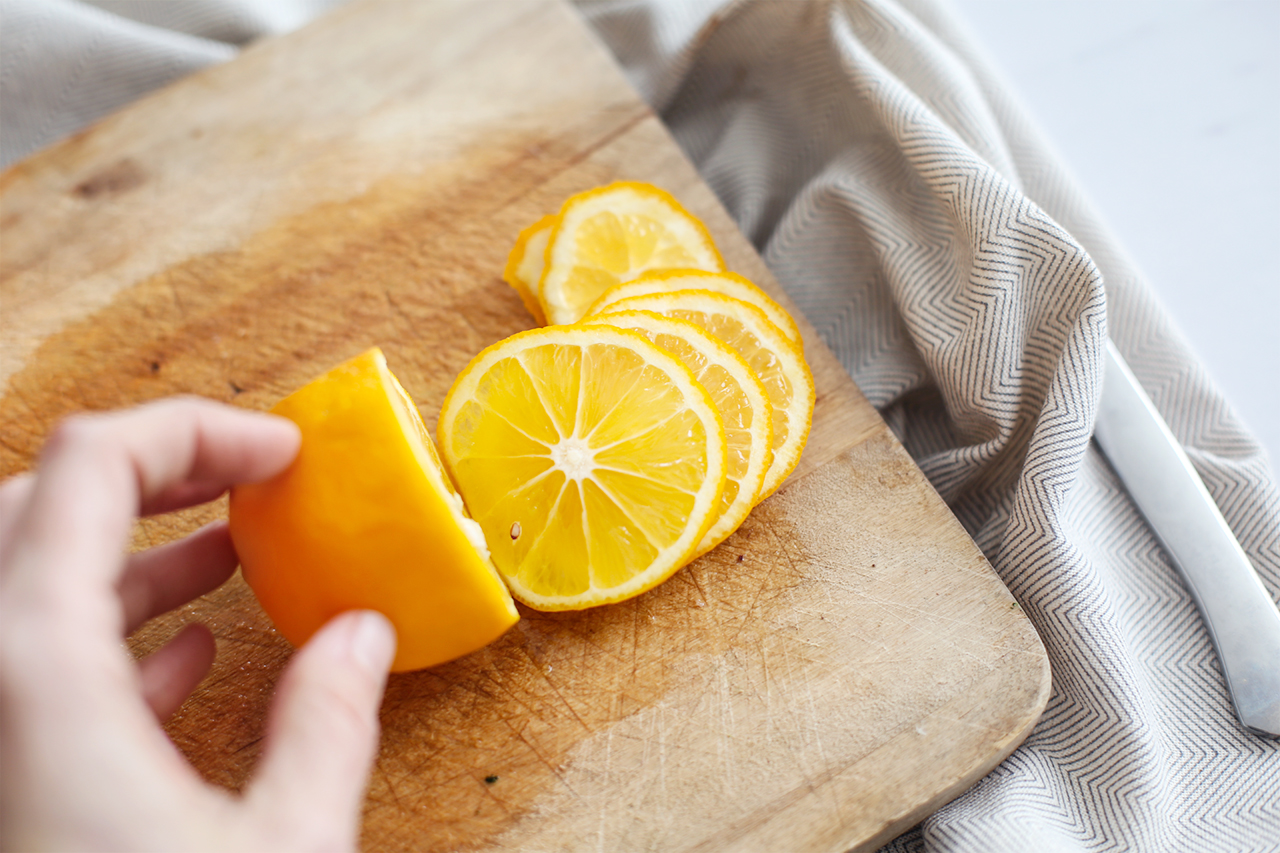
1 Meyer lemon, sliced into rounds
A small handful of fresh parsley
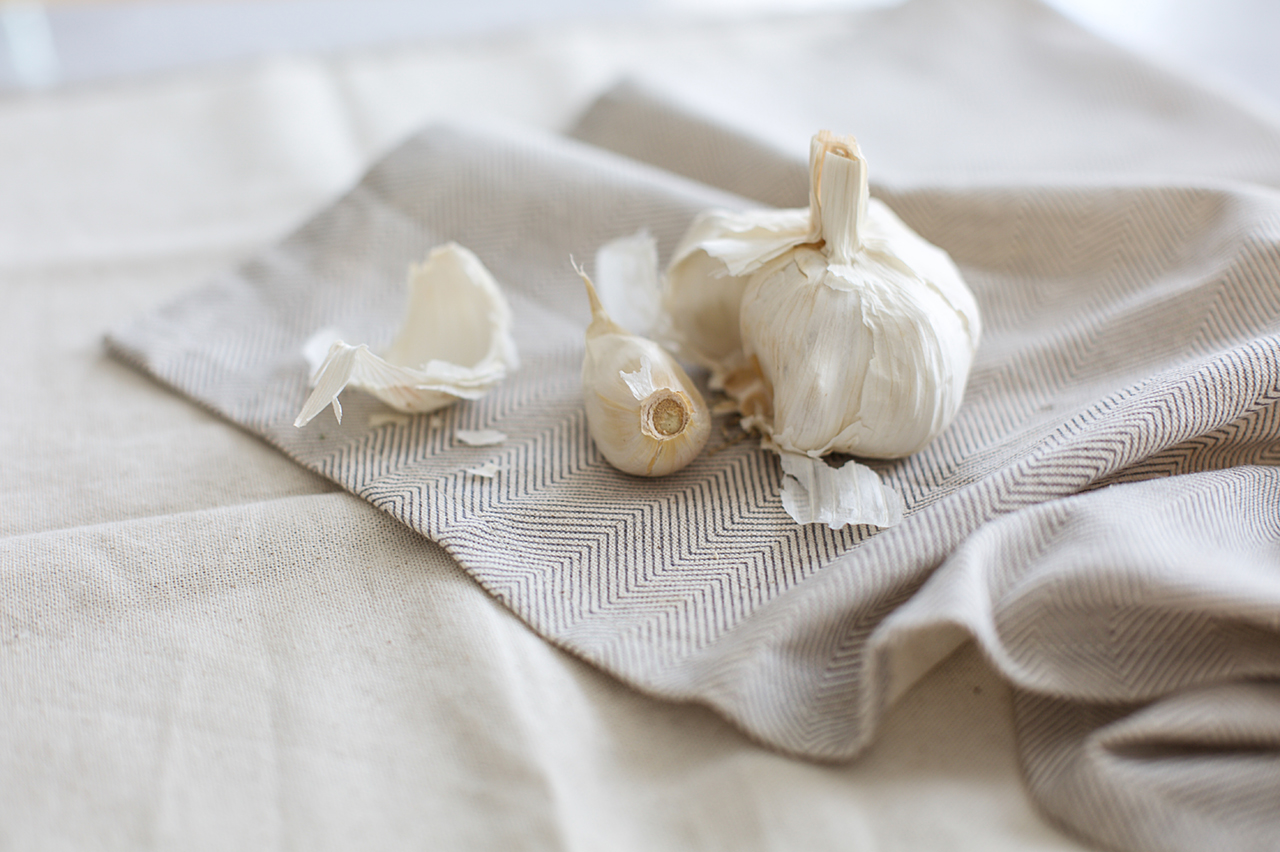
1–3 cloves garlic minced
2–3 tablespoons coconut oil, gently to liquid on the stove.

Let’s get started.
Preheat oven to 450F. Mince garlic and set aside in a small bowl.

Roasted_Radishes_Meyer_LemonG

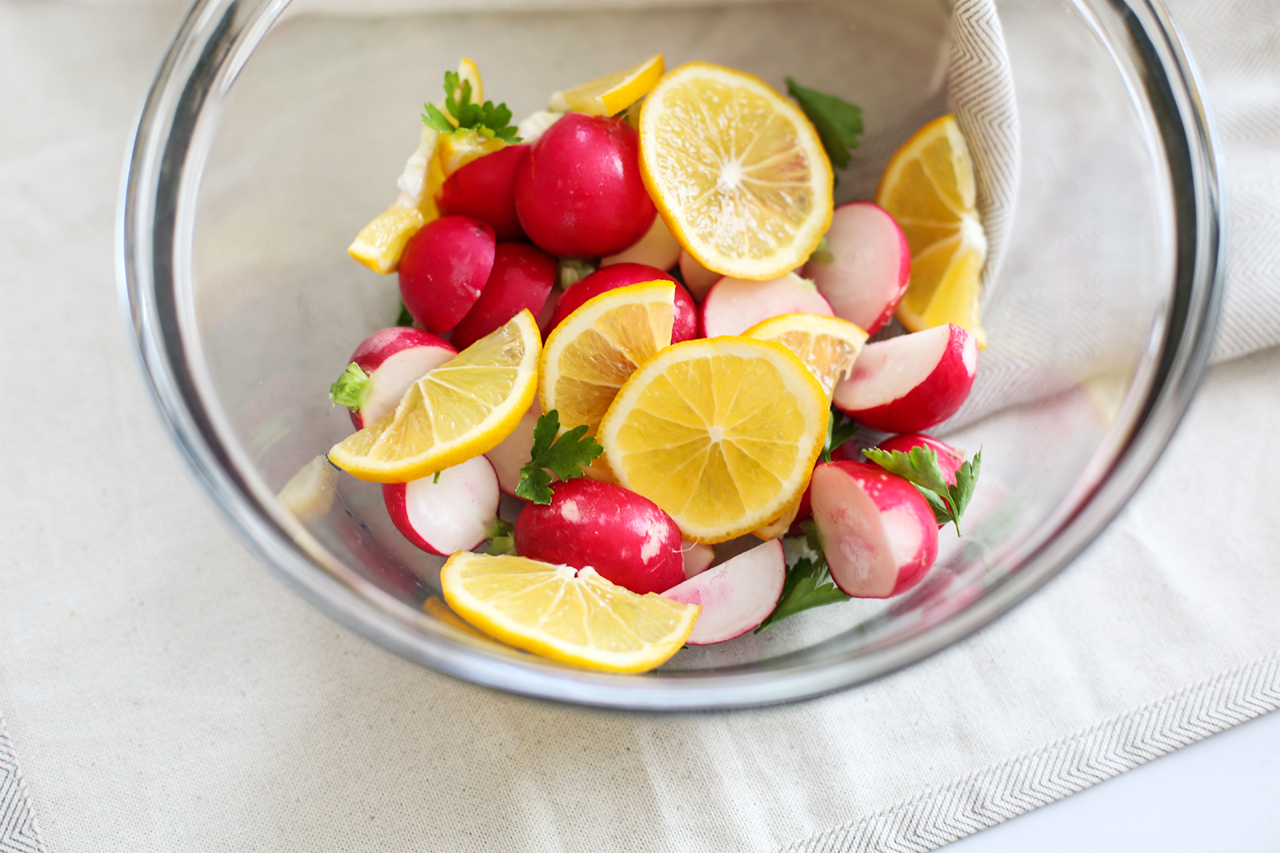
Toss radishes in a mixing bowl and drizzle with oil…

Roasted_Radishes_Meyer_LemonH

Slice Meyer lemons…

Roasted_Radishes_Meyer_LemonD

Add to the radishes with a handful of fresh parsley.

Roasted_Radishes_Meyer_LemonI

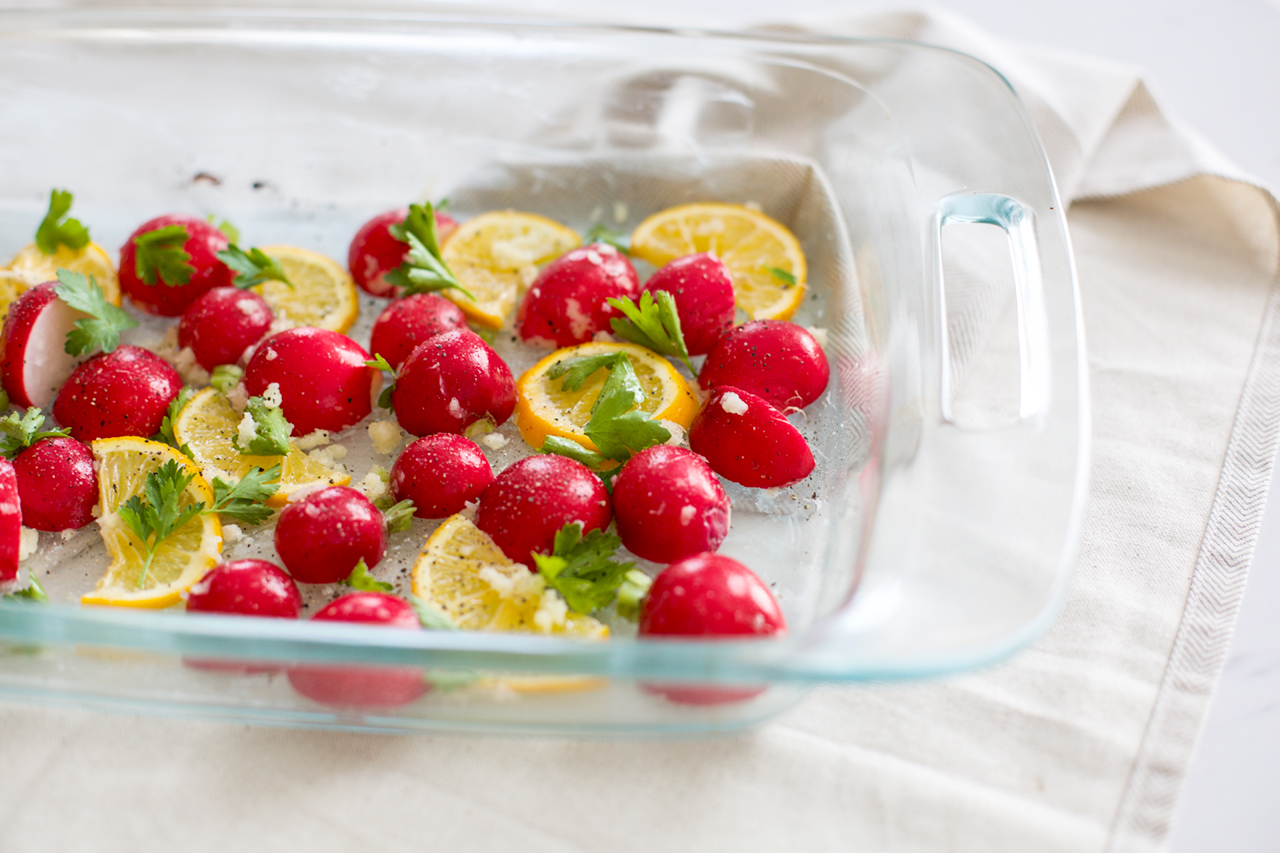
Transfer to a baking dish and season with a few pinches of sea salt and generous grinds of fresh-cracked black pepper.

Roasted_Radishes_Meyer_LemonE

Roast for 15 minutes. Remove, give a shake, stir in garlic, and roast 10 more minutes. Enjoy warm!

Now, tell us, have you ever tried roasted radishes? If so, what’s your take? Tell us with a comment below.