Идеальное вечернее платье в Киеве то, в котором чувствуешь себя красивой. Вечерние платья в Киеве надевают преимущественно на свадьбы, торжественные банкеты, выпускные вечера. Скидки и распродажа вечерних платьев
Весільні та Вечірні Сукні
Ідеальна вечірня сукня у Києві та, в якій почуваєшся красивою. Вечірні сукні у Києві надягають переважно на весілля, урочисті банкети, випускні вечори. Знижки та розпродаж вечірніх суконь
Недорогі вечірні сукні у Києві
Вечірні сукні 2023 – це сукні, які ми надягаємо в особливий день і з особливого випадку. Вечірні сукні шиють ошатних тканин таких як шифон, тафта, шовк, атлас або оксамит, останнім часом органза, блиск, фатин. Continue reading “Весільні та Вечірні Сукні”
Весільні сукні короткие свадебние платья на розпись – про нас
Інга: Гарний салон. Комфортно зроблені зали, щоб кілька наречених могли одночасно підбирати сукні. Приємні дівчата консультанти ❤️Цікаві моделі суконь і незвичайні фактури. Провела час з користю і купила су. Continue reading “Весільні сукні короткие свадебние платья на розпись – про нас”
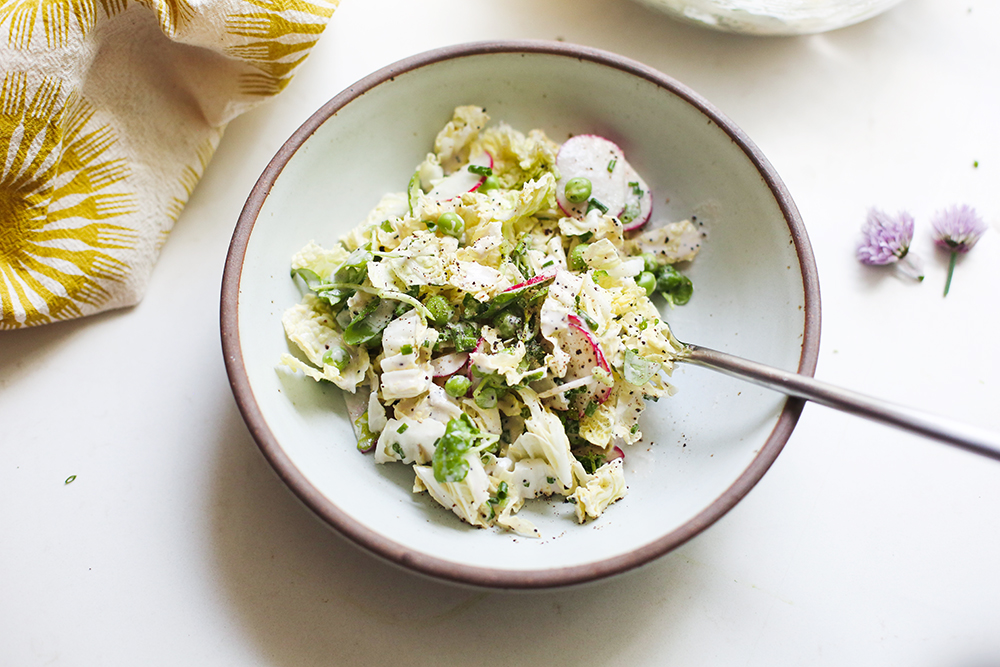
Cabbage & Watercress Salad with Poppyseed “Buttermilk” Dressing
If you follow me on Instagram, you know that I’m obsessed with my yard and flower garden. I’m working towards maaaaybe (fingers and toes crossed) getting on the garden tour next year. Yep, I’m that lady now.
This year, I decided not to grow veggies due to the fact that we have a tenacious groundhog living under the little cottage shed in our backyard. He/she eats everything—even the dahlia greens that I planted instead of veggies—and it breaks my heart every time.
So, I bought a 5 lb bag of cayenne pepper for sprinkling and that seems to be deterring our hungry friend so far. Thankfully, the Farmers’ Market in town is keeping my fridge plenty stocked with homegrown vegetables and the ritual of going every Sunday to get the goods is so lovely… I’ve found my rhythm.
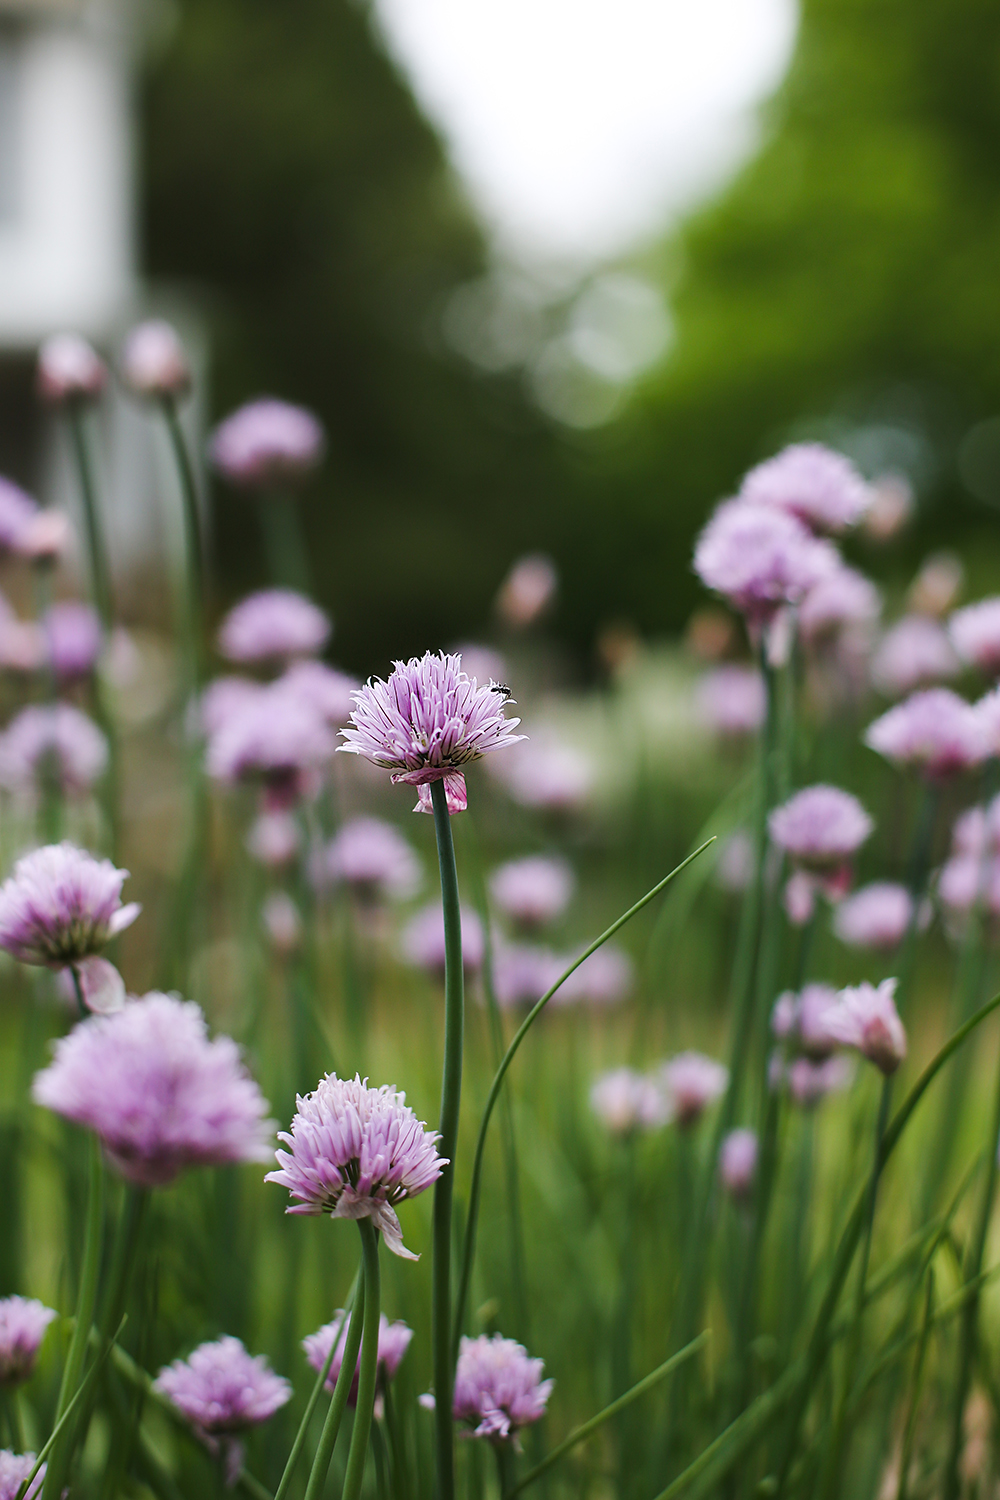
I am growing some edibles though—loads of herbs (it’s so easy) in a few locations far enough away from the groundhog’s home. I love to go out and clip fresh herbs or even just rustle my hands through them, smell, and marvel at nature.
Chives are in abundance right now, and they reminded me of an Appalachian-inspired recipe I came up with a few years ago that I shared at a talk/demo at Wanderlust.
I’m enamored with Appalachia (the good and the not so good, the luscious beauty, the community, the pride, the wildness) and the more I learn about it, the more proud I am to call West Virginia home.
This salad has been on rotation at my place for a few months now. It’s simple, crunchy, fresh, creamy, and comforting. The craggles in the Napa cabbage hold perfect, smile-inducing amounts of the “buttermilk” dressing. I recommend loading up a mixing bowl and making it the main course.
Use any extra dressing on all sorts of salad greens, roasted veggies, tossed with rice… it’s also delicious remixed and loaded with fresh herbs too. Have fun.
OK. Let’s make some! And here’s a step-by-step video you can follow as well.
Start by slicing up a shallot…
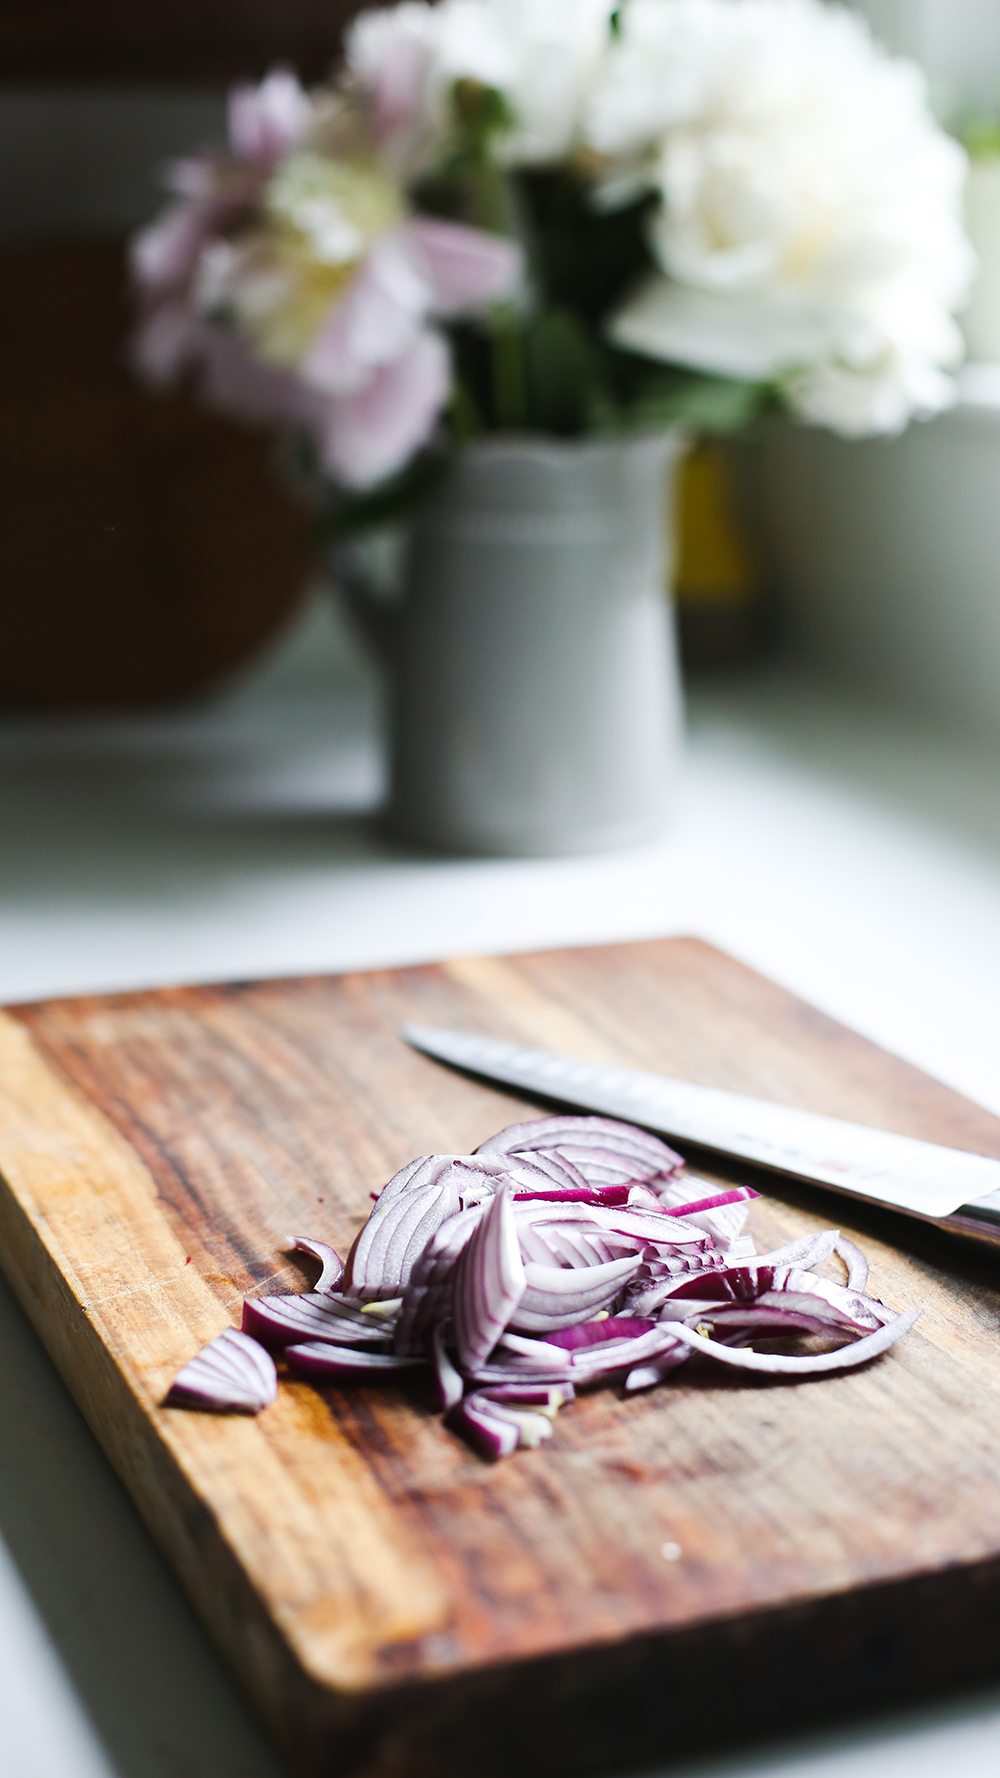
Then, in a skillet heated to medium, add 1–2 teaspoons of oil and the sliced shallot. Sauté for 3–5 minutes until the shallot starts to brown. for 3–5 minutes until the shallot starts to brown. Then, add garlic and stir together 1 more minute and transfer to the blender.
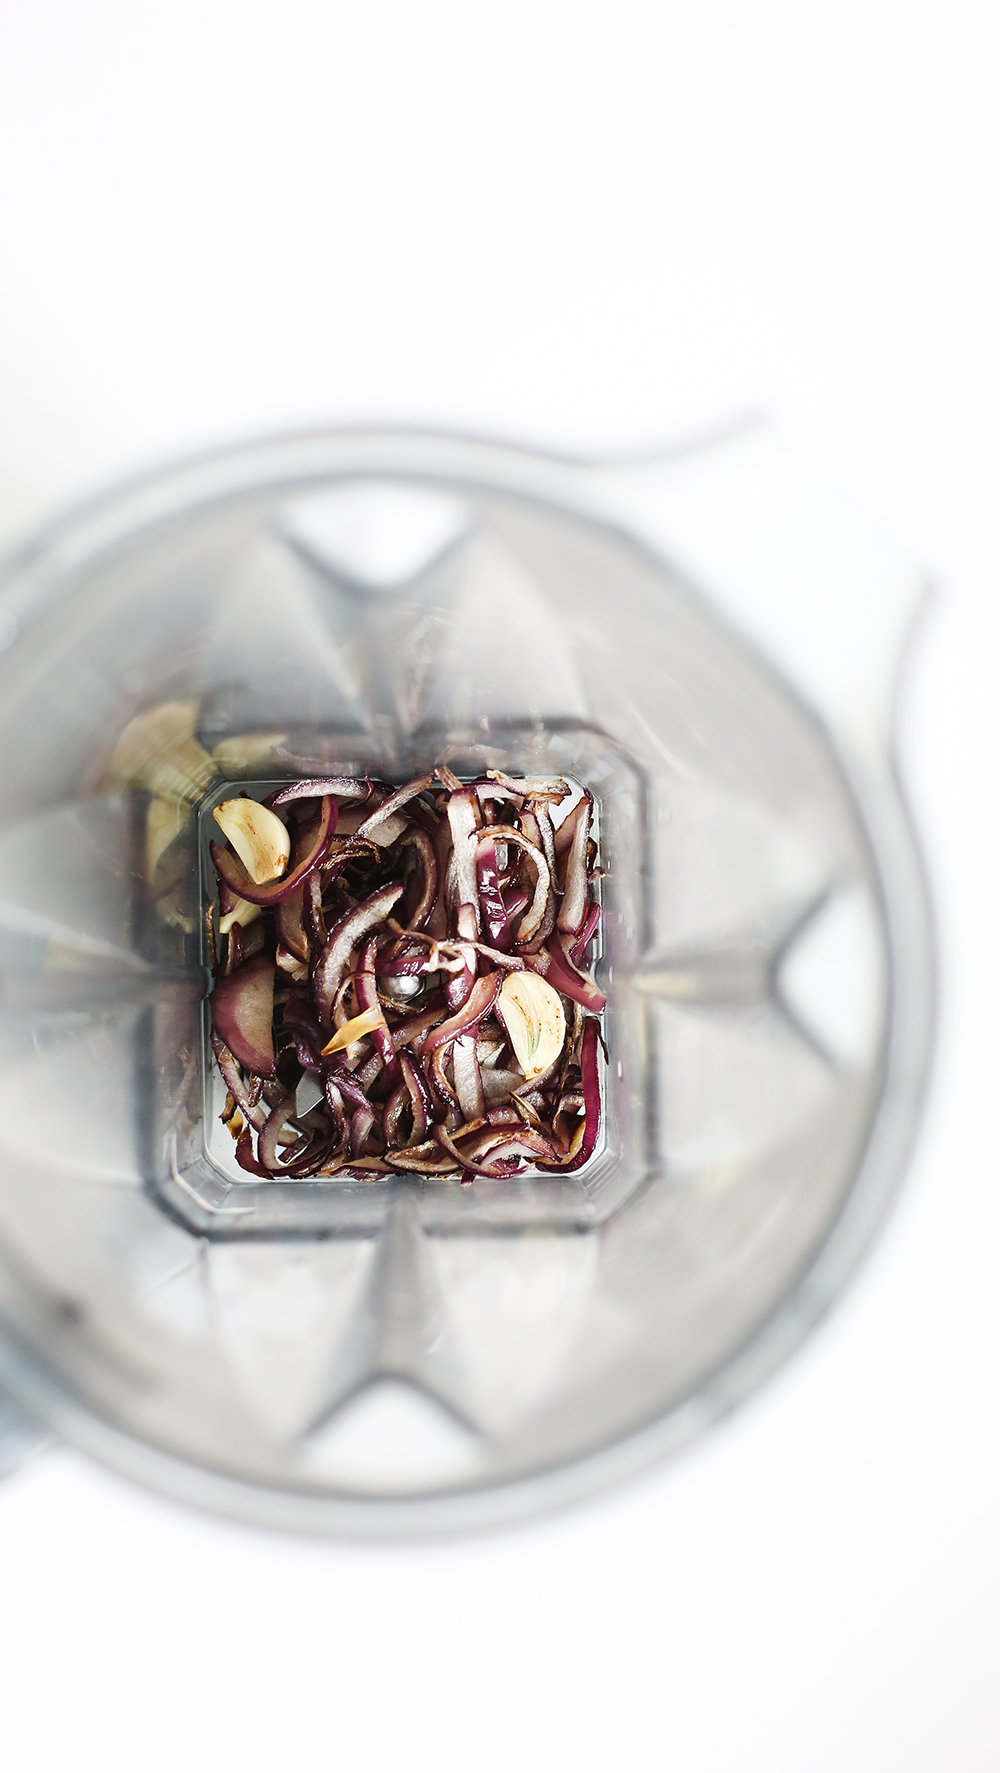
Add your coconut milk to the blender and then add your soaked cashews. If you didn’t soak your cashews yet, that’s ok. Add dry ones and just run the blender longer until smoooooth.
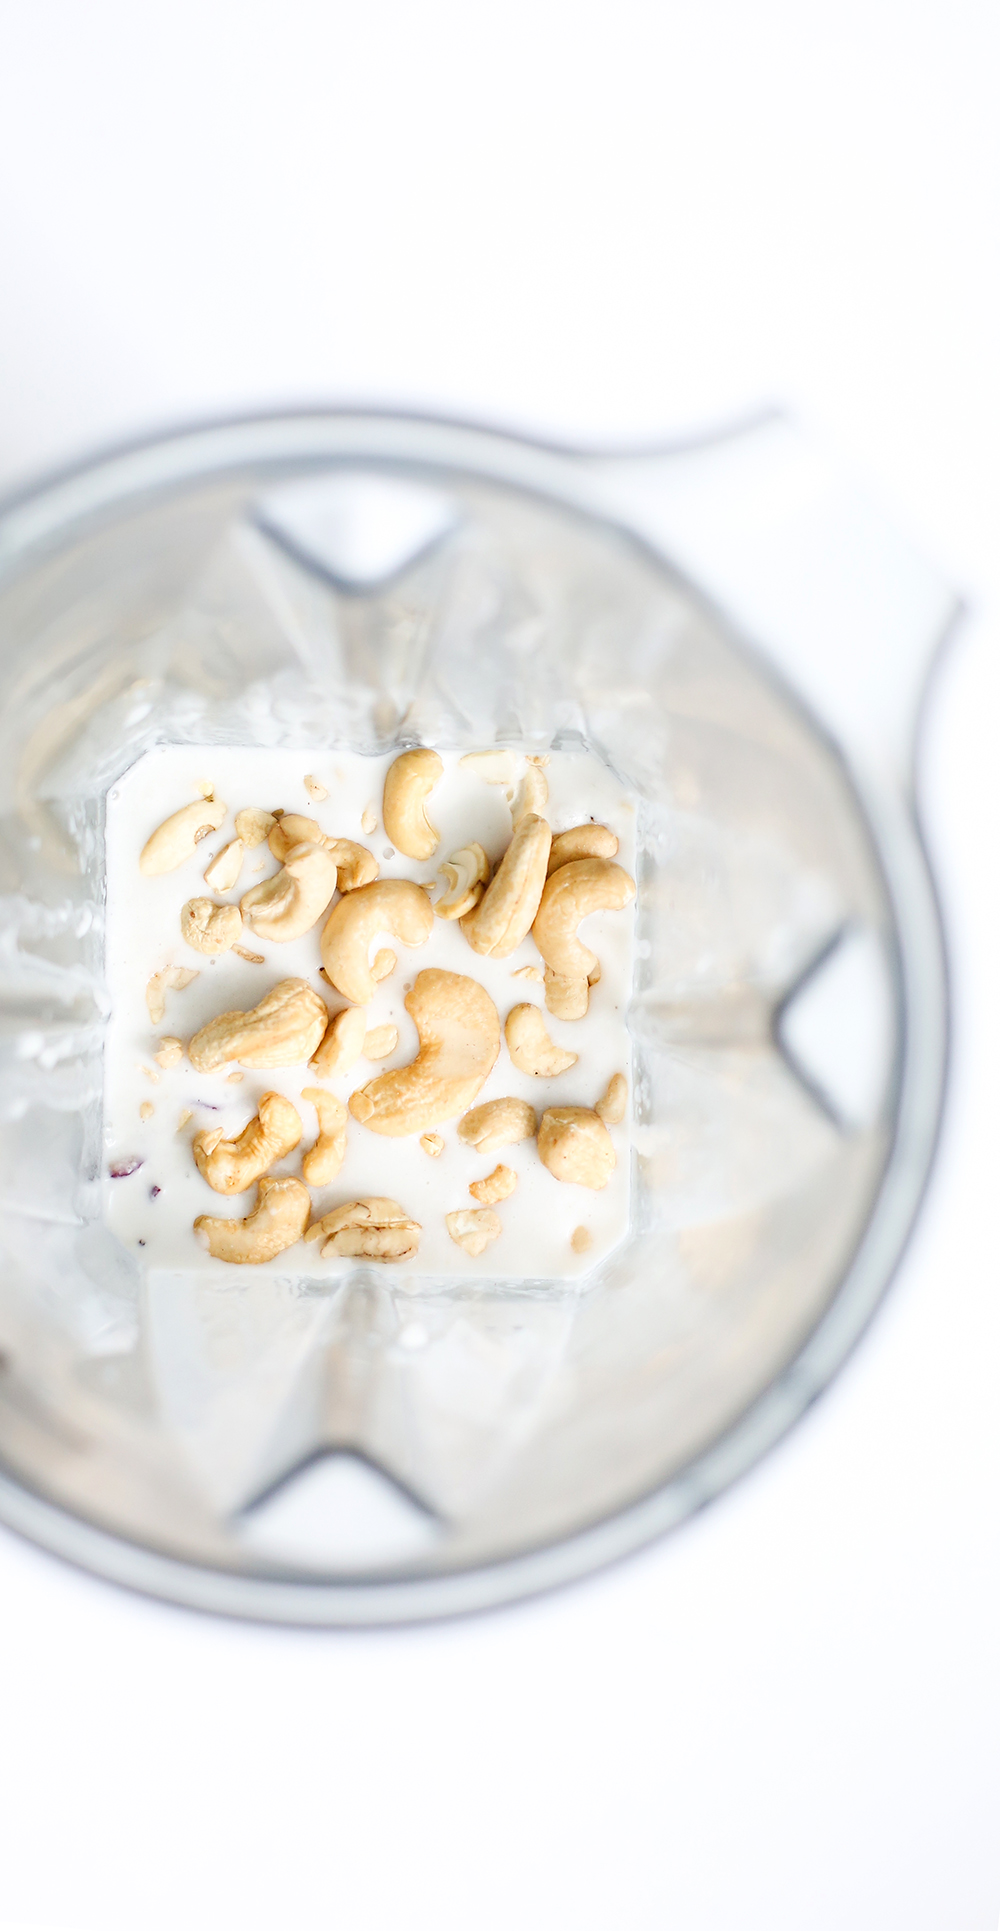
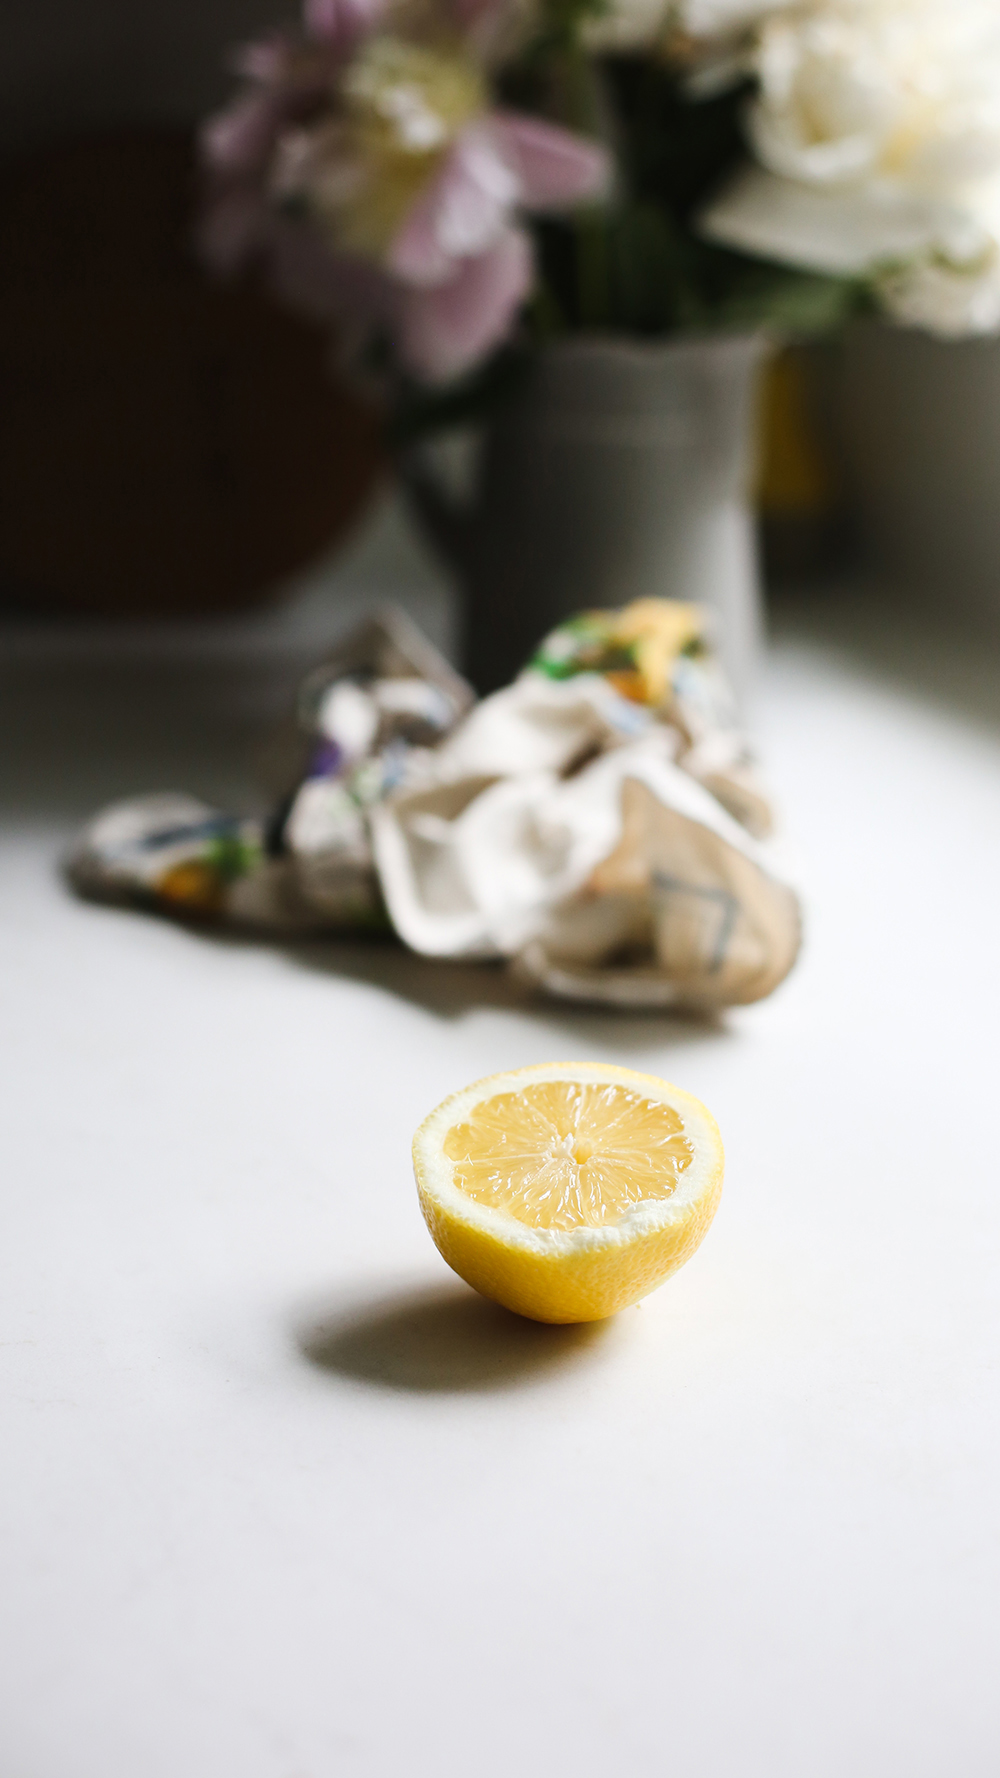
Add the lemon juice and apple cider vinegar for that buttermilk sourness…
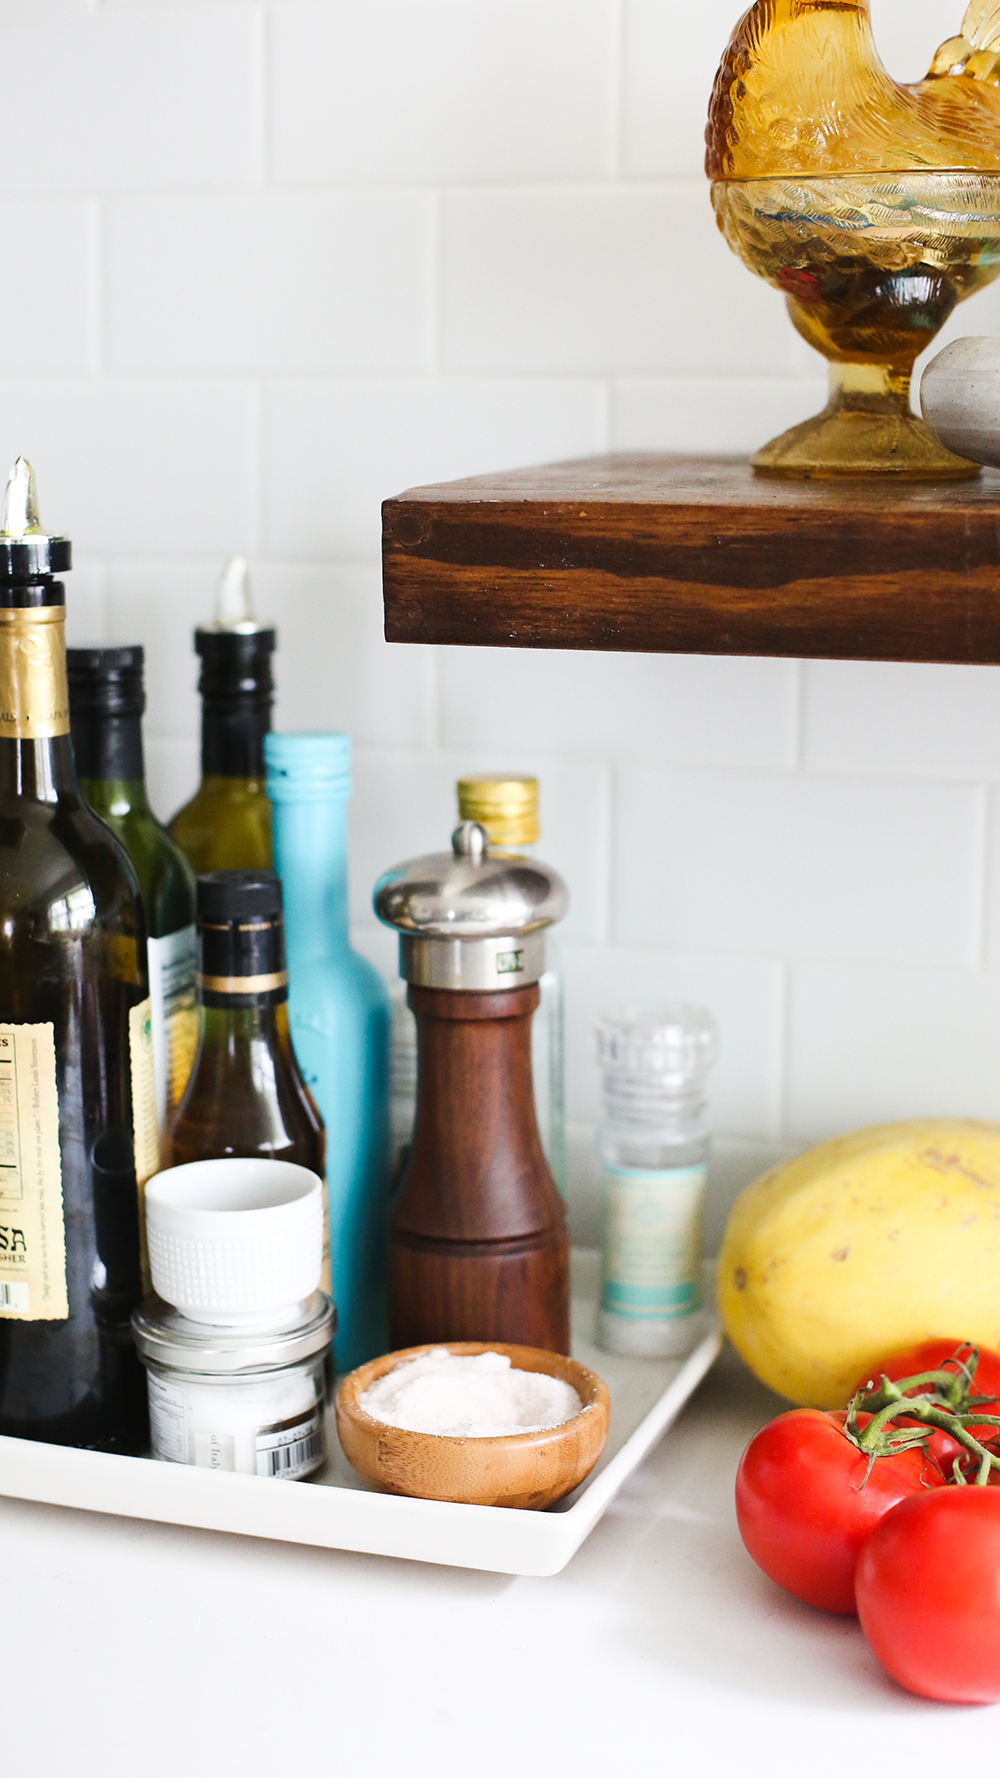
Add your salt and pepper too.
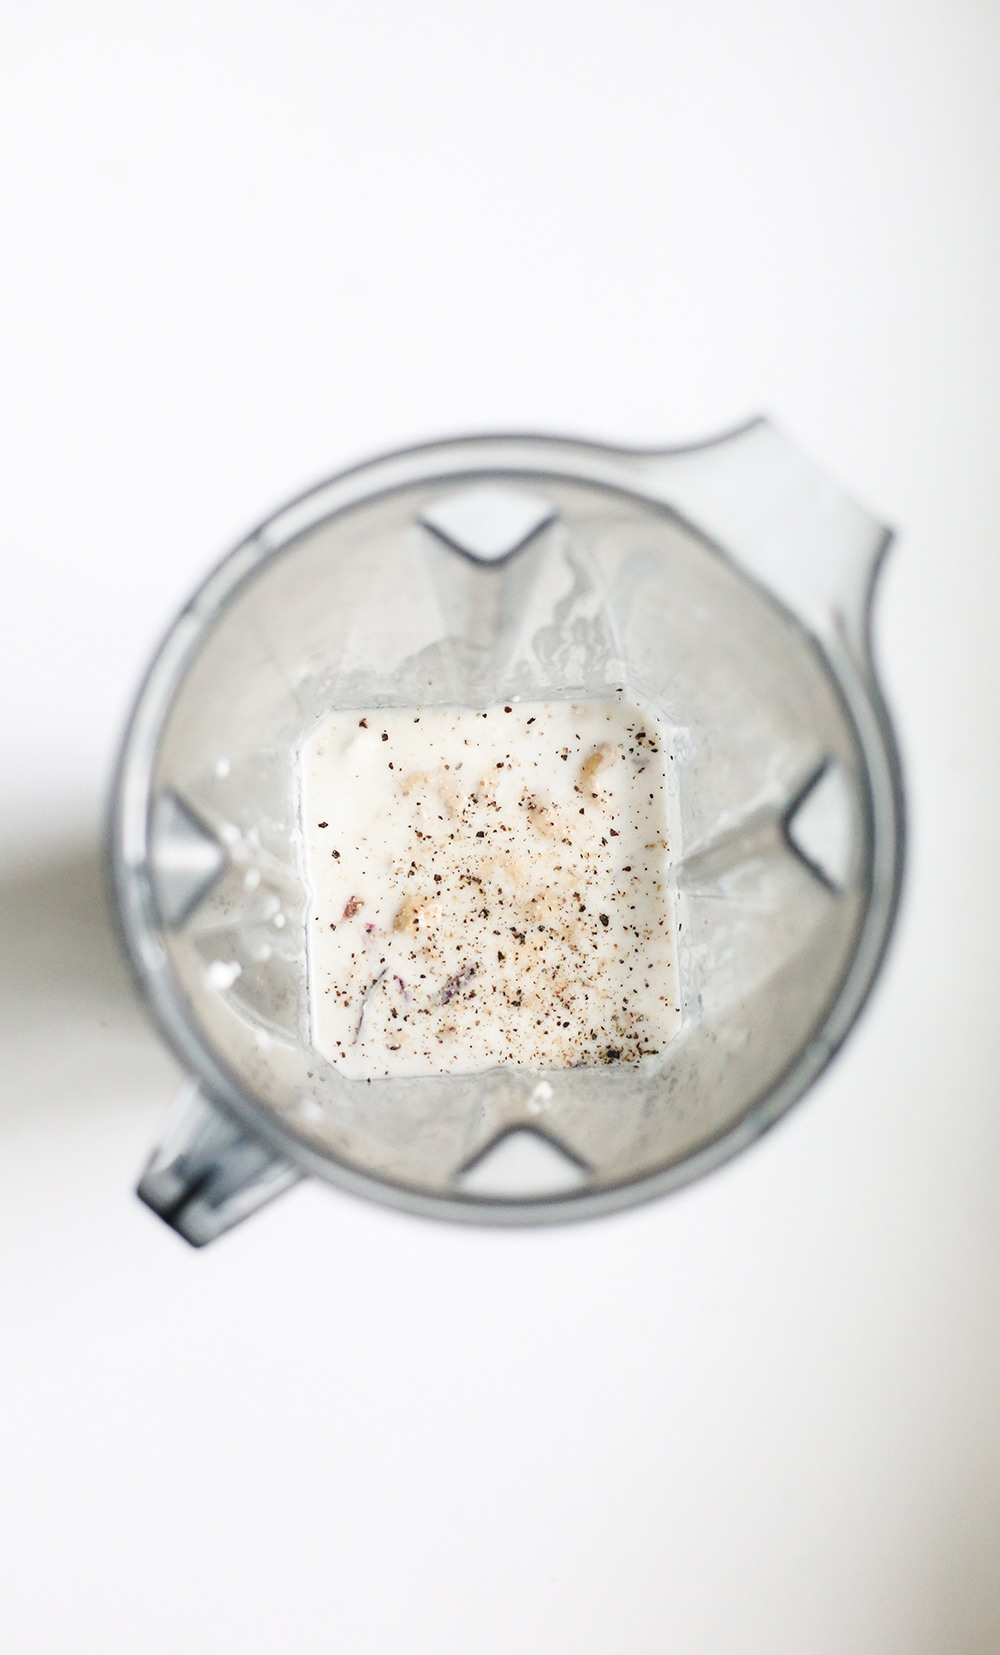
Looks good. Now, blend until super smooth and creamy.
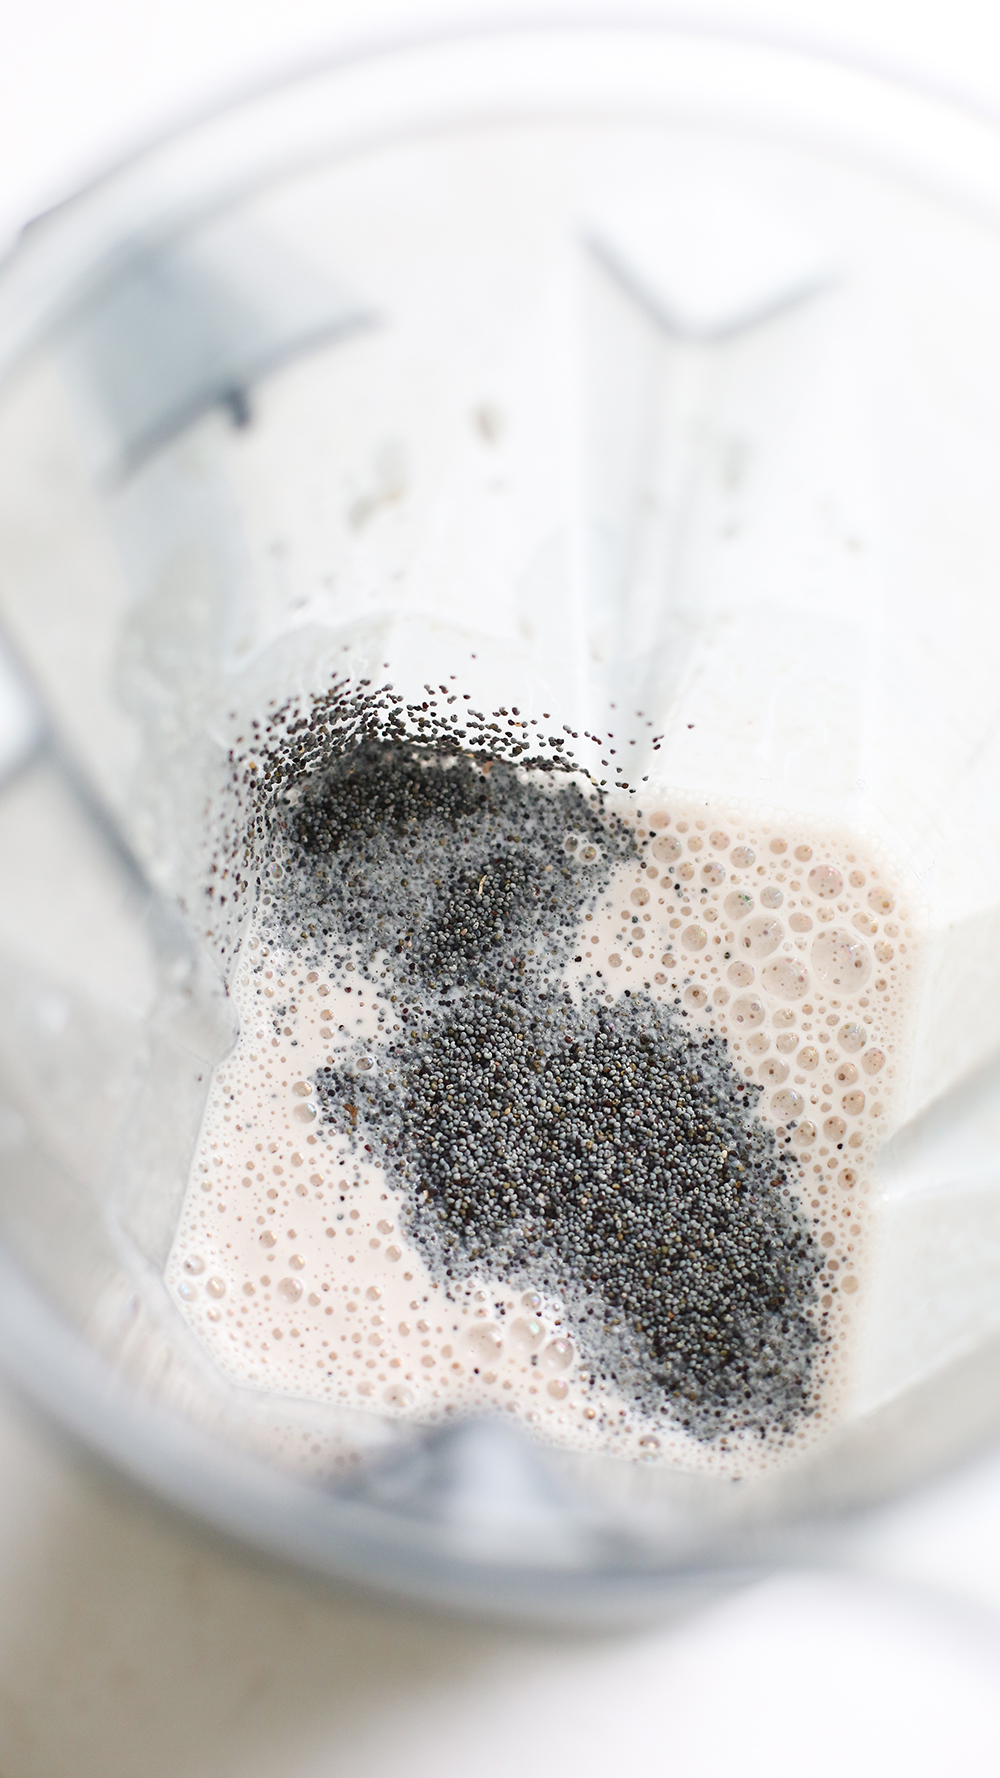
After you blend, add your poppyseeds to the blender bucket…
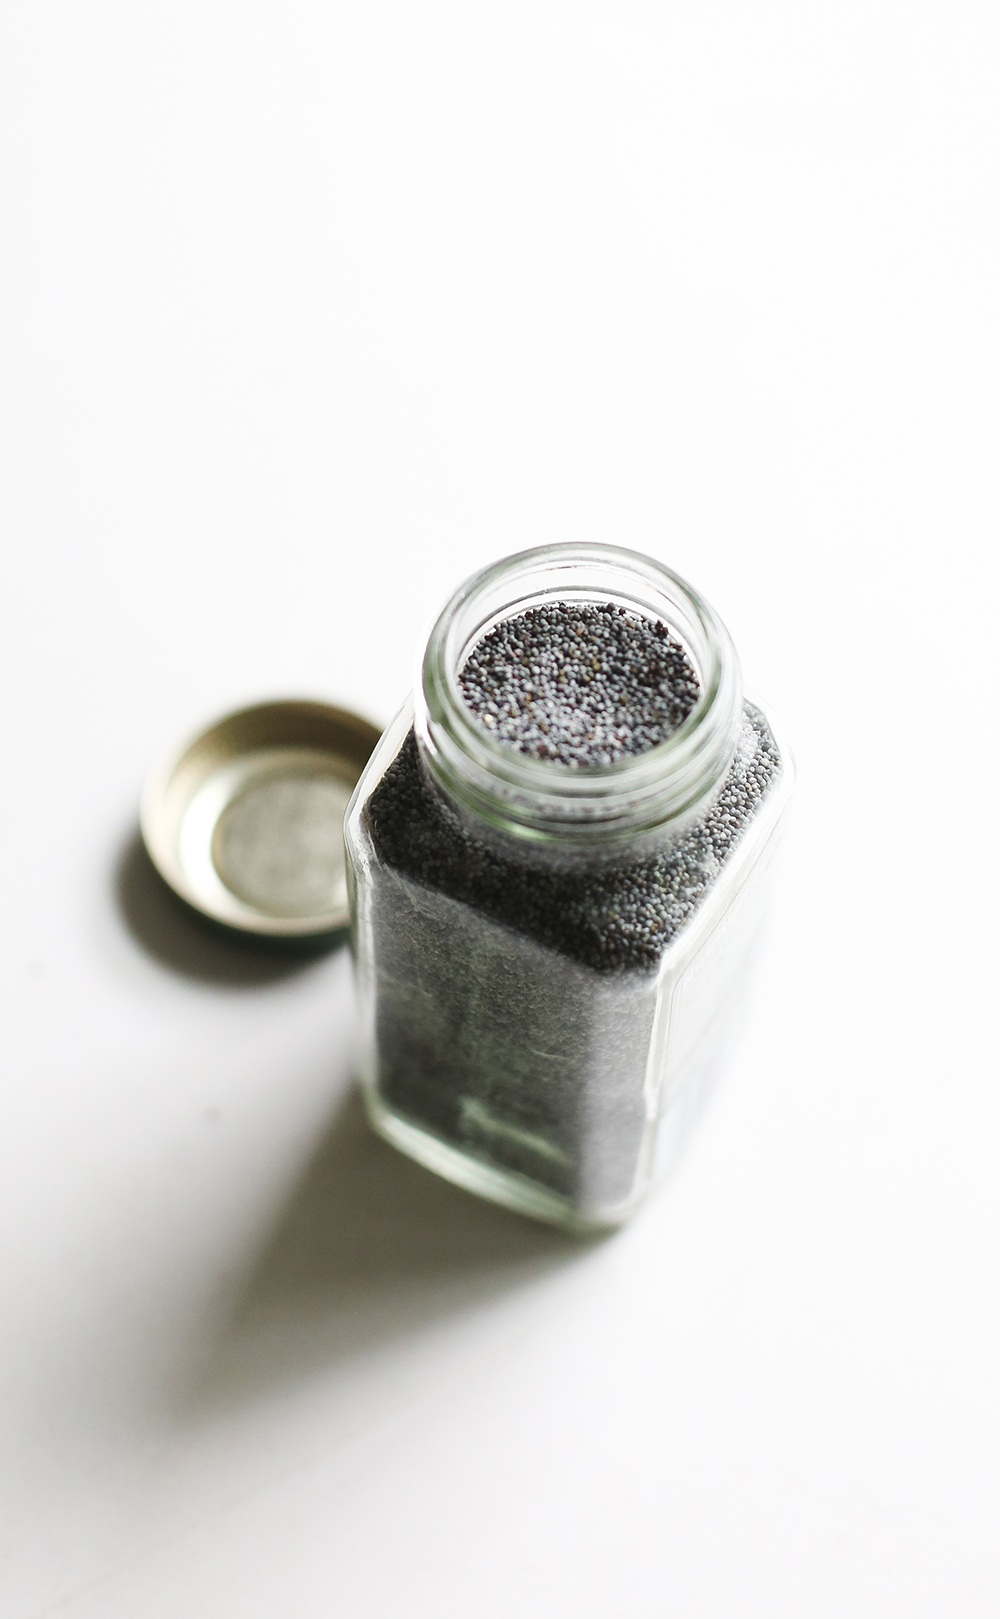
Don’t blend them in, just stir them in—we simply add them to the bucket so we don’t have to dirty another dish!
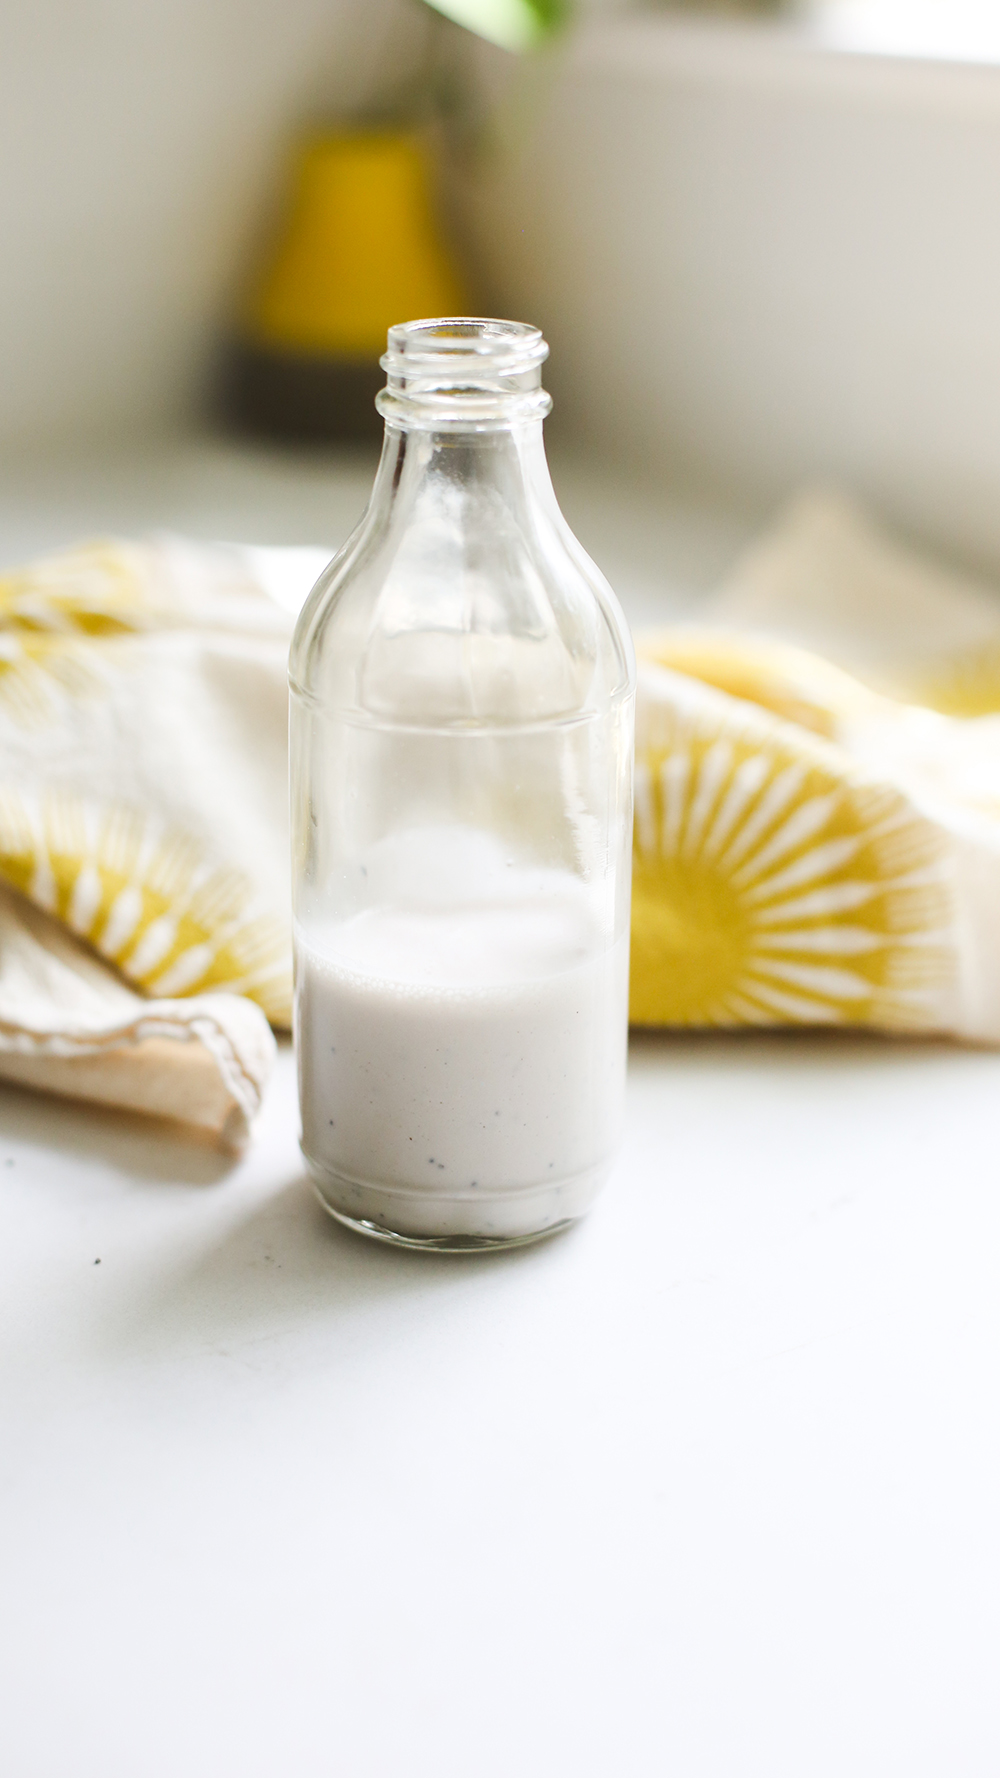
You should have enough dressing for this salad and a few more, so transfer the dressing to an airtight container to store after you use.
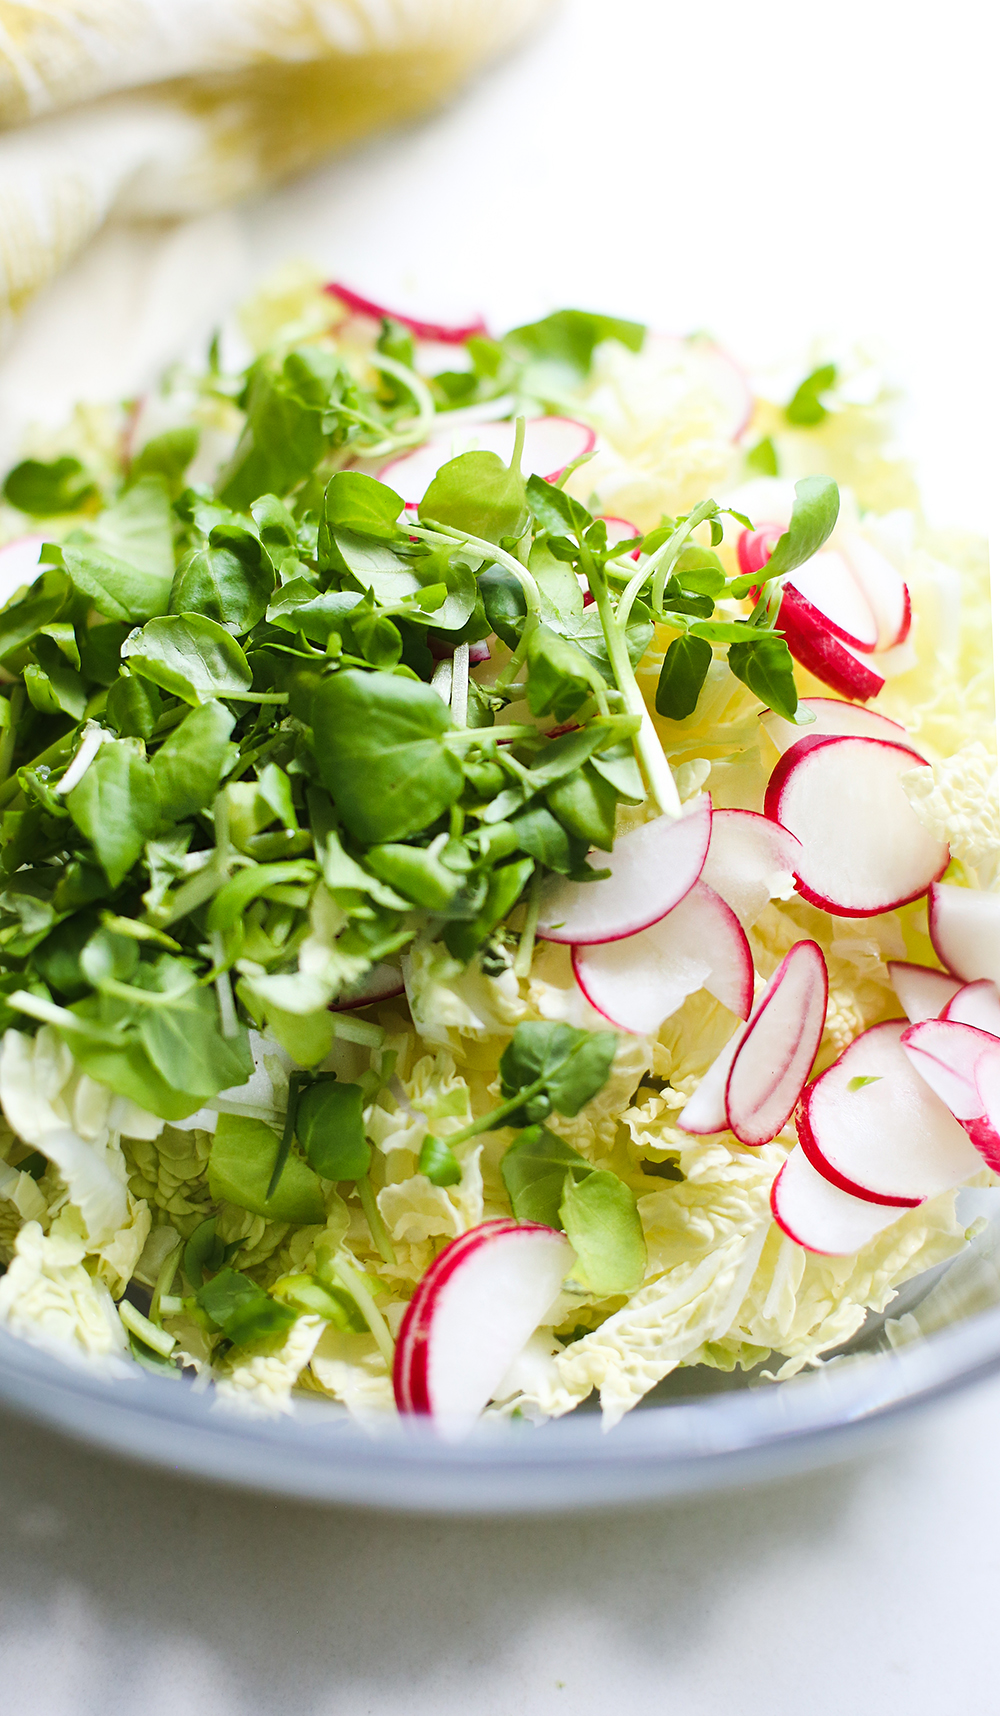
Now, load up a mixing bowl with chopped cabbage…
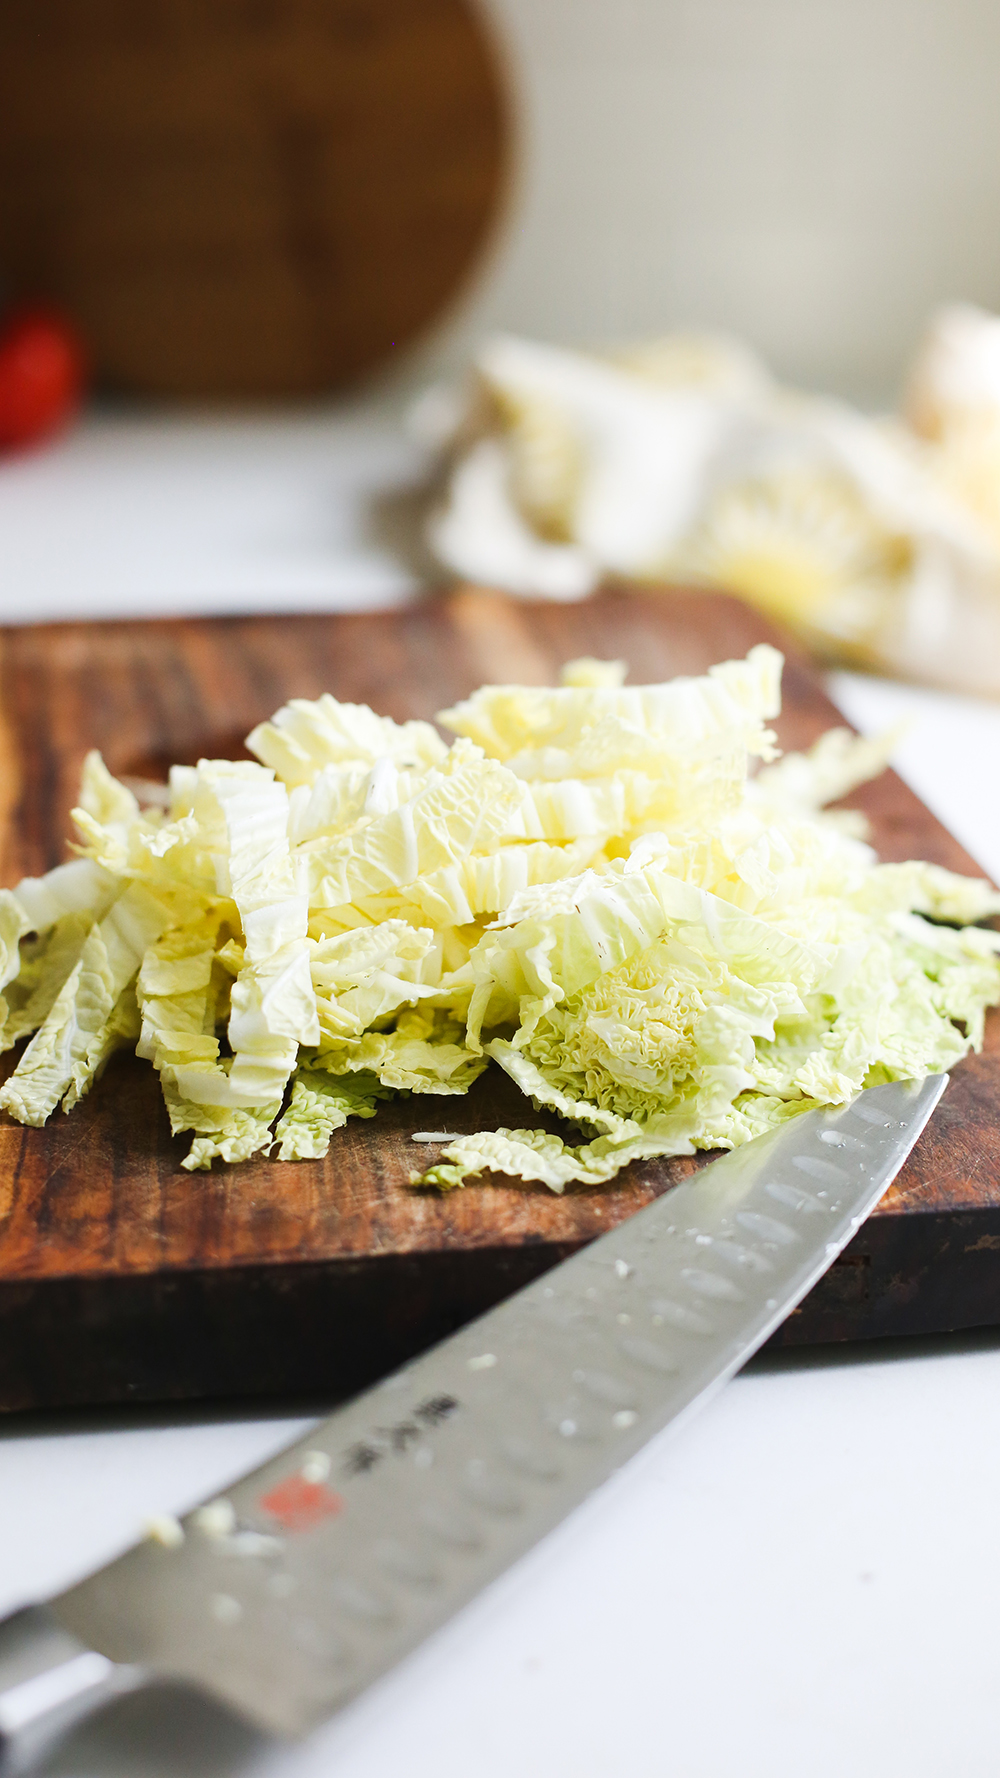
Rough-chop some watercress and add that to the mix.
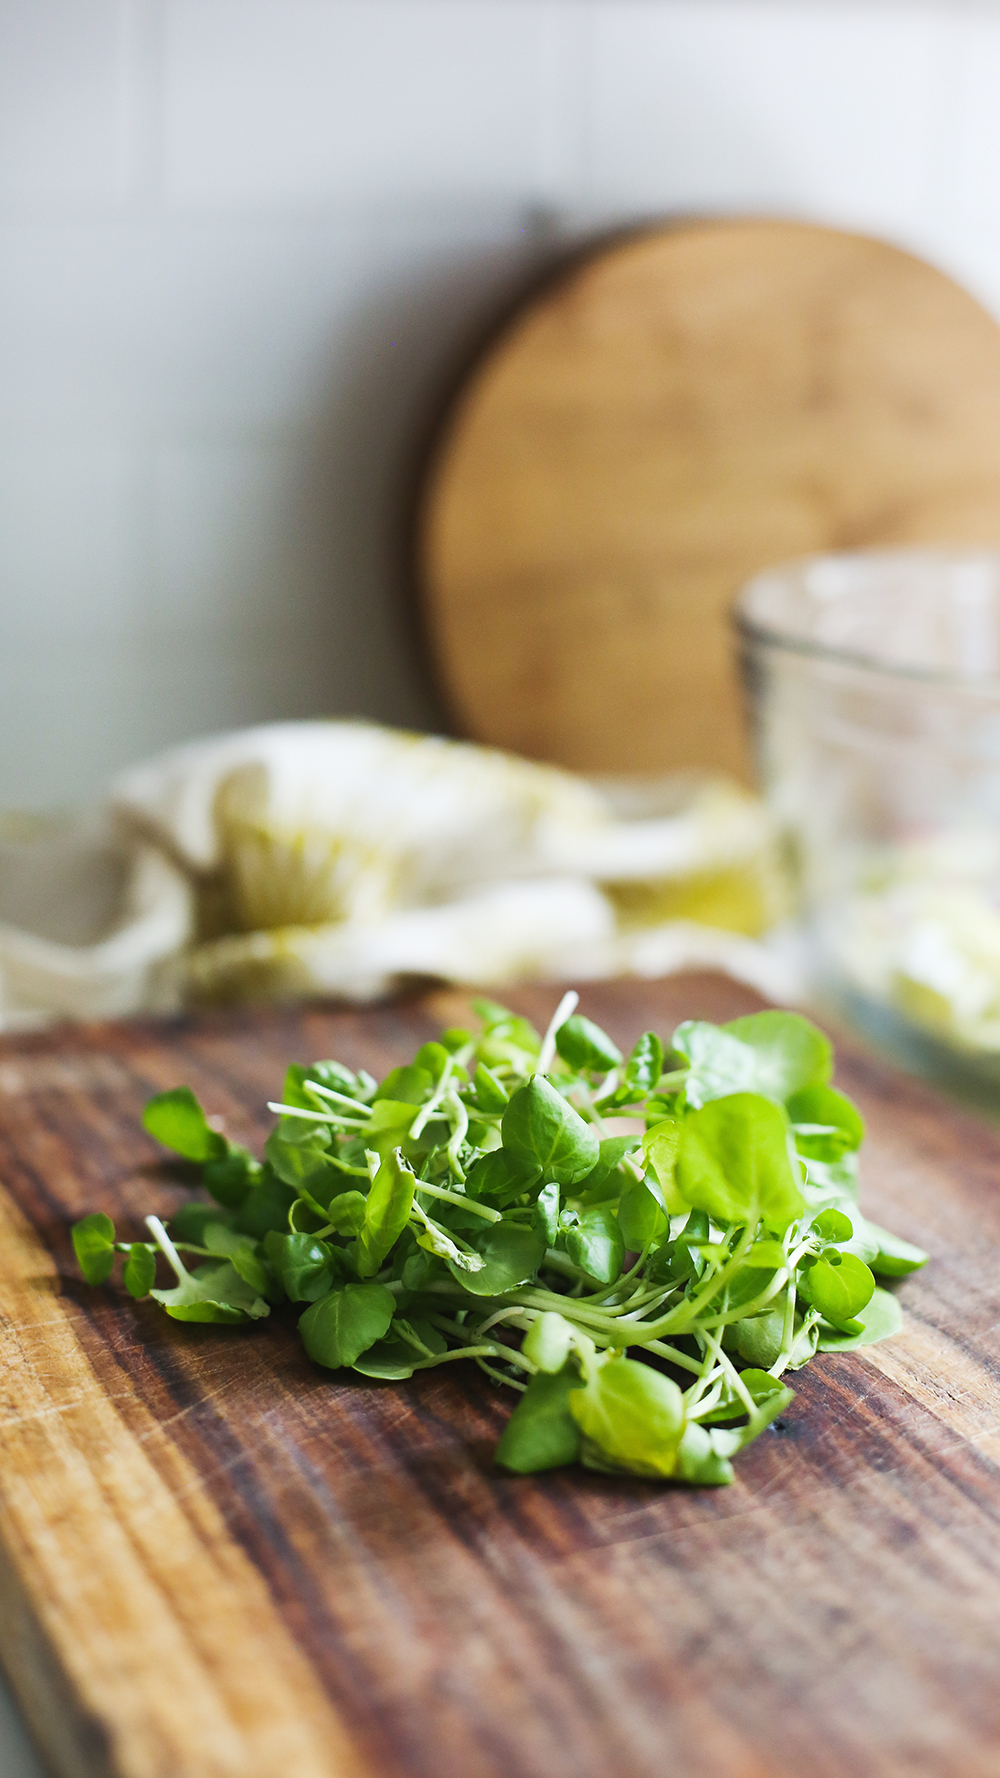
Wash and slice some radishes and toss them in the bowl…
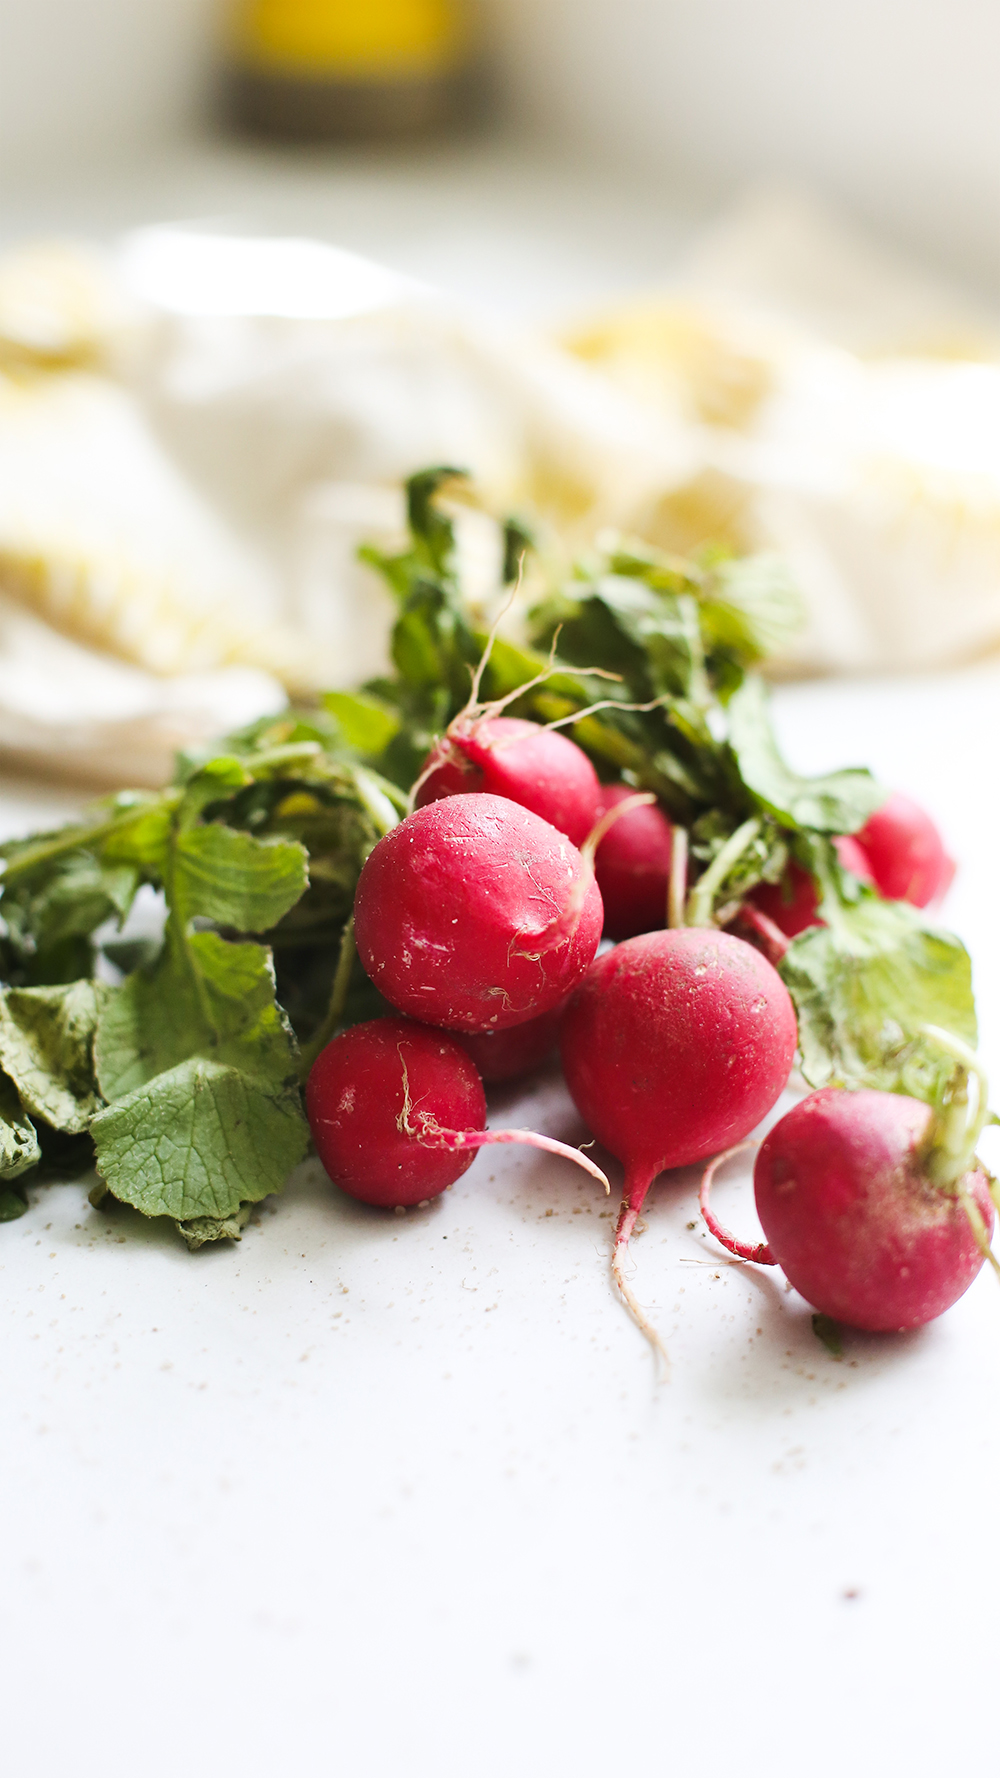
They add such a lovely color contrast to all the shades of green…
Now, chop up some chives (yes, you can eat the blossoms)…
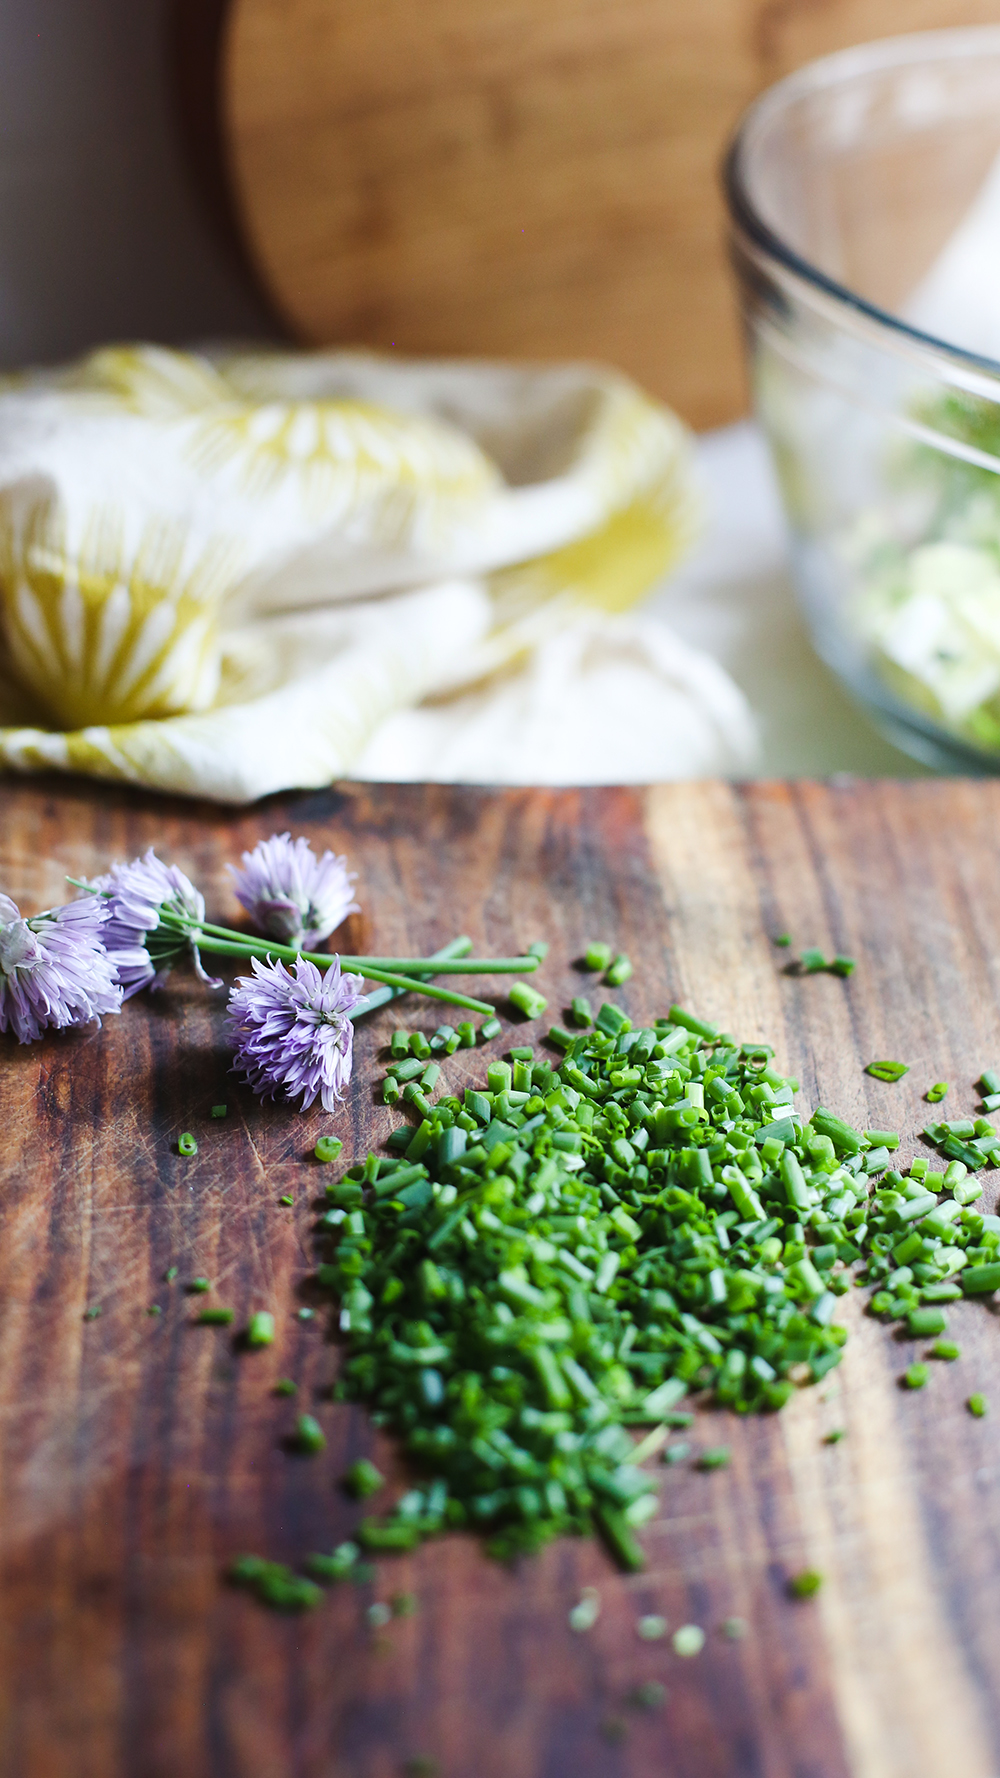
And add them, some fresh peas, and maybe some chopped red onion, too.
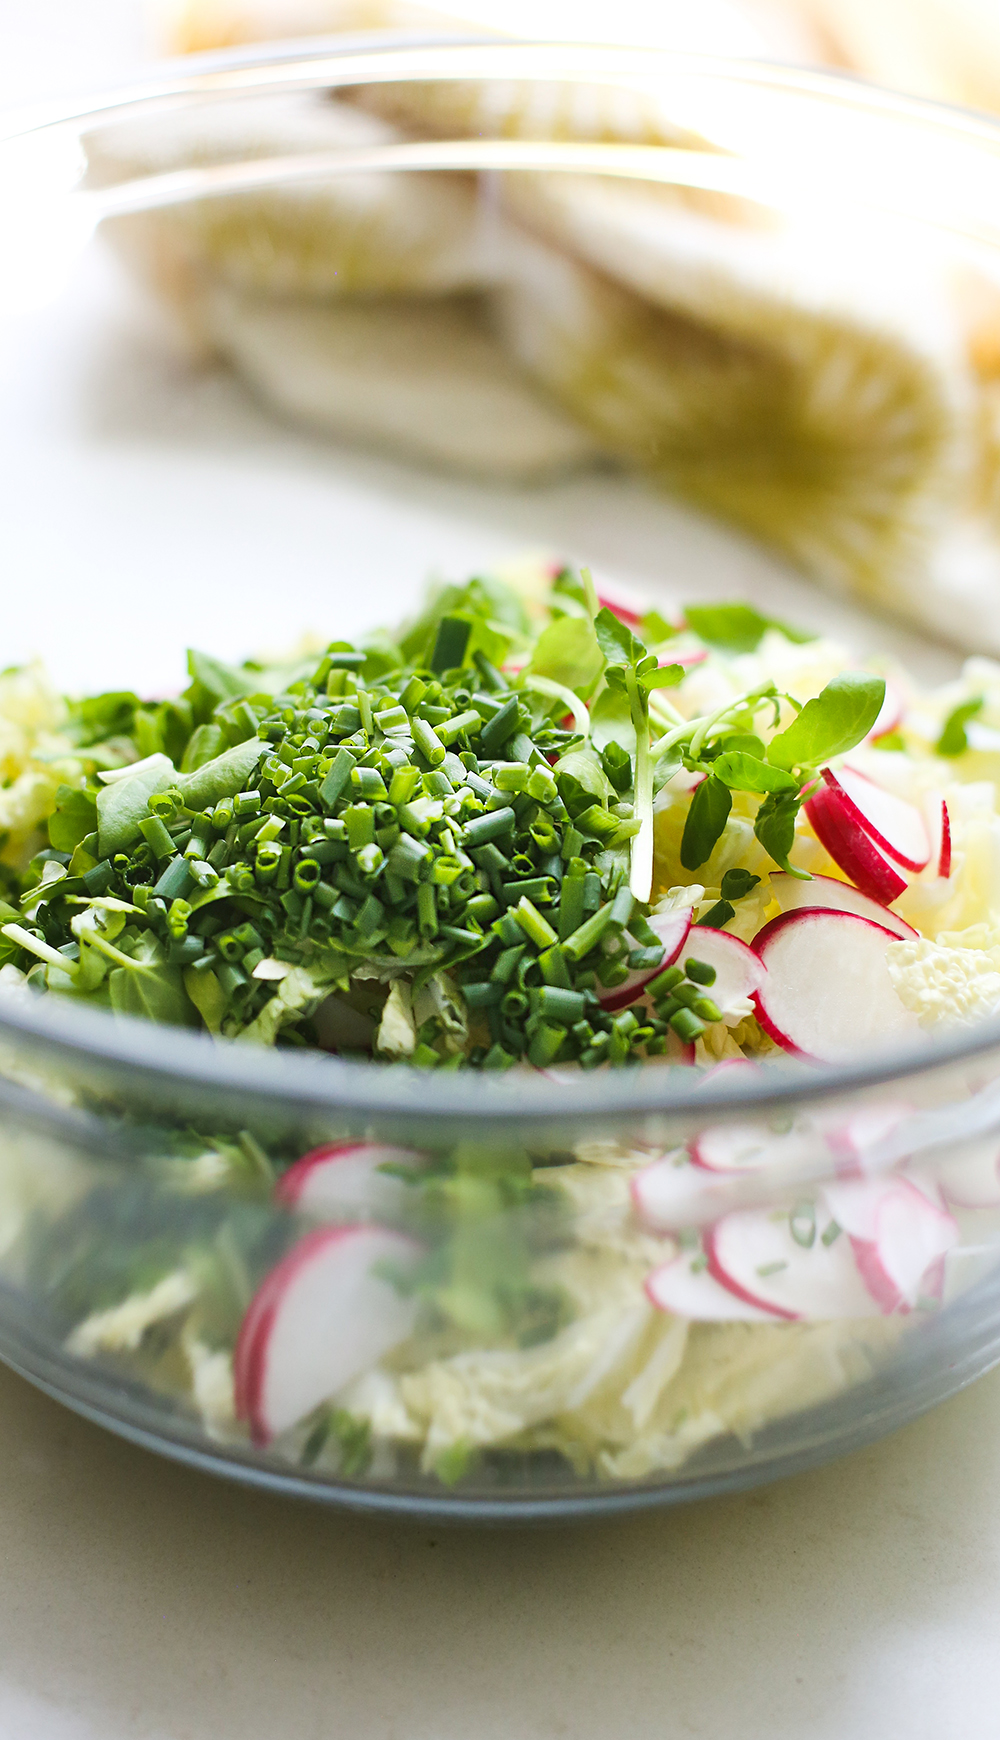
Toss all veggies with ½ cup of dressing to start, adding more until the veggies are coated nicely like a coleslaw. Season to taste with a pinch of salt, fresh-black pepper, and crushed red pepper if you like.
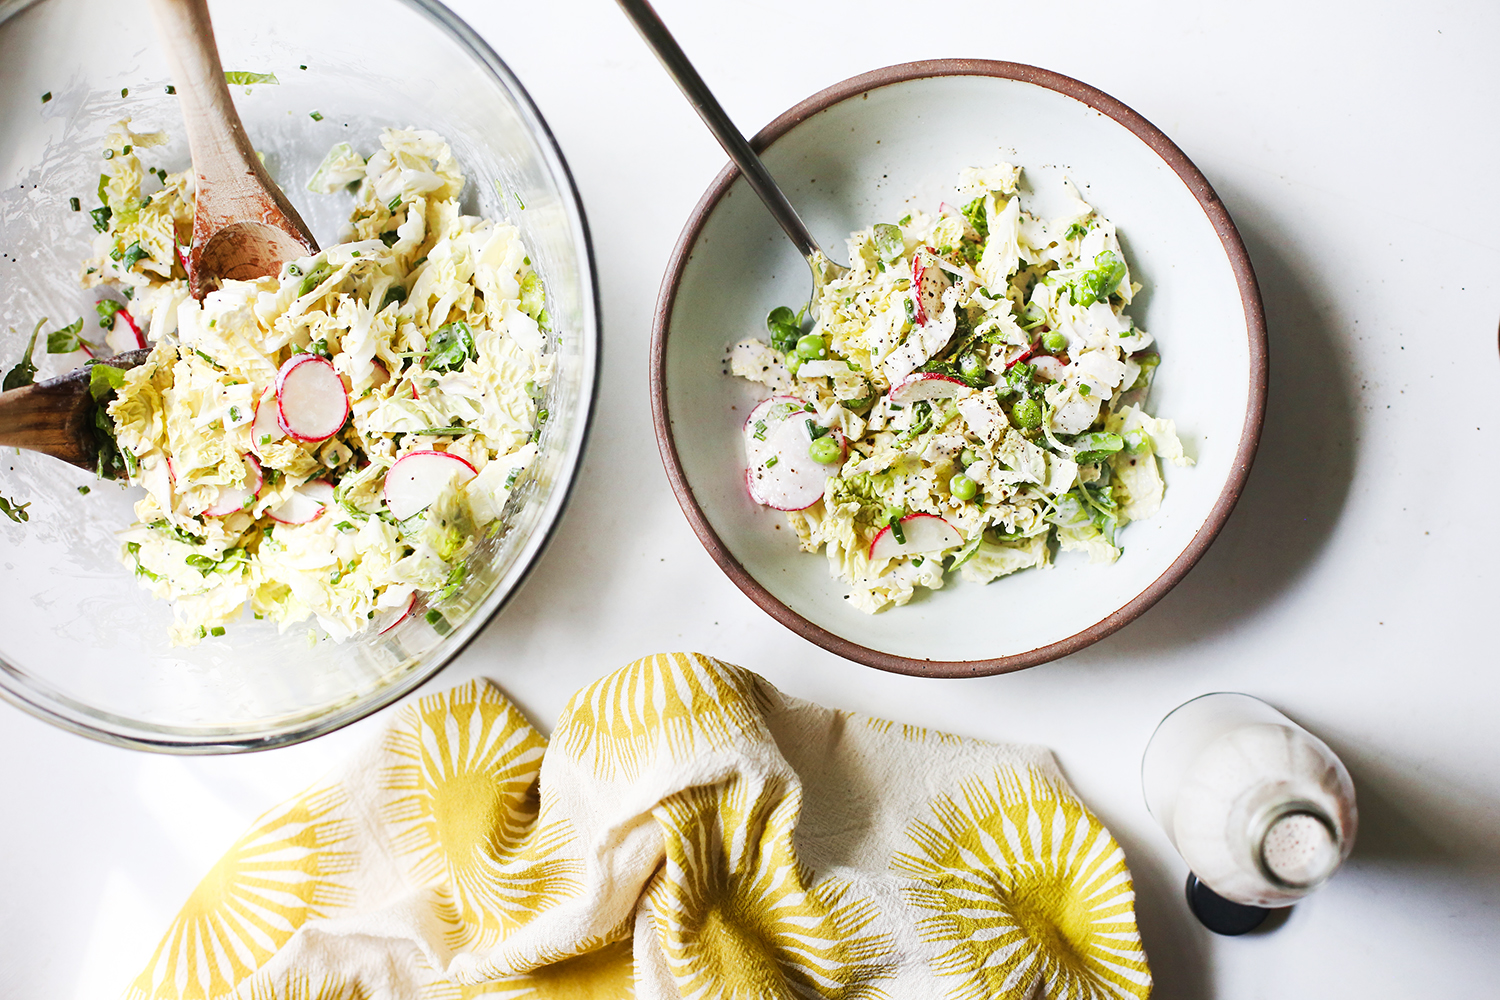
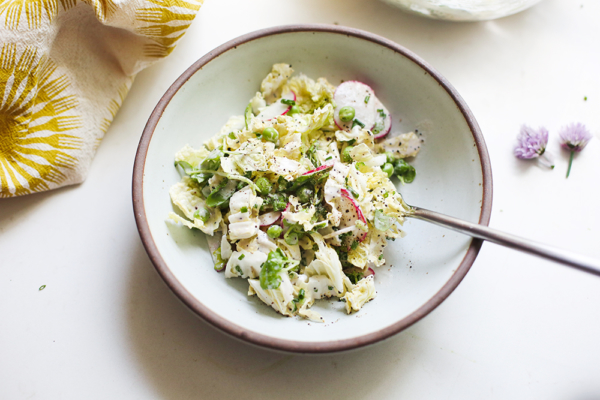
Enjoy.
| Prep Time | 15 minutes |
| Cook Time | 5–7 minutes |
| Passive Time | 1 hour |
| Servings |
people
|
- Avocado oil
- ¼ cup shallot diced or sliced
- 1 large clove garlic halved or sliced
- 1 cup coconut milk) full-fat canned
- 1 tablespoon apple cider vinegar unpasteurized
- 1 tablespoon lemon juice fresh
- ½ cup cashews soaked for 1 hour; drained and rinsed
- ½ tsp fine ground sea salt or more to taste
- fresh cracked black pepper
- 2 teaspoons poppy seeds
- 1 bunch red radishes sliced
- 2 small-medium Napa cabbage chopped
- 2–3 bunches watercress roughly chopped
- 1 bunch chives sliced into tiny rounds
- ½ cup fresh peas
- 1 medium red onion sliced or diced
- Crushed red pepper optional
Ingredients
Poppyseed “Buttermilk” Dressing
Cabbage & Cress Salad
|

|
- In a skillet heated to medium, add 1–2 teaspoons of oil and shallot. Sauté for 3–5 minutes until the shallot starts to brown.
- Then, add garlic and sauté for 1 more minute and transfer all to the blender.
- Now, add all Dressing ingredients except poppy seeds into the blender and blend until silky smooth.
- Season with salt and pepper to taste, then stir (not blend) in the poppy seeds, and set aside or store in a jar.
- Toss all veggies into a large mixing bowl with ½ cup of dressing, adding more dressing until veggies are coated nicely like a coleslaw.
- Season to taste with a pinch of salt, fresh-black pepper, and crushed red pepper if you like. Enjoy.
Use any cabbage you like, or a combination of many—I choose Napa because the nooks and crannies hold so much delicious dressing
If you can’t find watercress, try a peppery green like arugula instead
This salad is also delicious with toasted sesame seeds added
For extra sour flavor (and probiotics) in your dressing, make a “buttermilk.” Cover and allow it to ferment on the counter overnight, then use and store in the fridge once blended with other ingredients
Try adding Granny Smith apple or avocado to this salad
Thanks to the heartiness of these veggies, you can store this salad in the fridge for a few days
Meyer Lemon & Coconut Custard Tart
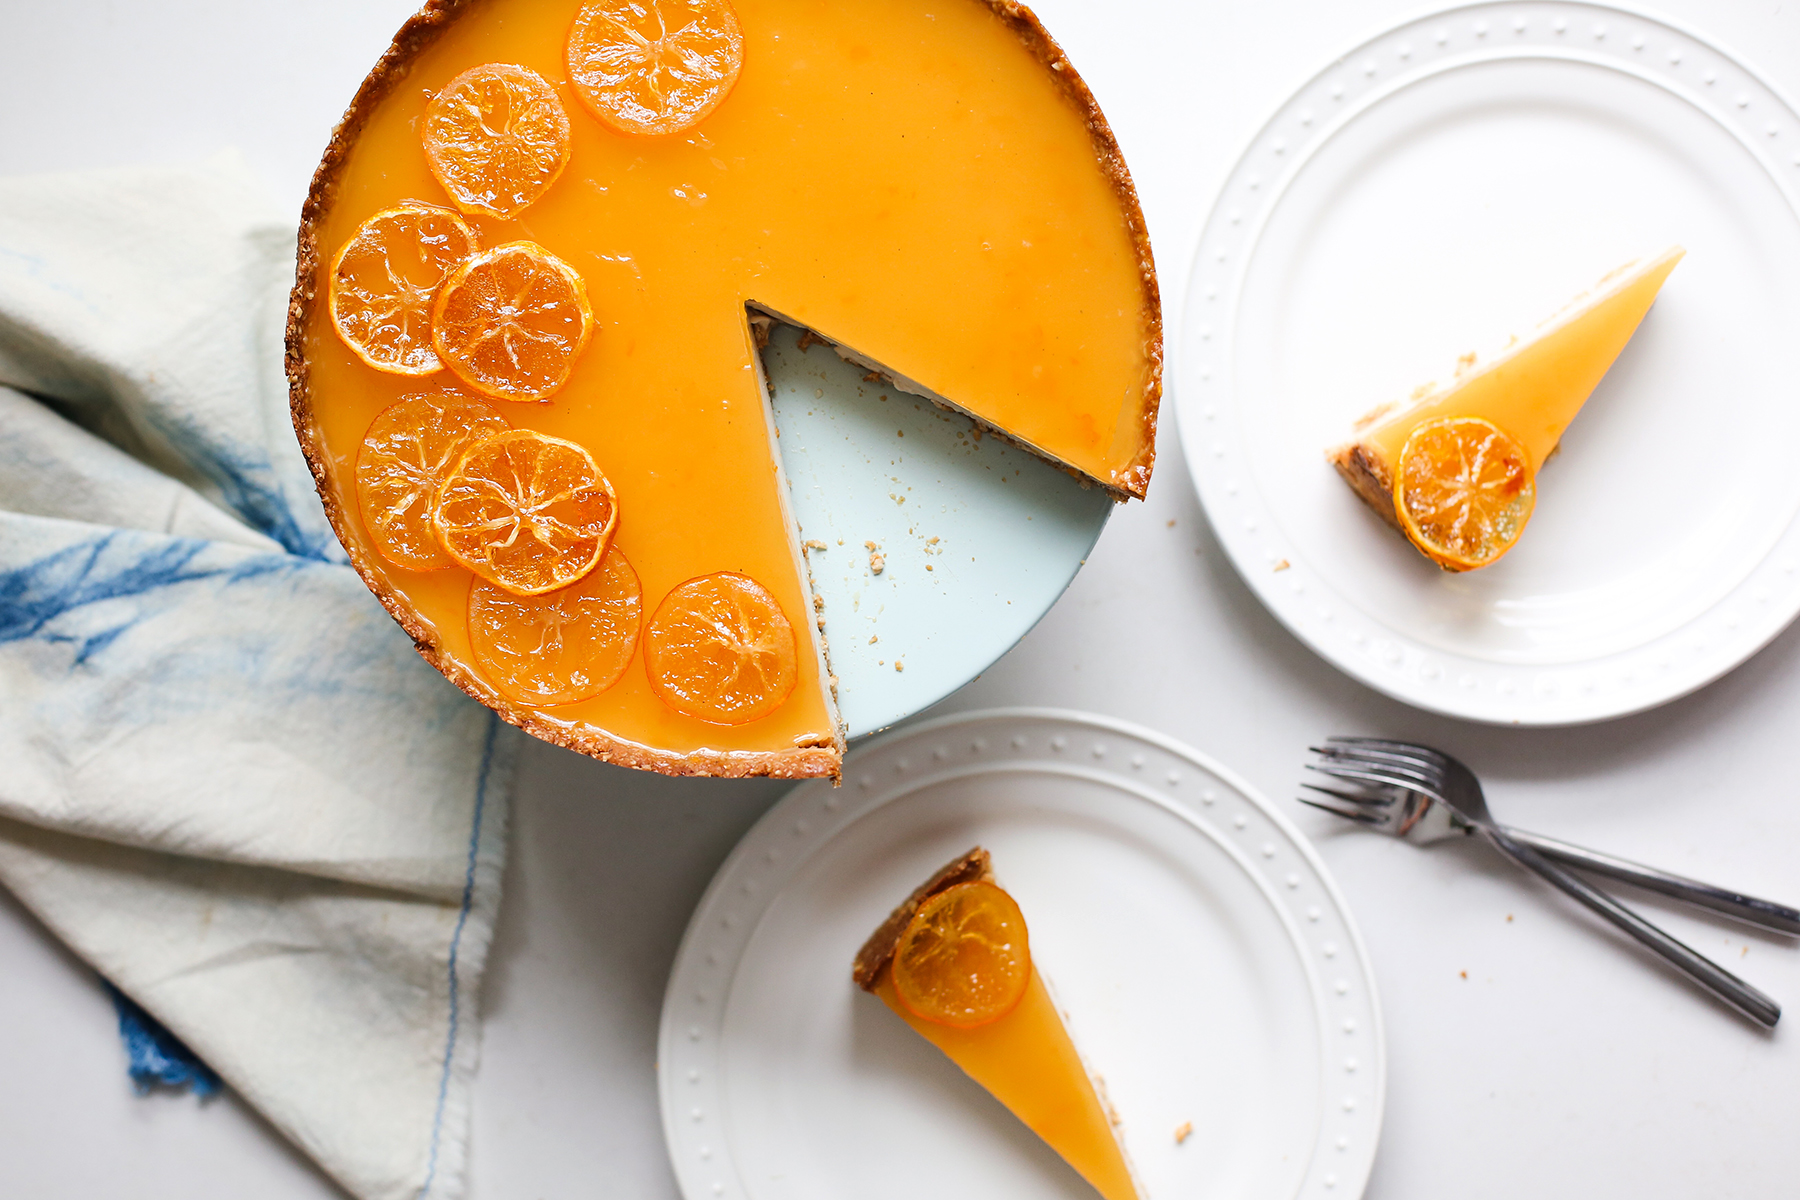
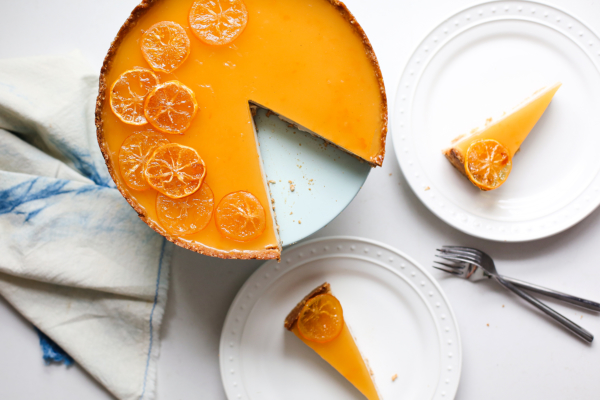
If you listen closely, this special tart almost seems to sing “spring is here!”
It may look super involved, but many of the same ingredients you’ll use in different ways, for various components, so give it a try. I’ll likely use this recipe to develop new combinations, so stay stocked on the agar agar if you want to try those!
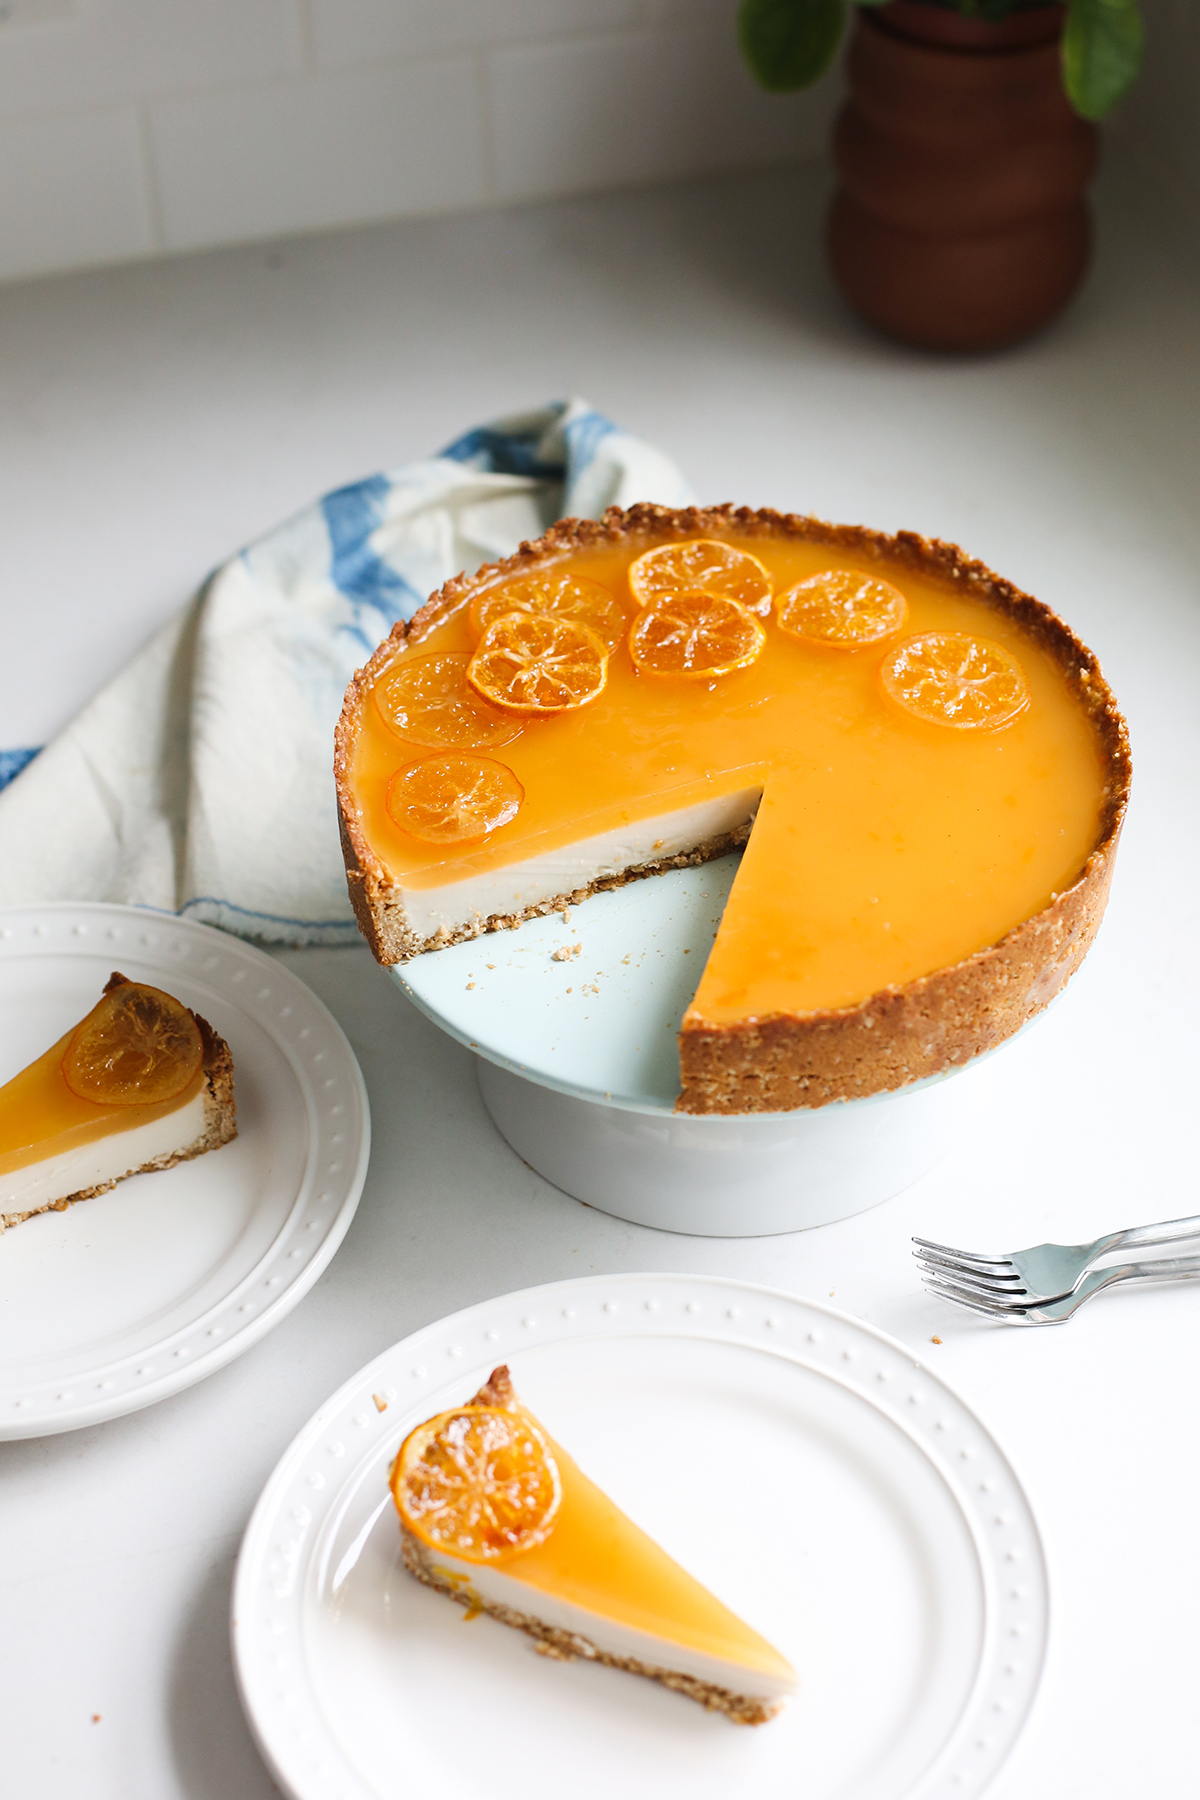
Be patient as you prepare this tart—do let it set properly and you’ll wow everyone you end up serving it to. They’ll taste the love and time you put into it (although, bonus, most of the time is passive time). Decorate it with the optional Candied Lemons (recipe below), or keep it simpler without them. Cook’s choice.
Watch the Good Food Cooking Club video here…
And follow the steps below, too.
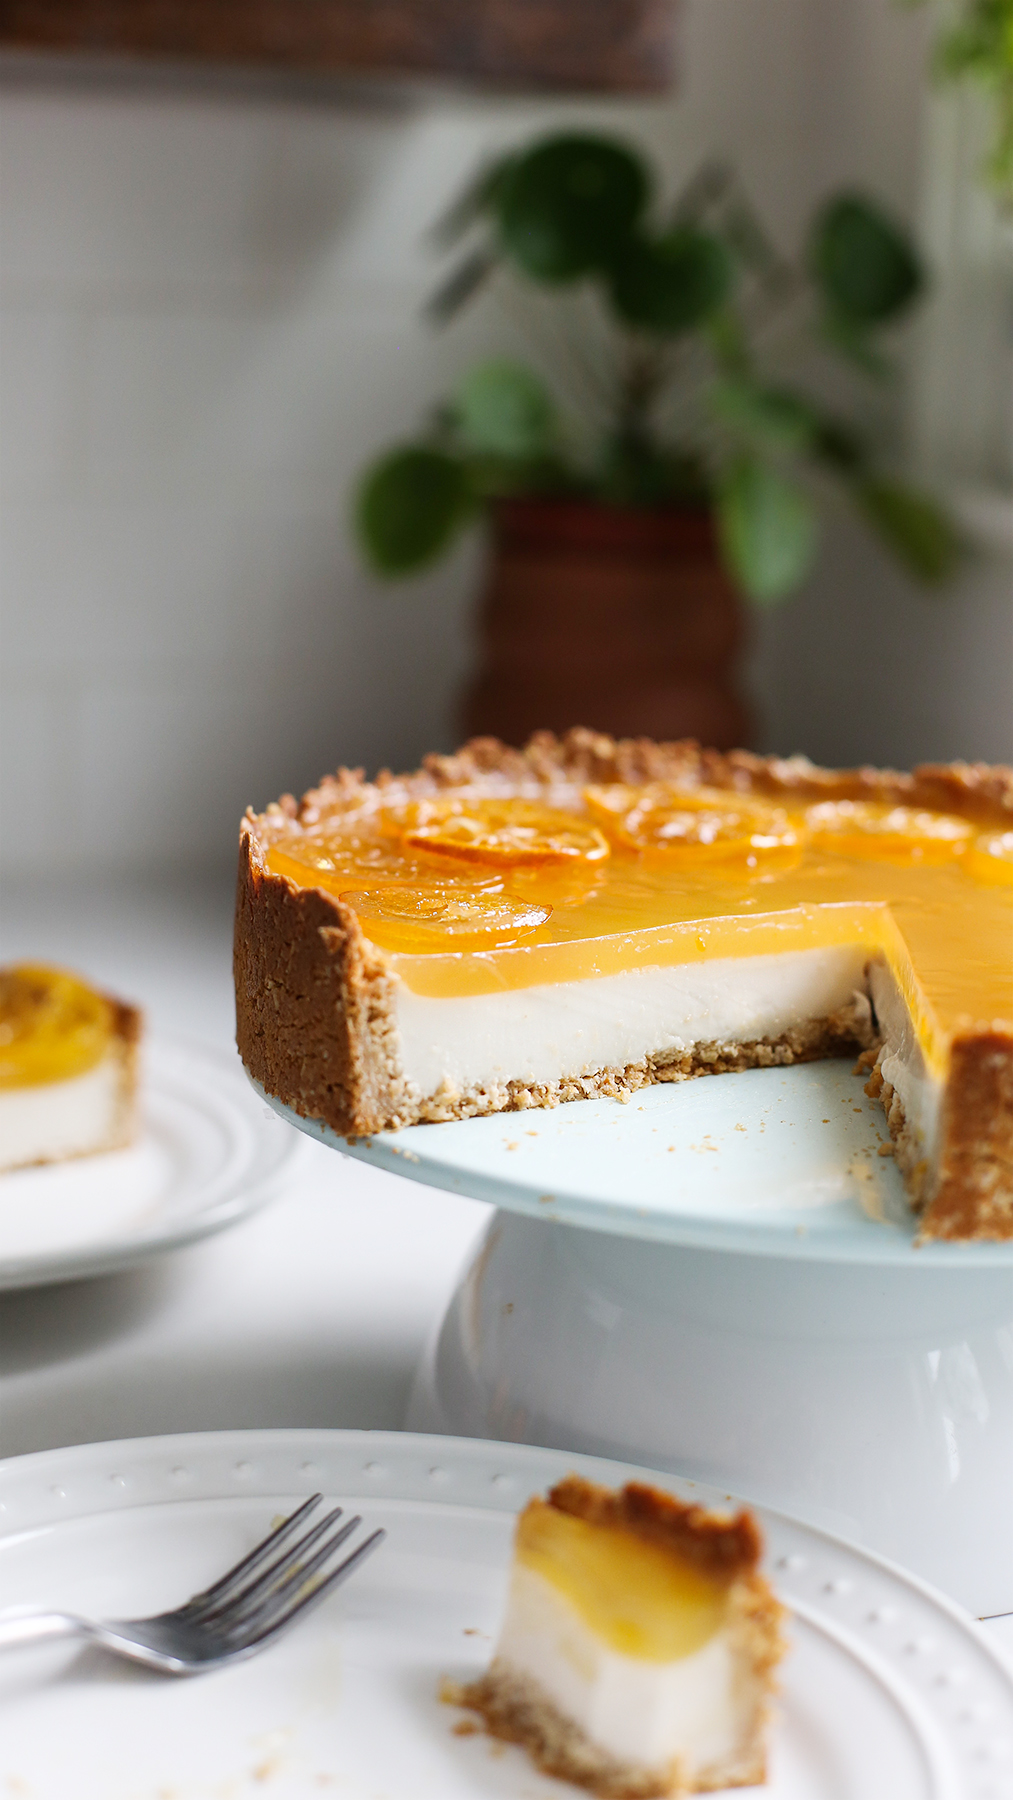
You can use regular lemons if you can’t get your hands on Meyer lemons, just note that if you want to top with regular candied lemons, be sure to slice them paper thin. I call for Meyers because they are more sweet, a touch floral, and lovely to eat. My Meyers were more on the orange side so they almost look like oranges, but they also can be found more sunny yellow if you prefer those aesthetics.
Tools:
9″ springform pan or tart pan
Blender
Straining cloth or nut/seed milk bag
Ingredients:
Bottom of post
Steps:
The night before you want to make this tart: Place raw almonds in a bowl and cover with water to soak 8–12 hours. In the morning, drain and rinse well and either use right away or store in the fridge in an airtight, glass container until you’re ready.
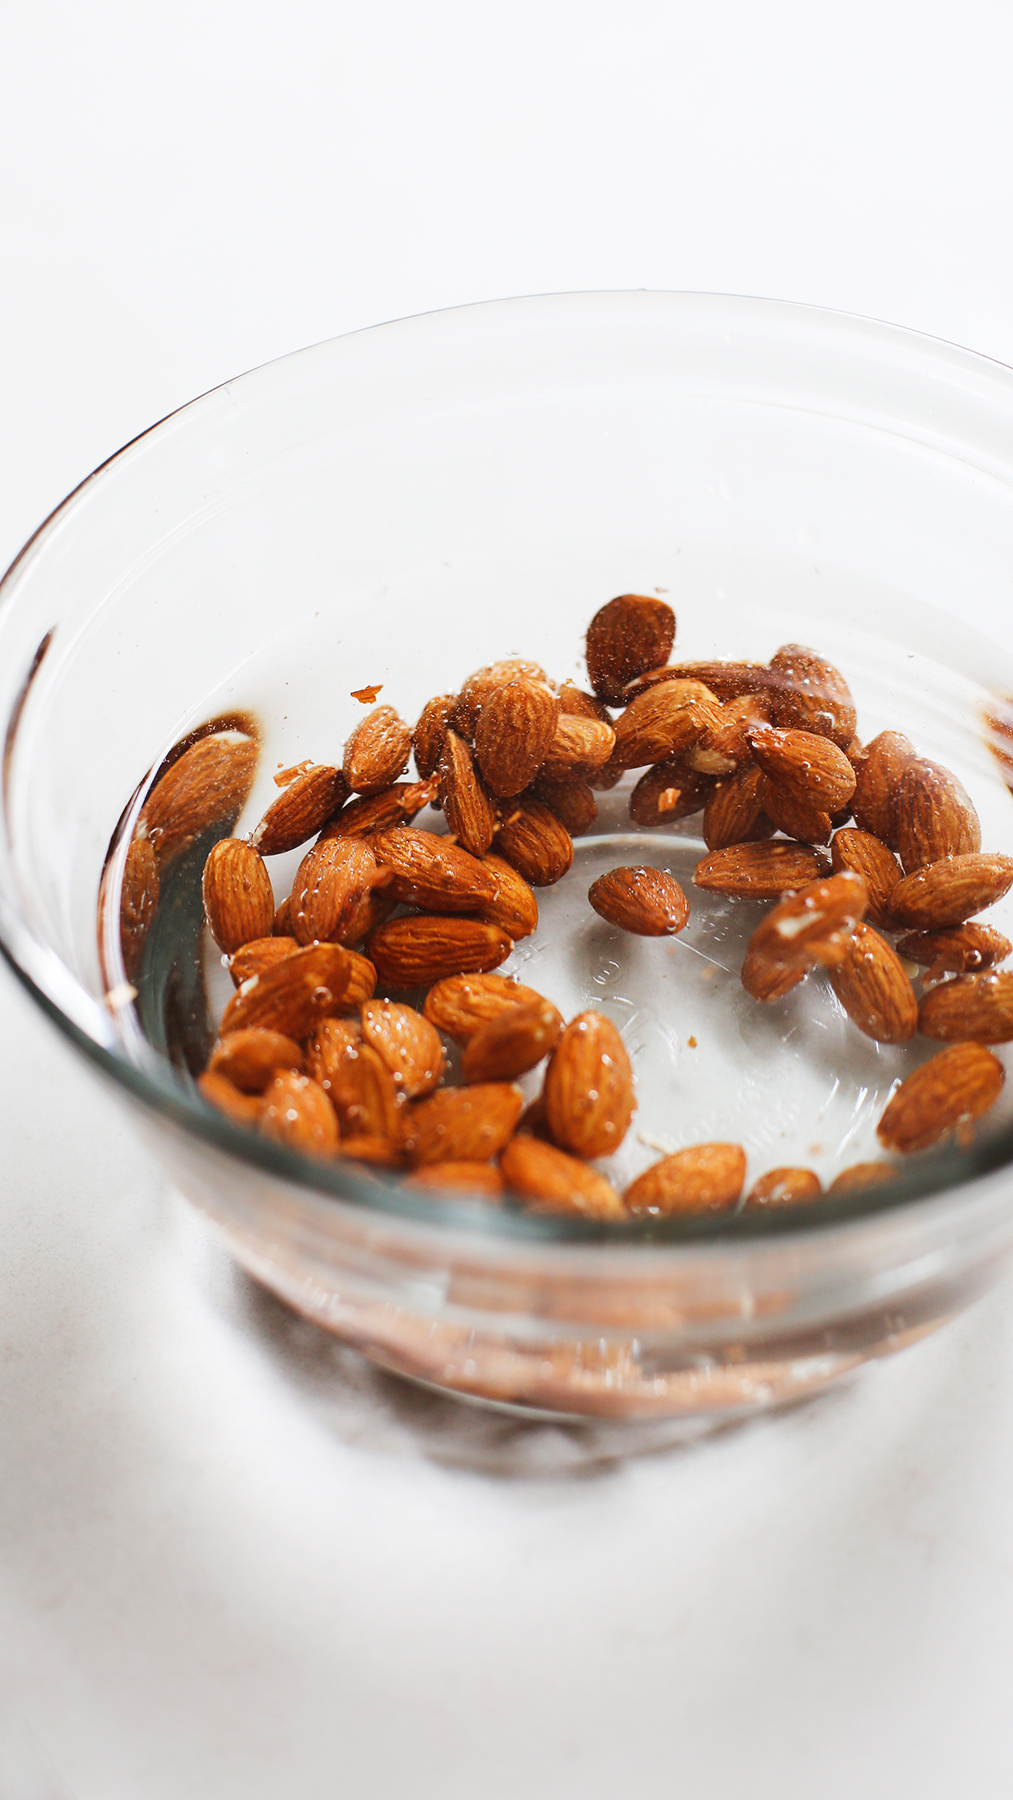
Ready to make the tart: Now, preheat the oven to 350°F, grease the bottom and sides of a 9″ springform pan with coconut oil. You can always make this tart in a regular pie pan, but a springform pan will allow you to easily remove the tart, display it, and slice it while maintaining its good looks.
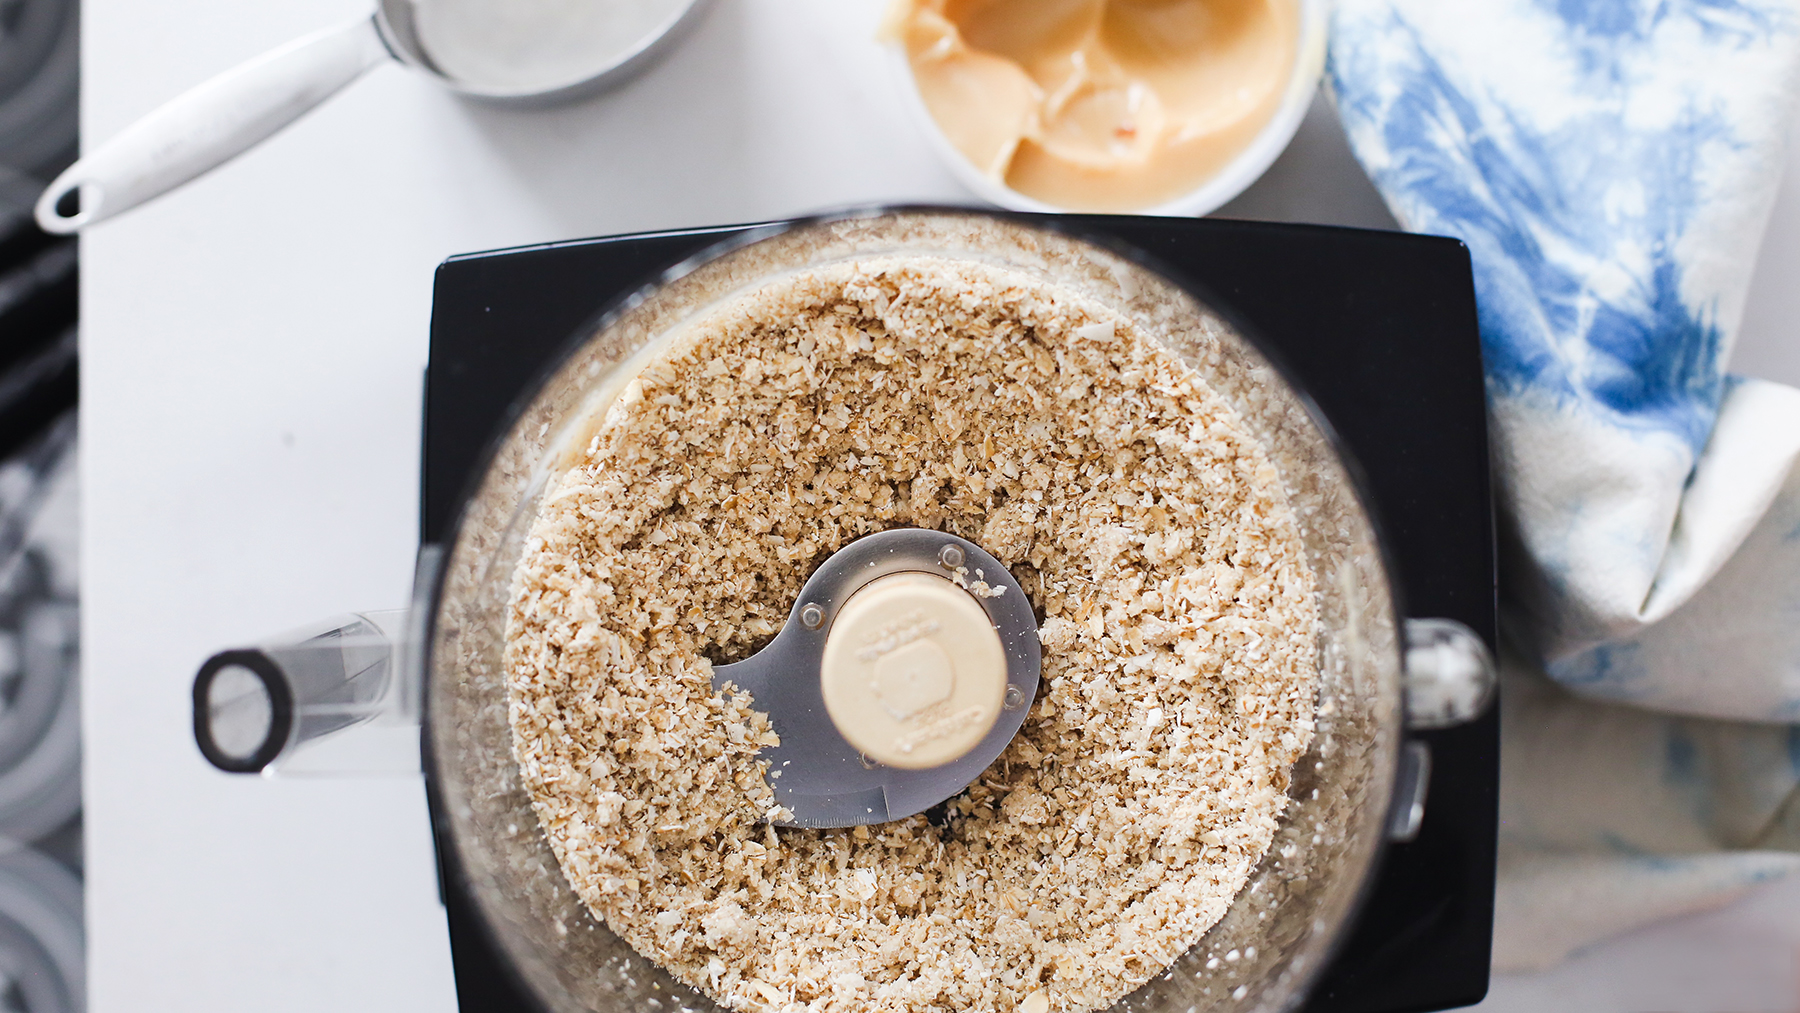
Make the crust: In a food processor fitted with the S-blade, pulse the Crust ingredients together until uniform and looking “sawdusty.”
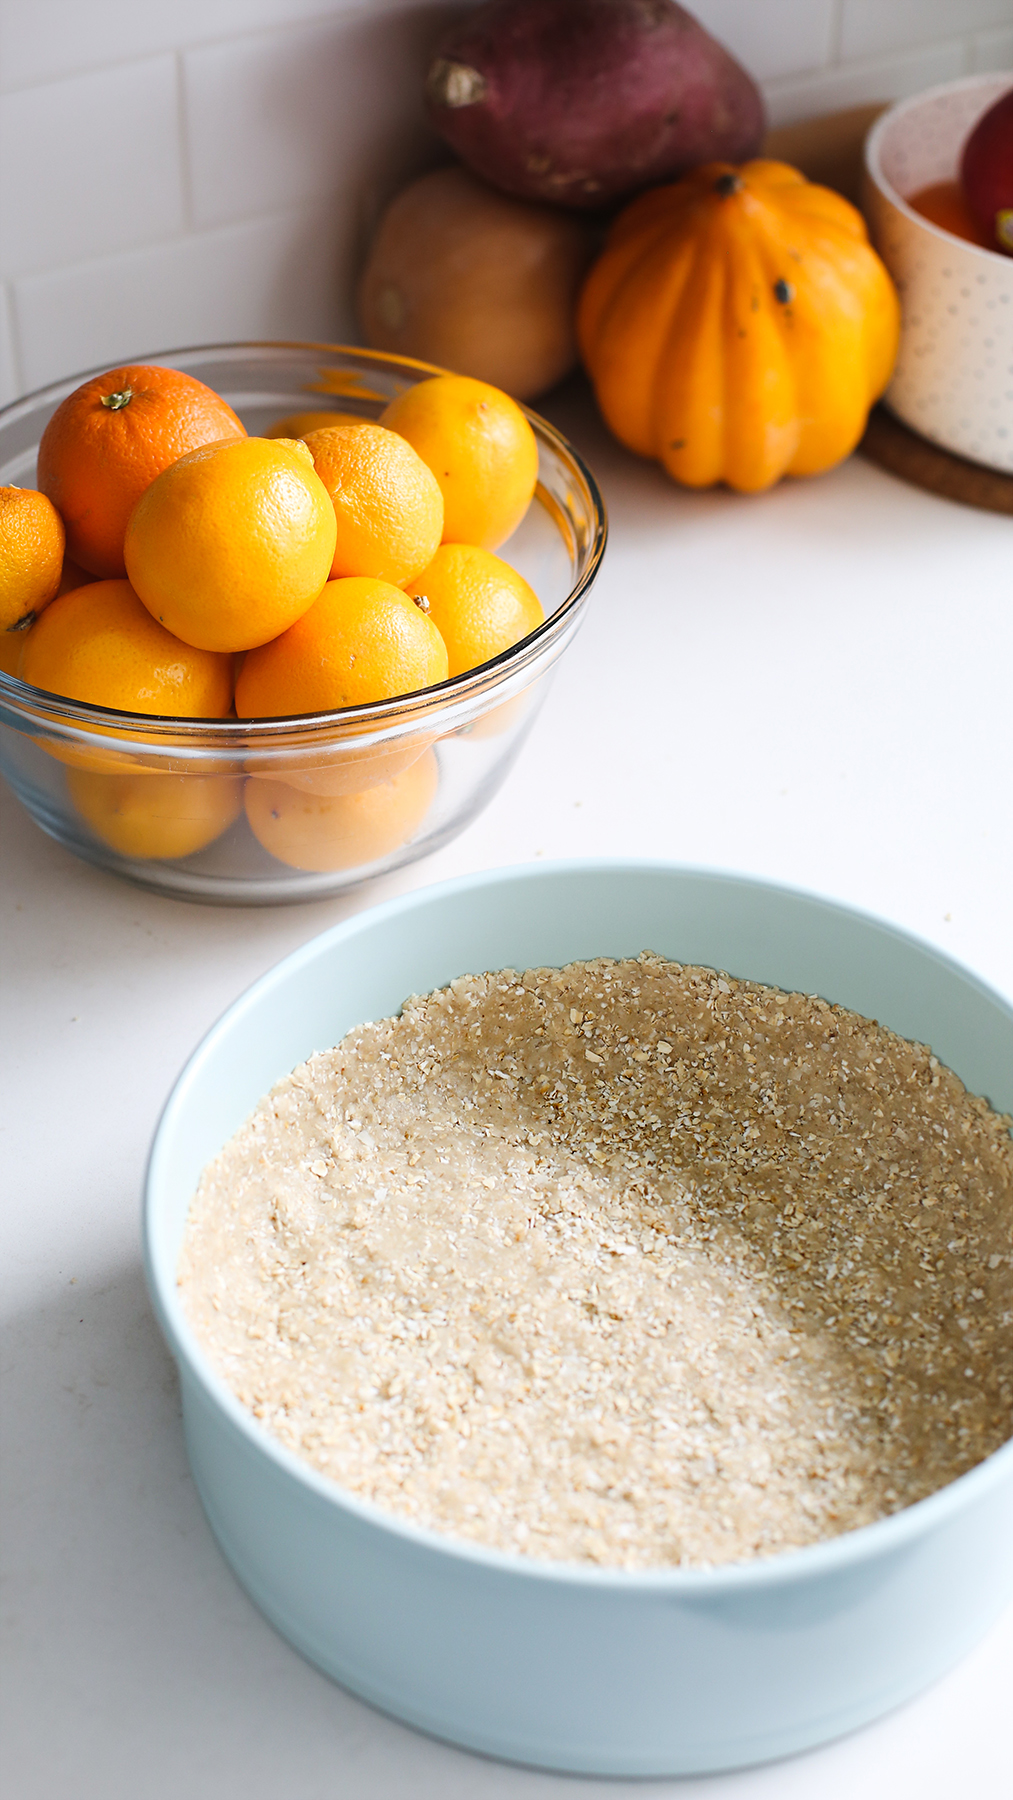
Press evenly into the pan so the bottom and sides have equal thickness—a little less than 1/4″. Be sure to push the crust up the sides of the pan around 11/2–2″.
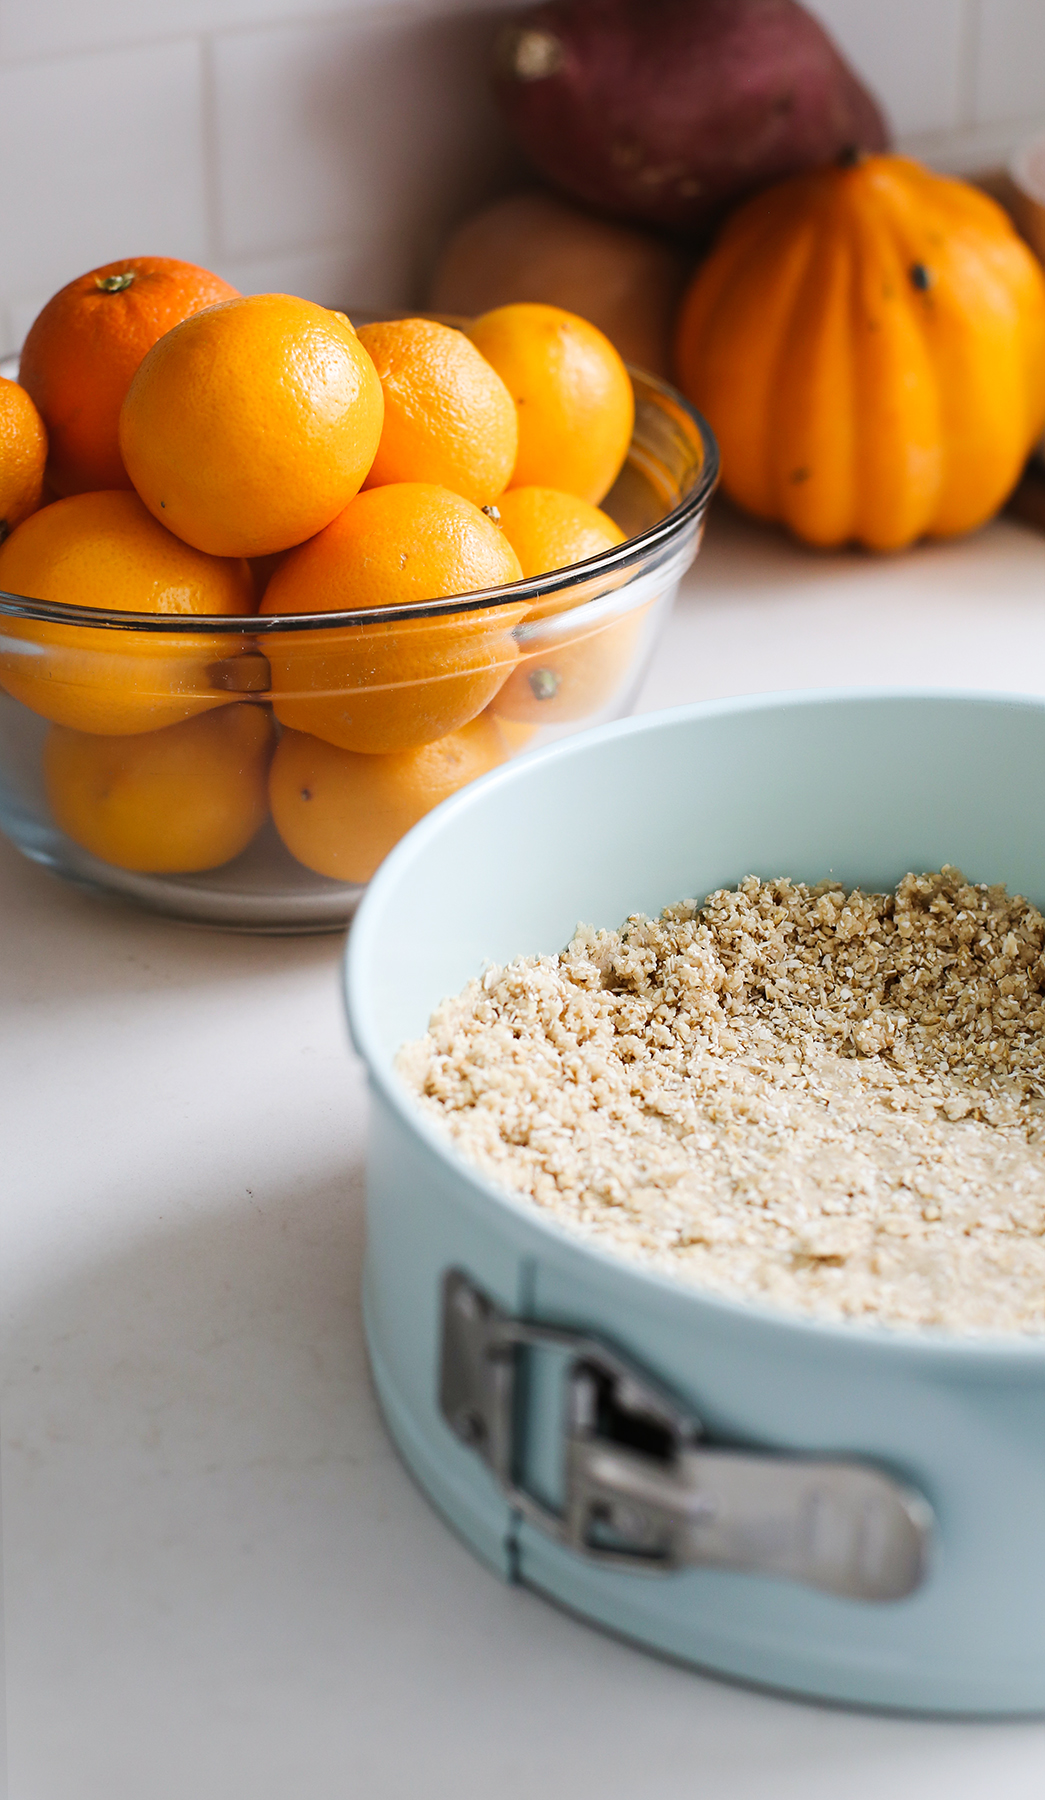
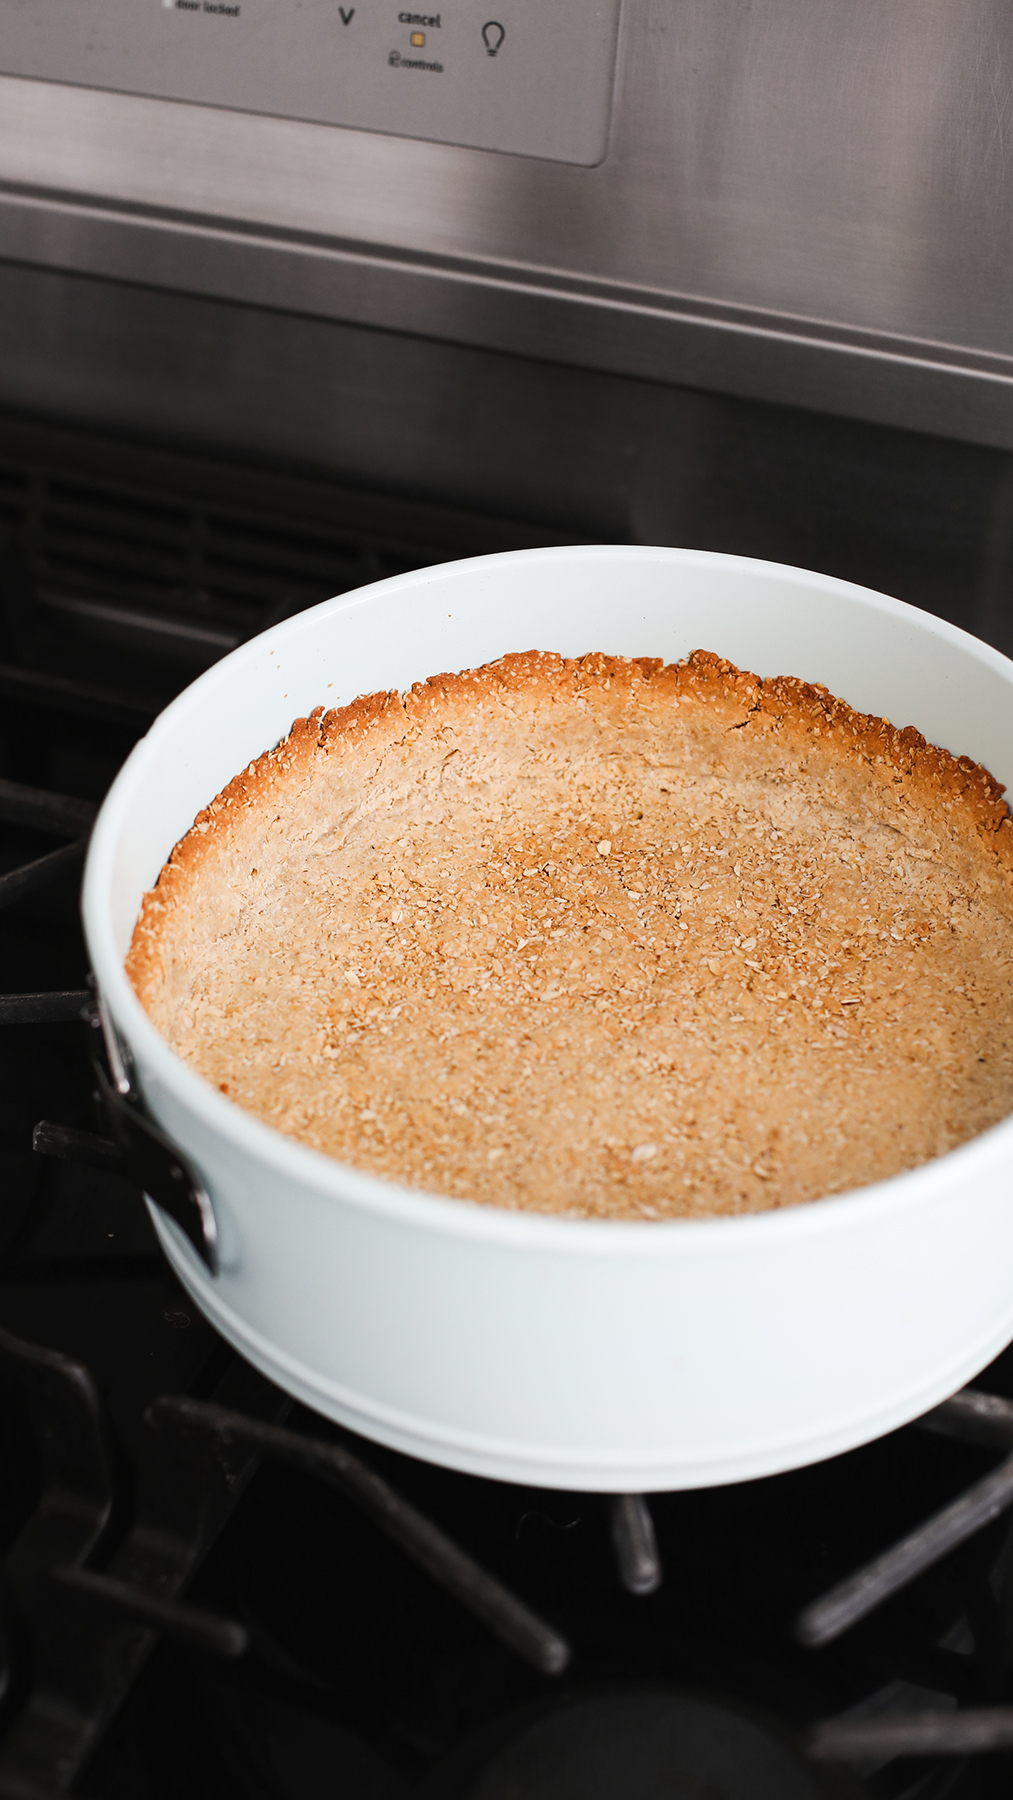
You can leave the top edge of the crust rustic and uneven (what I did), or use your fingers to shape a straight line. Poke the bottom of the crust with the tines of a fork and bake for 15–20 minutes, until edges are browned and sides and bottom are dry and gently browned.
Remove from oven and allow it to cool while you make the other ingredients. Transfer to the fridge to chill once cool—this fridge step will expedite the setting process for the custard, but it’s not necessary.
Make the custard: To start, we’ll make a coconut-almond milk.
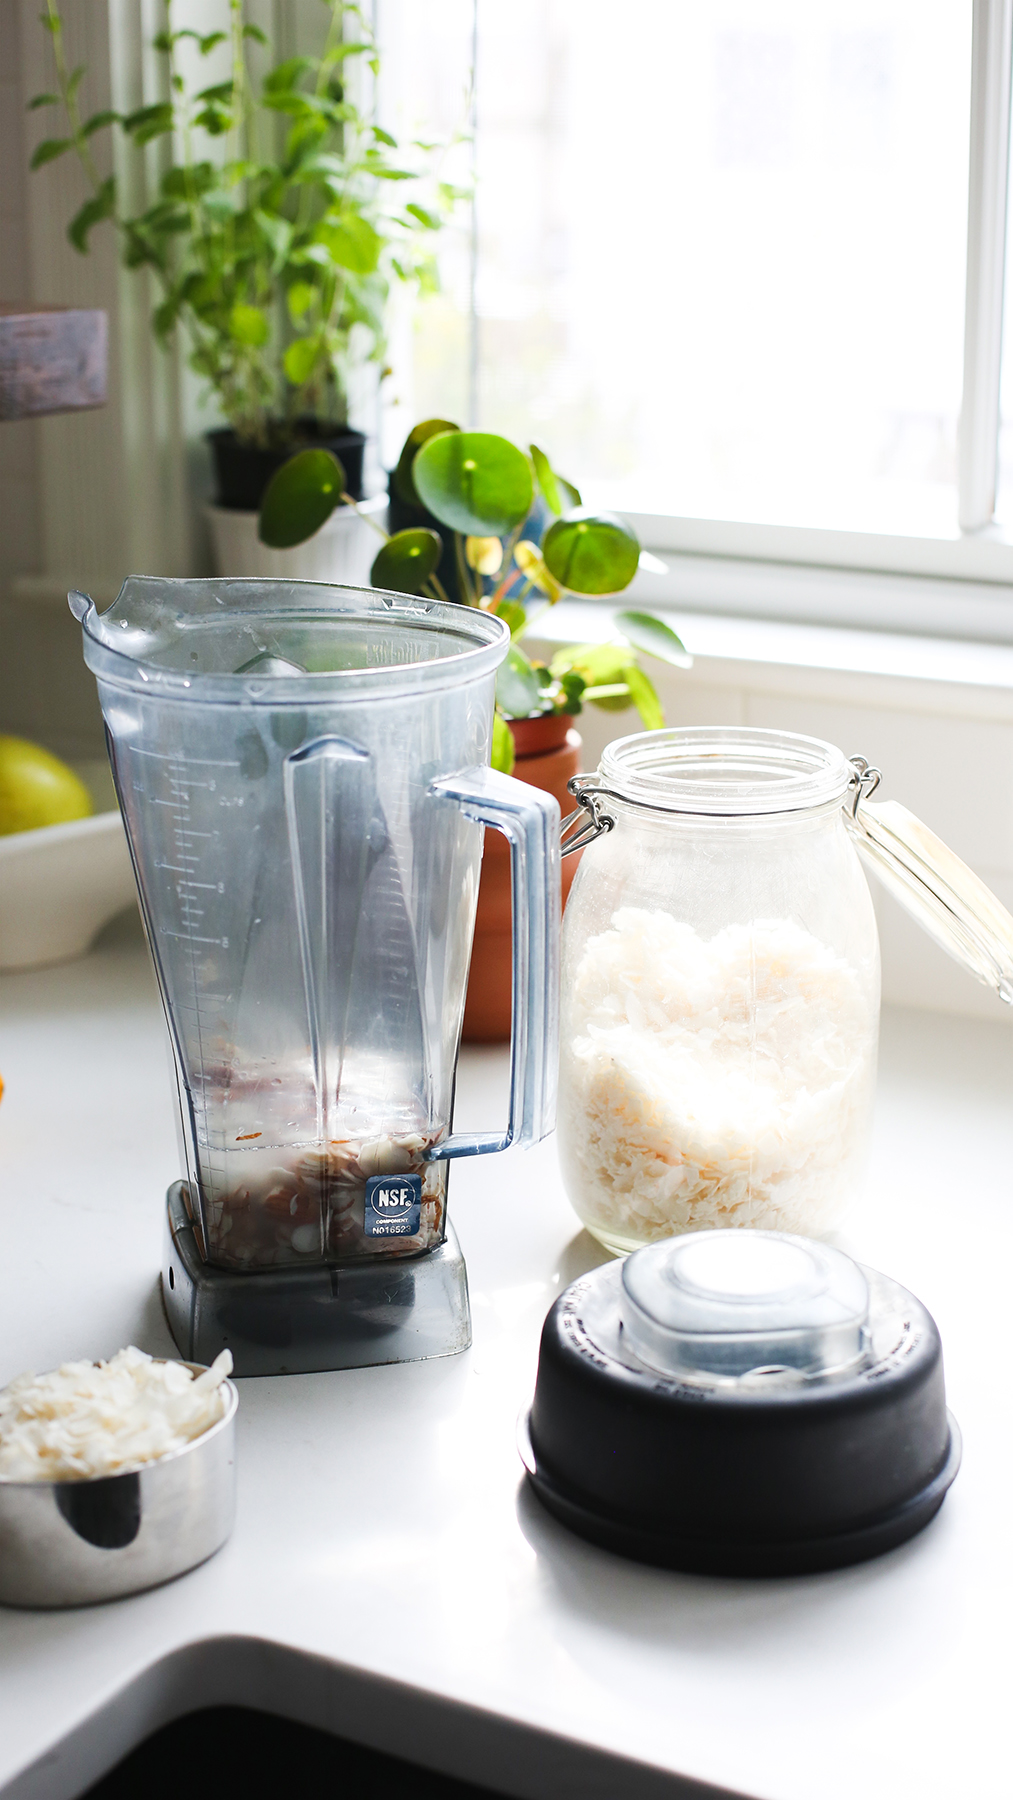
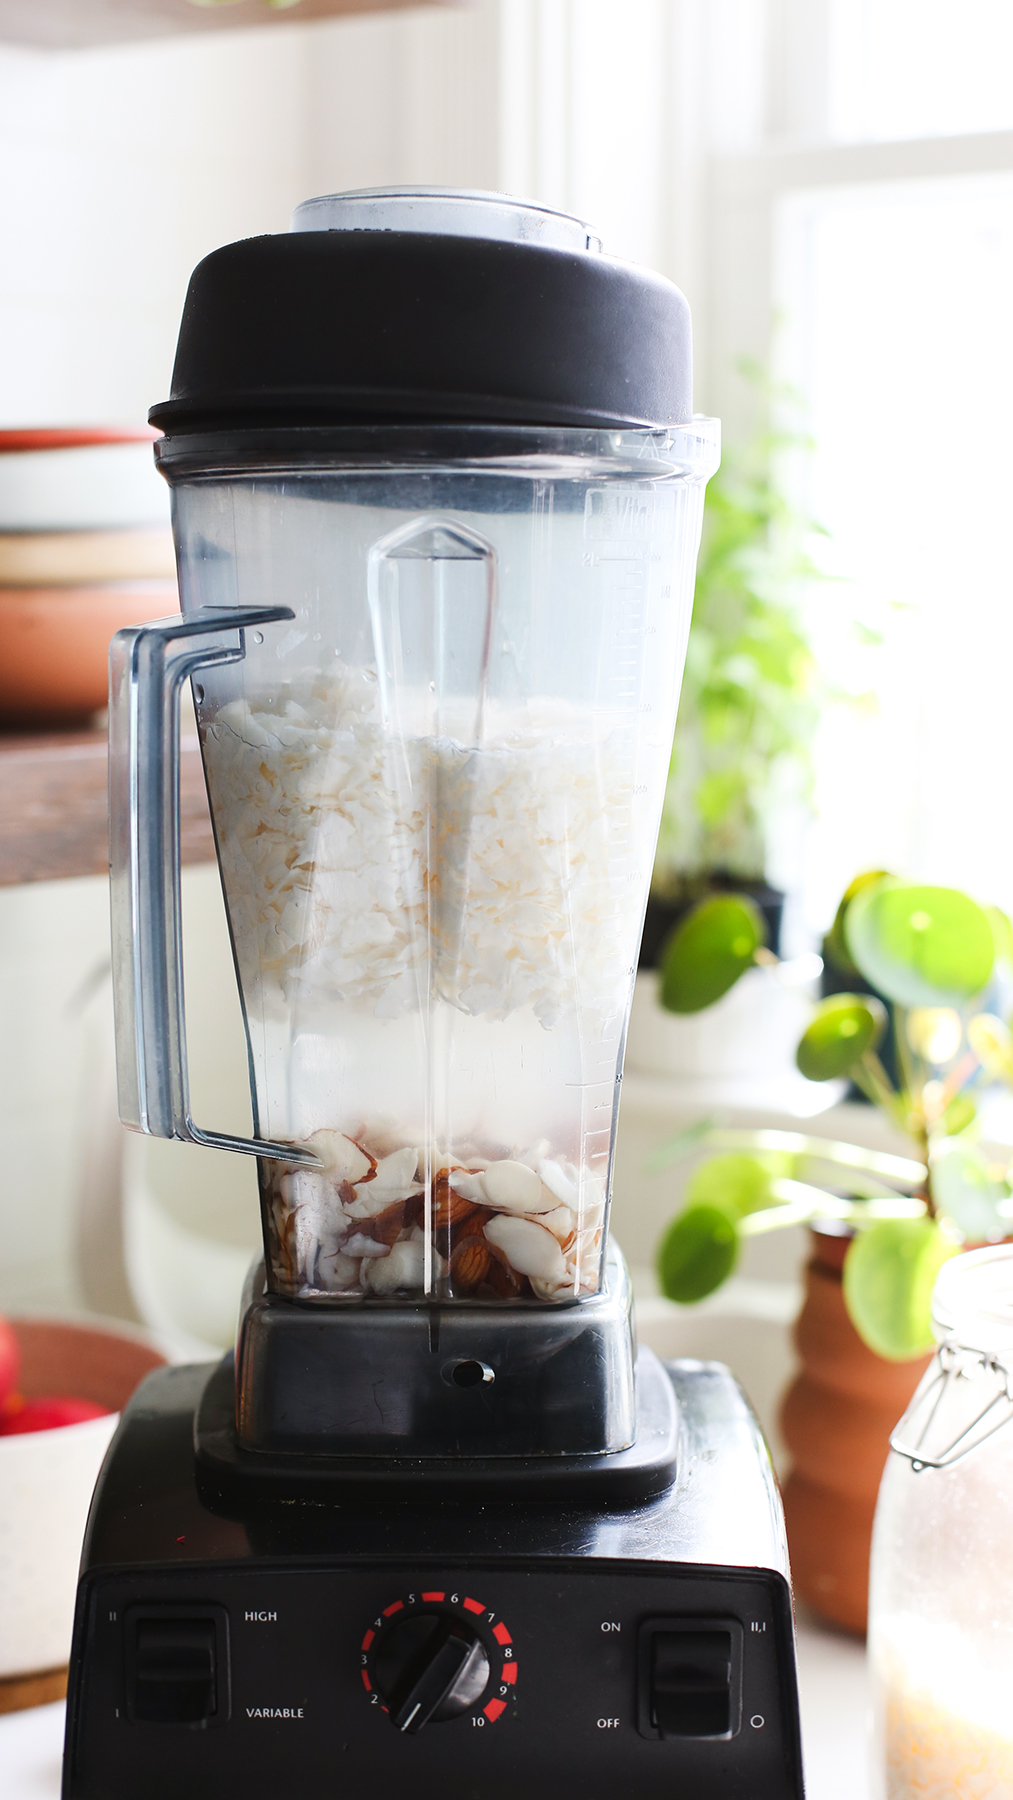
Place the soaked/drained/rinsed almonds, 5 cups of water, and shredded coconut…
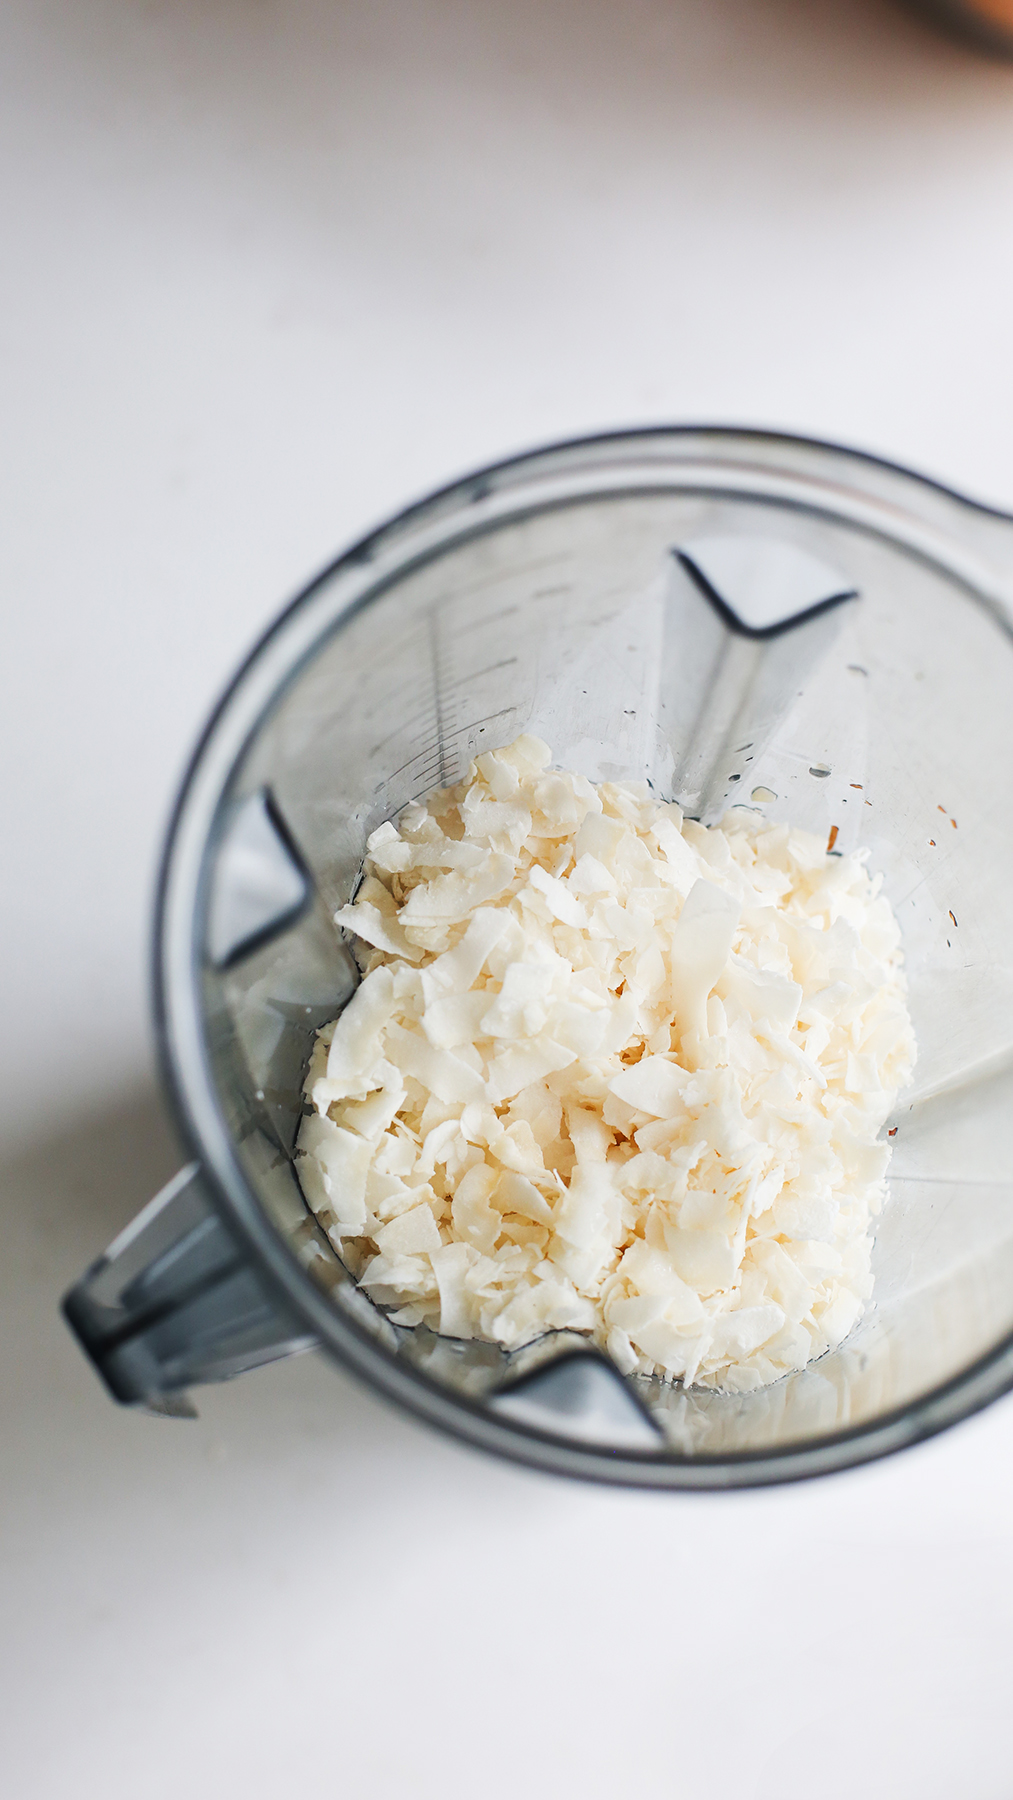
… into the blender and blend until smooth.
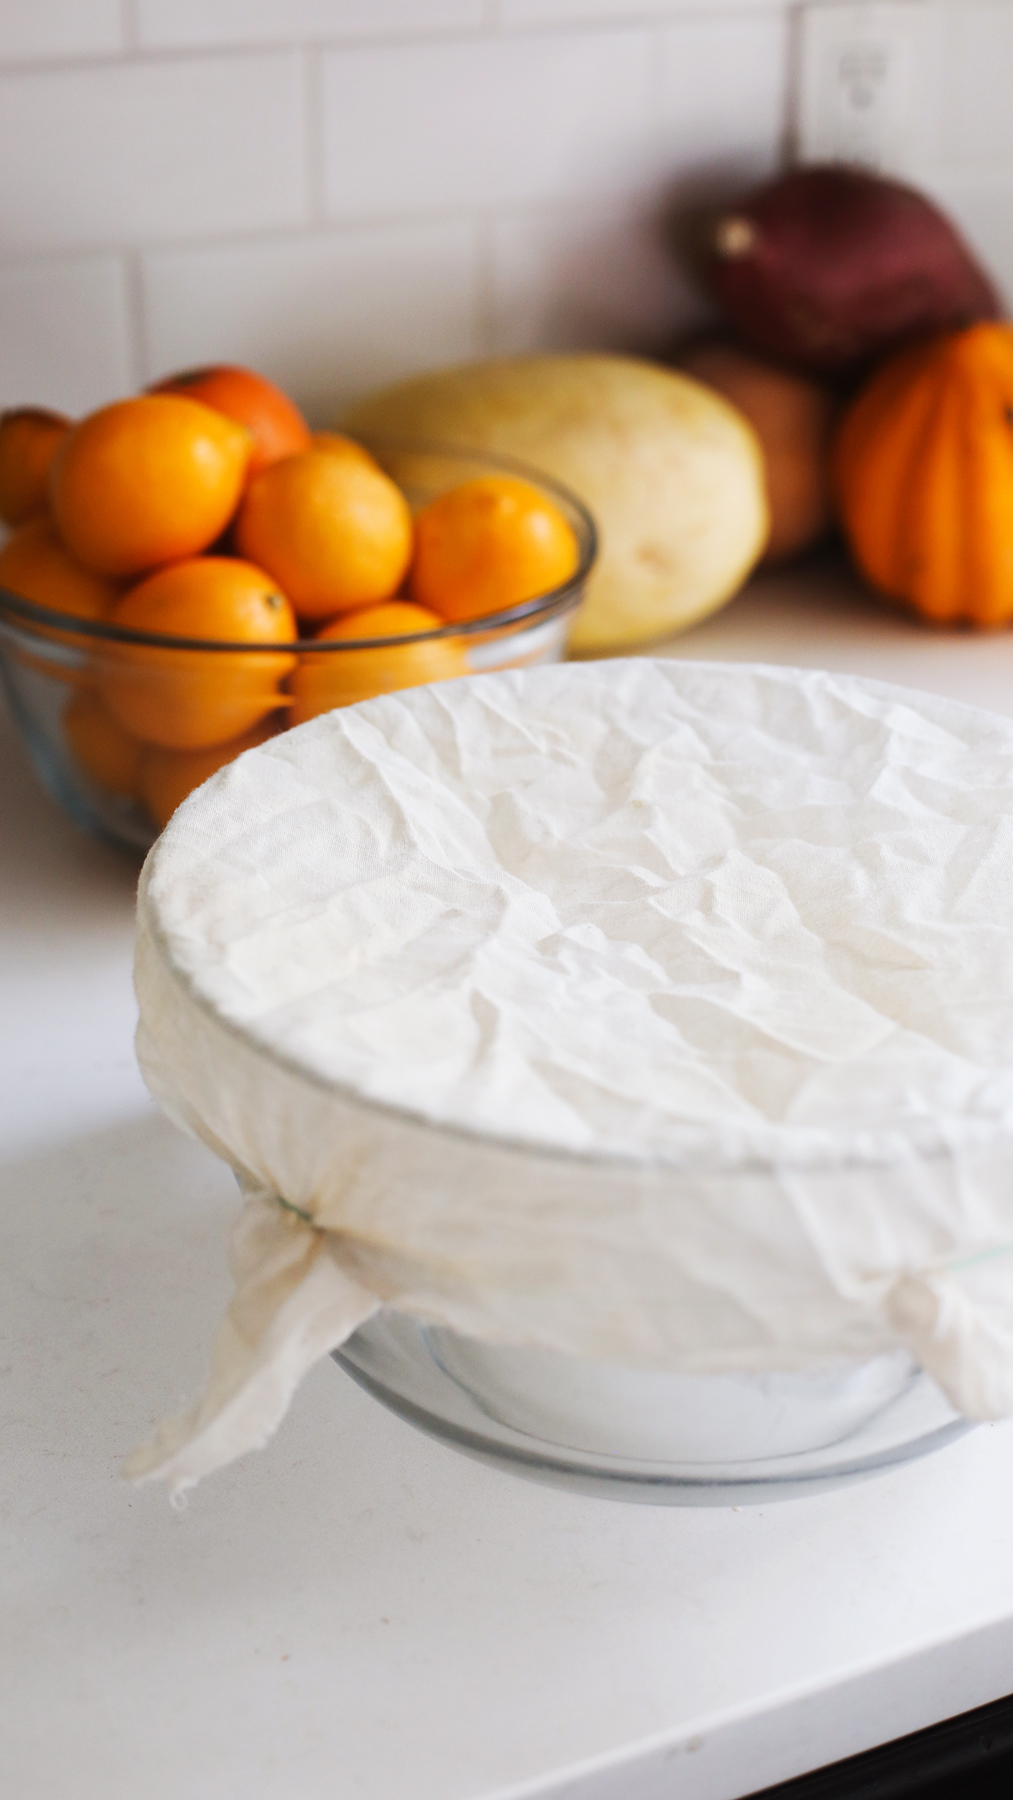
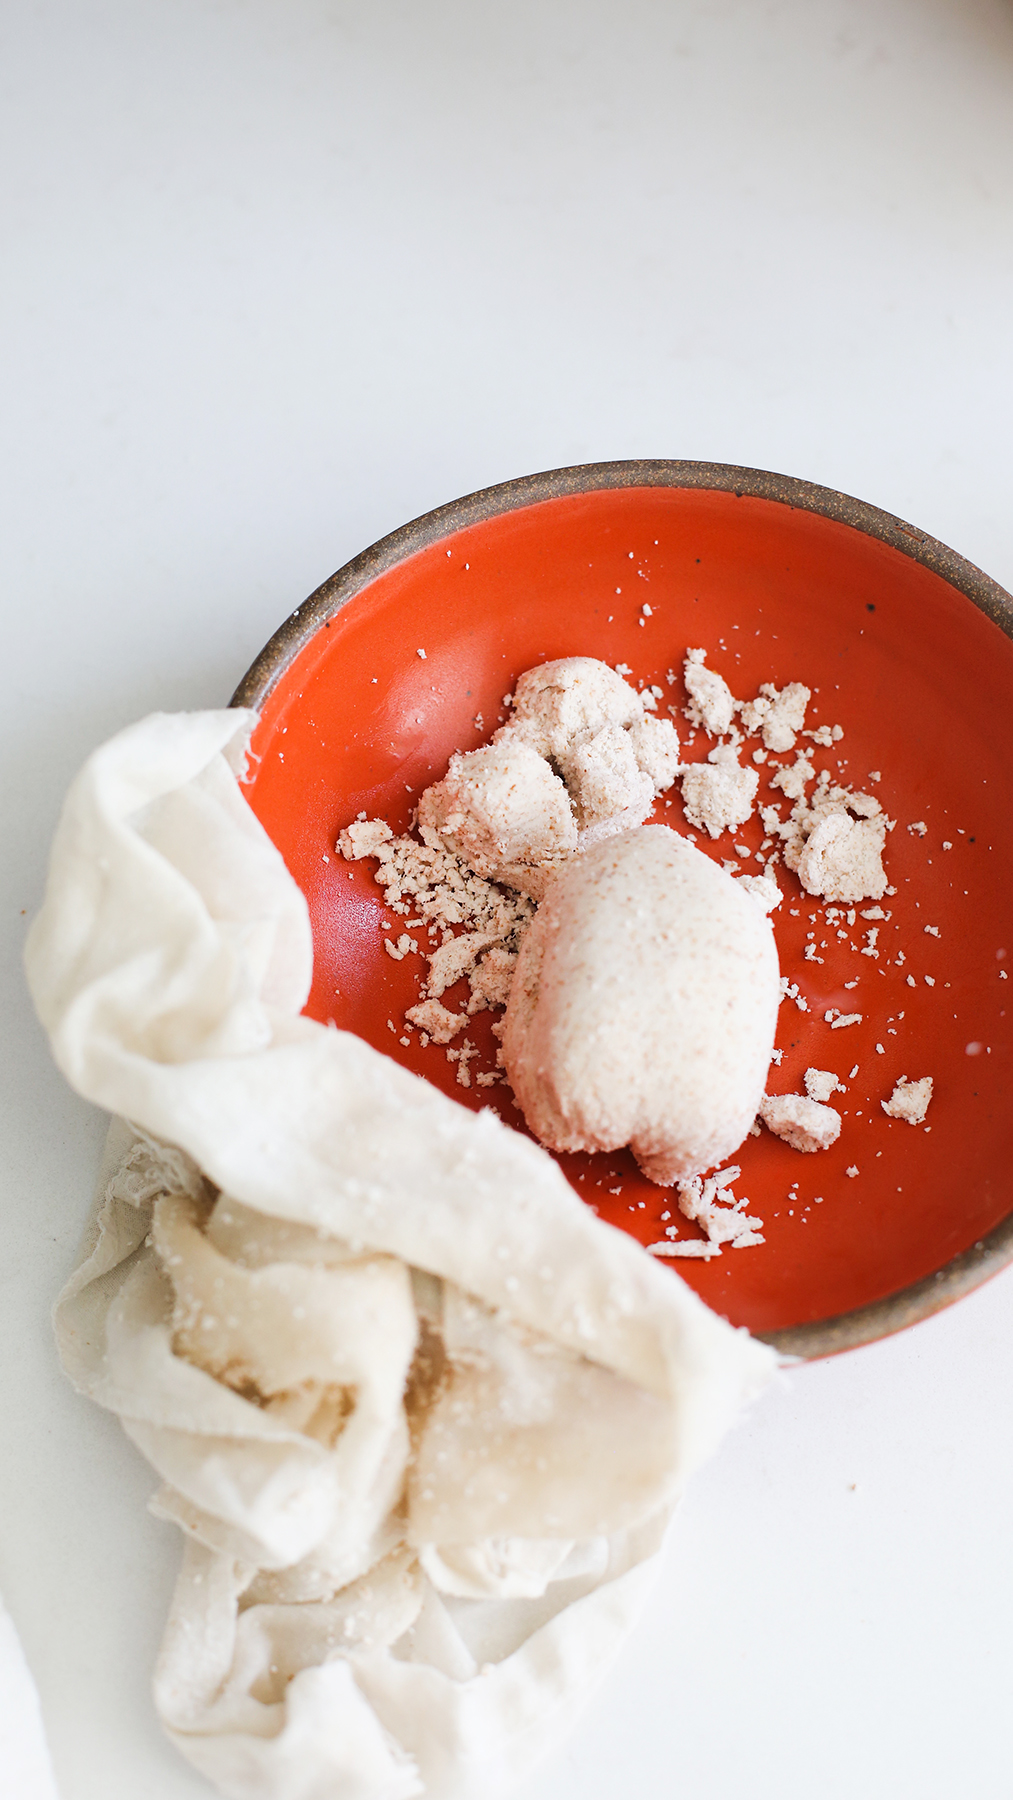
Lay a tight-weave muslin or cheesecloth (double or triple it up for extra straining power), nut milk bag, or clean but threadbare t-shirt (basically, any fabric that will strain) over a large pot or bowl.
Pour the blender contents into the cloth, pulling up all sides and squeezing to strain the pulp from the almond-coconut “milk.”
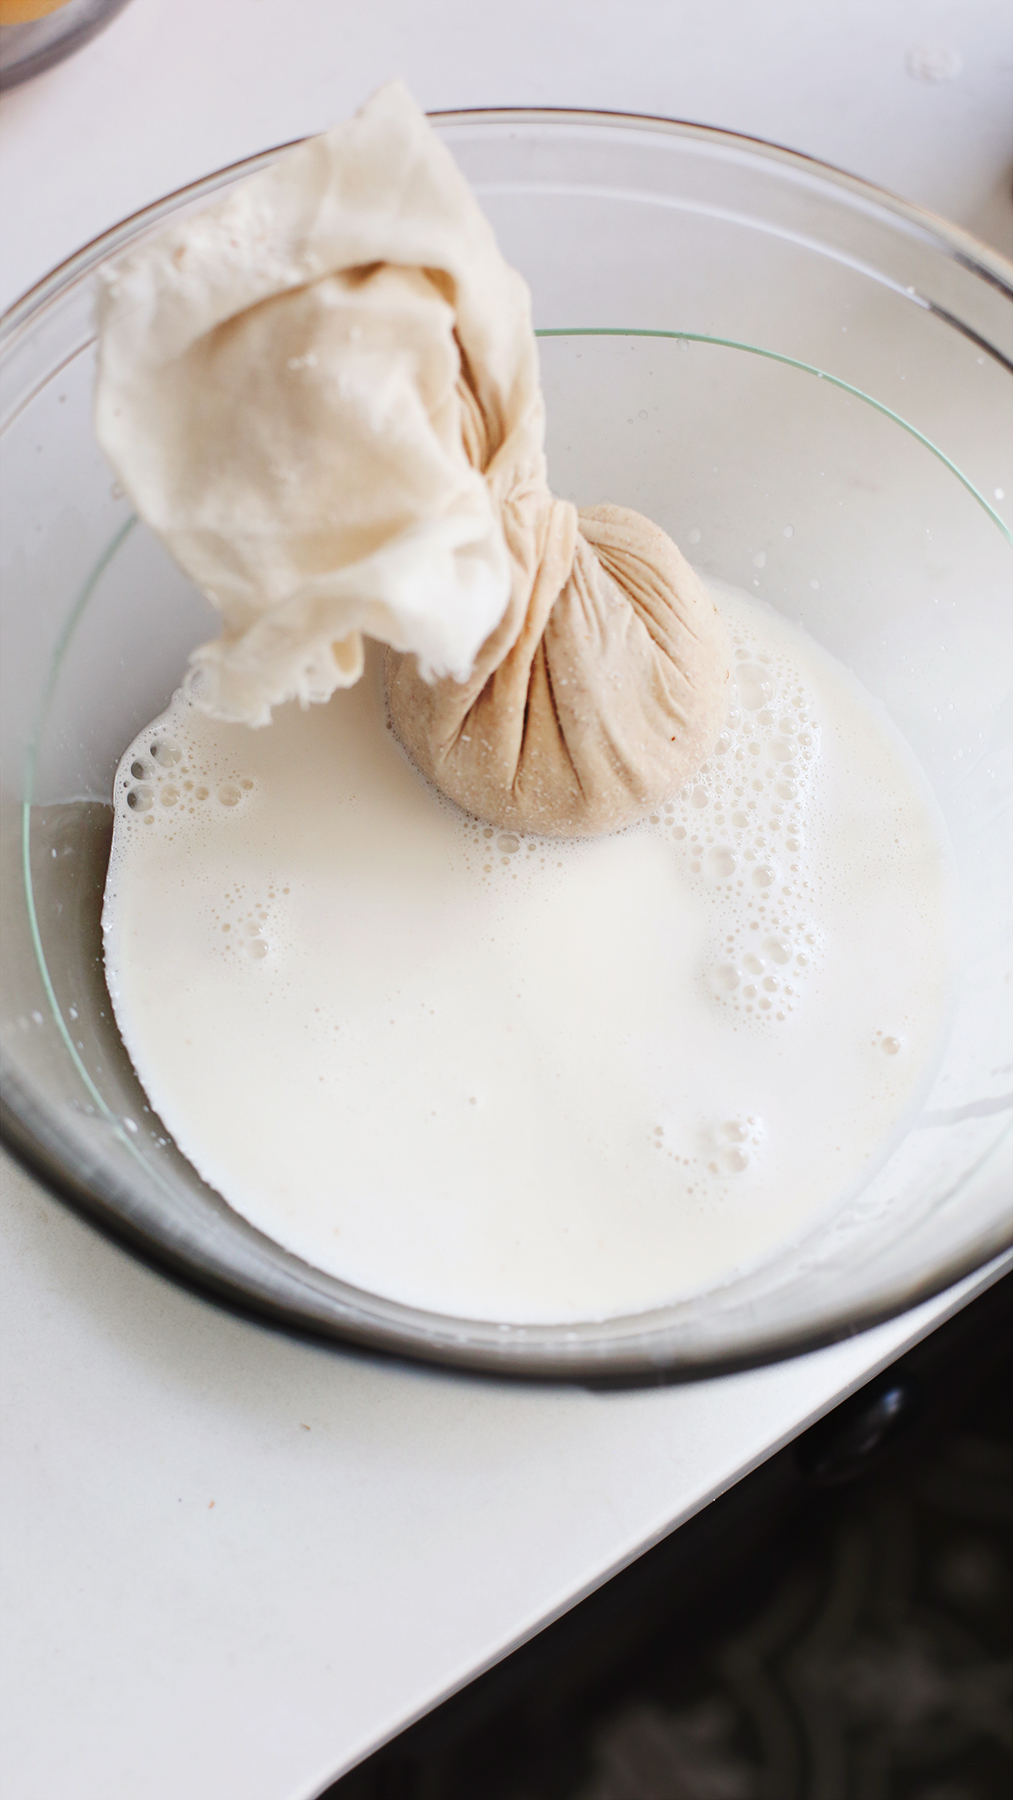
Once strained, discard the pulp (or use to make crackers).
In a small bowl or glass, make a quick slurry by stirring together 1 tablespoon of water and the arrowroot until dissolved.
Then, transfer almond-coconut milk to the pot and add the canned coconut milk, agar agar, and the slurry—heat the pot over medium-high heat, whisking continuously until the contents reaches a boil. Reduce heat and simmer for 10 minutes, whisking often—custard will be bubbly and thick.
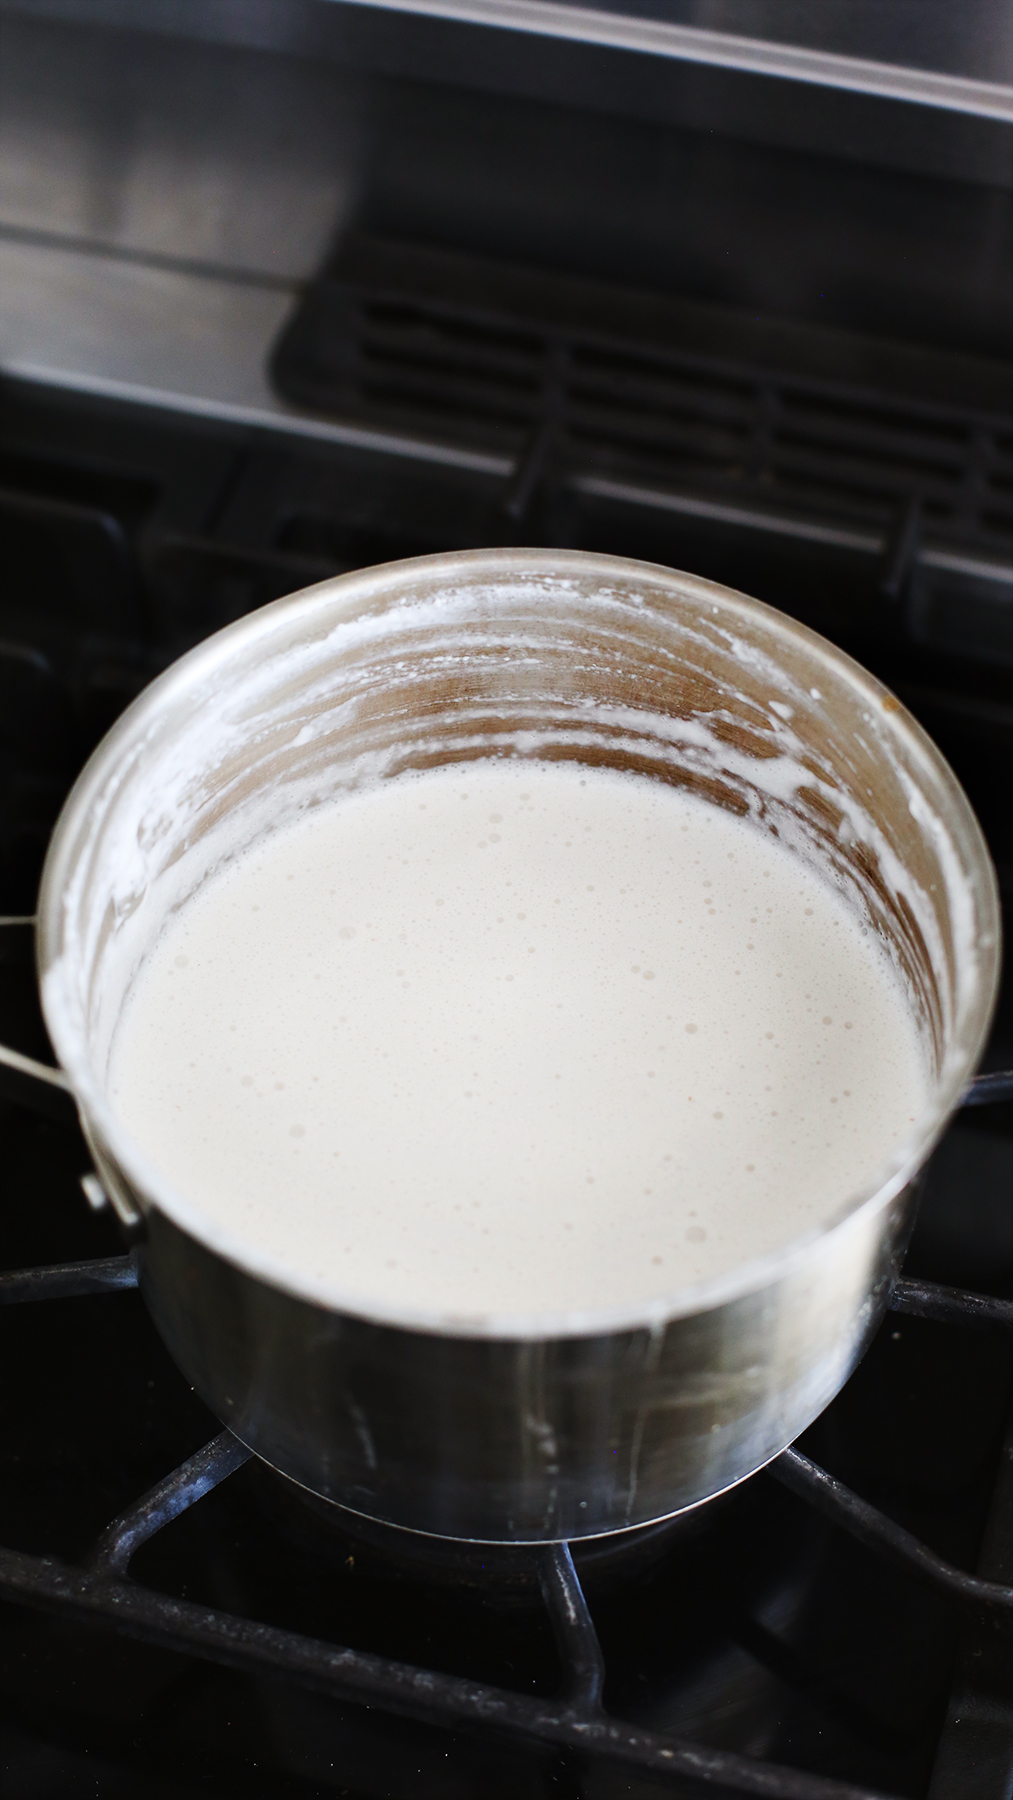
Then, whisk in the honey, vanilla, and salt for 1 more minute. Remove from heat and set aside to cool for 15 minutes. Pour into the cool tart shell and transfer to the fridge to set for at least 2 hours.
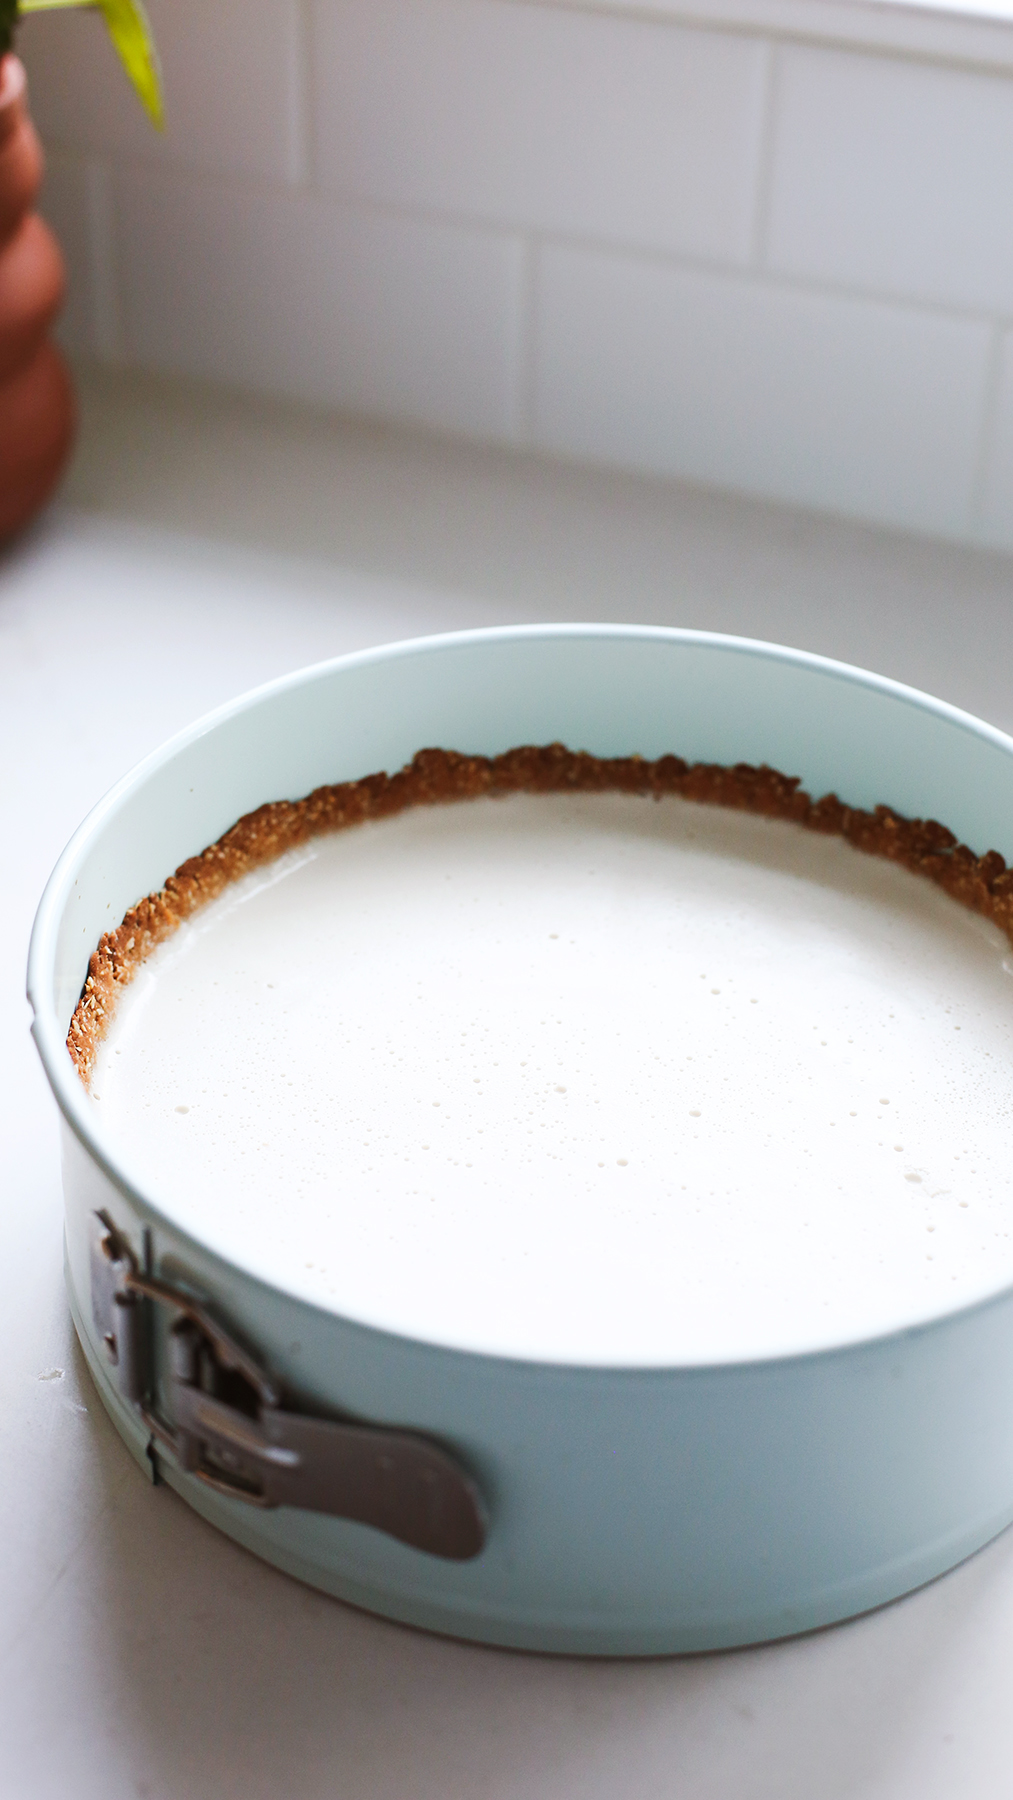
Once the custard has set at least 2 hours, make the jelly.
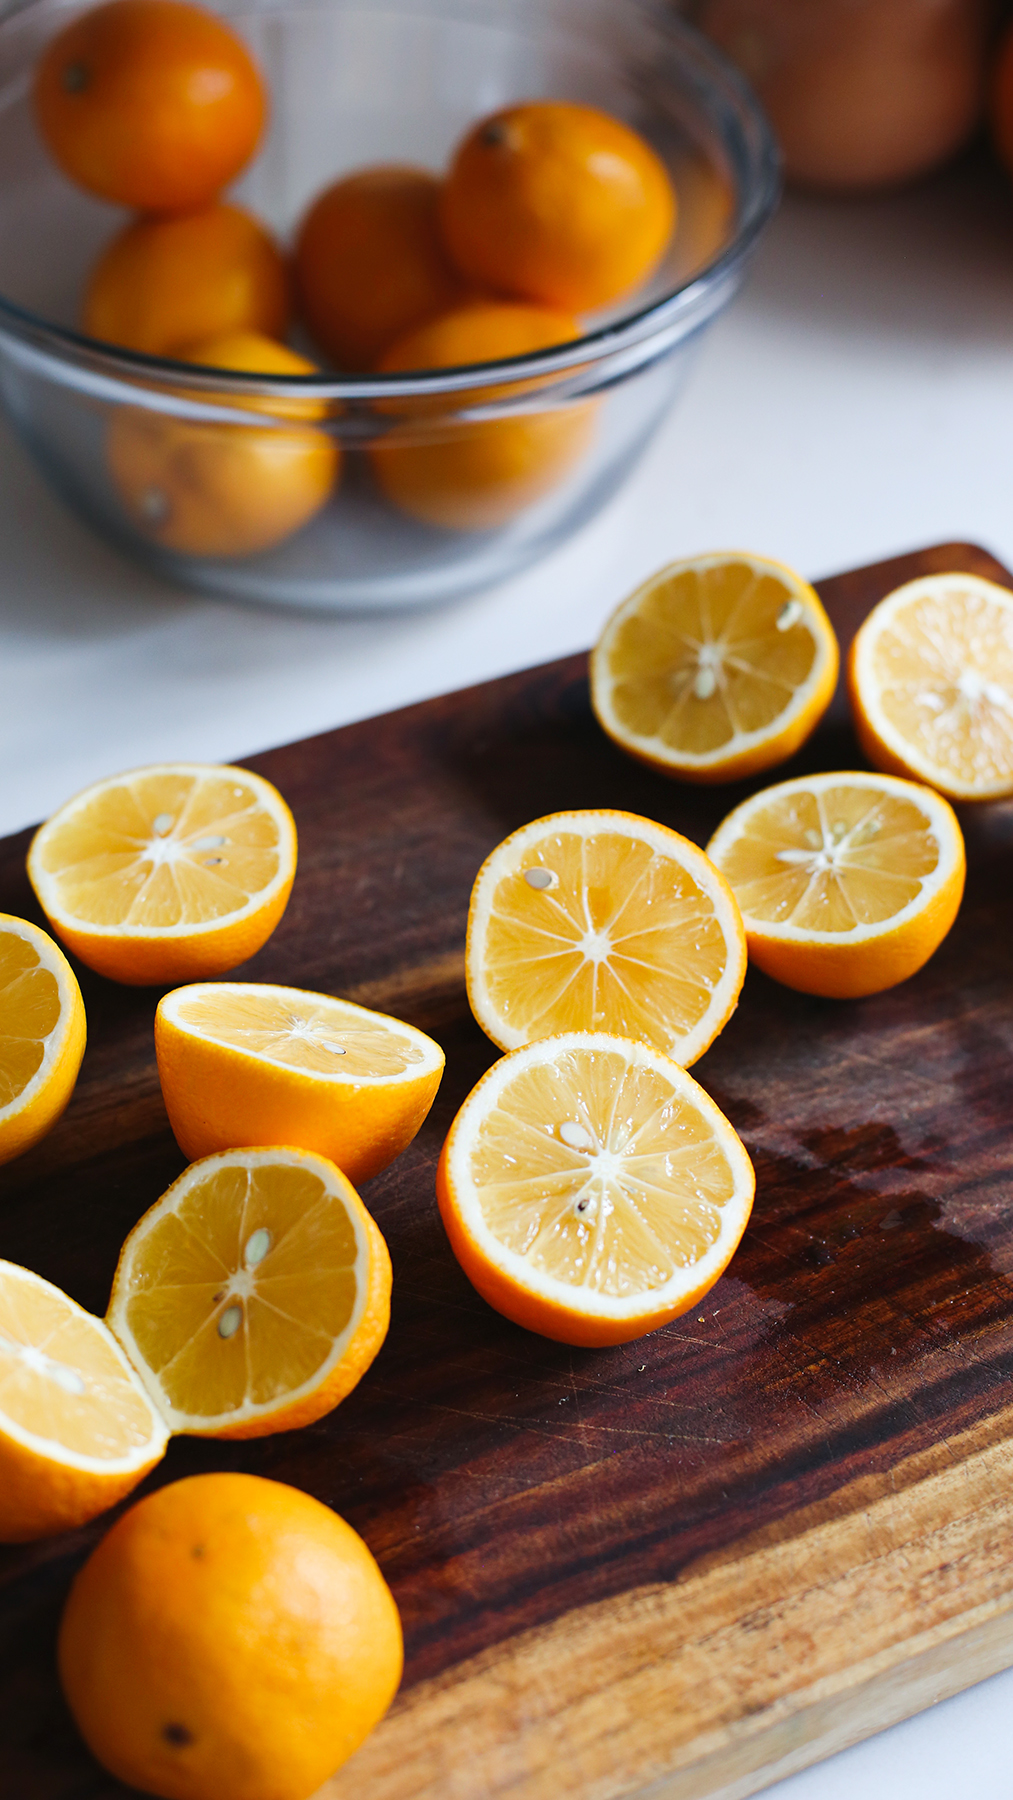
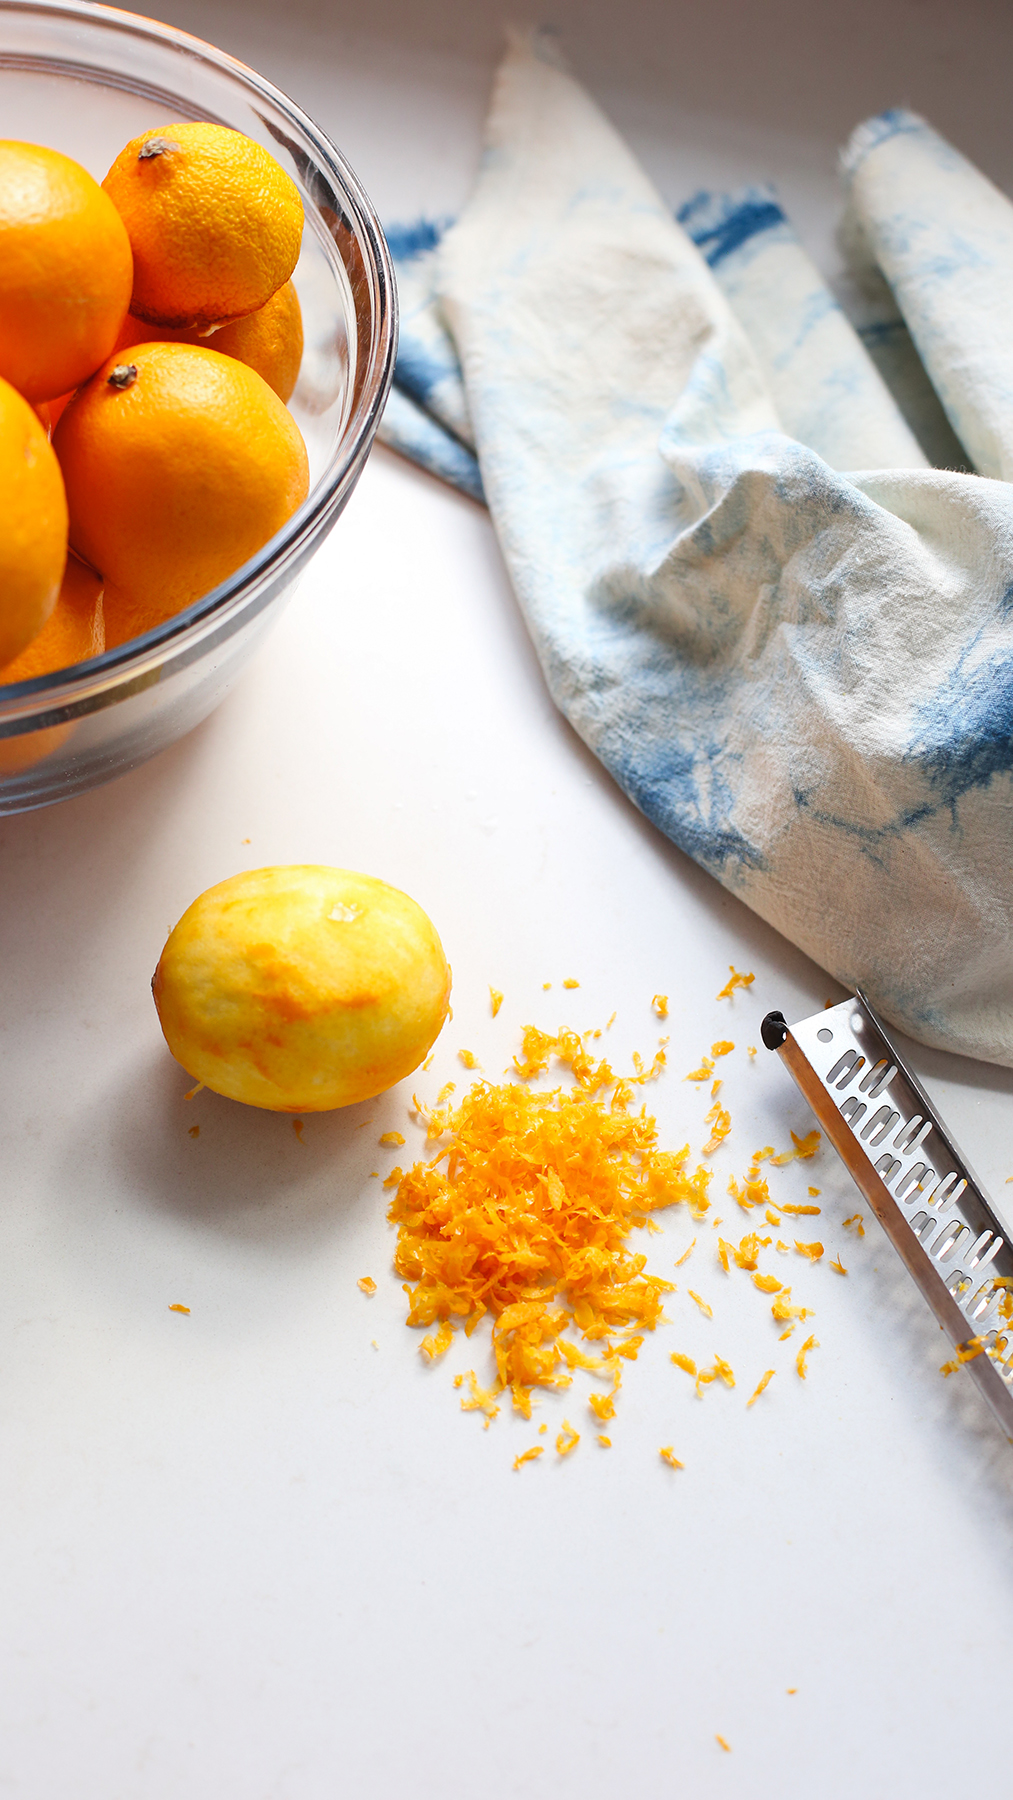
Zest two lemons and place all of the zest into a pot.
Juice the zested and remaining whole lemons…
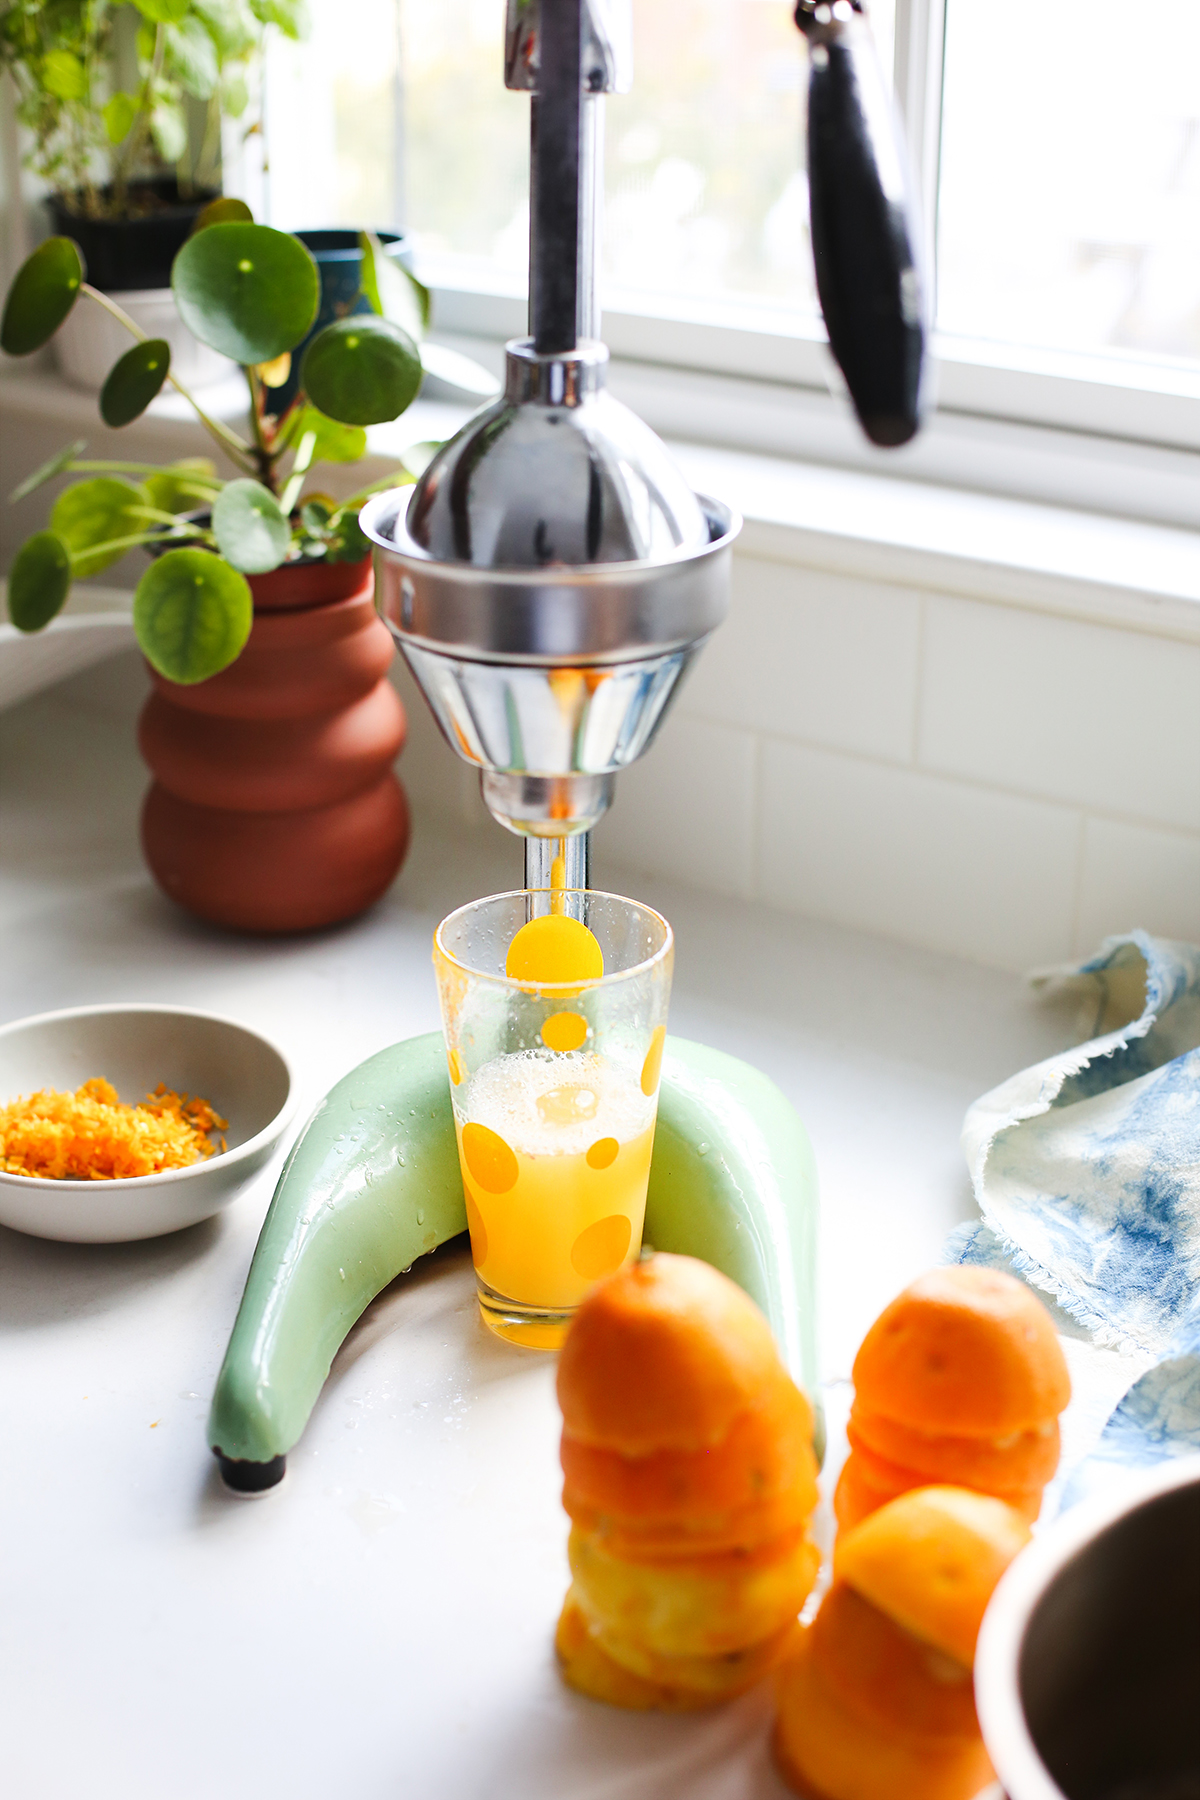
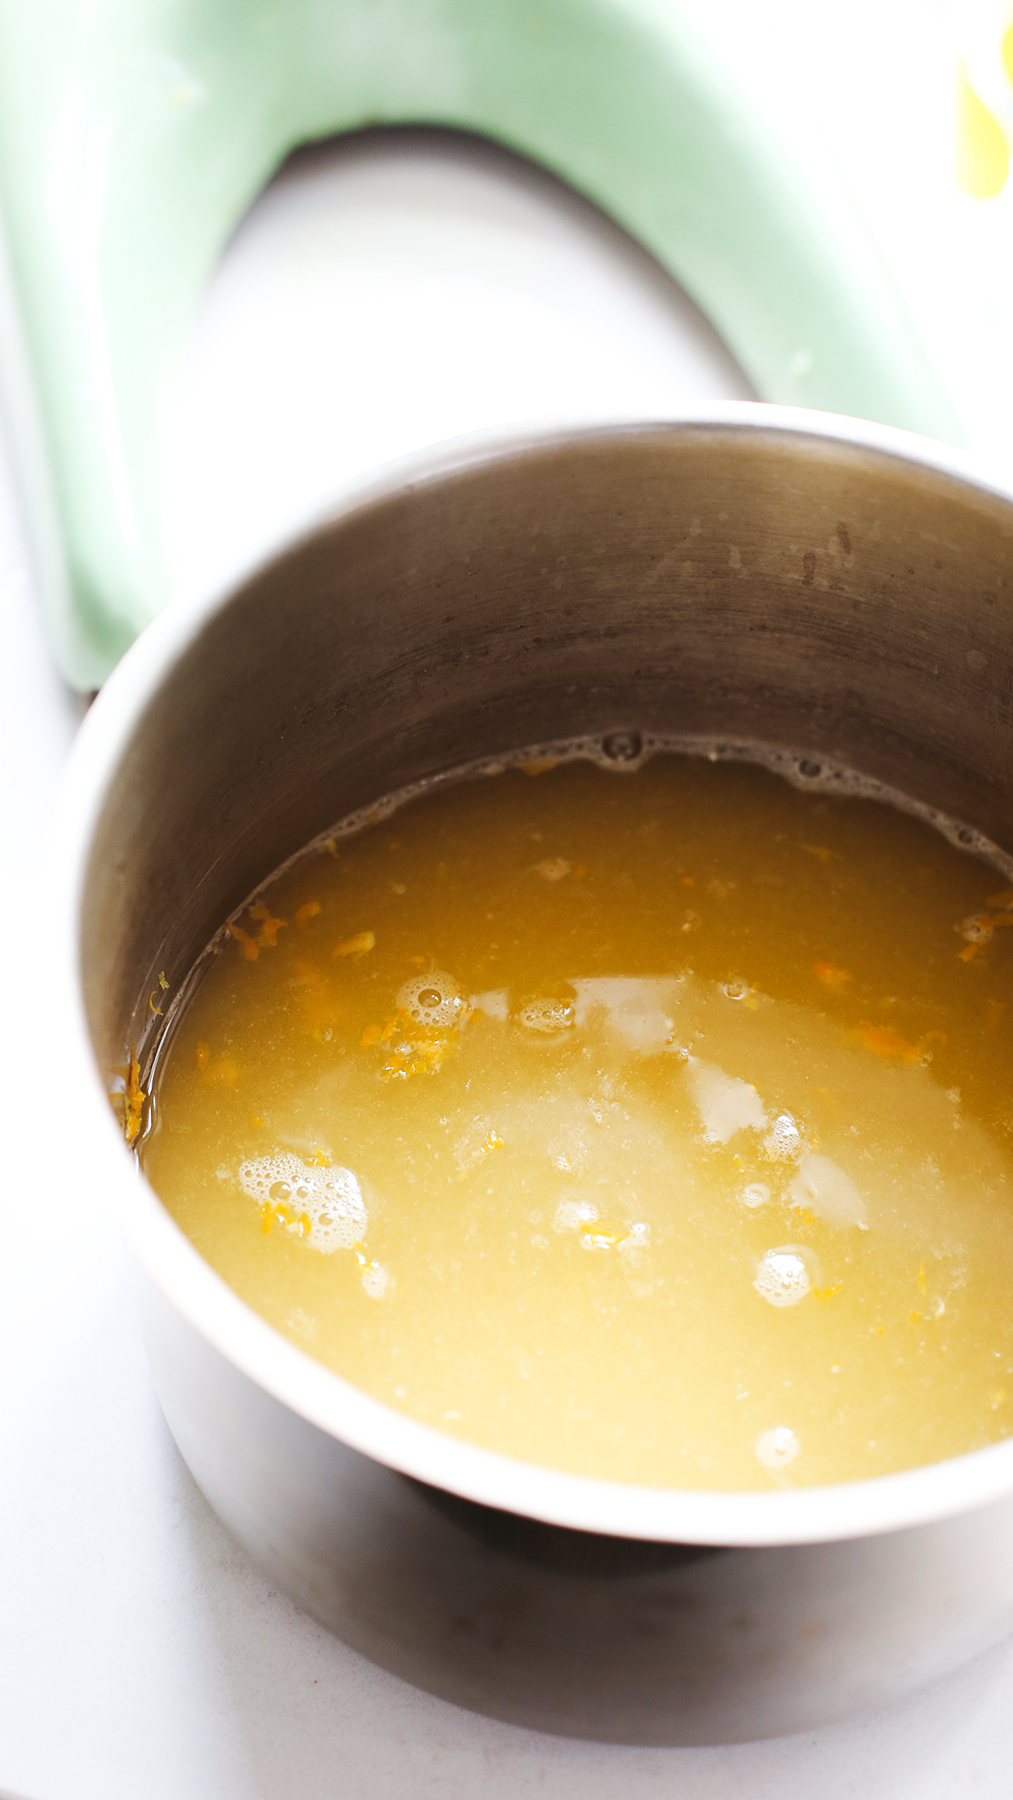
… and add the juice to the pot with 1 cup of water…
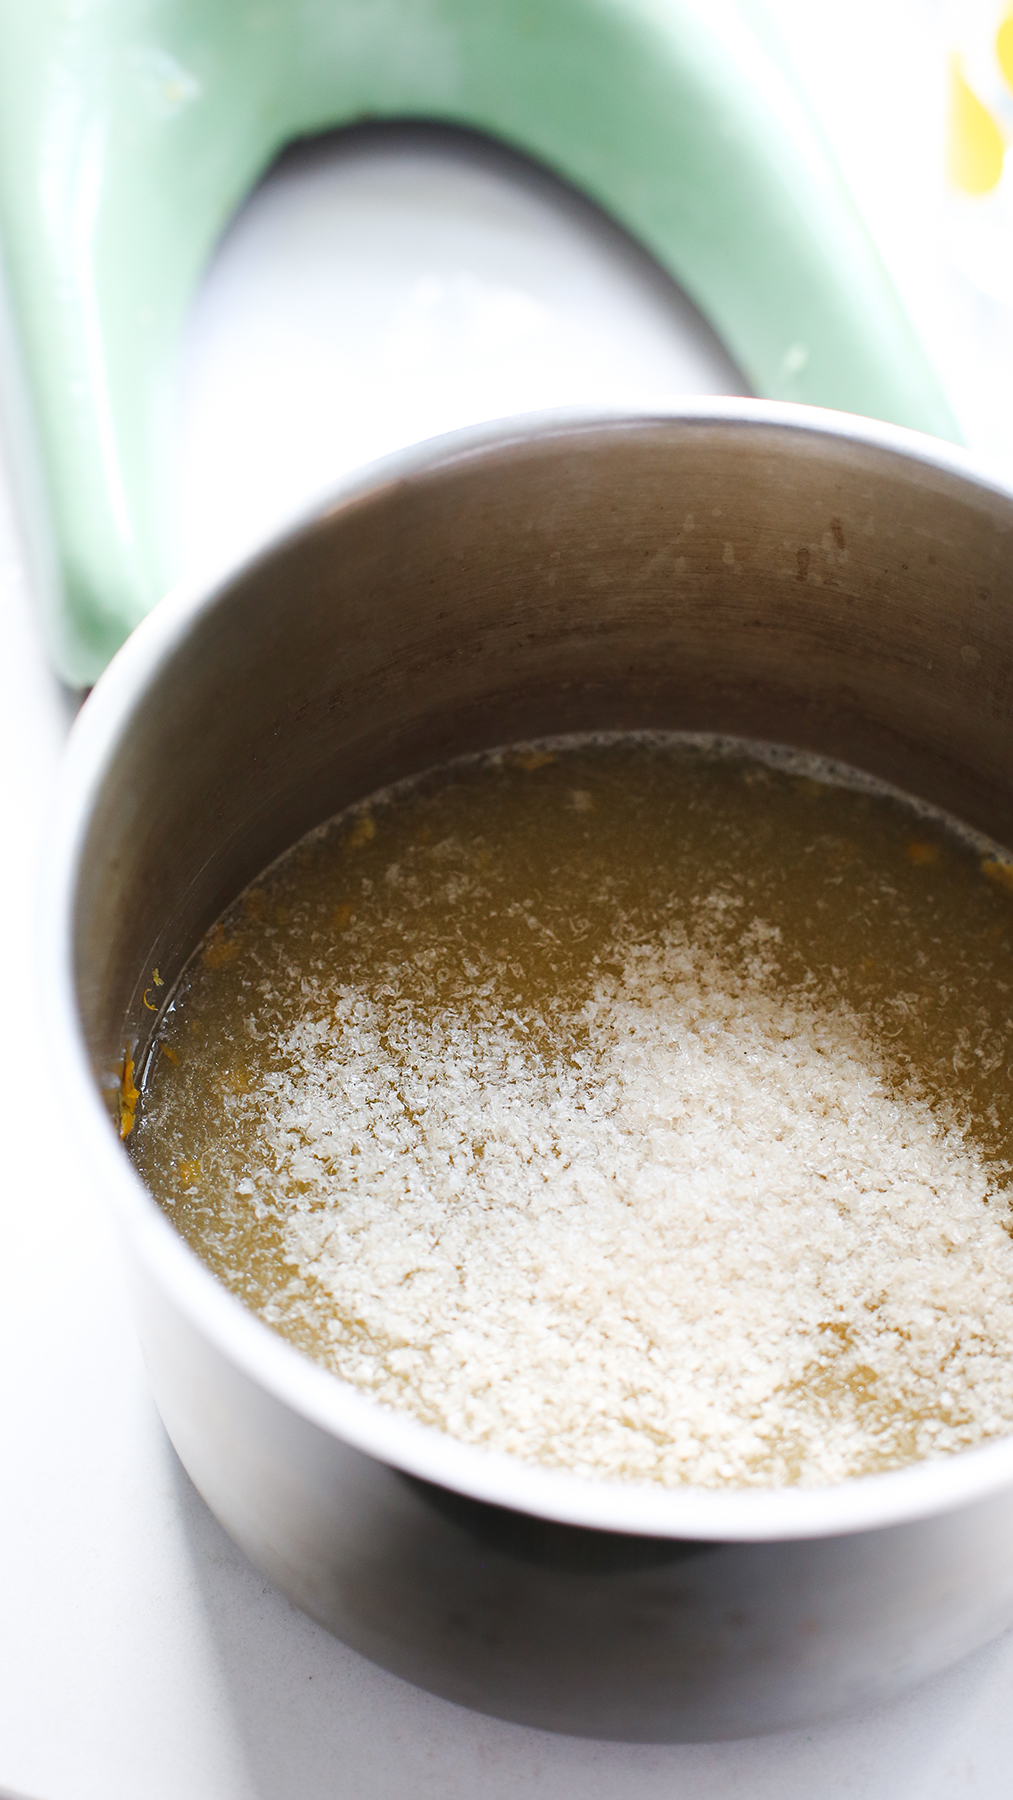
… and agar agar.
Bring the contents to a boil, whisking often, then reduce heat to a simmer, then whisk in honey and remove from the heat and allow to cool to room temperature, then pour the jelly over the completely chilled custard.
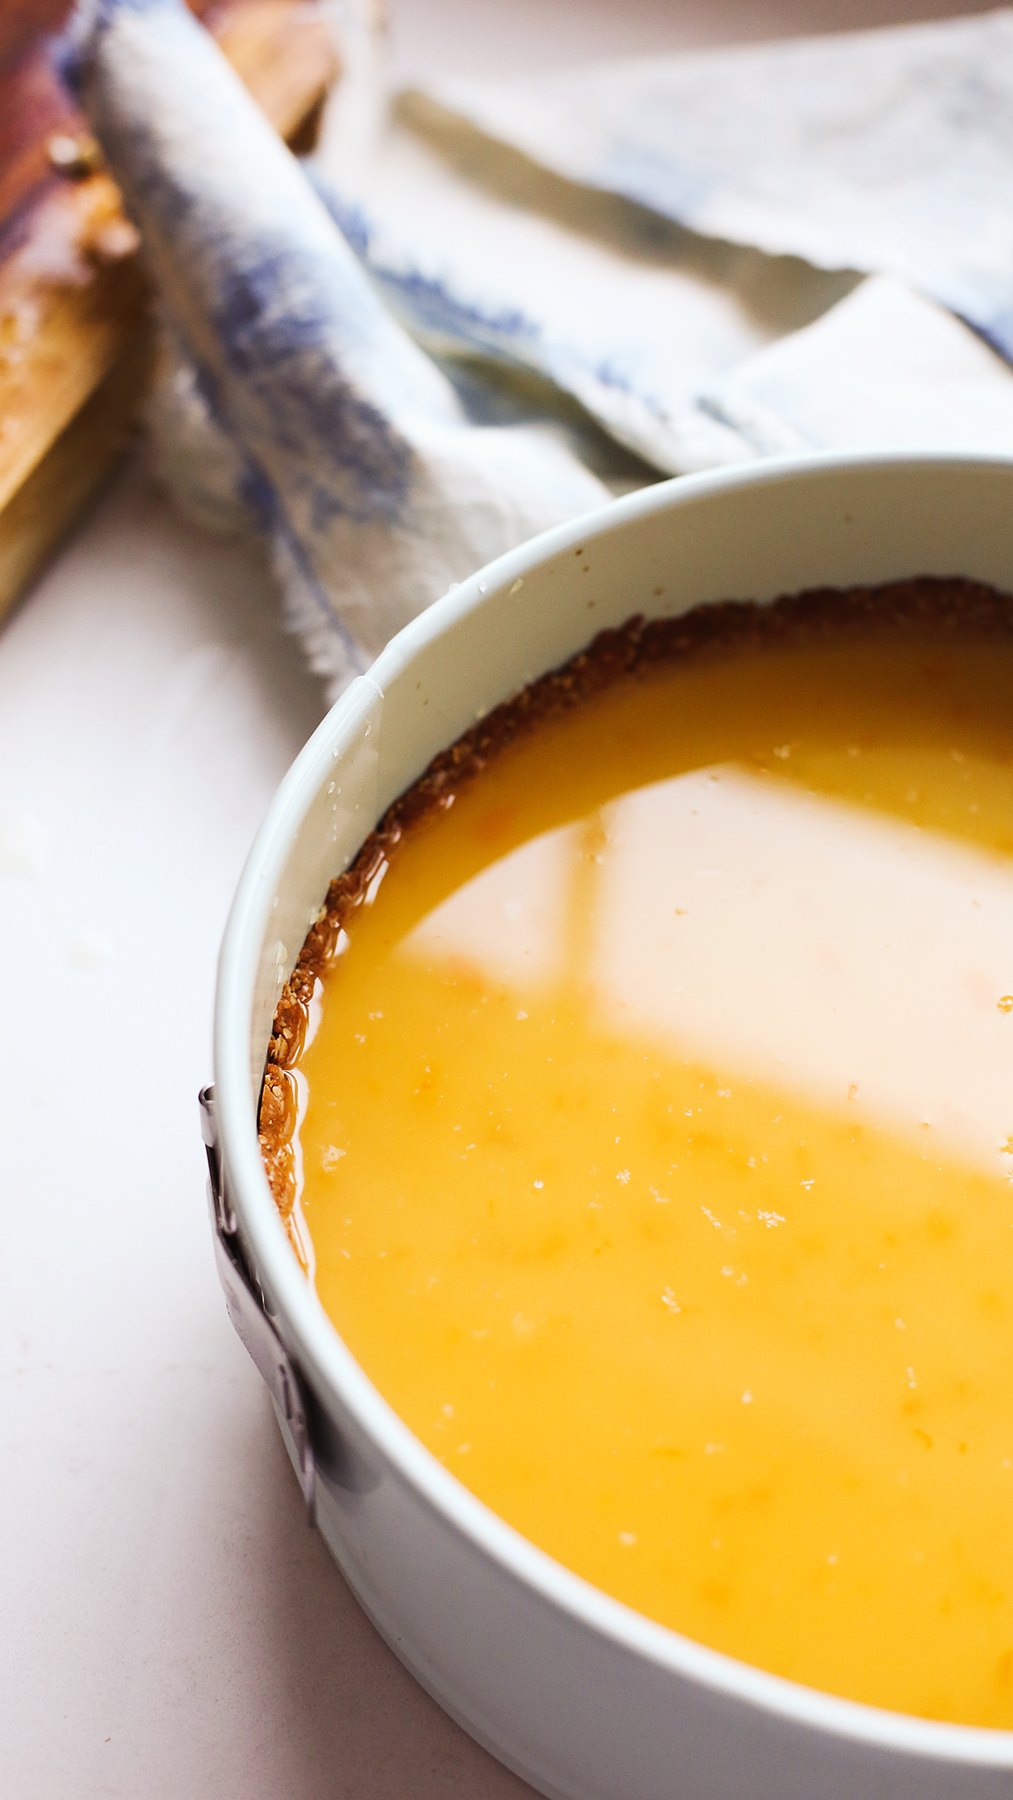
Return tart to the fridge to chill and set for at least 2 more hours.
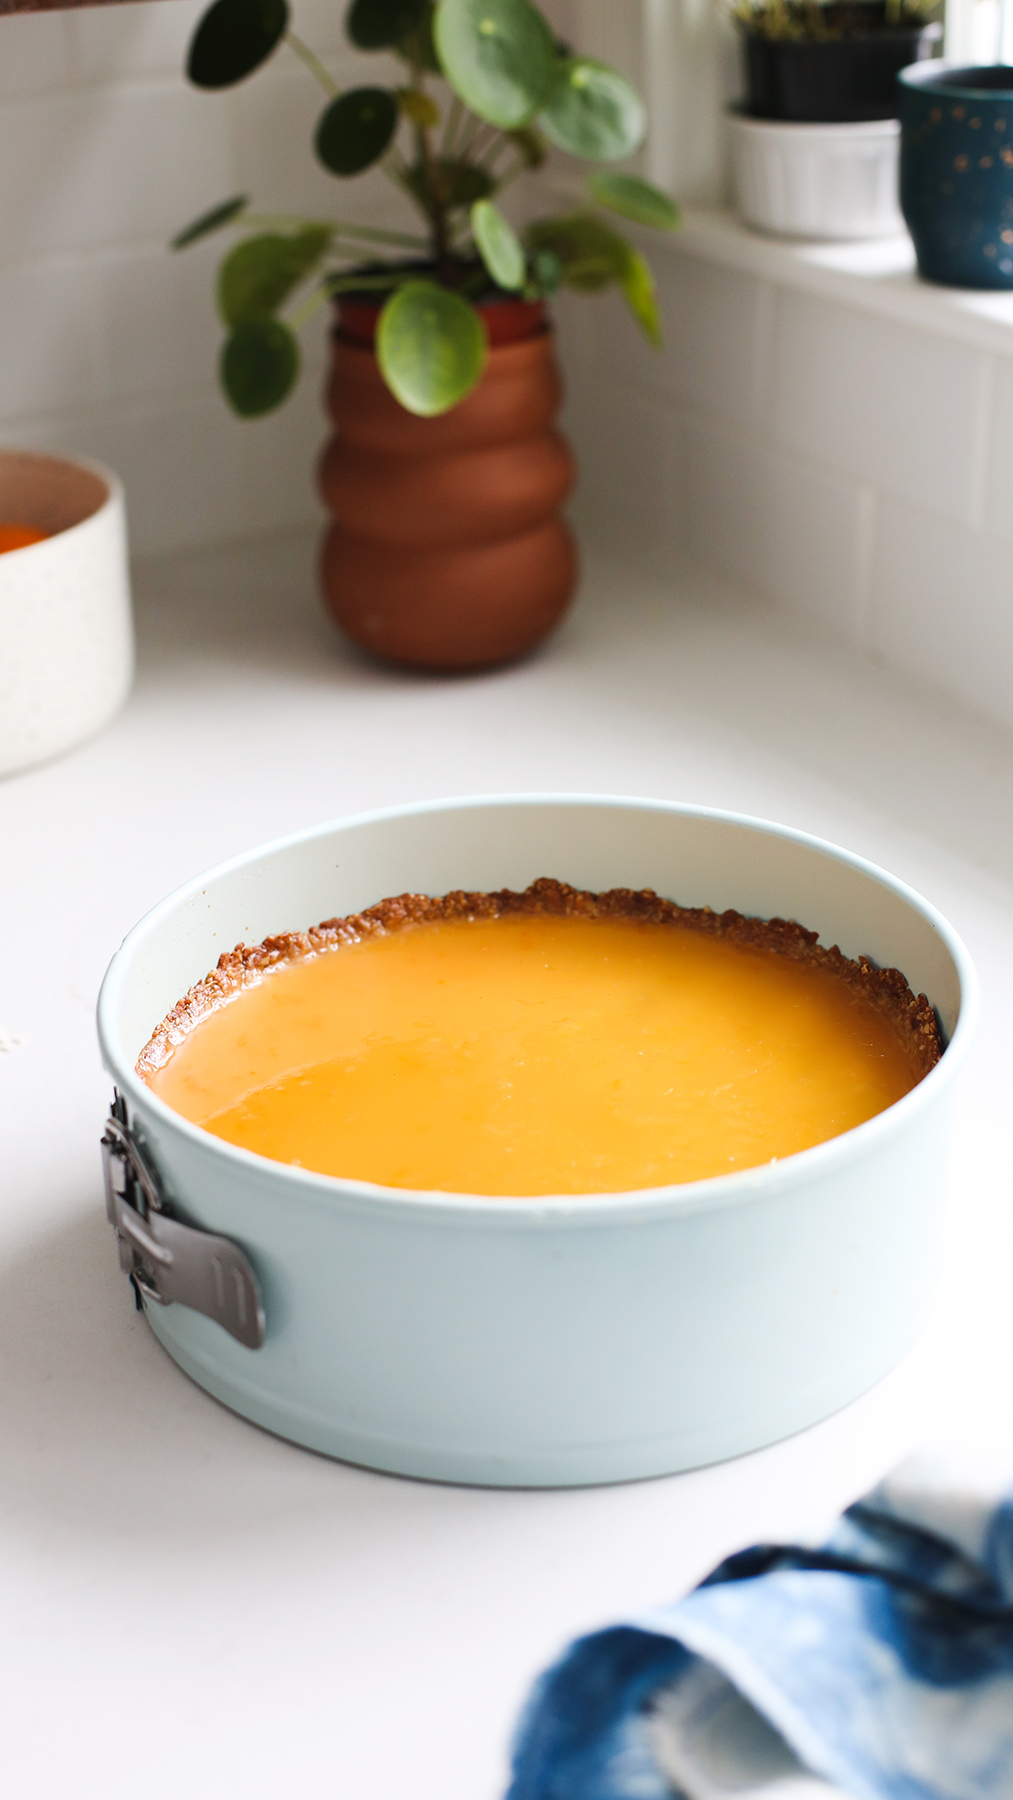
TIP: You can use an upside down bowl to create a tart stand for presentation.
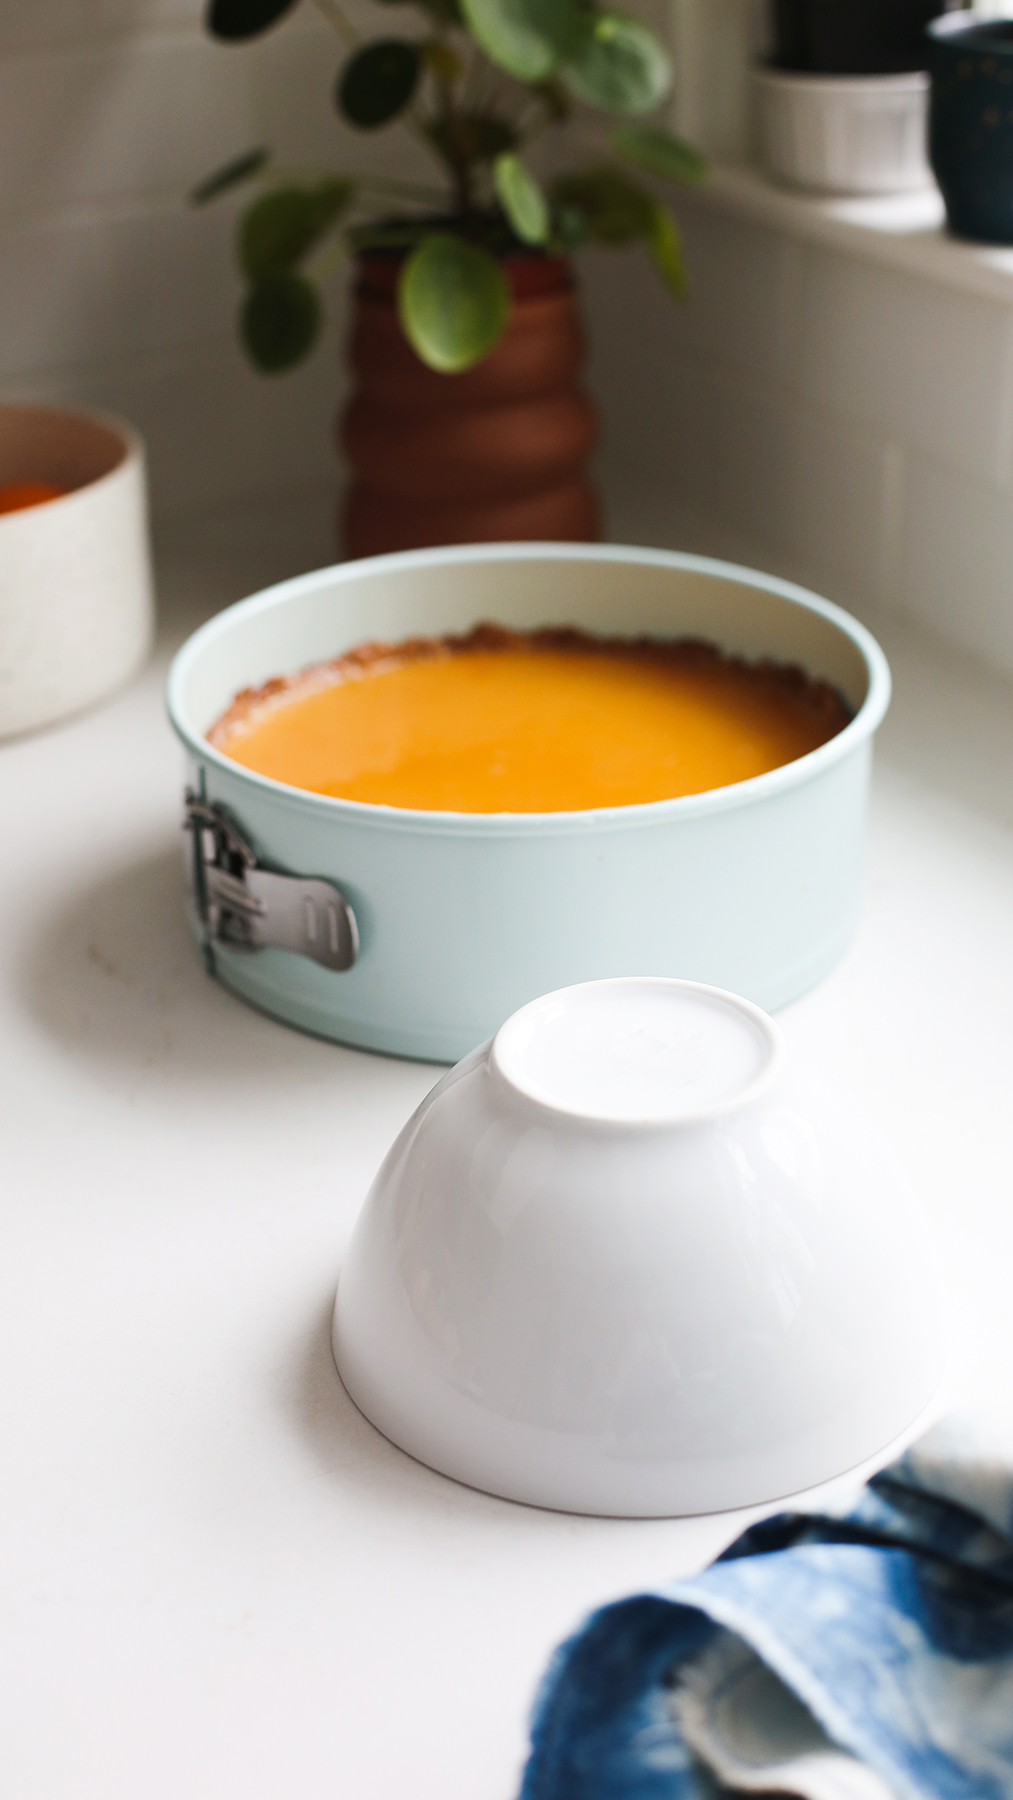
Place a small piece of grippy cupboard liner between the bowl and the bottom of the springform pan to reduce slippage.
Voilà!
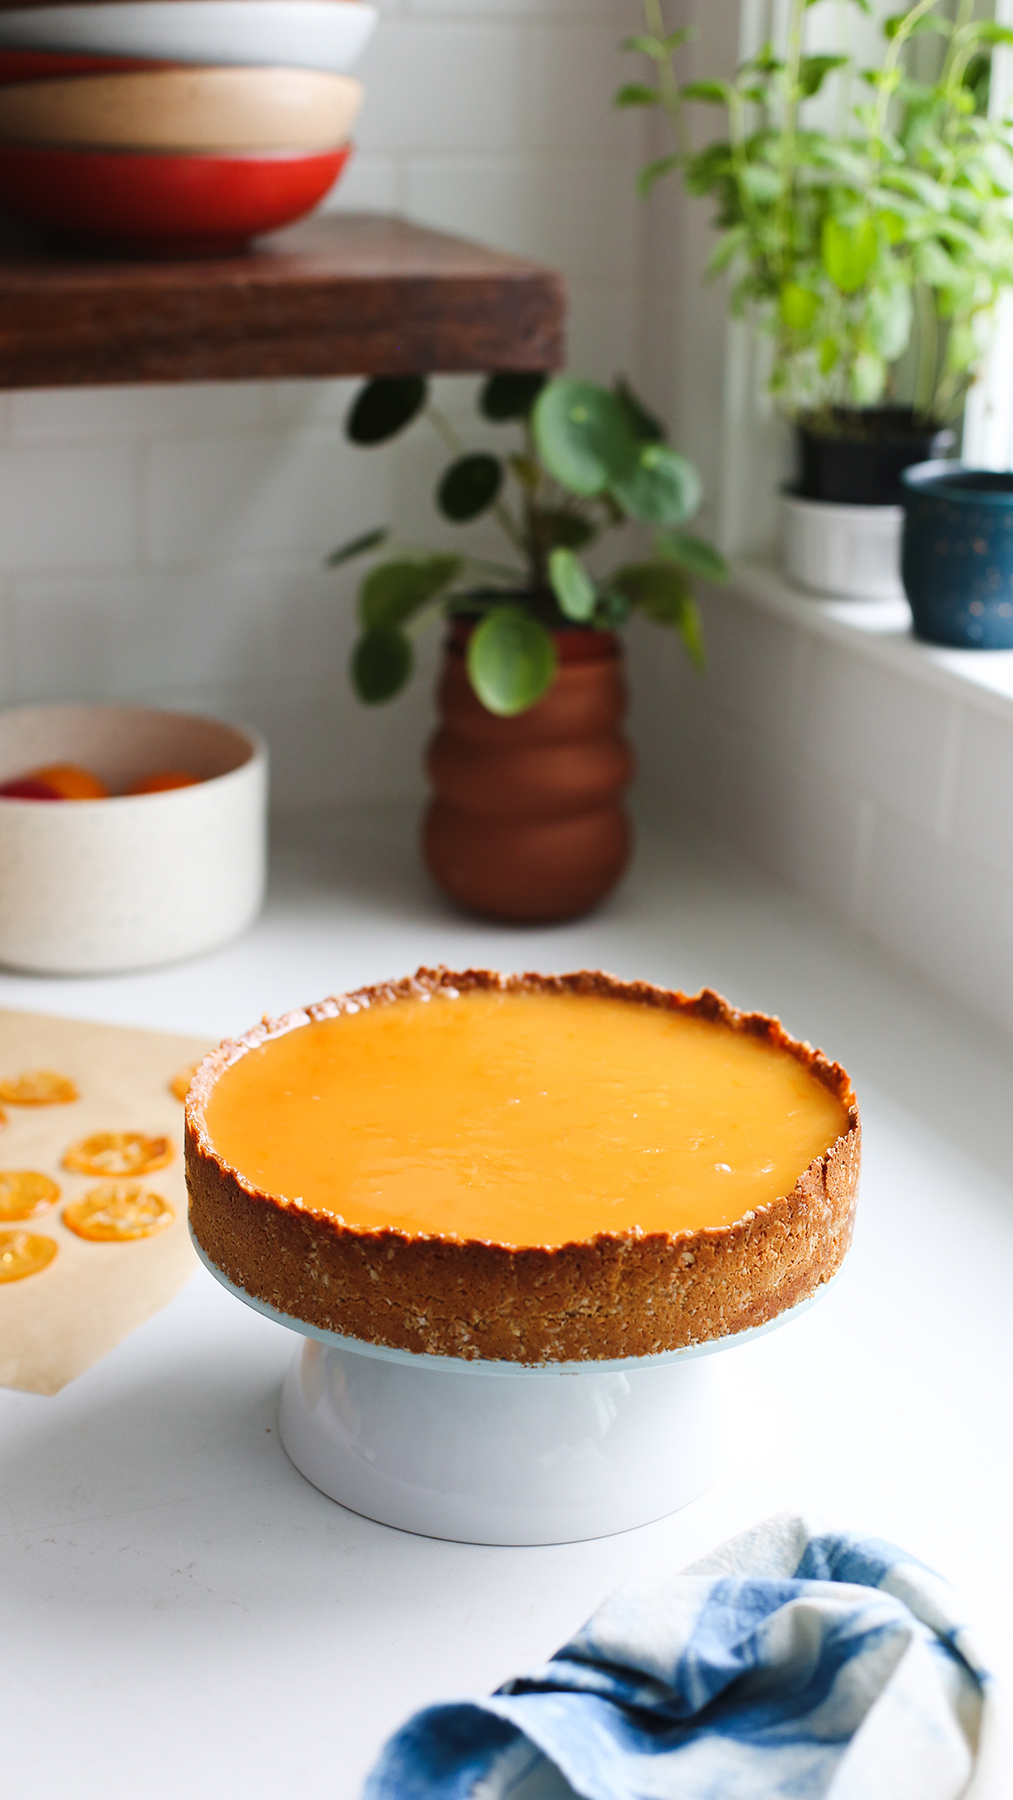
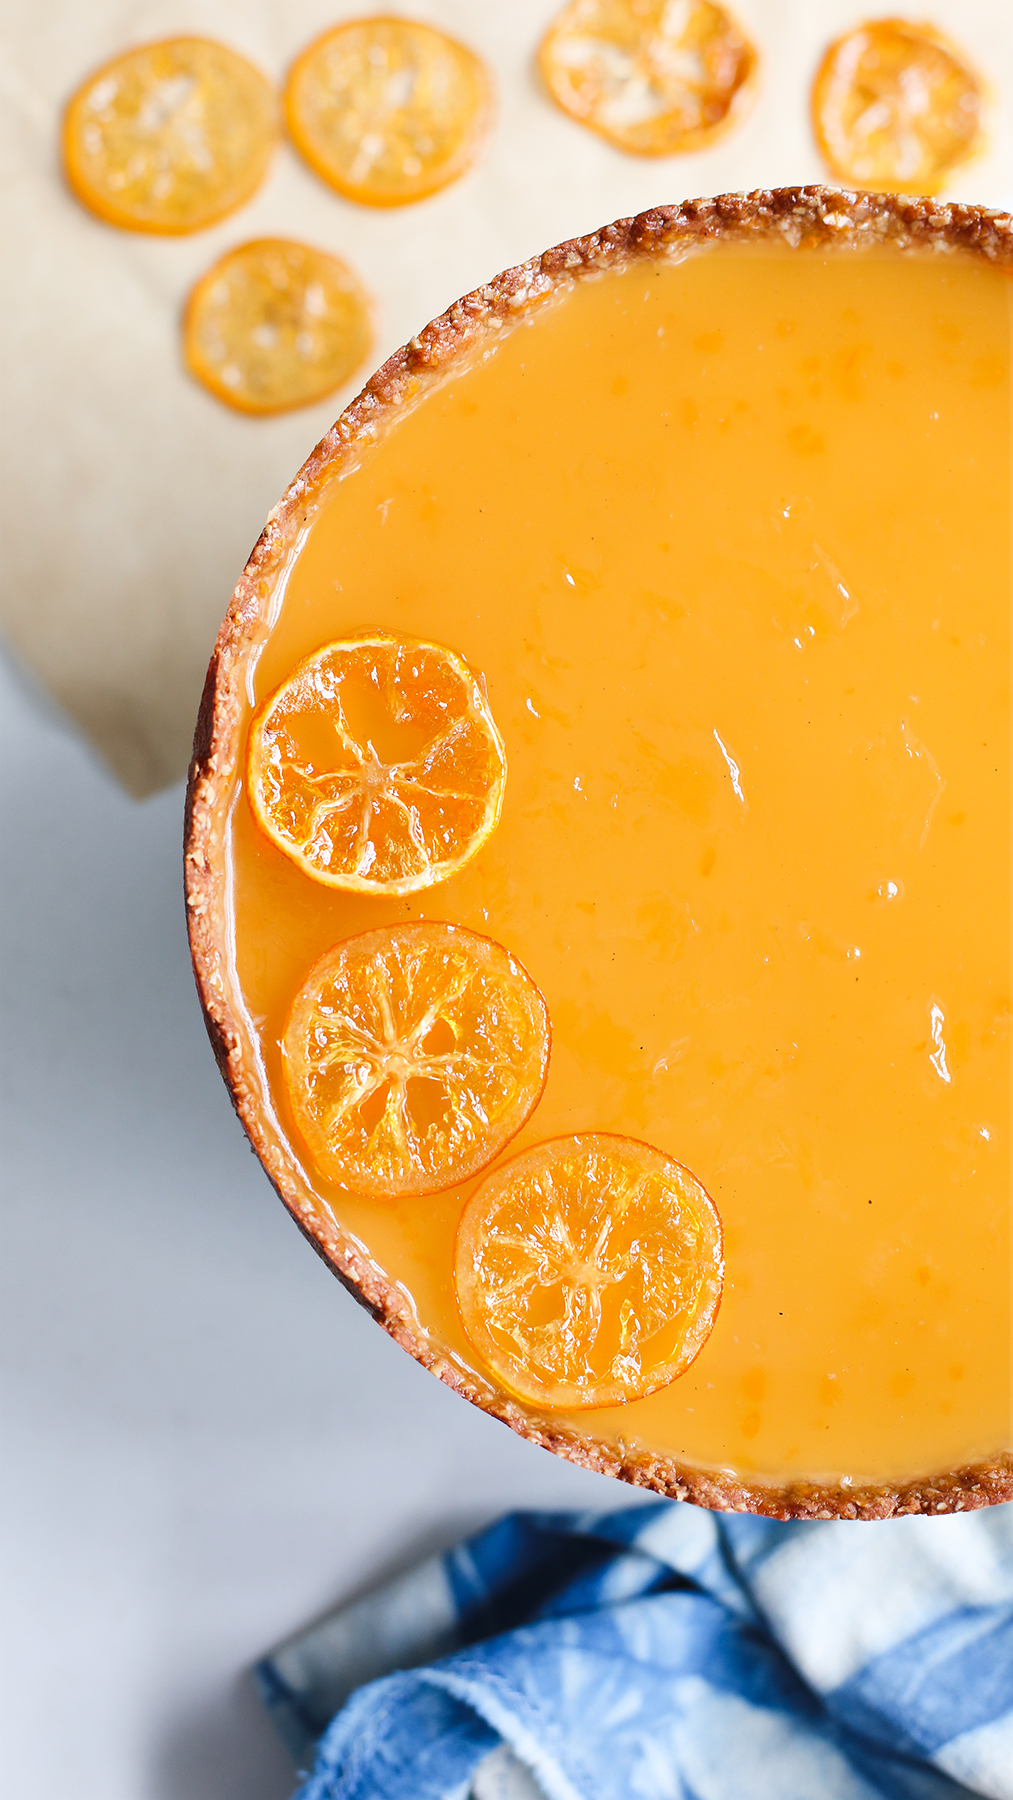
If you like, make some candied lemon slices to garnish your tart. Slice lemon into 1/8″ thick slices and remove any seeds and discard.
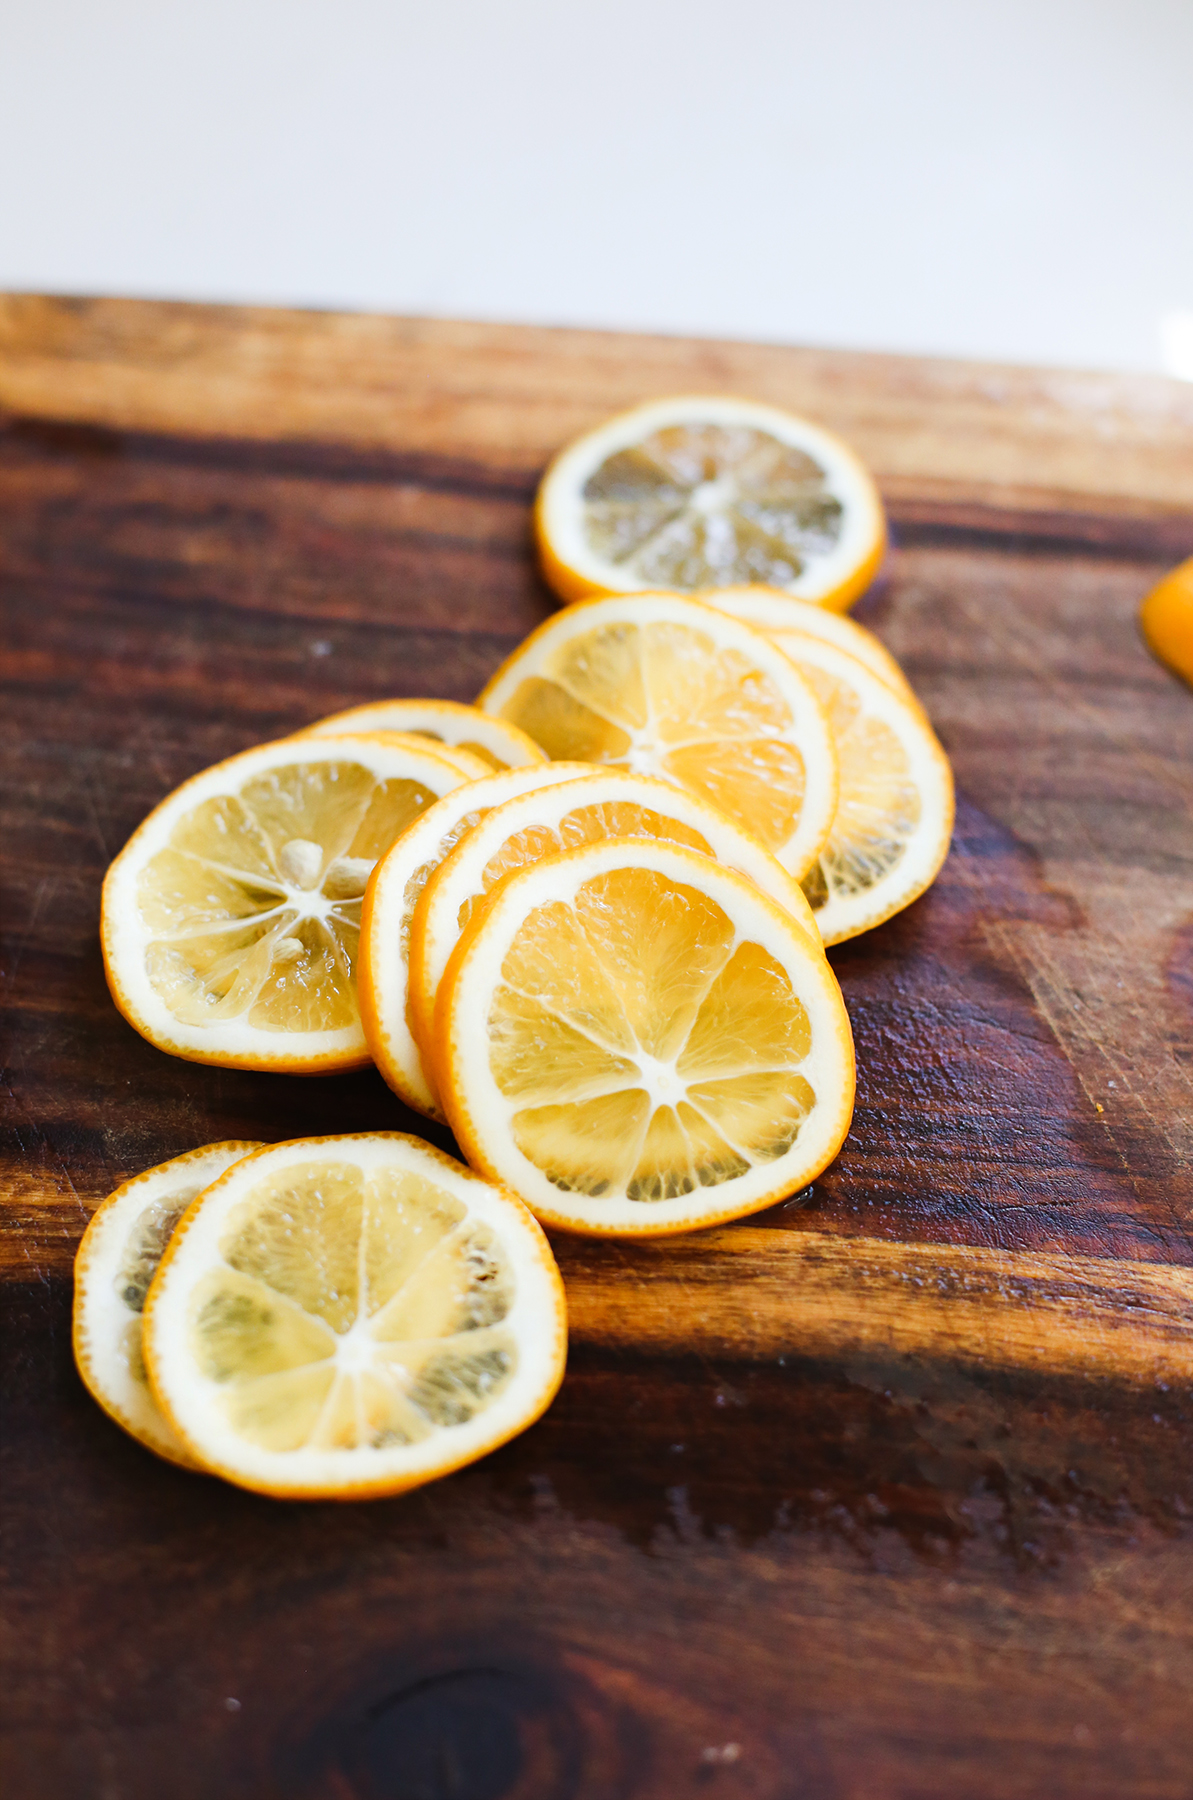
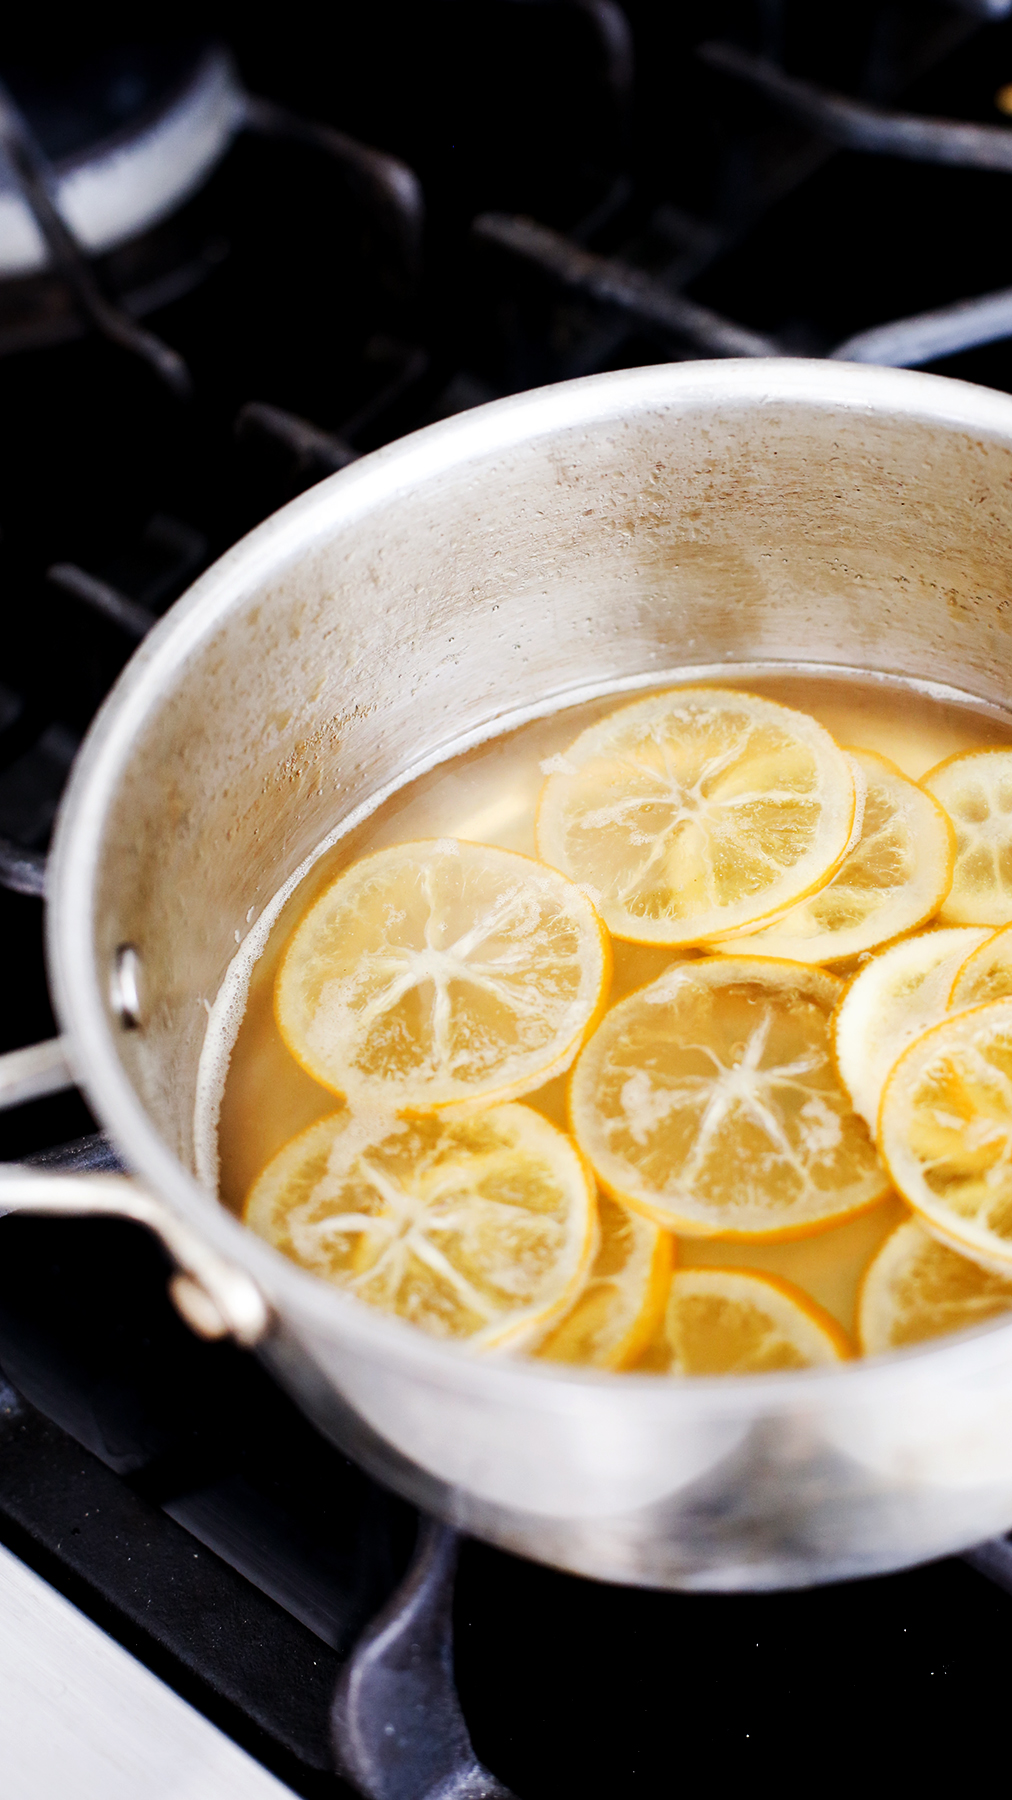
In a pot, whisk together water and sugar over medium heat until sugar is dissolved and liquid comes to a boil then reduce heat a bit to hold the boil for 1 minute without browning the sugar. Then, reduce heat to a simmer and add sliced lemons. Simmer for 15 minutes, stirring gently (maintain the whole lemon slices) and constantly to keep the sugar from browning. Flip lemons and simmer for another 15 minutes until translucent.
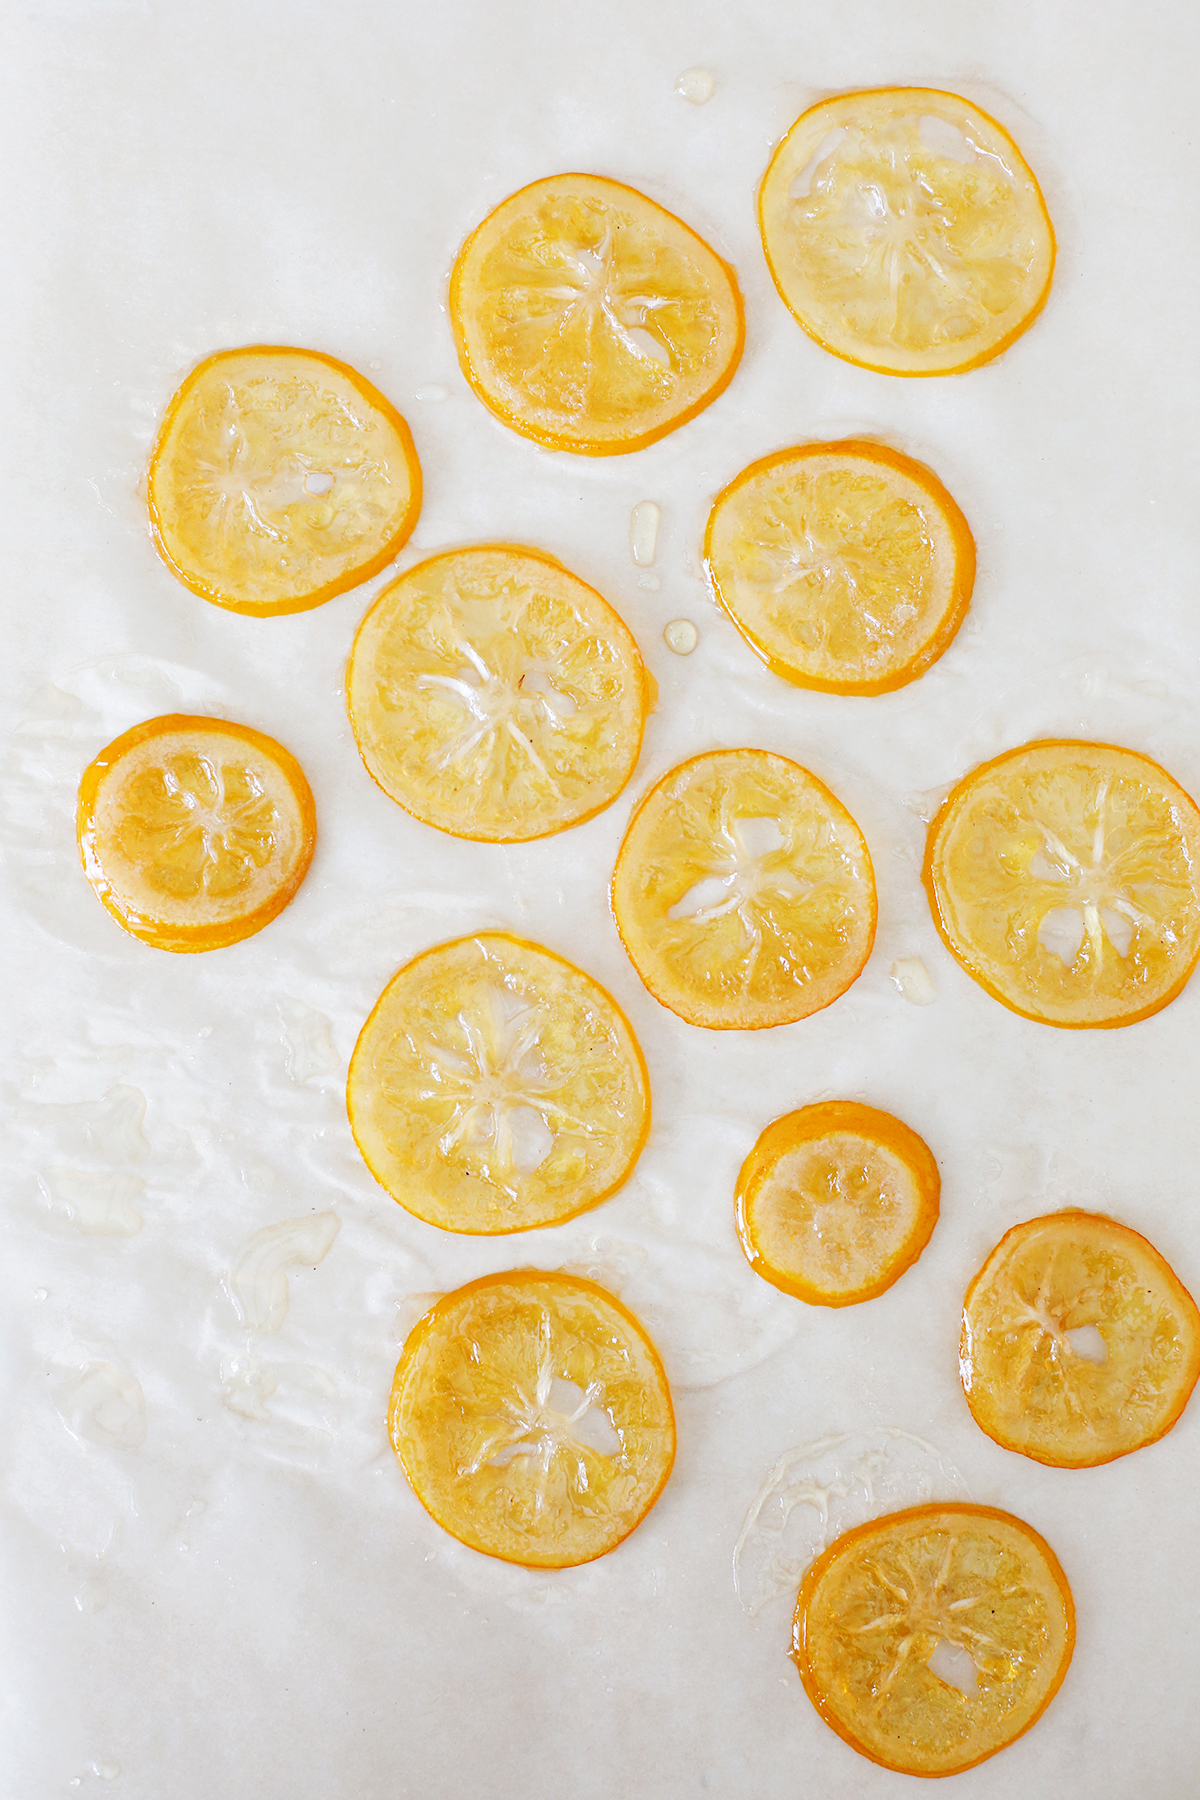
Remove from the pot with a fork so sugar can drip away (gently tap excess back into pot) and cool on a sheet of parchment paper (NOT wax paper)—reshape into rounds with the fork if needed and allow to cool until hardened.
NOTE: These are over-browned, overcooked lemons below—keep an eye on things the entire time!
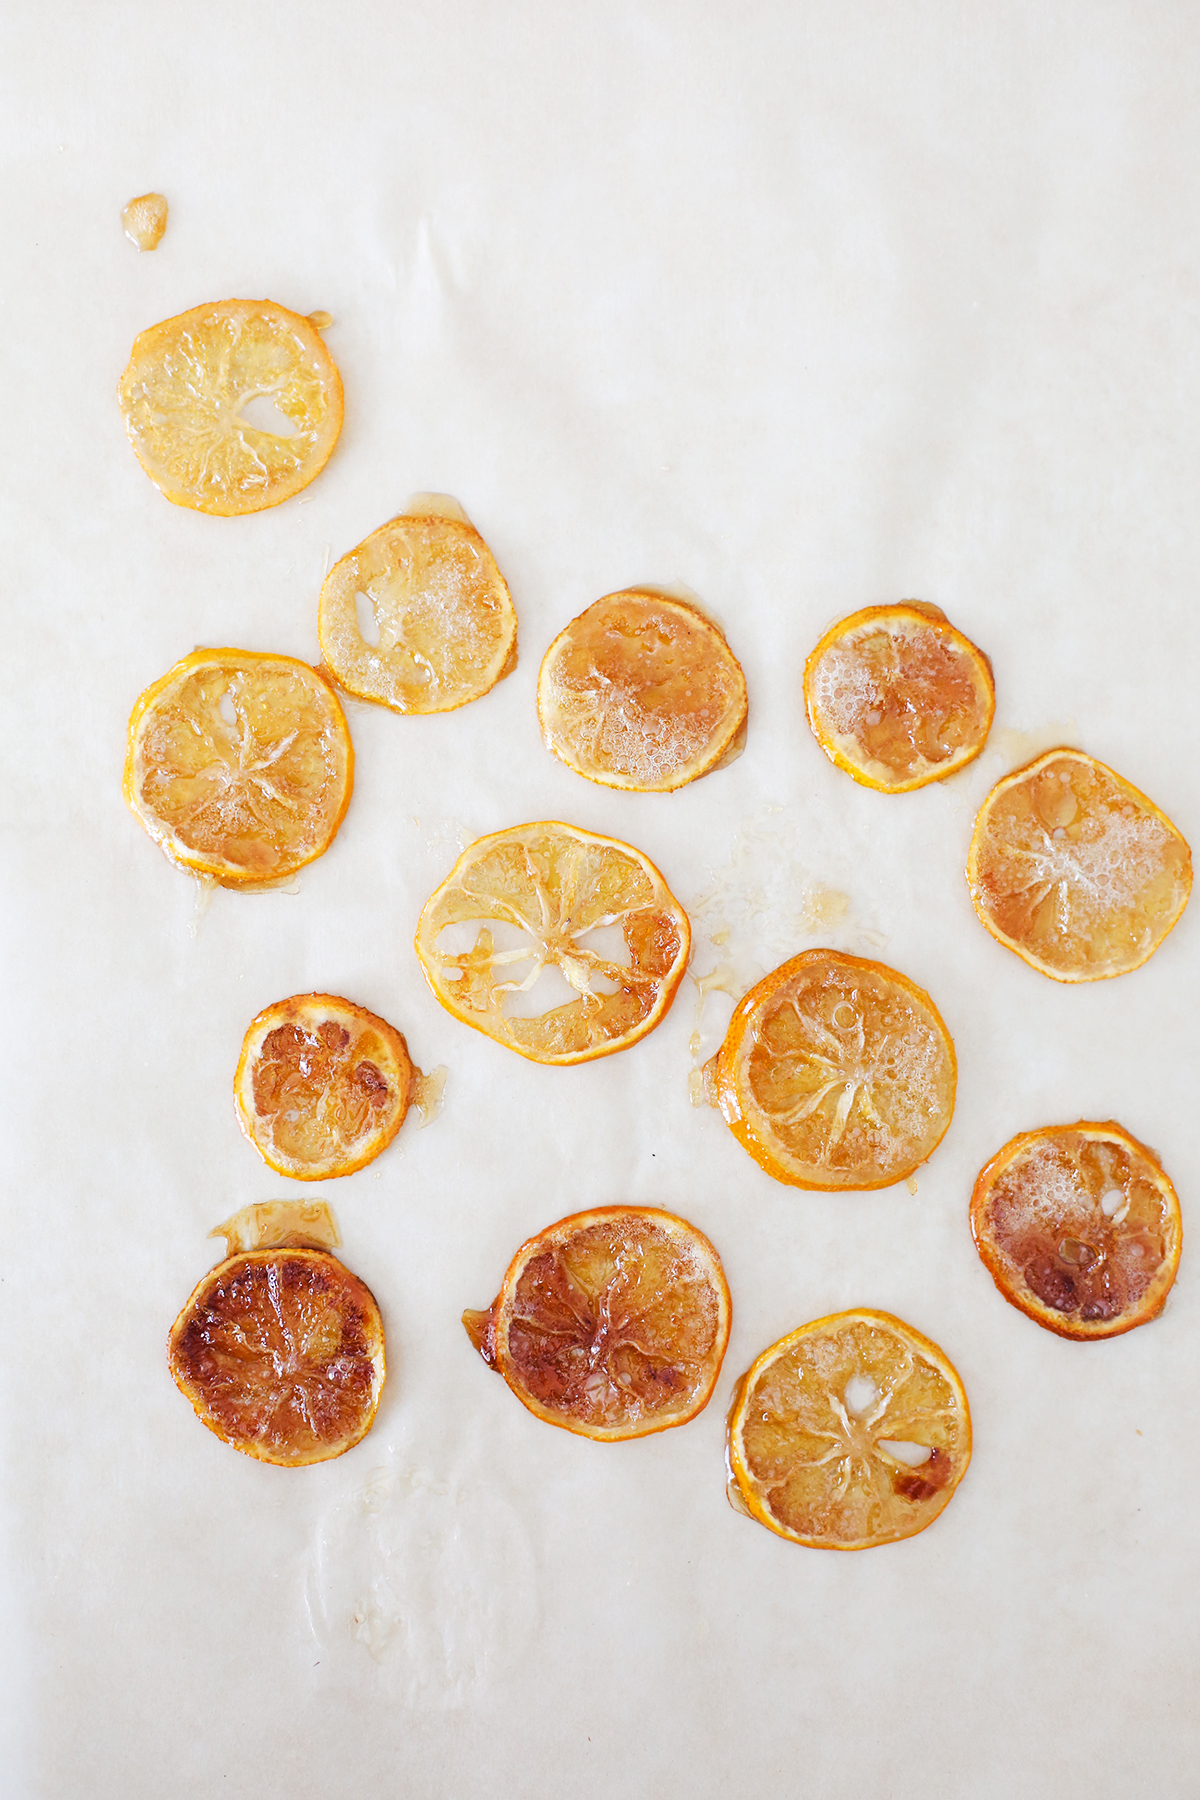
Candied Lemons may take some practice to get the sugar to the correct temp, but note that chewy lemons are just as tasty, so don’t worry.
Carefully remove the tart from the springform pan by placing a bowl underneath the bottom of the pan. Release the clamp and carefully remove the band.
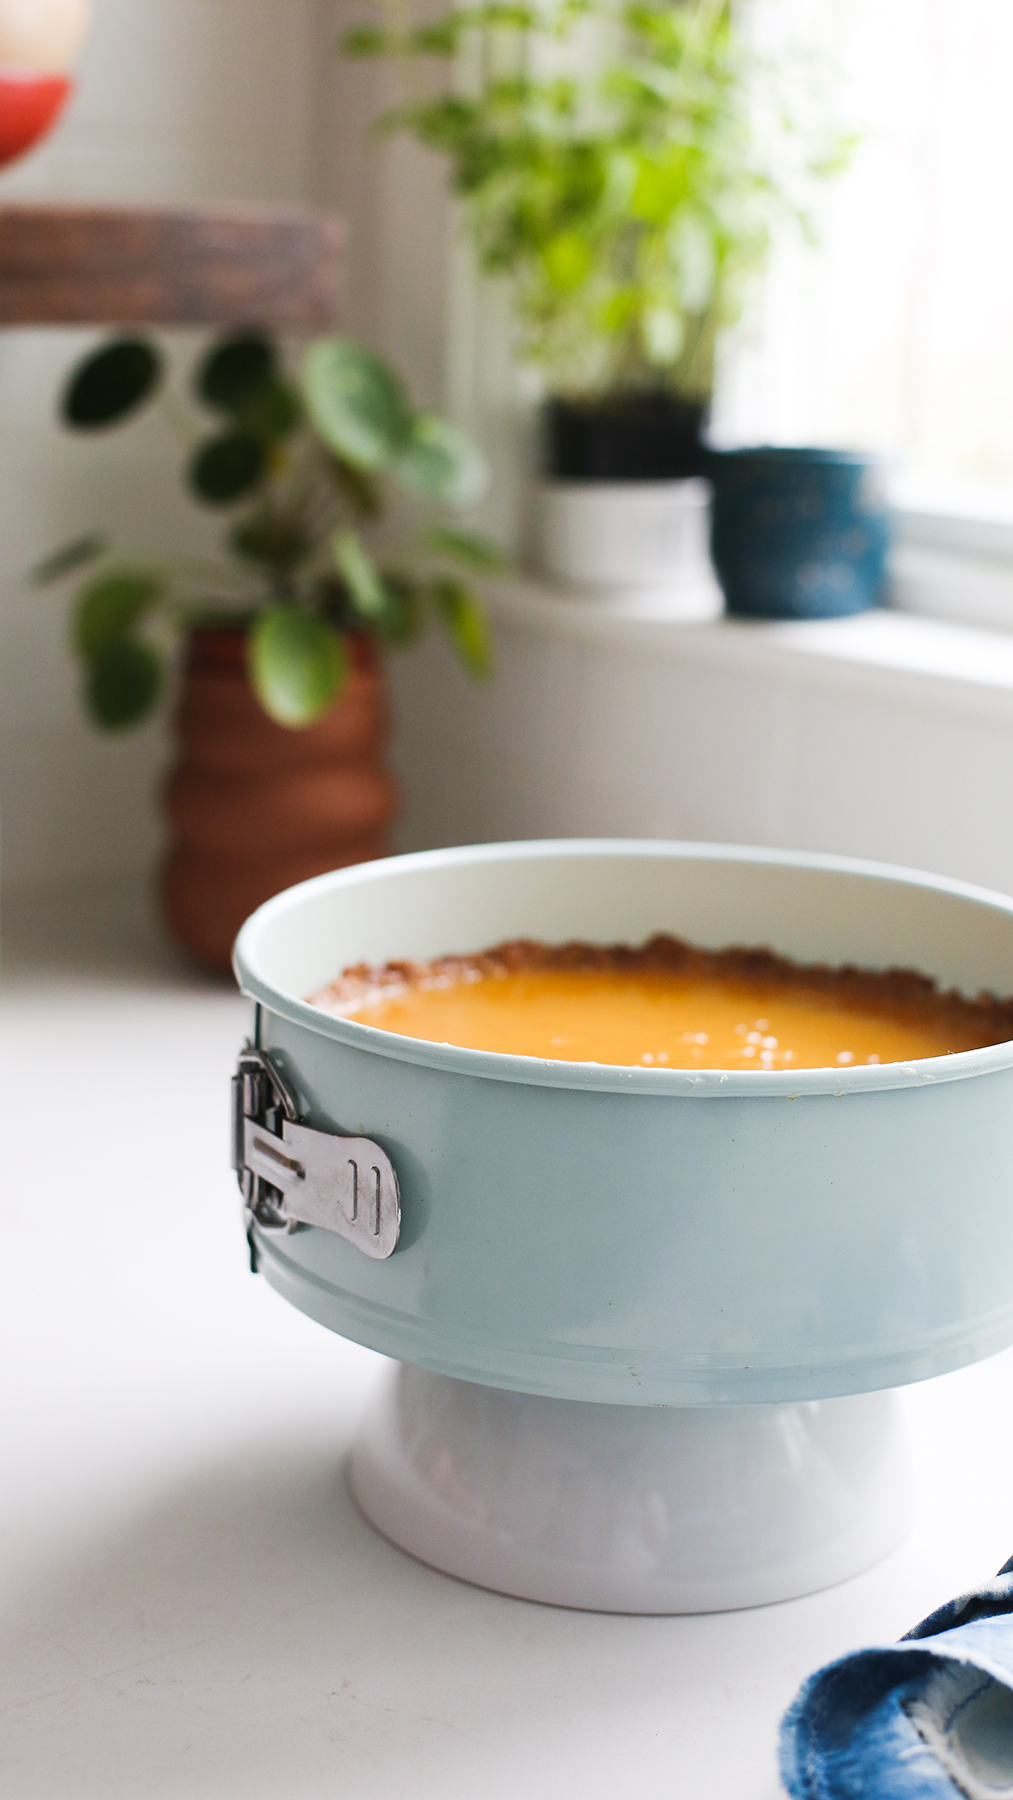
More voilà!
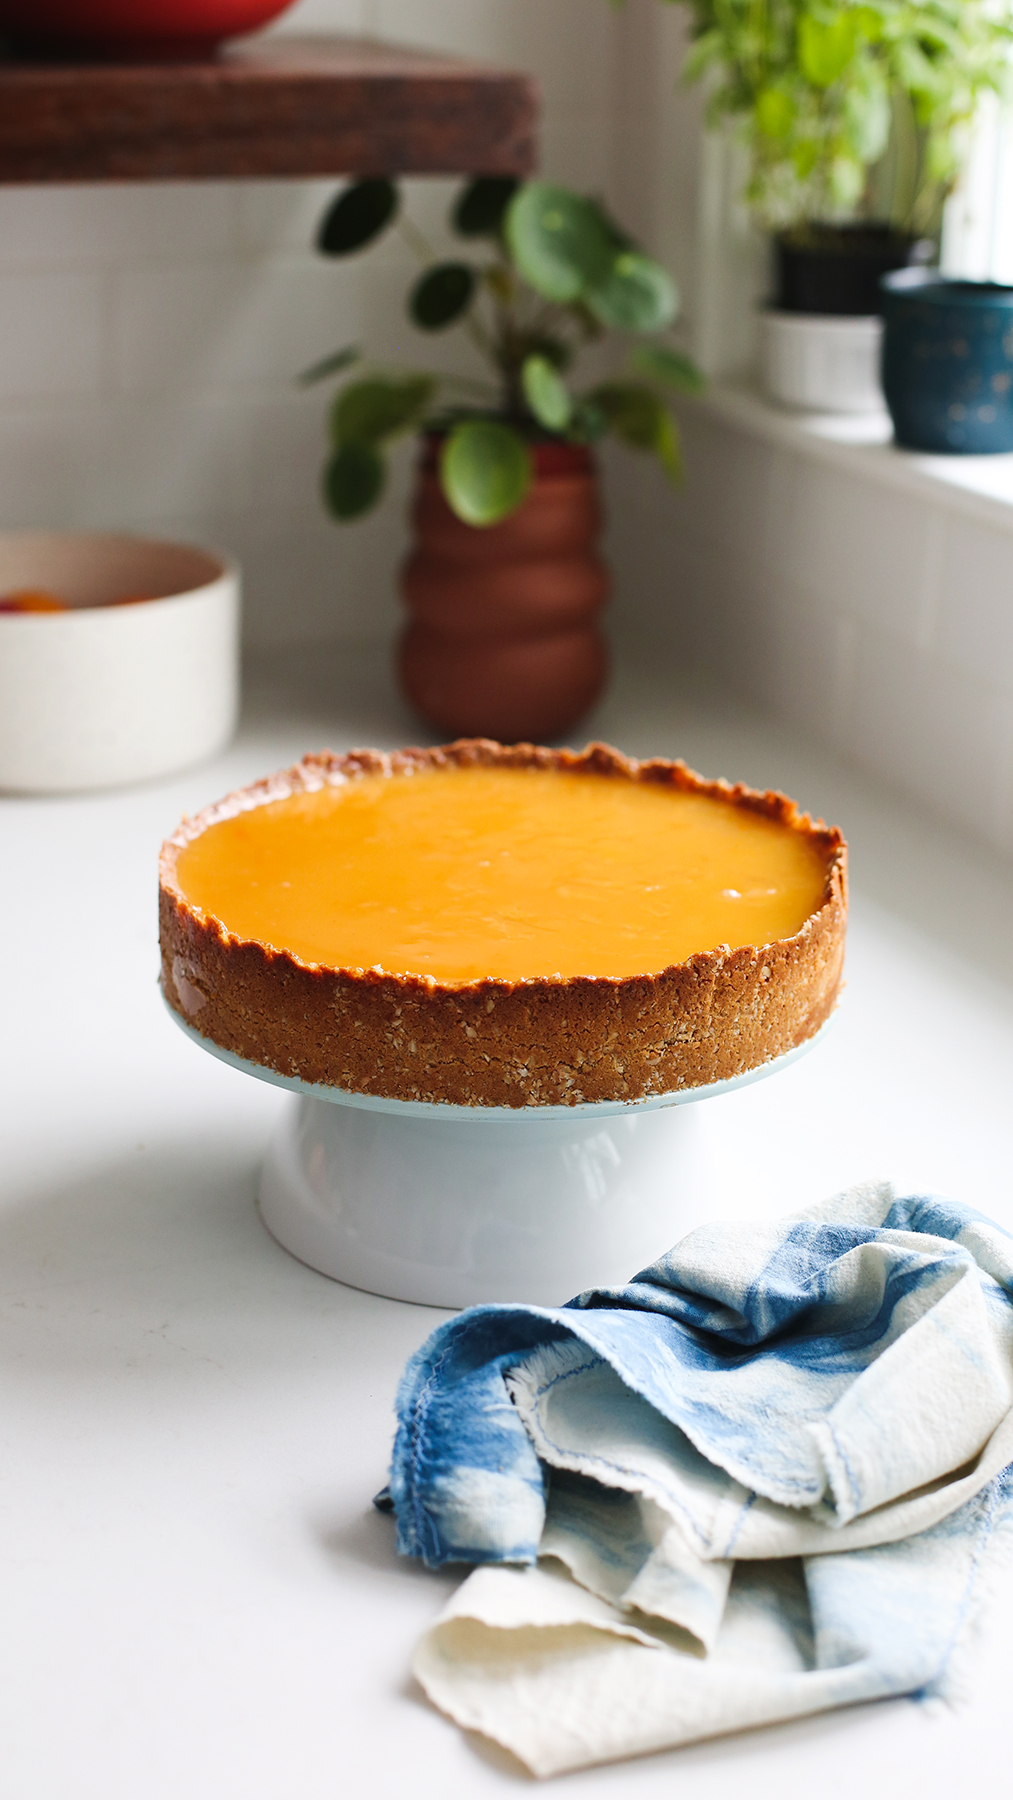
Use Candied Lemons to garnish the tart once removed from the springform pan.
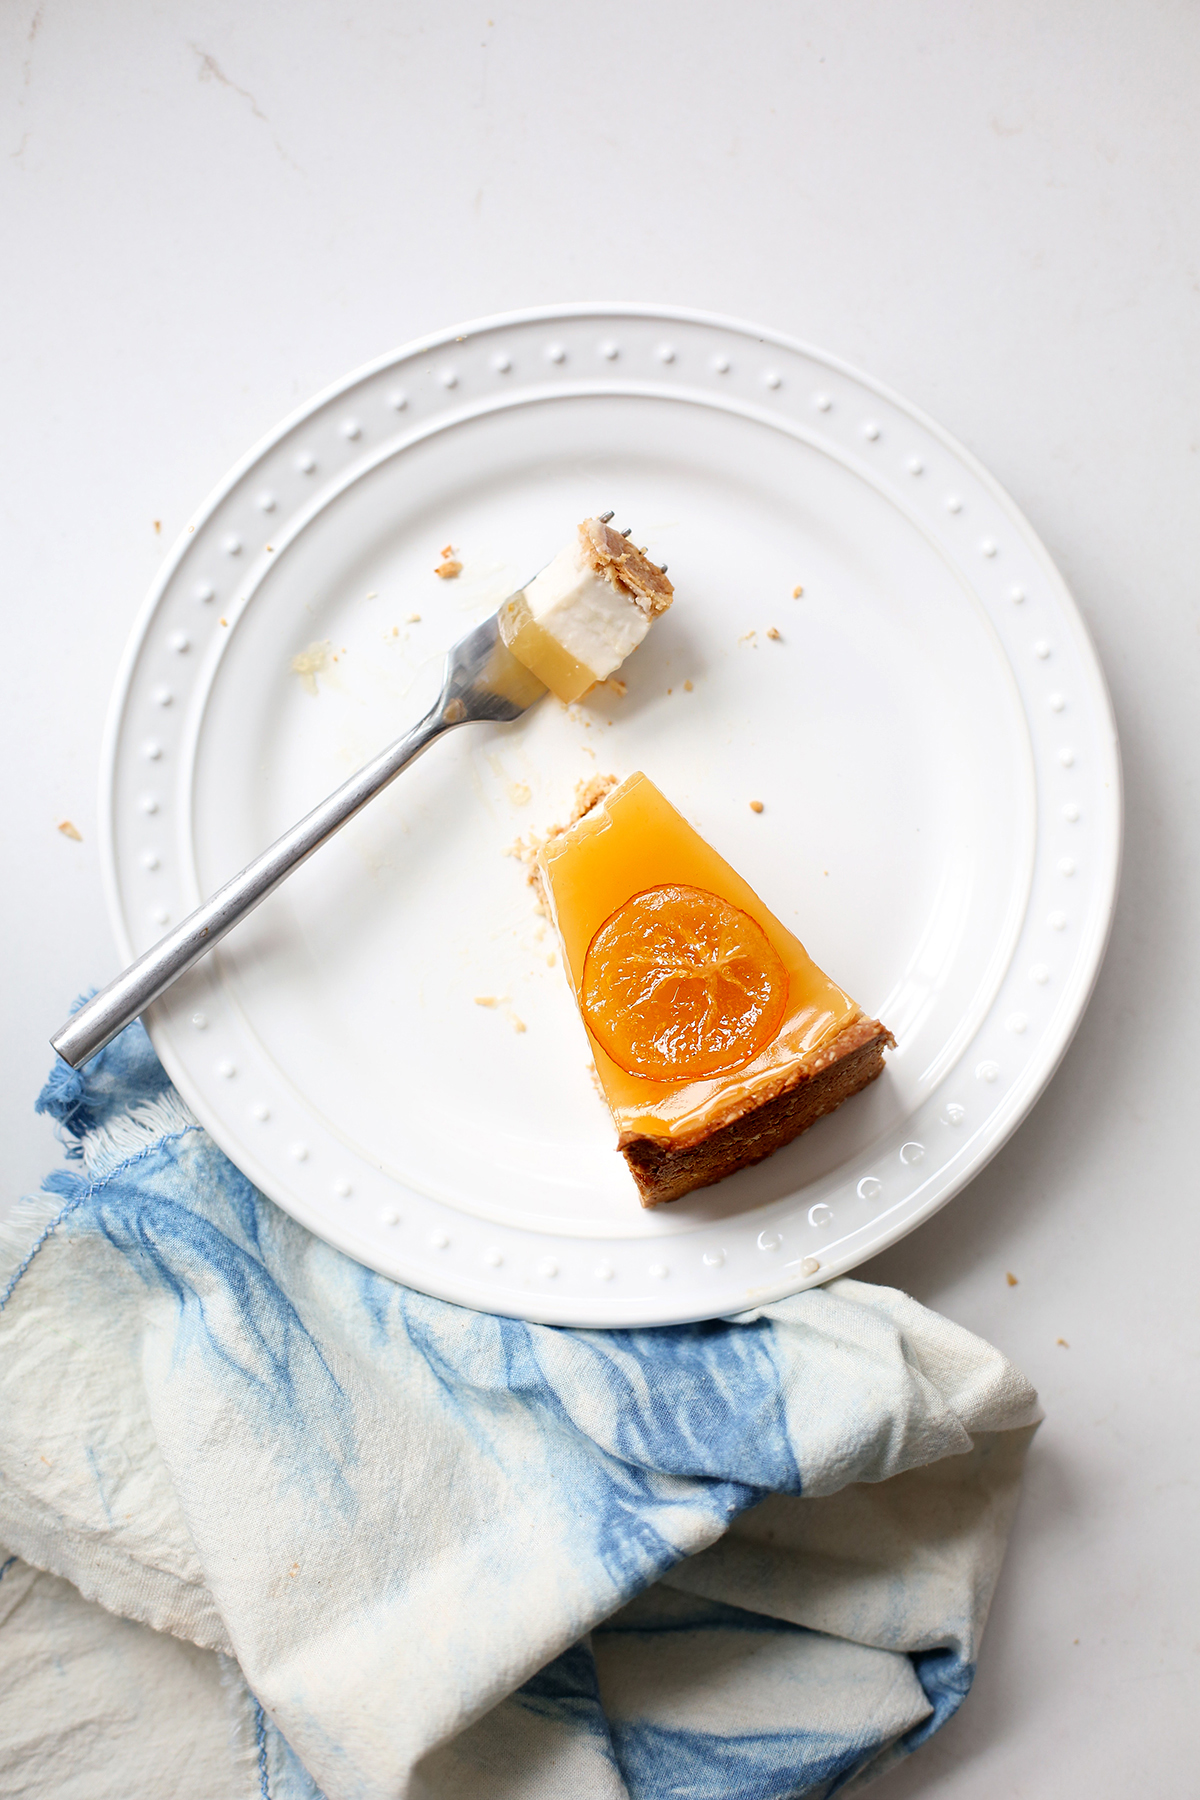
Slice and enjoy!
| Servings |
people
|
- unrefined coconut oil
- fine ground sea salt
- 11/2 cups old-fashioned rolled oats gluten-free if you have a sensitivity
- 1/2 cup blanched almond flour
- 1/2 cup brown rice flour
- 1/2 cup flaked coconut can sub shredded
- 1/4 cup unrefined coconut oil
- 6 tablespoons tablespoons raw honey*
- 1/2 teaspoon fine ground sea salt
- 1 cup raw almonds soaked overnight 8–12 hours, drained, and rinsed well
- 5 cups water
- 3 cups flaked coconut can sub shredded
- 1 cup coconut milk) full-fat, ideally, Thai style from a can
- 3 tablespoons agar agar flakes If you can’t find flakes, use 1 teaspoons powder for every tablespoon of flakes
- 2 teaspoons arrowroot flour/starch
- 5 tablespoons raw honey
- 2 teaspoons vanilla extract or use vanilla bean for extra wow factor
- PInch fine ground sea salt
- 5 Meyer lemons
- 1/2 cup water
- 3 tablespoons agar agar flakes If you can’t find flakes, use 1 teaspoons powder for every tablespoon of flakes.
- 1/2 cup raw honey
- Pinch fine ground sea salt
- 1 cup Meyer lemon
- 1/2 cup vegan cane sugar
- 2 cups water
Ingredients
Crust
Custard Filling
Meyer Lemon Jelly
Candied Lemons (optional garnish)
|

|
- The night before you want to make this tart: Place raw almonds in a bowl and cover with water to soak 8–12 hours. In the morning, drain and rinse well and either use right away or store in the fridge in an airtight, glass container until you’re ready.
- Ready to make the tart: Now, preheat the oven to 350°F, grease the bottom and sides of a 9" springform pan with coconut oil. You can always make this tart in a regular pie pan, but a springform pan will allow you to easily remove the tart, display it, and slice it while maintaining its good looks.
- Make the crust: In a food processor fitted with the S-blade, pulse the Crust ingredients together until uniform and looking “sawdusty.” Press evenly into the pan so the bottom and sides have equal thickness—a little less than 1/4". Be sure to push the crust up the sides of the pan around 11/2–2". You can leave the top edge of the crust rustic and uneven (what I did), or use your fingers to shape a straight line. Poke the bottom of the crust with the tines of a fork and bake for 15–20 minutes, until edges are browned and sides and bottom are dry and gently browned.
- Remove from oven and allow it to cool while you make the other ingredients. Transfer to the fridge to chill once cool—this fridge step will expedite the setting process for the custard, but it’s not necessary.
- Make the custard: To start, we’ll make a coconut-almond milk. Place the soaked/drained/rinsed almonds, 5 cups of water, and shredded coconut into the blender and blend until smooth.
- Lay a tight-weave muslin or cheesecloth (double or triple it up for extra straining power), nut milk bag, or clean but threadbare t-shirt (basically, any fabric that will strain) over a large pot or bowl.
- Pour the blender contents into the cloth, pulling up all sides and squeezing to strain the pulp from the almond-coconut “milk.” Once strained, discard the pulp (or use to make crackers).
- In a small bowl or glass, make a quick slurry by stirring together 1 tablespoon of water and the arrowroot until dissolved.
- Then, transfer almond-coconut milk to the pot and add the canned coconut milk, agar agar, and the slurry—heat the pot to a boil, whisking continuously until the contents reaches a boil. Reduce heat and simmer for 10 minutes, whisking often—custard will be bubbly and thick.
- Then, whisk in the honey, vanilla, and salt for 1 more minute. Remove from heat and set aside to cool for 15 minutes. Pour into the cool tart shell and transfer to the fridge to set for at least 2 hours.
- Once the custard has set at least 2 hours, make the jelly. Zest two lemons and place all of the zest into a pot. Juice the zested and remaining whole lemons...... and add the juice to the pot with 1 cup of water...... and agar agar.
- Bring the contents to a boil, whisking often, then reduce heat to a simmer, then whisk in honey and remove from the heat and allow to cool to room temperature, then pour the jelly over the completely chilled custard. Return tart to the fridge to chill and set for at least 2 more hours.
- If you like, make some candied lemon slices to garnish your tart. Slice lemon into 1/8" thick slices and remove any seeds and discard.
- In a pot, whisk together water and sugar over medium heat until sugar is dissolved and liquid comes to a boil—reduce heat a bit but maintain a gentle boil for one minute, whisking constantly to keep the sugar from browning. This is over-browned, overcooked lemons—keep an eye on things the entire time. Reduce heat to the lowest simmer, and add the lemon slices. Gently simmer for 15 minutes, then flip lemons and simmer for another 15 minutes until translucent.
- Remove from the pot with a fork so sugar can drip away (gently tap excess back into pot) and cool on a sheet of parchment paper (NOT wax paper)—reshape into rounds with the fork if needed and allow to cool until hardened.
- This may take some practice to get the sugar to the correct temp, but note that chewy lemons are just as tasty, so don’t worry.Carefully remove the tart from the springform pan by placing a bowl underneath the bottom of the pan. Release the clamp and carefully remove the band.
- Use Candied Lemons to garnish the tart once removed from the springform pan. Slice and enjoy!
*Try to use a delicately flavored, neutral-sweet honey so it doesn’t overpower the citrus flavor—we want it to compliment and sweeten, not dominate. Unless you want the honey to be the hero, then use what you like!
Anya Kassoff’s Asparagus Fries
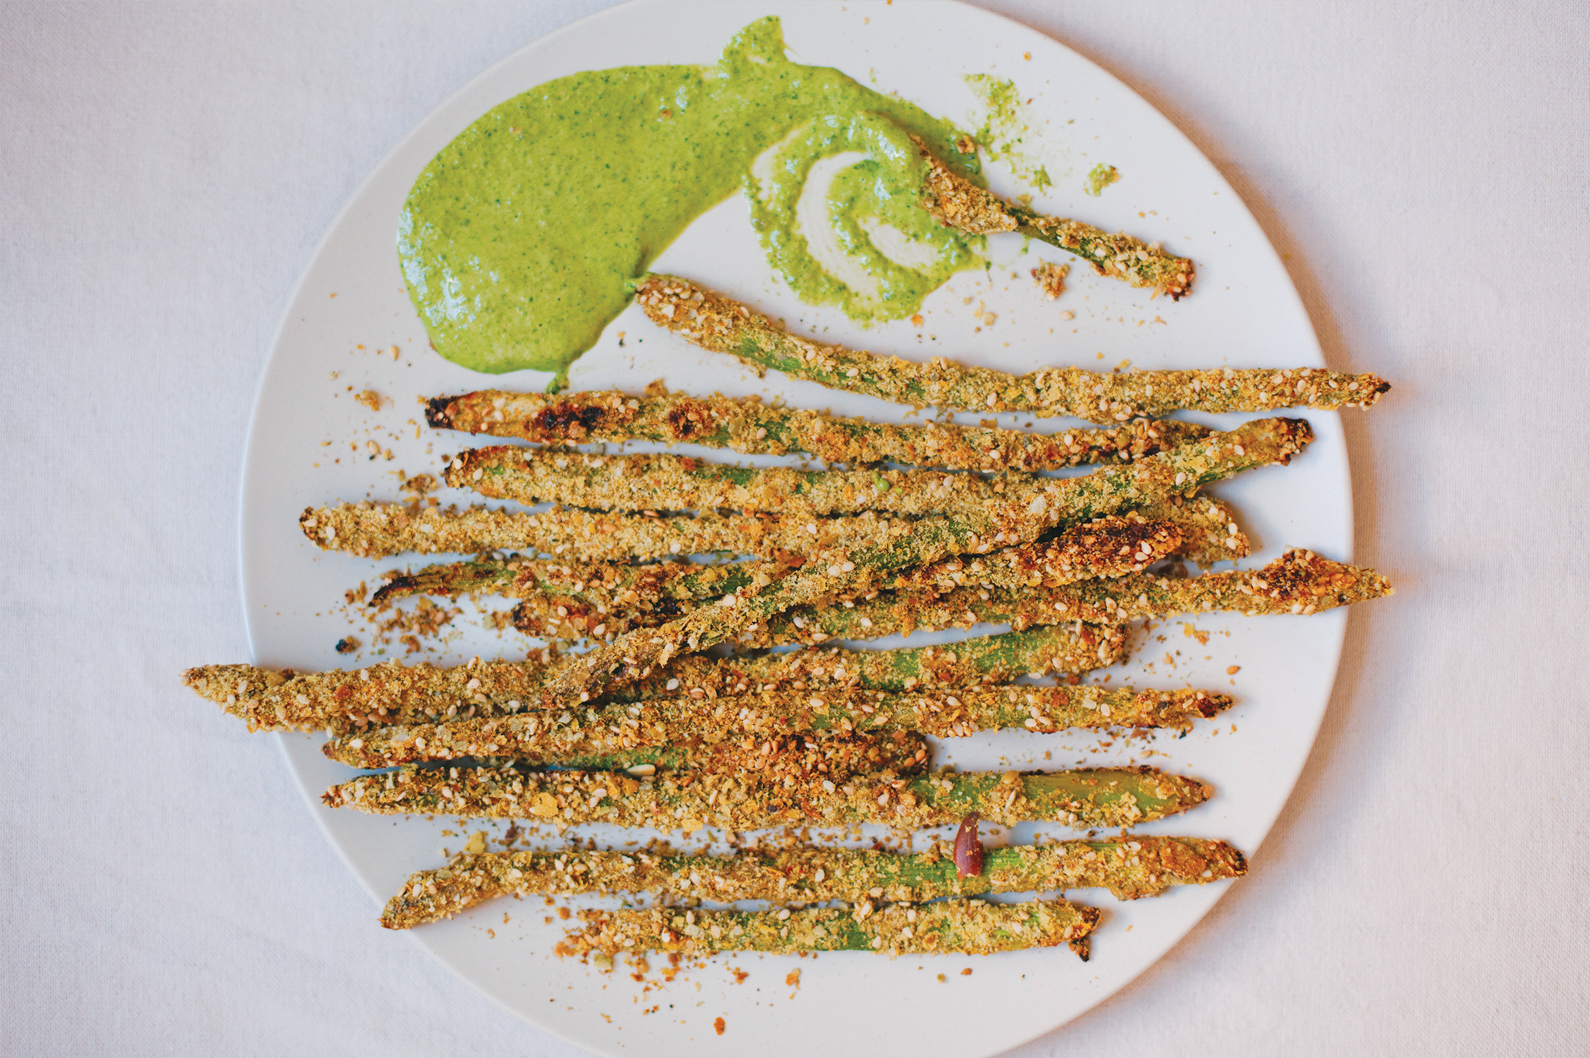
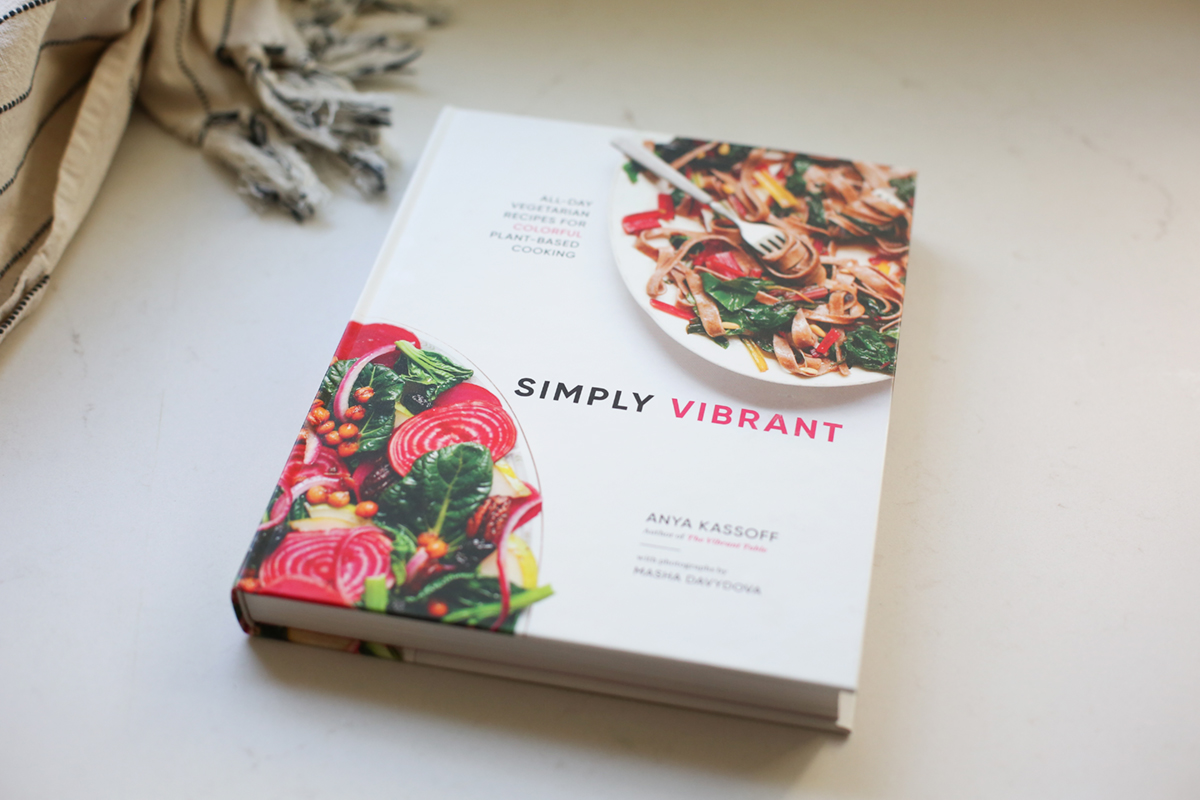
I’ve been meaning to make something from Anya Kassoff’s cookbook, Simply Vibrant for too long now. This book has been by my side since it arrived… at my desk, in my kitchen, but if you follow along here, you know that I was in a bit of a creative cooking rut in 2018. But things have changed quite a bit! I’m back to my old self and excited to create it all now.
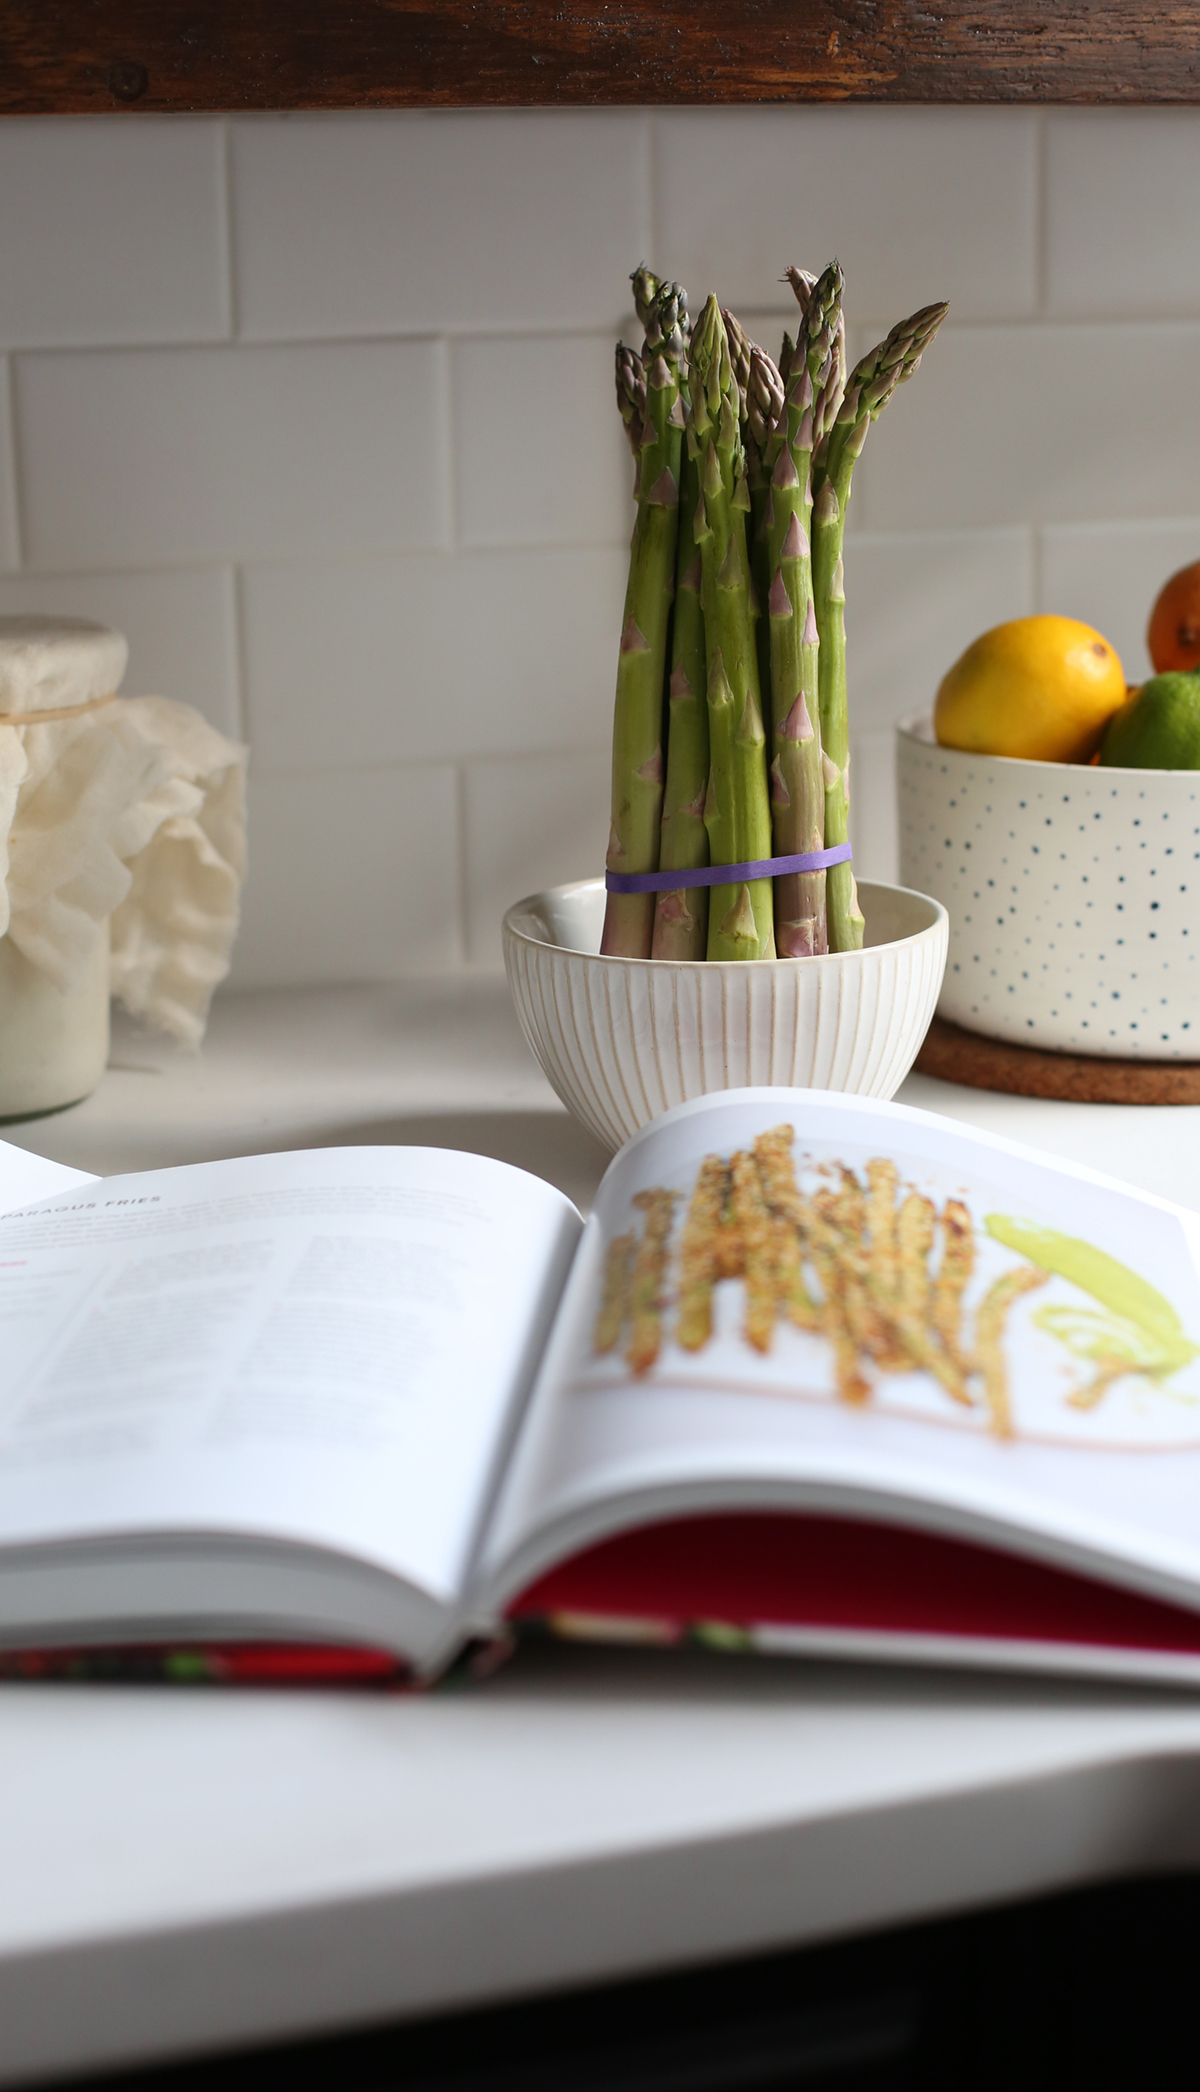
Simply Vibrant has one of the prettiest covers I’ve ever seen—I mean, chioggia beets are such stunners—and it’s filled with creative, tempting recipes and gorgeous photos.
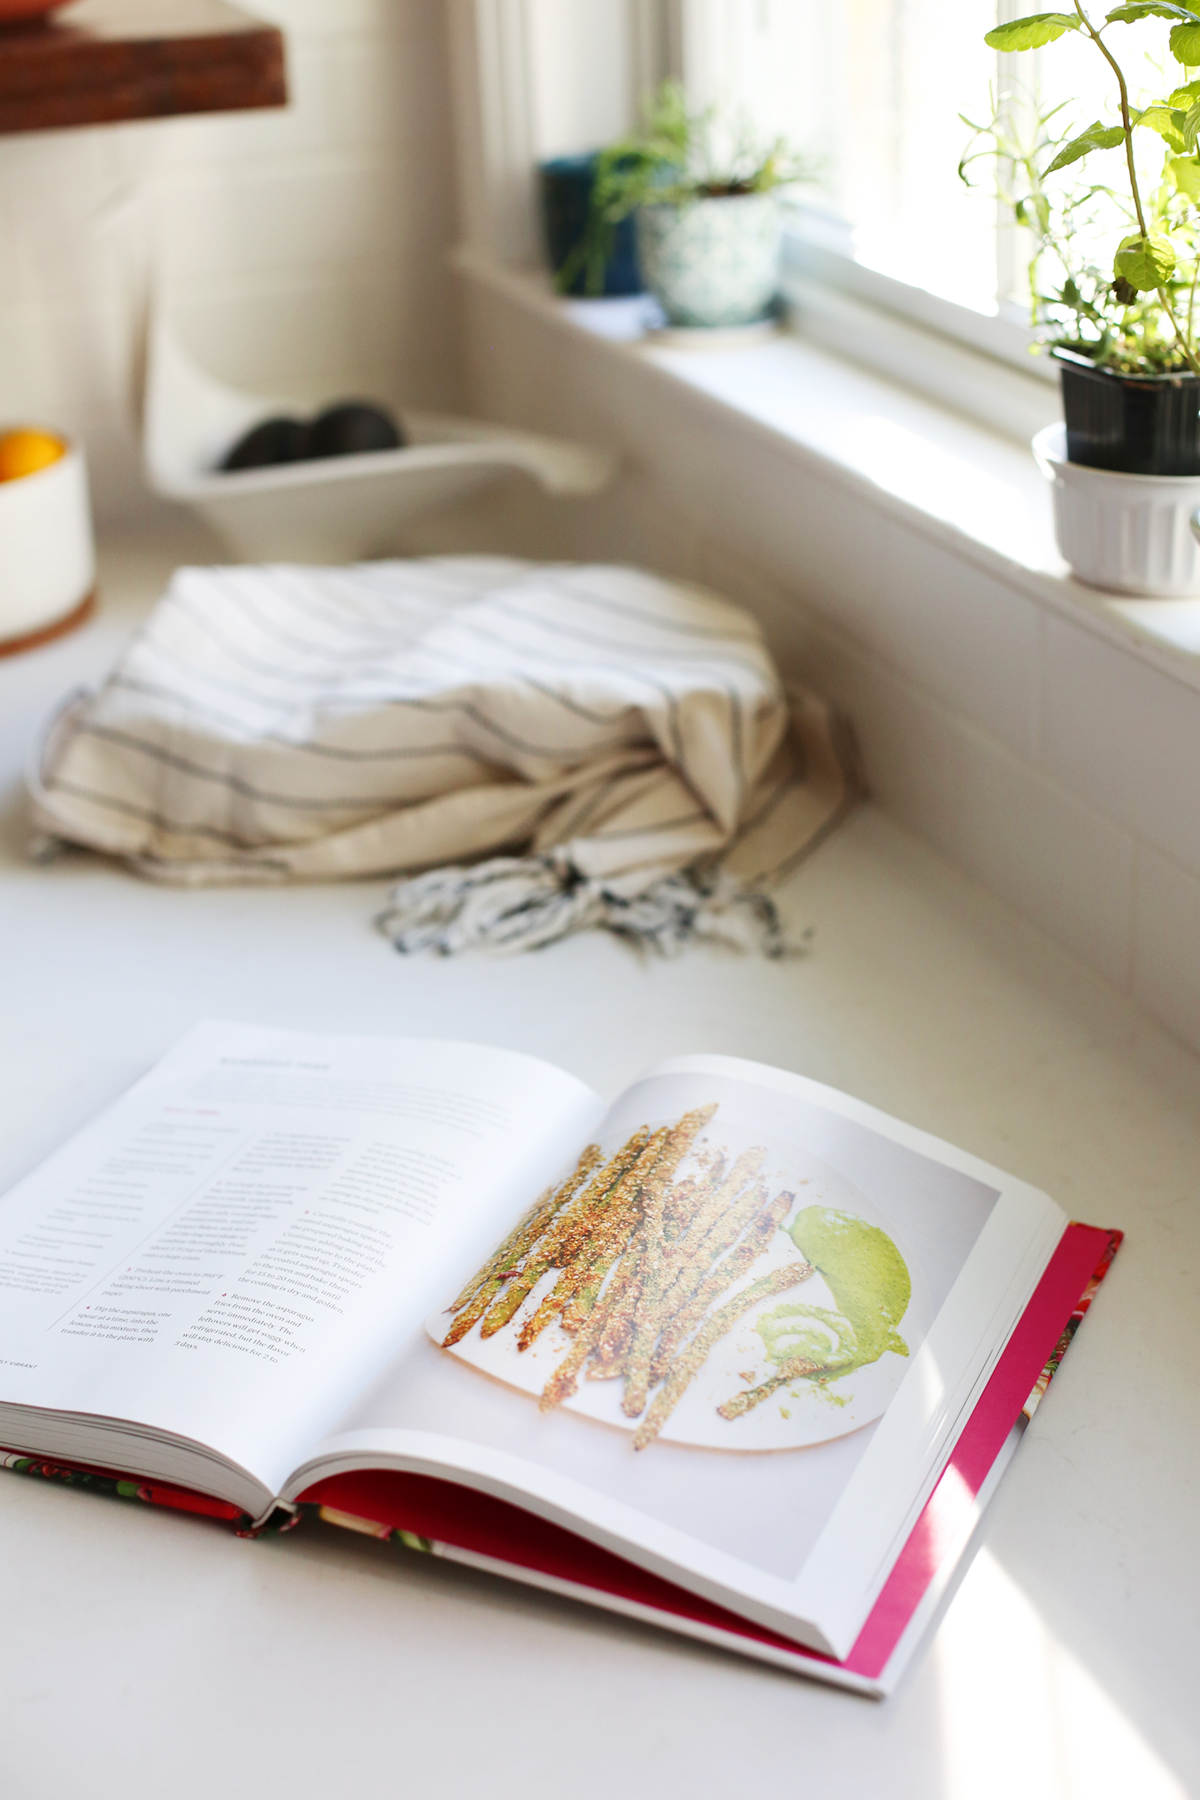
I knew from the first time I cracked it open that I wanted to make the asparagus fries. In my book Pantry to Plate I have an entire recipe template for fries of all kinds. I love love love me some veggie fries and these looked crunchy, cheesy, savory—like a meal in itself because I’d likely eat all in one sitting.
I’ve made a step-by-step video for this recipe—hope it inspires you to cook along with me.
Thanks to Anya, Masha, and Roost Books for letting me share this recipe with you!
– – – – –
A NOTE FROM ANYA:
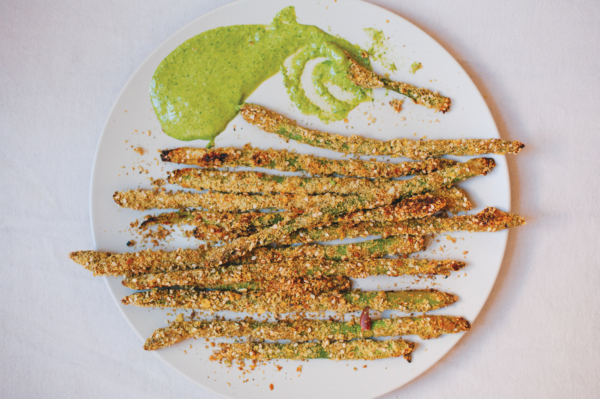
This is a well-loved recipe in my kitchen, to which I return frequently in the spring, when asparagus is at its most vibrant. A crispy coating of nuts, seeds, spices, and nutritional yeast—the vegan answer to cheese—coats the tender asparagus spears. It’s an excellent (and addictive) side when freshly roasted, sort of like nutritious green fries, and the leftovers are delicious on a salad or inside a sandwich.
Choose asparagus spears of medium thickness—if they’re too thin, the fries won’t hold their shape.
Serves 4 | Season: SPRING
Ingredients:
4 tablespoons freshly squeezed lemon juice
2 tablespoons purified water
2 tablespoons chia or flax meal
1/2 cup ground raw pumpkin seeds, pistachios, or other nuts of choice*
1/4 cup sesame seeds
1/2 cup nutritional yeast
2 teaspoons garlic powder
1 teaspoon salt, plus more for sprinkling
1 teaspoon coconut sugar
11/2 teaspoons cumin seeds, freshly ground
1/4 teaspoon red pepper flakes
1 bunch asparagus, about 25 to 30 spears, tough ends removed (and saved for Veggie Stock) or discarded
*Note from Heather: instead of breaking out the food processor, I just used blanched almond flour (which is basically almonds ground up with the skins removed) and it worked perfectly.
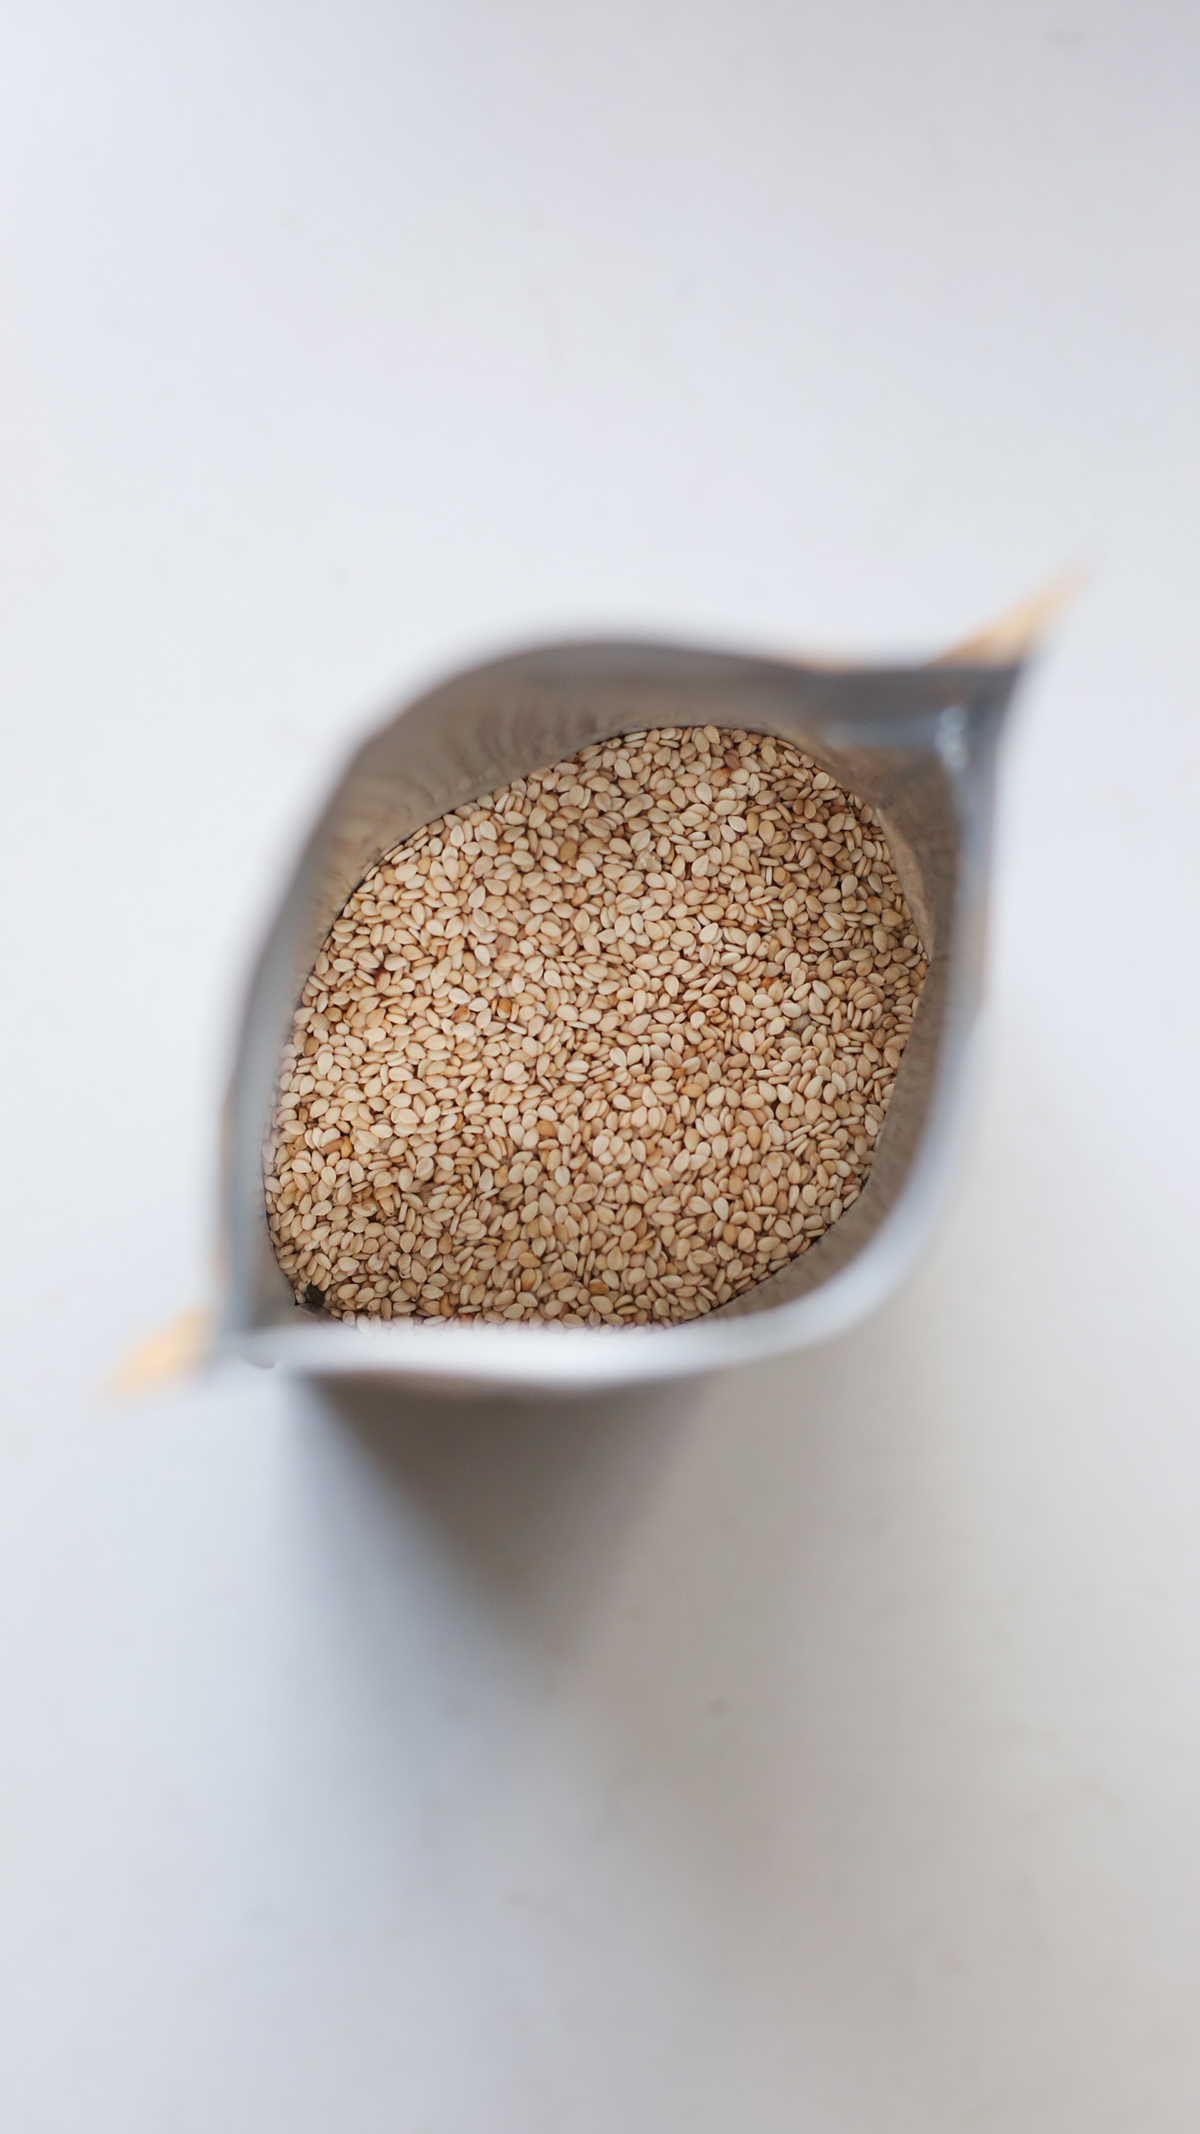
Steps:
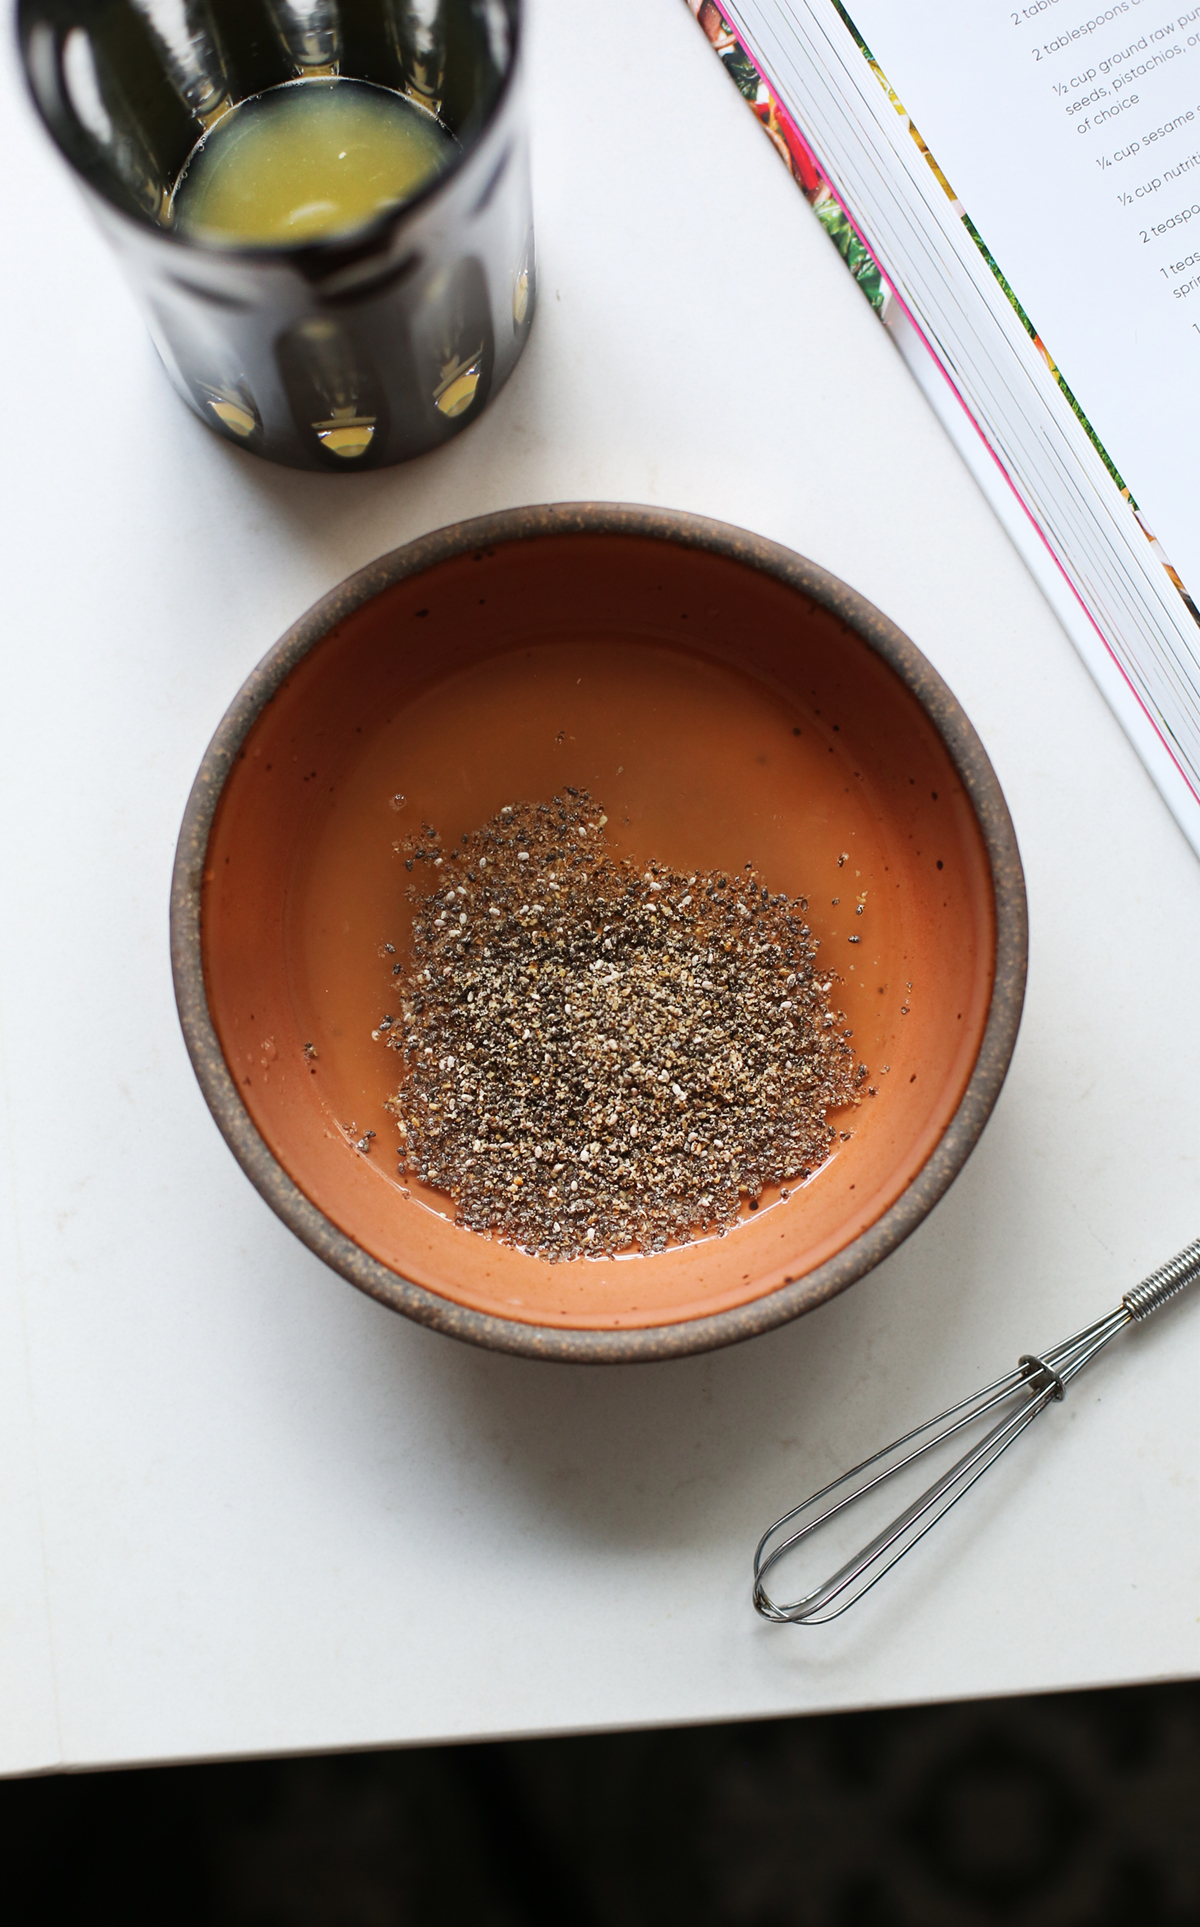
1. In a shallow dish, whisk together the lemon juice, water, and chia or flax meal. Set the mixture aside for 10 minutes to allow the chia or flax to gel.
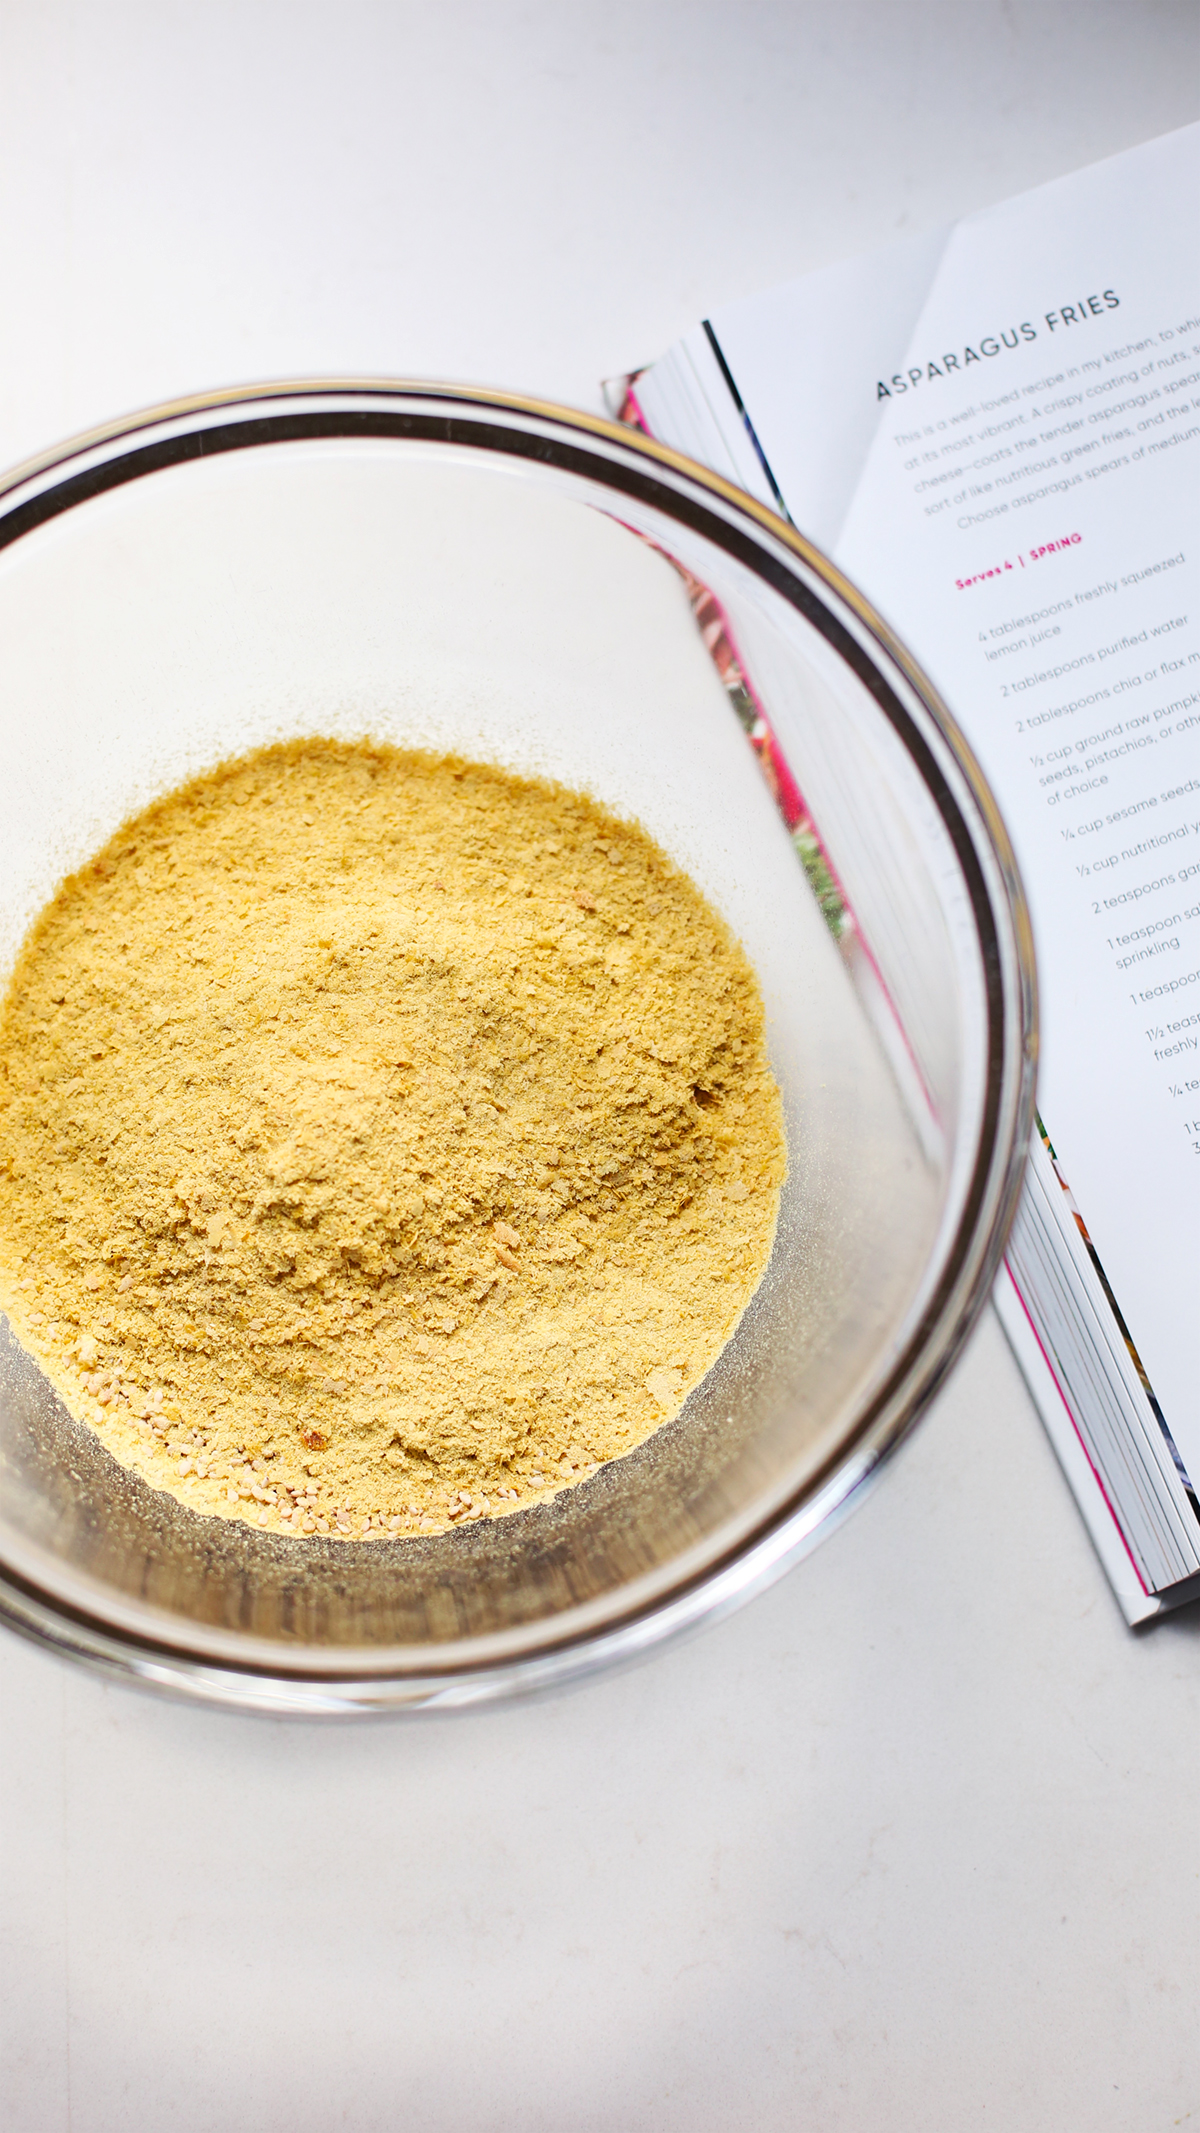
2. In a large bowl or zip-top bag, combine the ground nuts or seeds, sesame seeds, nutritional yeast…
… garlic powder, salt, coconut sugar, ground cumin, and red pepper flakes…
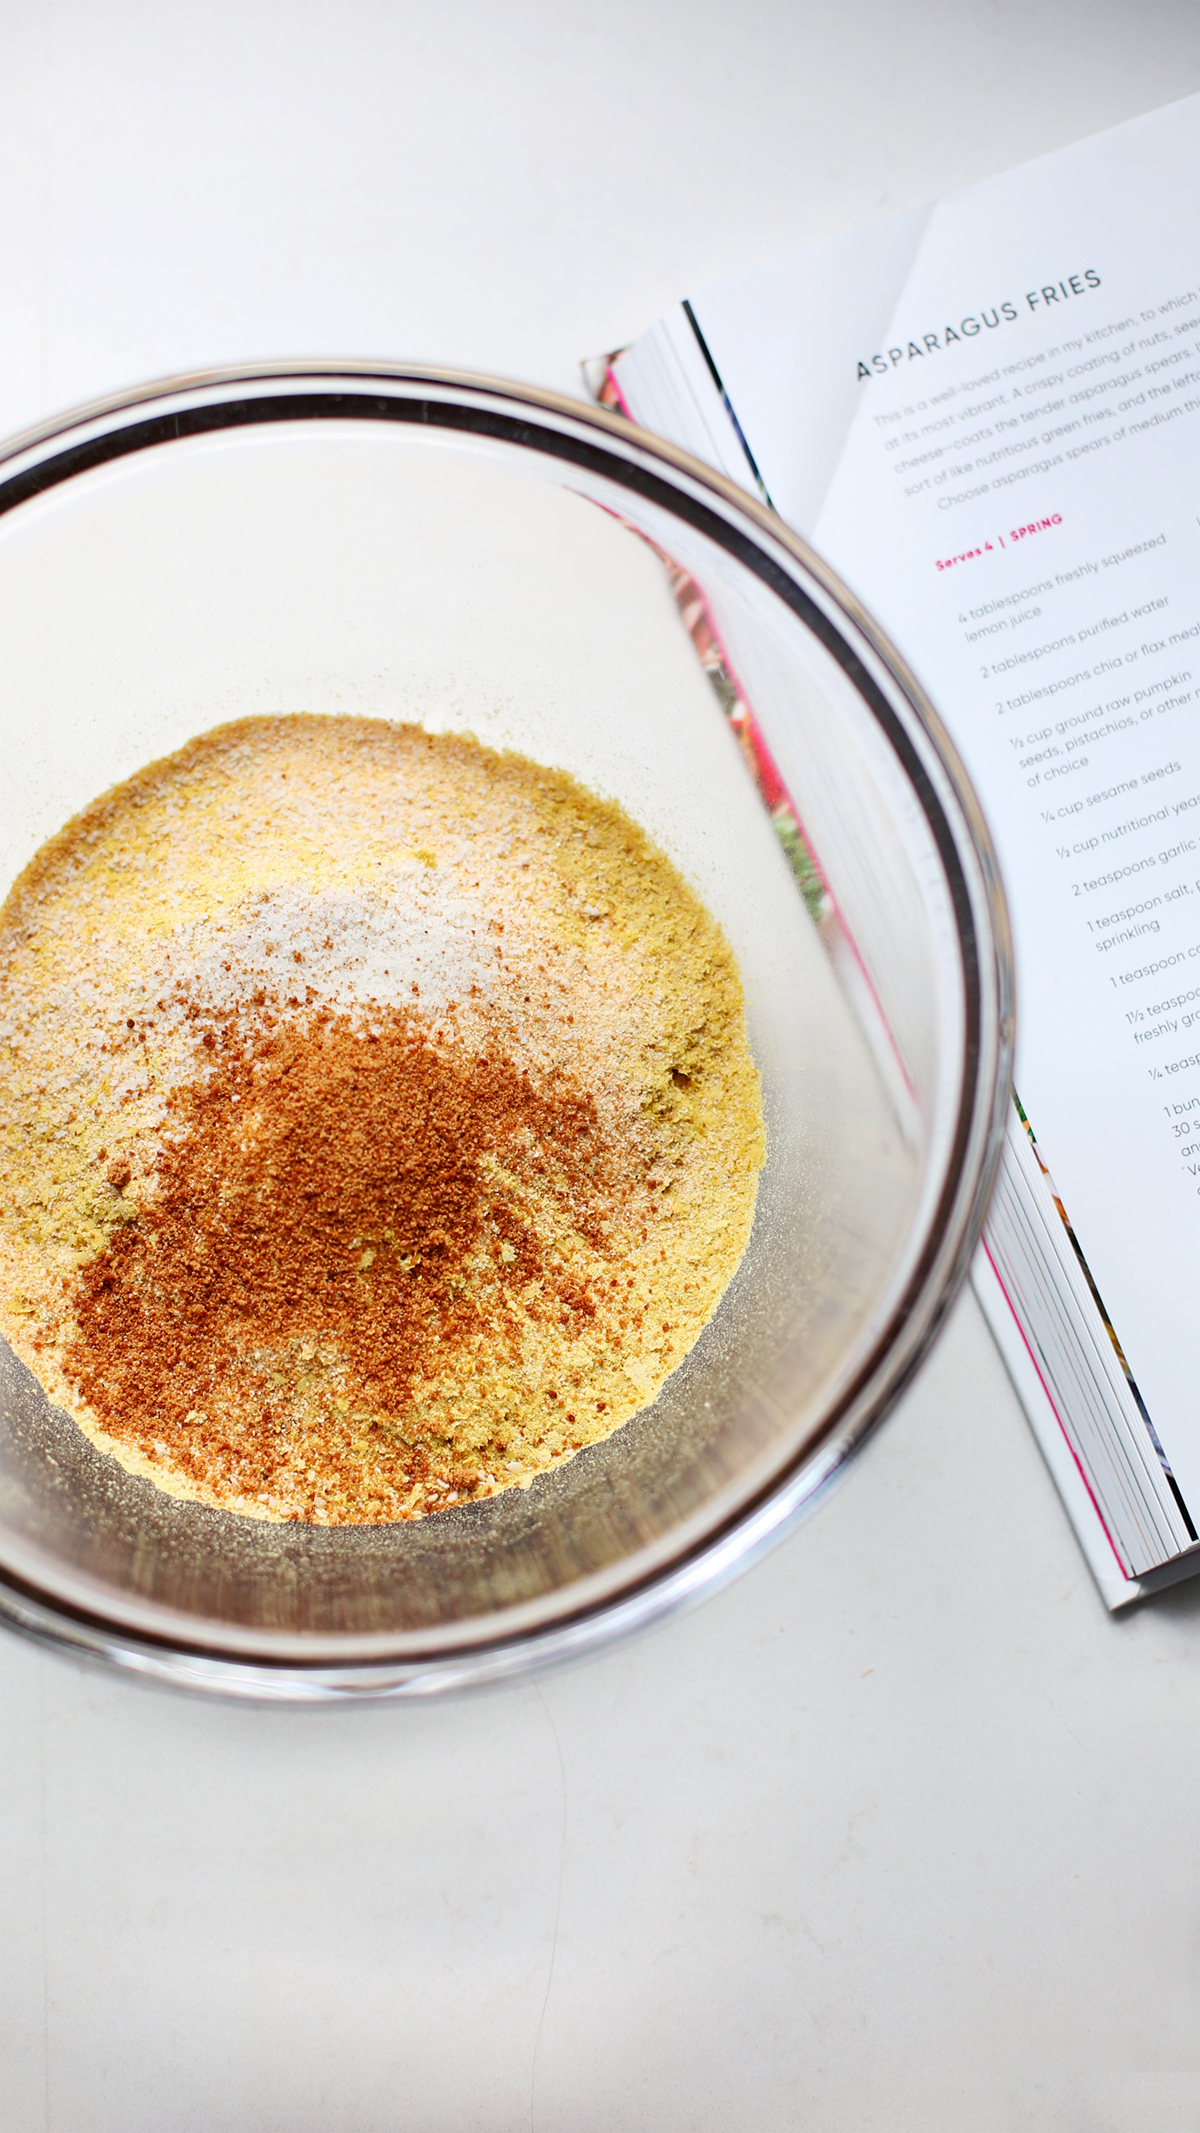 … mix well or seal the bag and shake to combine thoroughly. Pour about 1/3 cup of this mixture onto a large plate.
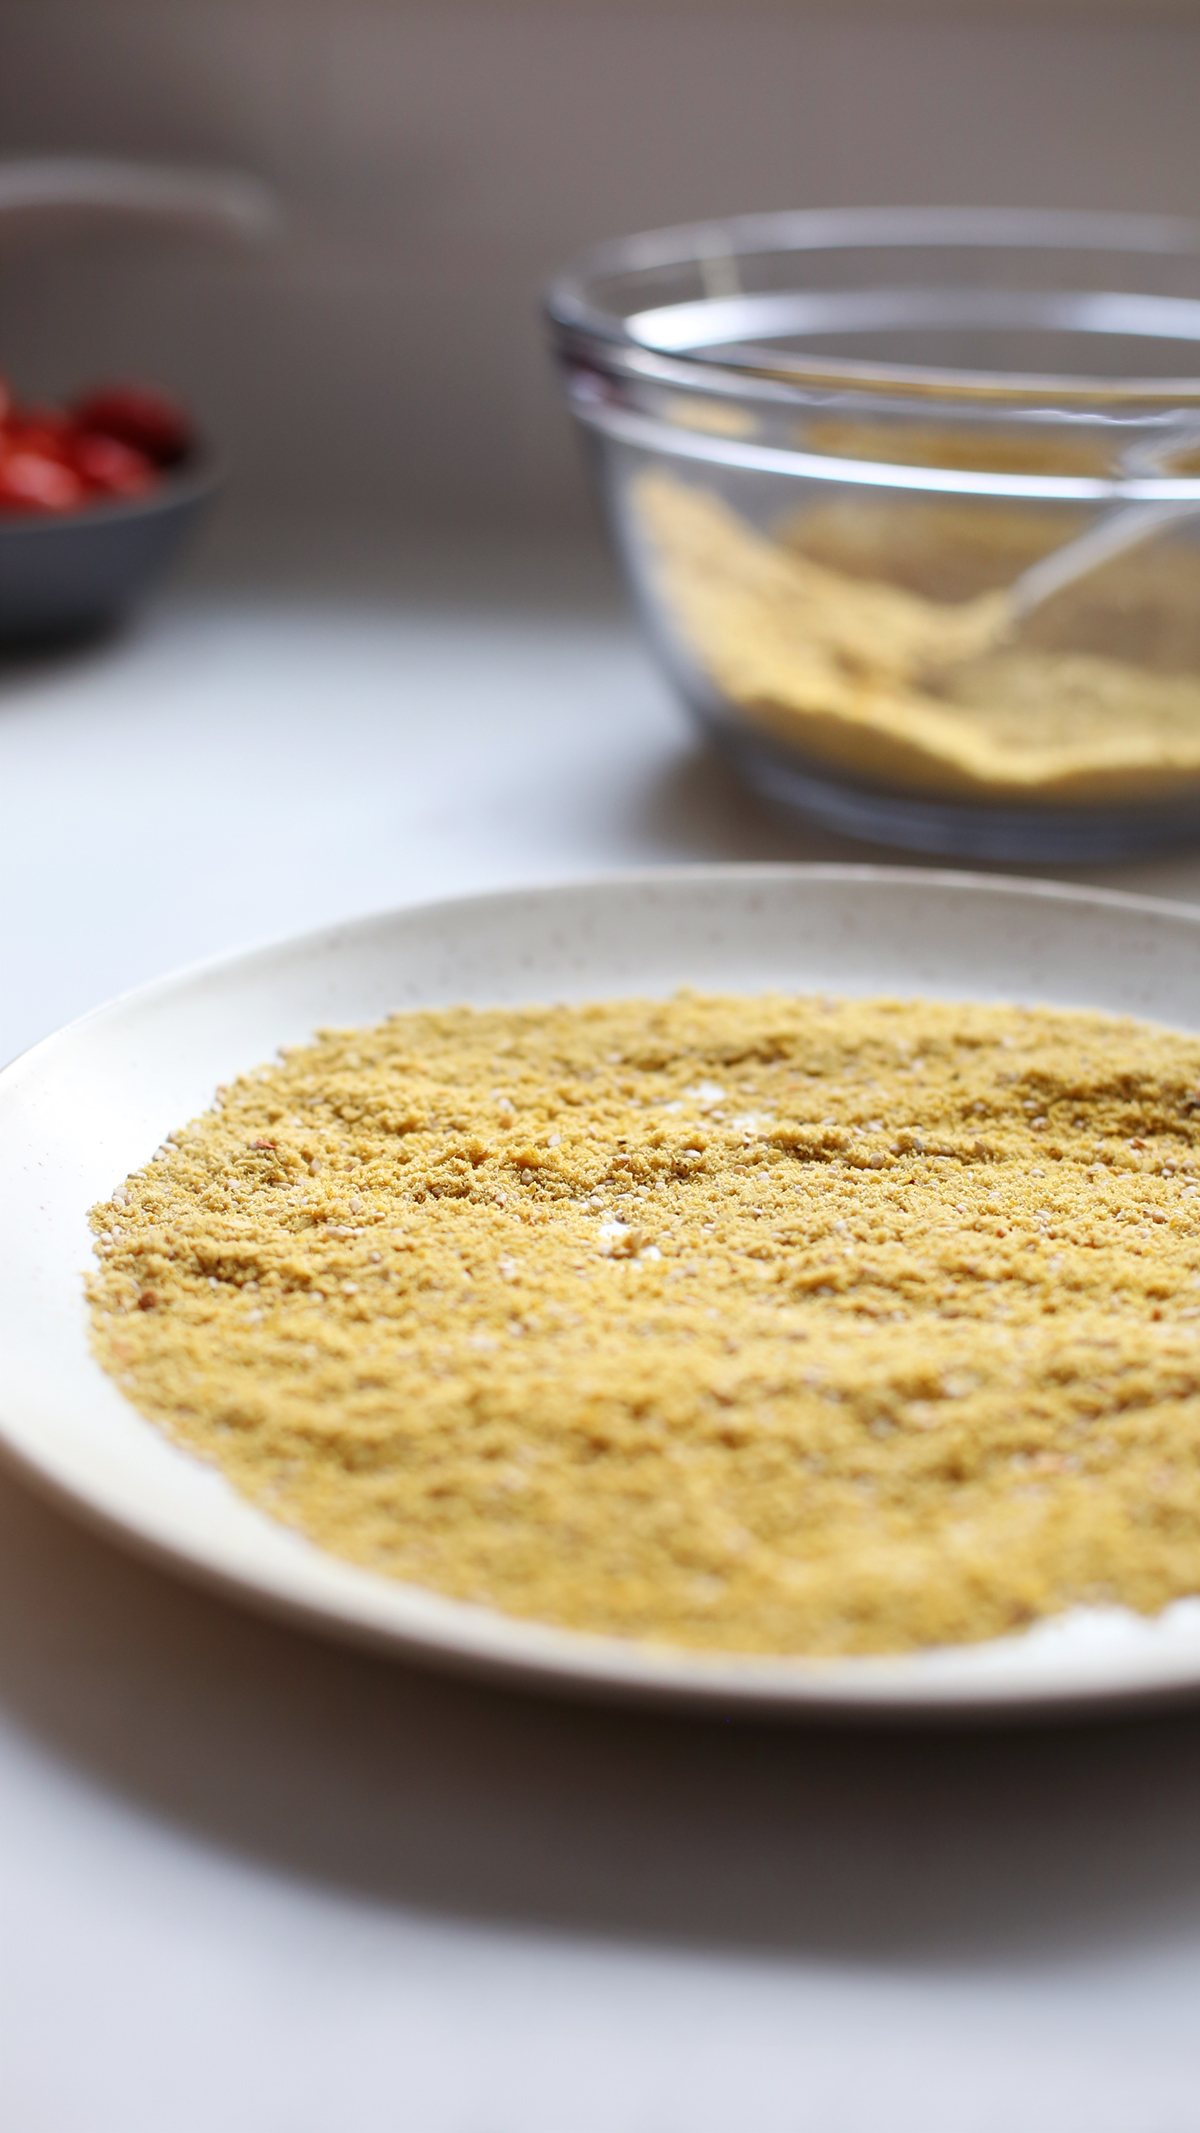
3. Preheat the oven to 395°F (200°C). Line a rimmed baking sheet with parchment paper.
4. Dip the asparagus, one spear at a time, into the lemon-chia mixture, then transfer it to the plate with the dry coating.
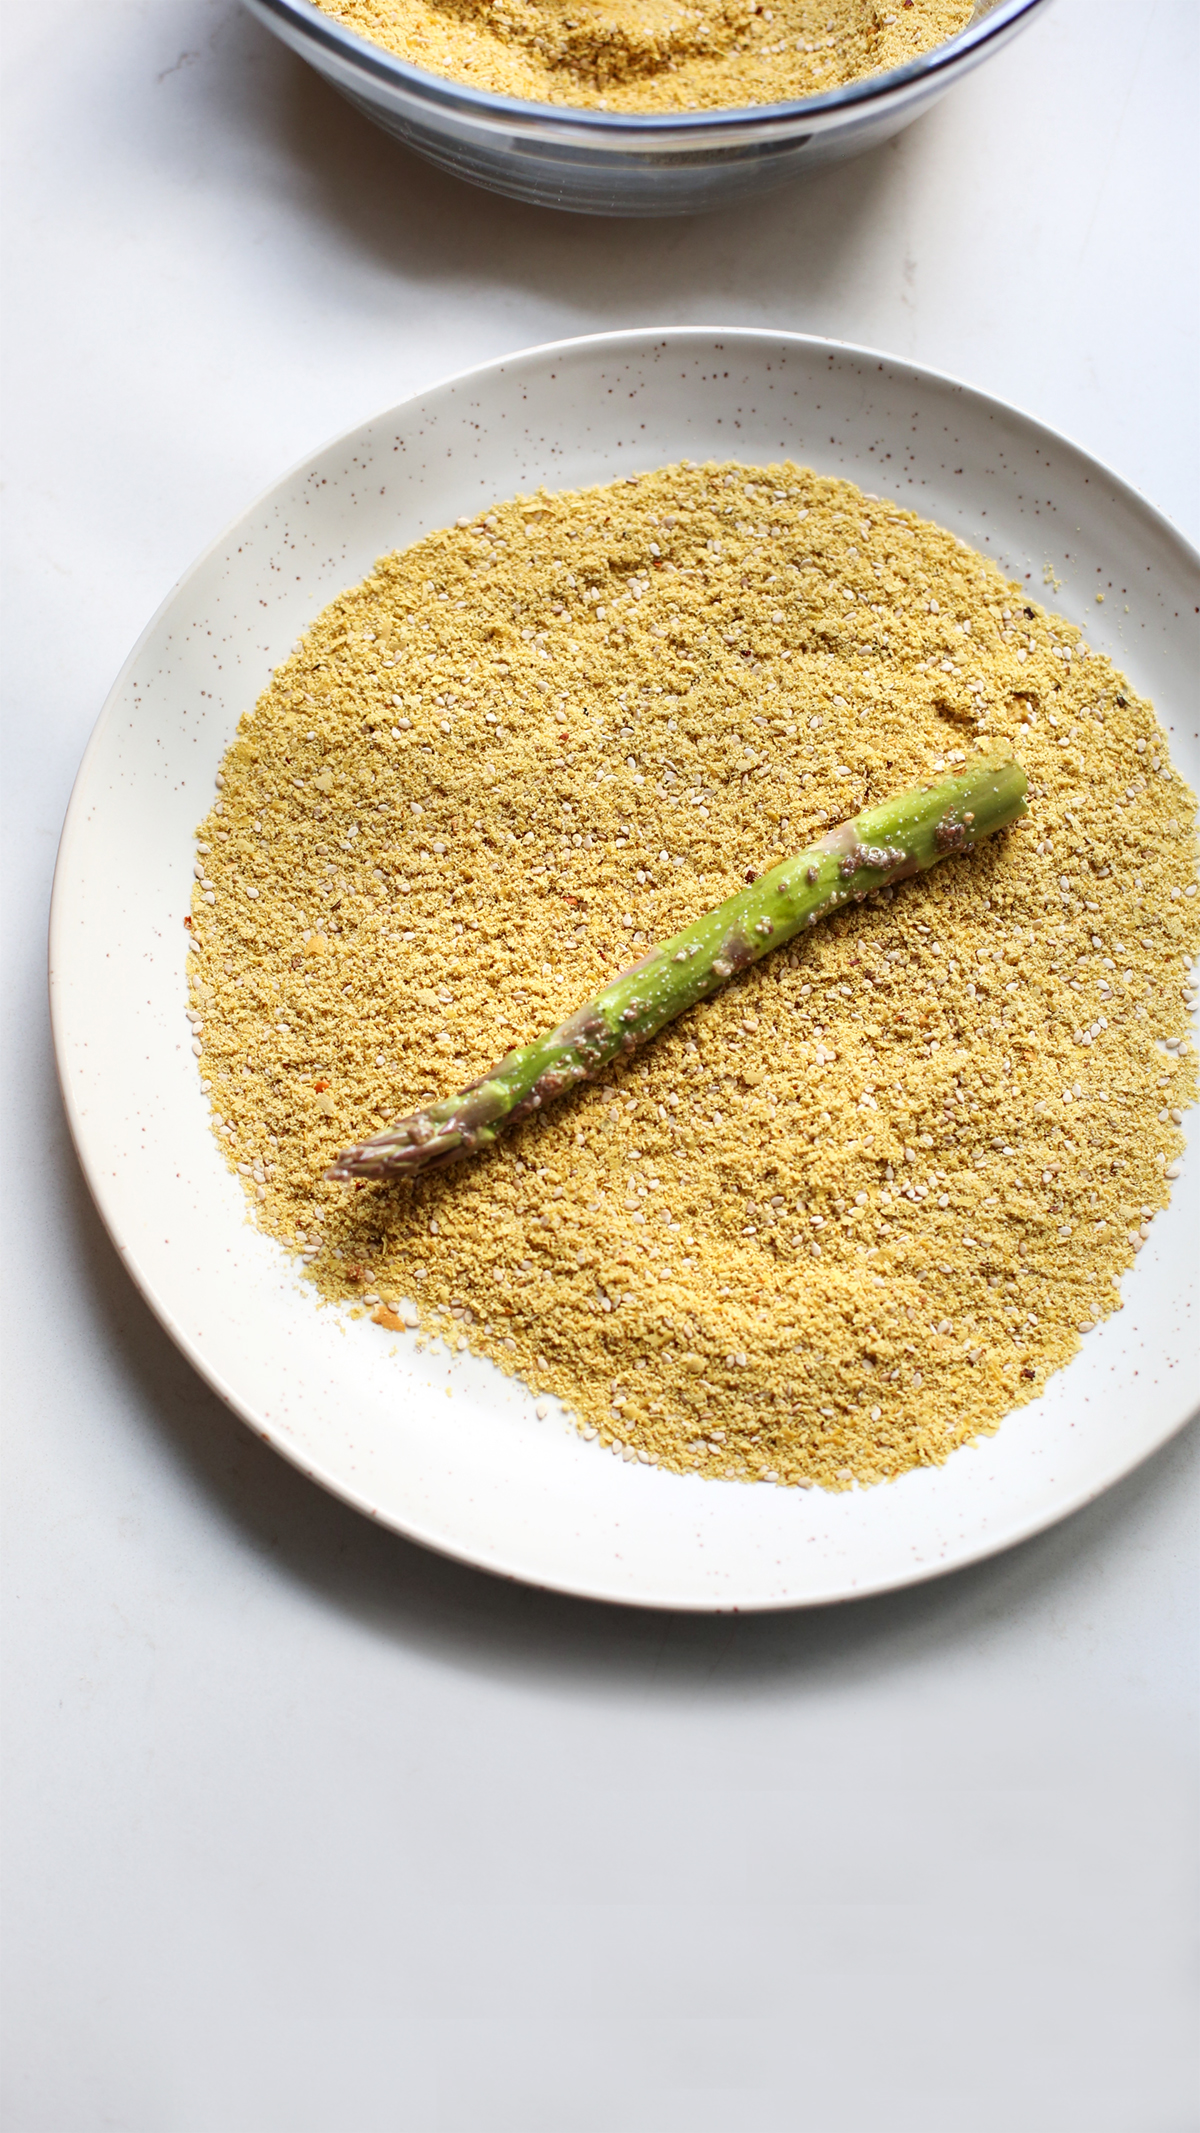
Using a fork, generously cover each spear with the mixture to coat. Avoid touching the asparagus and the coating with your hands as much as possible, in order to keep the coating as dry as possible and on the asparagus.
5. Carefully transfer the coated asparagus spears to the prepared baking sheet. Continue adding more of the coating mixture to the plate as it gets used up. Transfer the coated asparagus spears to the oven and bake them for 15 to 20 minutes, until the coating is dry and golden.
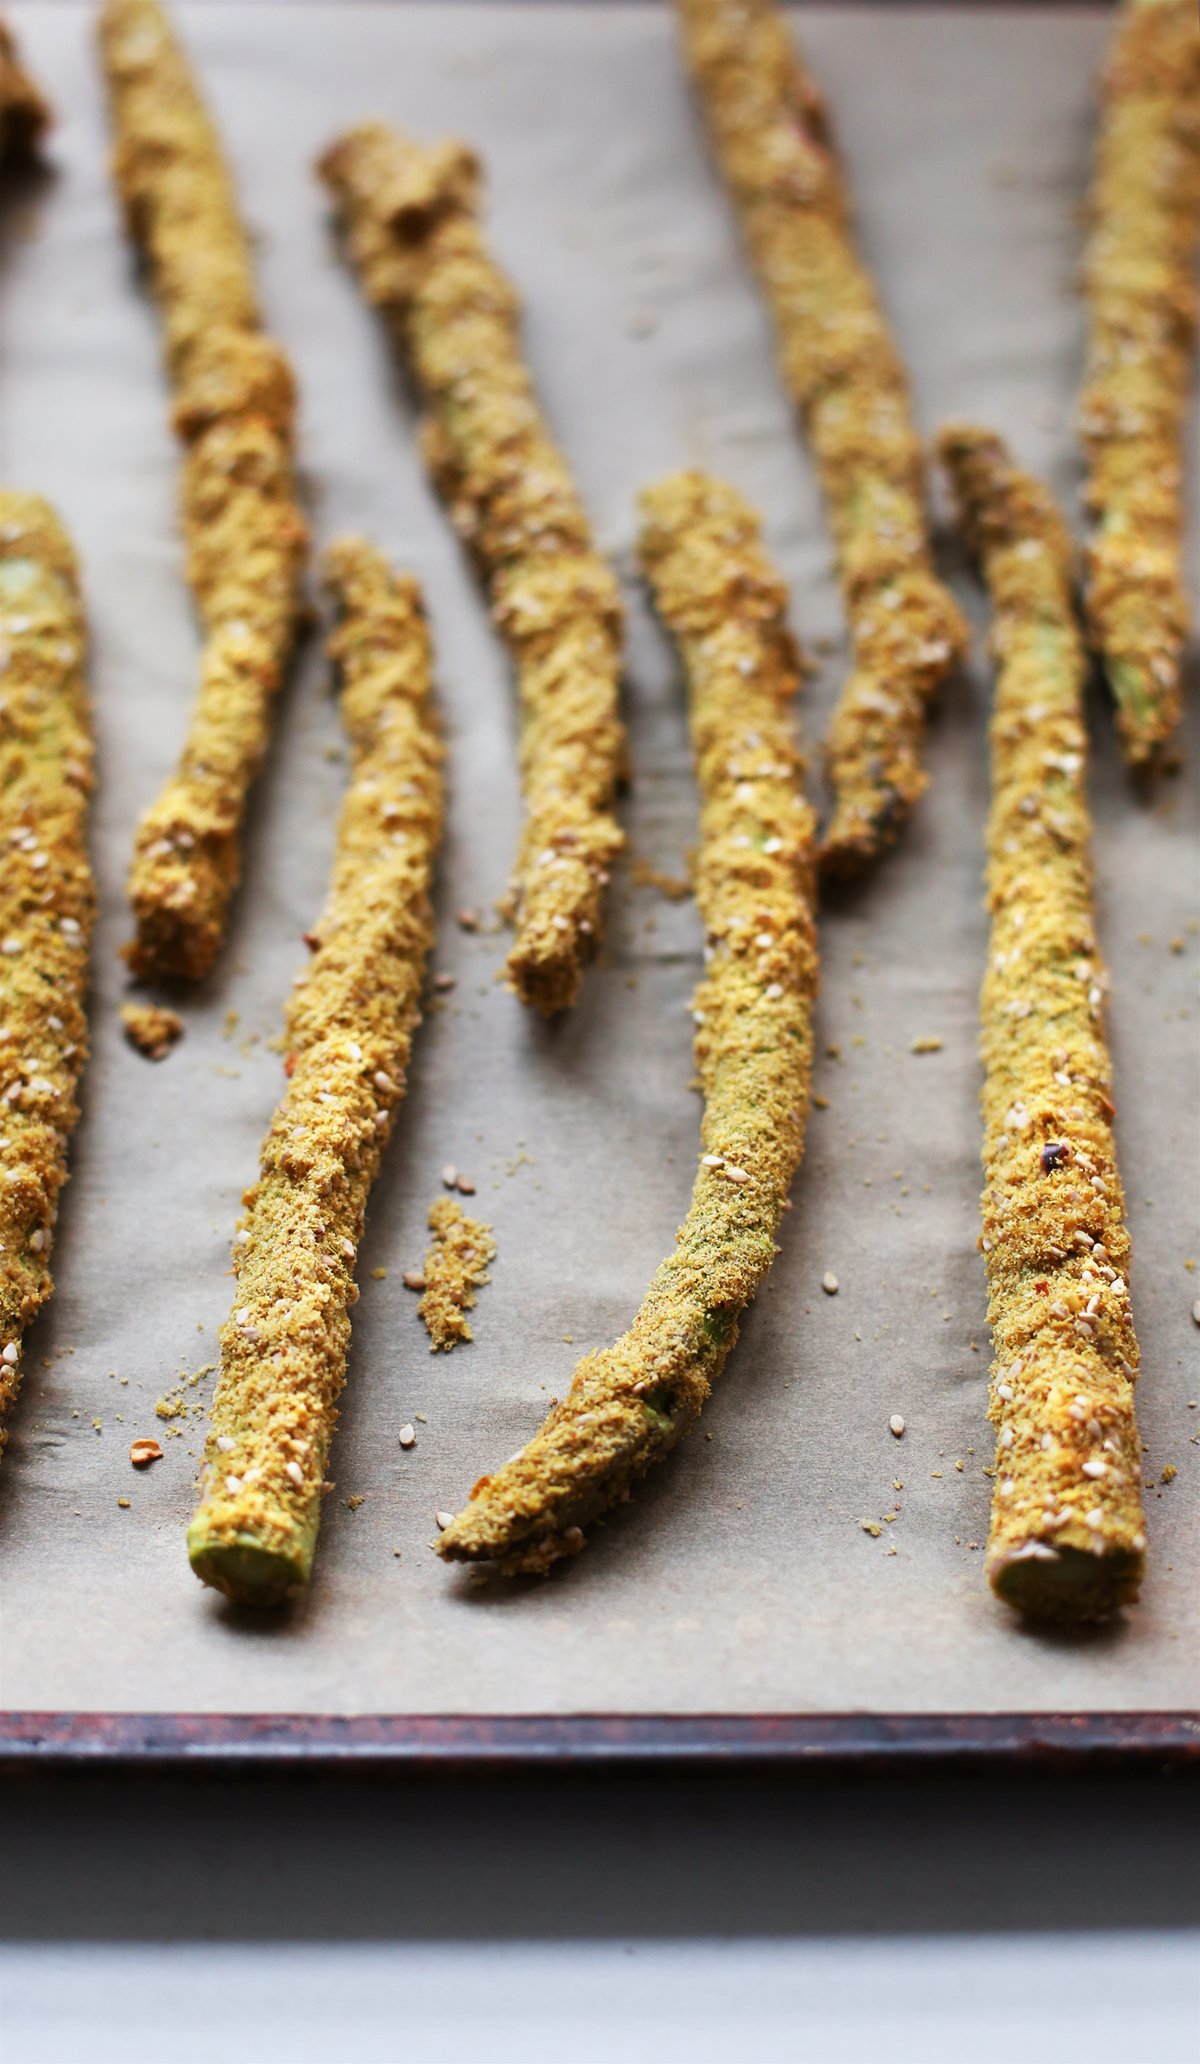
6. Remove the asparagus fries from the oven and serve immediately. The leftovers will get soggy when refrigerated, but the flavor will stay delicious for 2 to 3 days.
—
Notes from Heather: I had leftover coating and it’s delicious so I’m saving it in the fridge to use for other recipes. Sprinkle it on cooked grains or rice, roasted veggies, popcorn, or cooked noodles.
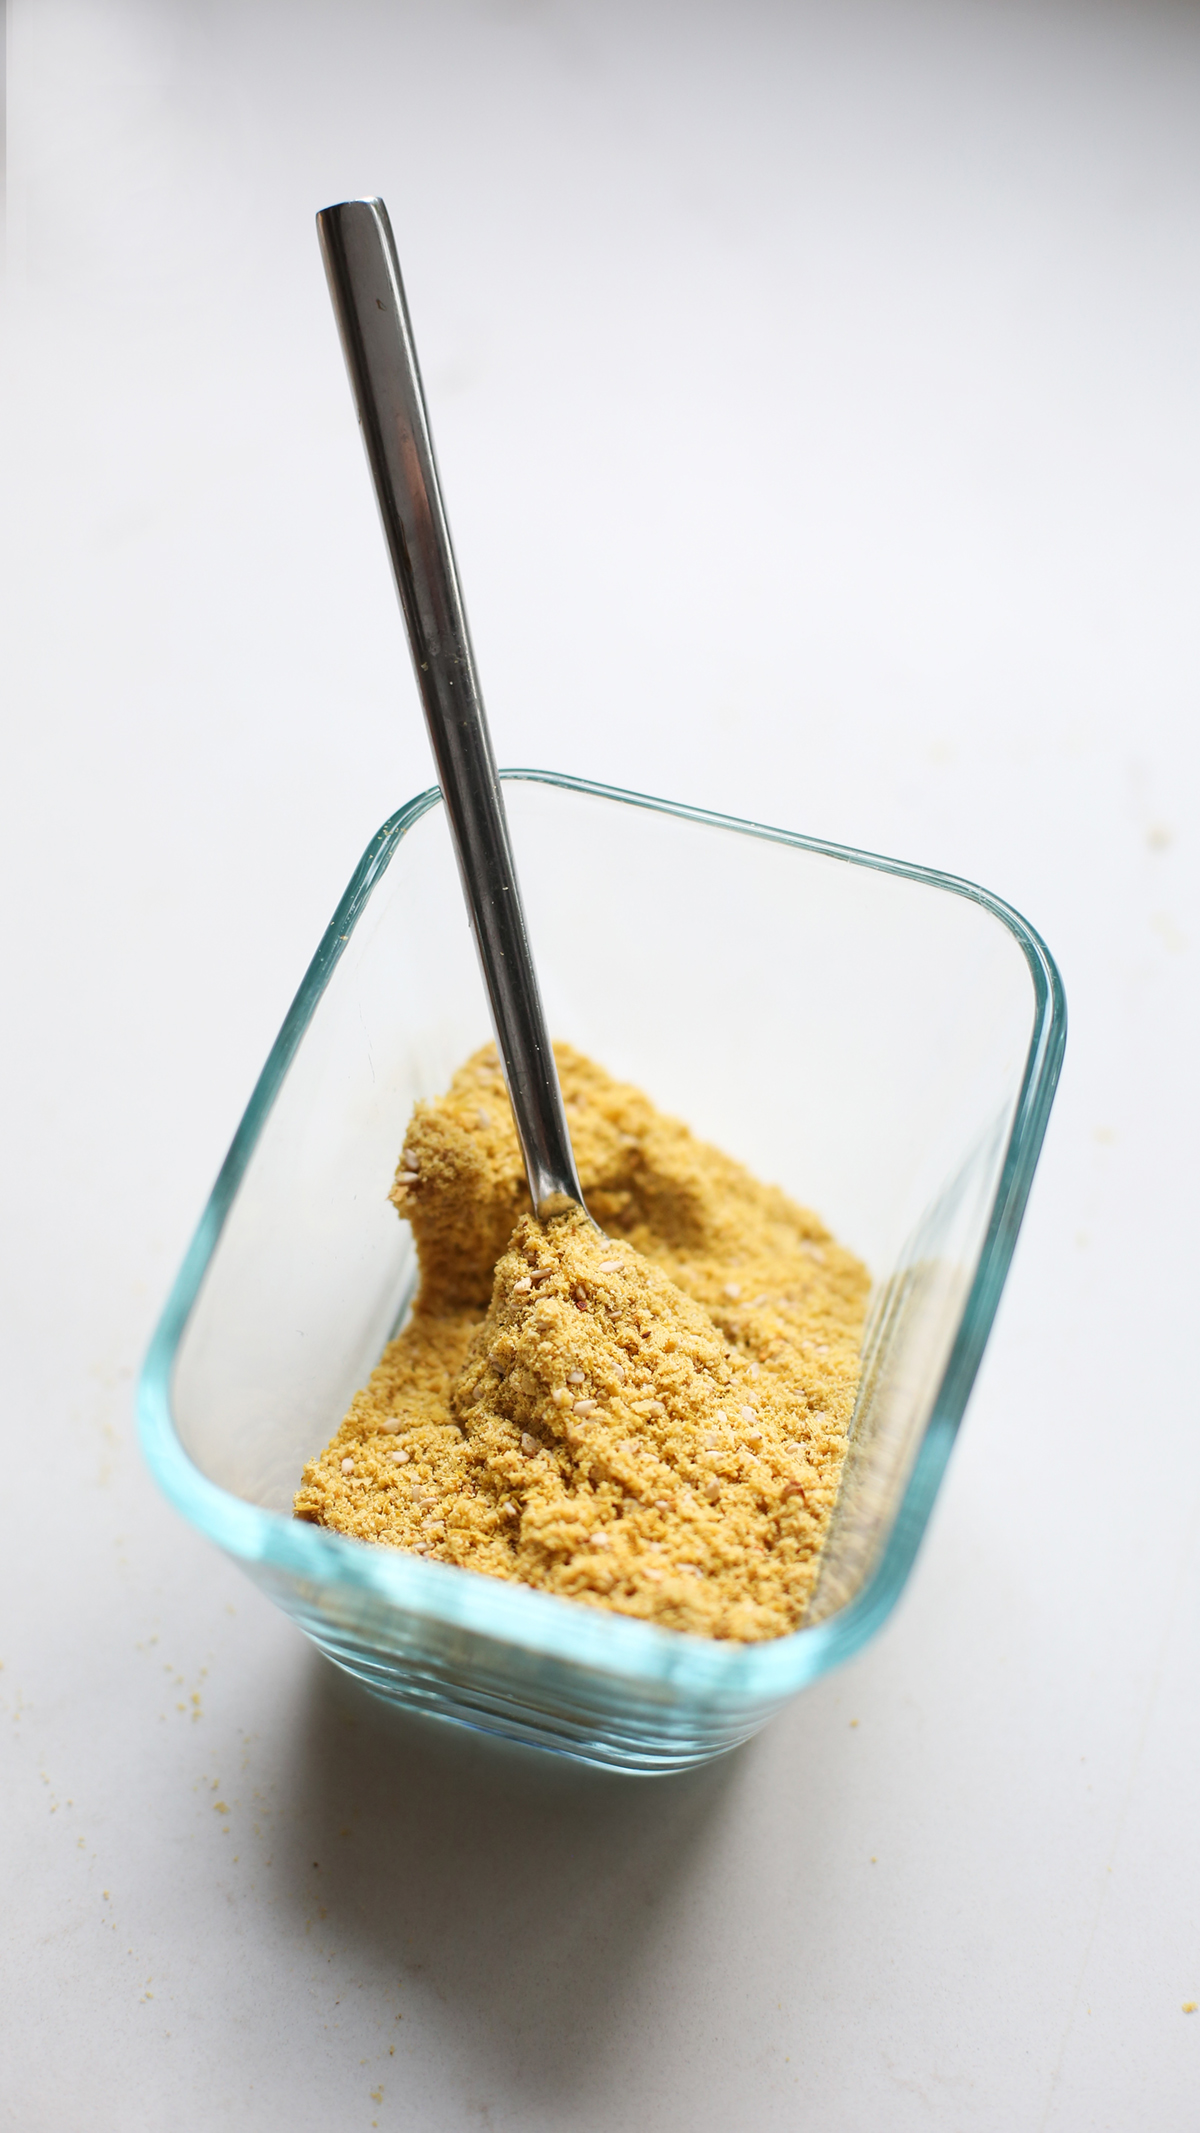
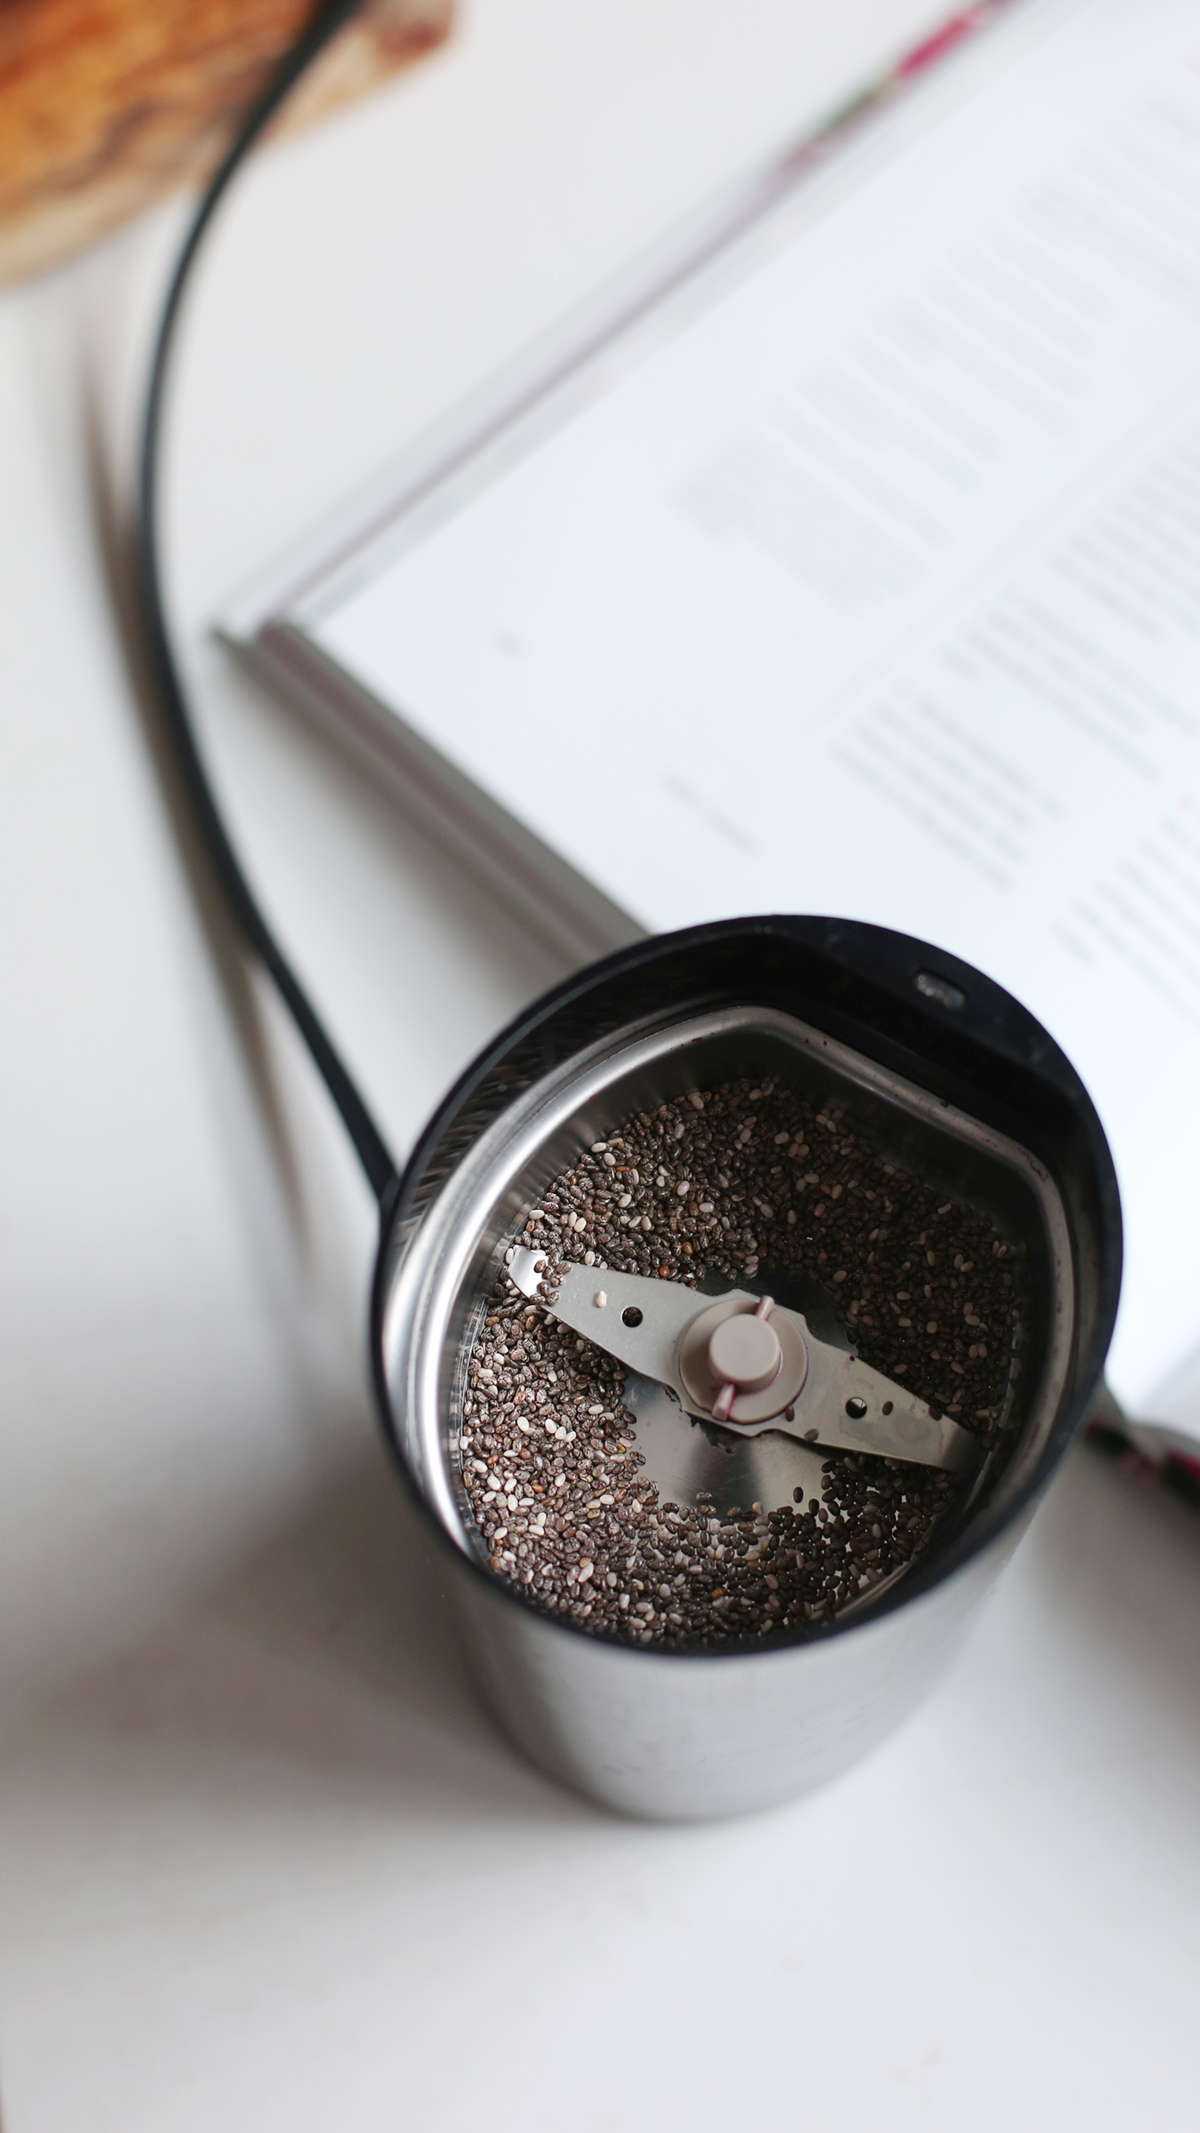
I also didn’t have flax or chia meal, so I made some chia meal by grinding whole chia seeds in a coffee/spice grinder for about 10 pulses. Easy. Store any extra in an airtight container in the fridge until you make this recipe again. Fridge storage will be better than the pantry since the seeds have been broken—makes them more vulnerable to rancidity.
—
Recipe from Simply Vibrant by Anya Kassoff ©2018 by Anya Kassoff. Simply Vibrant Photographs ©2018 by Masha Davydova. Reprinted in arrangement with Roost Books, an imprint of Shambhala Publications, Inc.
—
—
Want more inspiration? Check out my books.
Get one new video recipe sent to your inbox every month: join our Good Food Cooking Club, it’s free.
| Servings |
4
|
- 4 tablespoons freshly squeezed lemon juice
- 2 tablespoons purified water
- 2 tablespoons chia or flax meal
- 1/2 cup ground raw pumpkin seeds pistachios, or other nuts of choice
- 1/4 cup sesame seeds
- 1/2 cup nutritional yeast
- 2 teaspoons garlic powder
- 1 teaspoon Salt plus more for sprinkling
- 1 teaspoon coconut sugar
- 11/2 teaspoons cumin seeds freshly ground
- 1/4 teaspoon red pepper flakes
Ingredients
|

|
- 1. In a shallow dish, whisk together the lemon juice, water, and chia or flax meal. Set the mixture aside for 10 minutes to allow the chia or flax to gel.
- 2. In a large bowl or zip-top bag, combine the ground nuts or seeds, sesame seeds, nutritional yeast, garlic powder, salt, coconut sugar, ground cumin, and red pepper flakes—mix well or seal the bag and shake to combine thoroughly. Pour about 1/3 cup of this mixture onto a large plate.
- 3. Preheat the oven to 395°F (200°C). Line a rimmed baking sheet with parchment paper.
- 4. Dip the asparagus, one spear at a time, into the lemon-chia mixture, then transfer it to the plate with the dry coating.Using a fork, generously cover each spear with the mixture to coat. Avoid touching the asparagus and the coating with your hands as much as possible, in order to keep the coating as dry as possible and on the asparagus.
- 5. Carefully transfer the coated asparagus spears to the prepared baking sheet. Continue adding more of the coating mixture to the plate as it gets used up. Transfer the coated asparagus spears to the oven and bake them for 15 to 20 minutes, until the coating is dry and golden.6. Remove the asparagus fries from the oven and serve immediately. The leftovers will get soggy when refrigerated, but the flavor will stay delicious for 2 to 3 days.
- 6. Remove the asparagus fries from the oven and serve immediately. The leftovers will get soggy when refrigerated, but the flavor will stay delicious for 2 to 3 days.
Mississippi Vegan’s Spaghetti Pie with Summer Squash
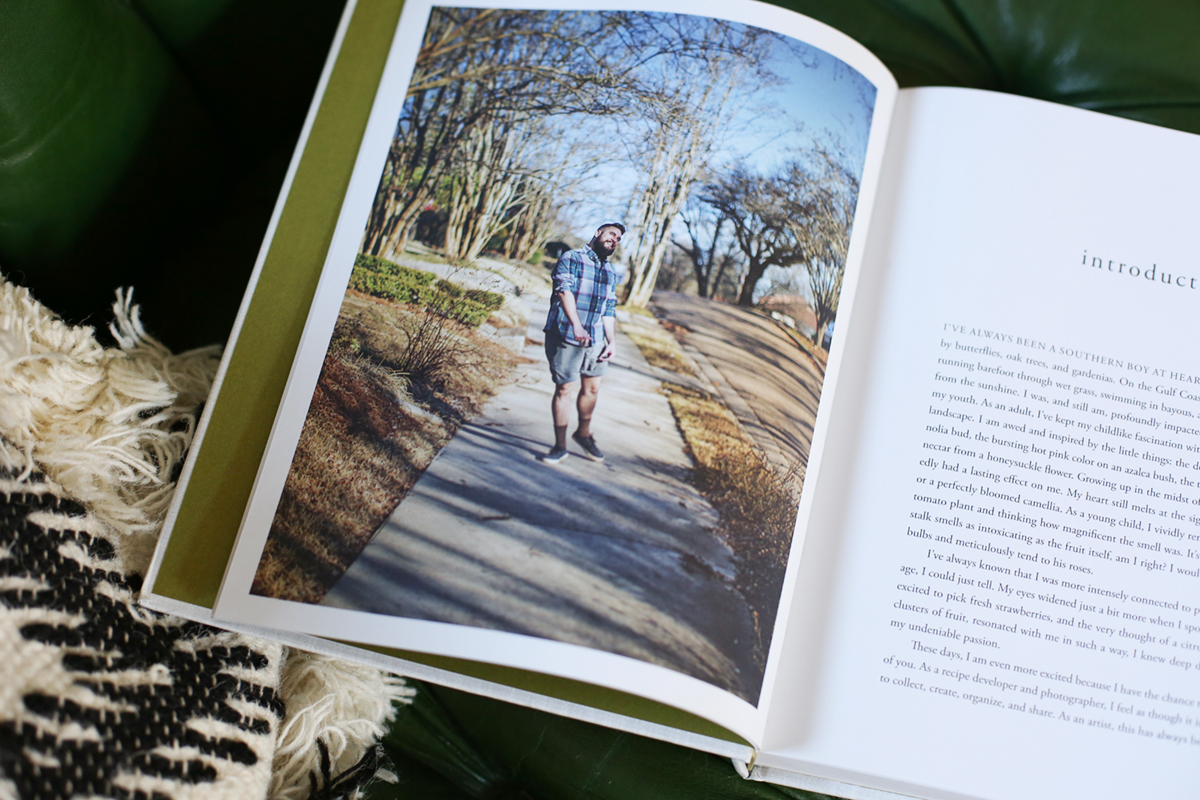
I officially met Timothy Pakron, author of Mississippi Vegan, last Fall at a very special book-release dinner party for him hosted by Erin Barrett from Sunwoven Studios and Jessica Murnane from One Part Plant.
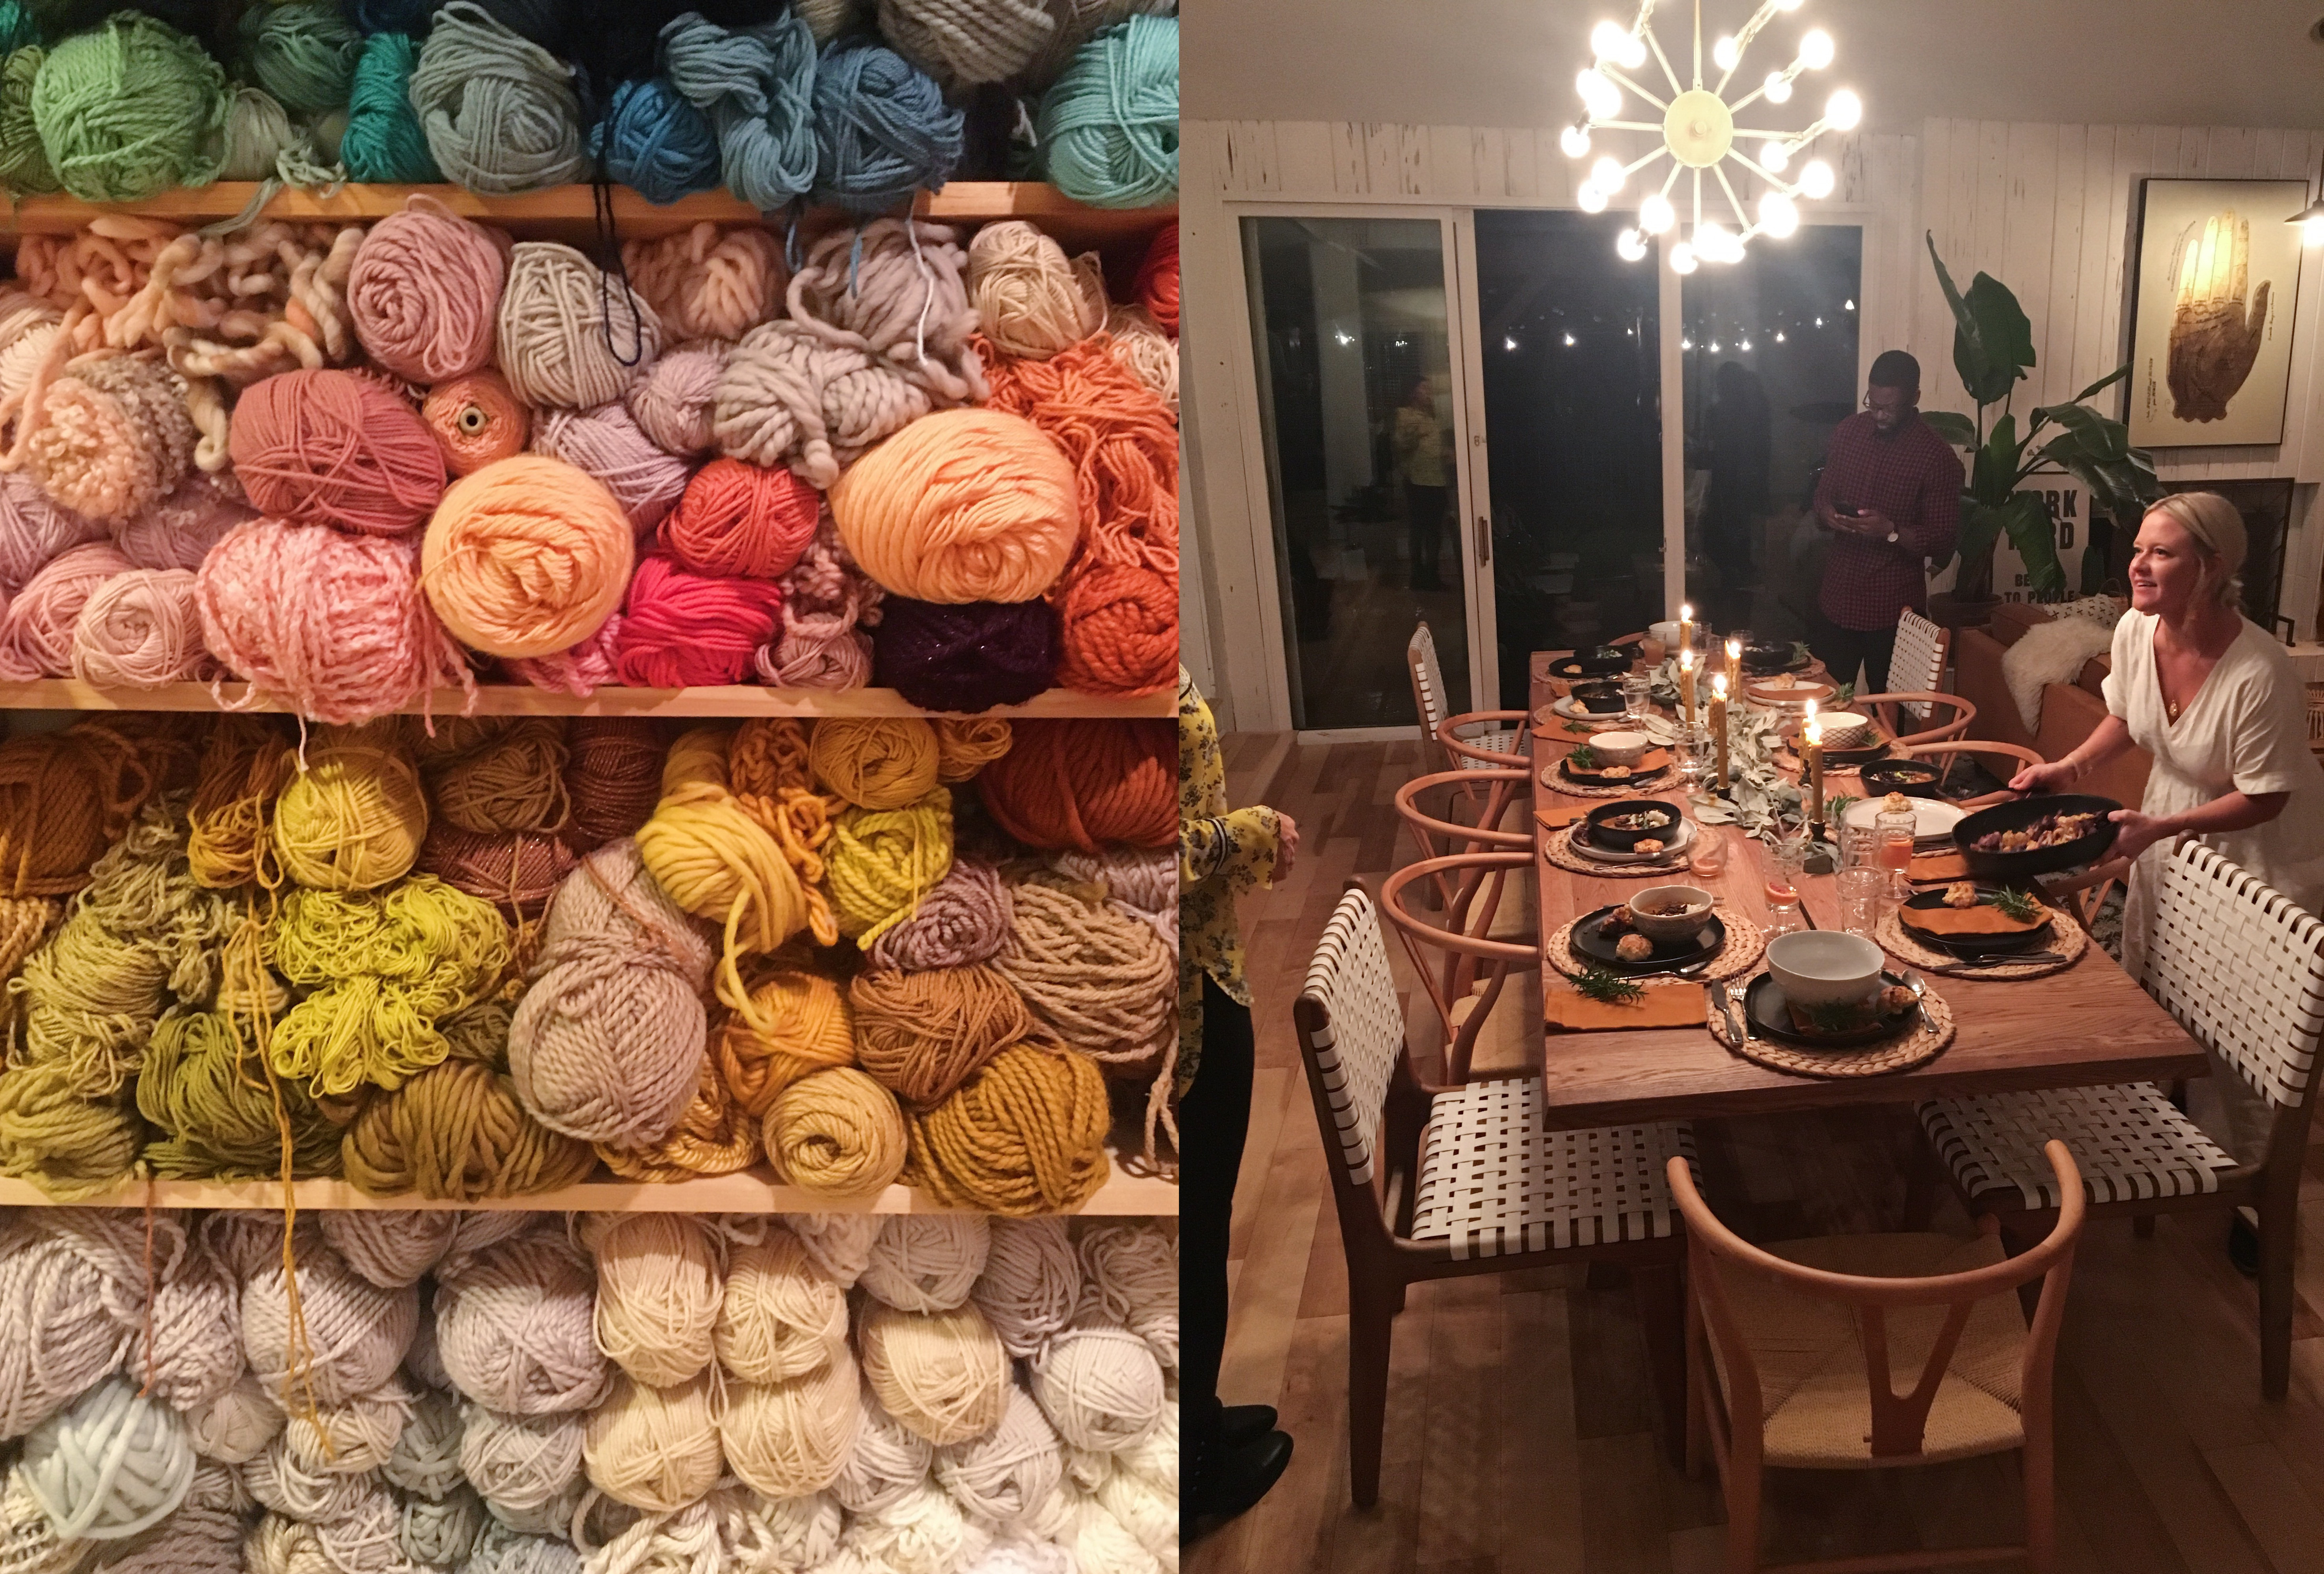
Tim made a beautiful meal for us—gumbo, shiitake bacon, rice, biscuits, roasted cauliflower, and cobbler for dessert that we à la moded, thank you very much. He made it look effortless all the while beaming over his gorgeous new book baby. I don’t think I’m only speaking for myself here when I say this, but I was honored to be there to celebrate this special milestone with him.
Tim is fun. F.U.N. He has kind eyes, an infectious laughter, and a bright spirit that you just want around. You know when you think of certain people and immediately smile from the inside out? Tim invokes that… and this photo below pretty much sums up the evening.
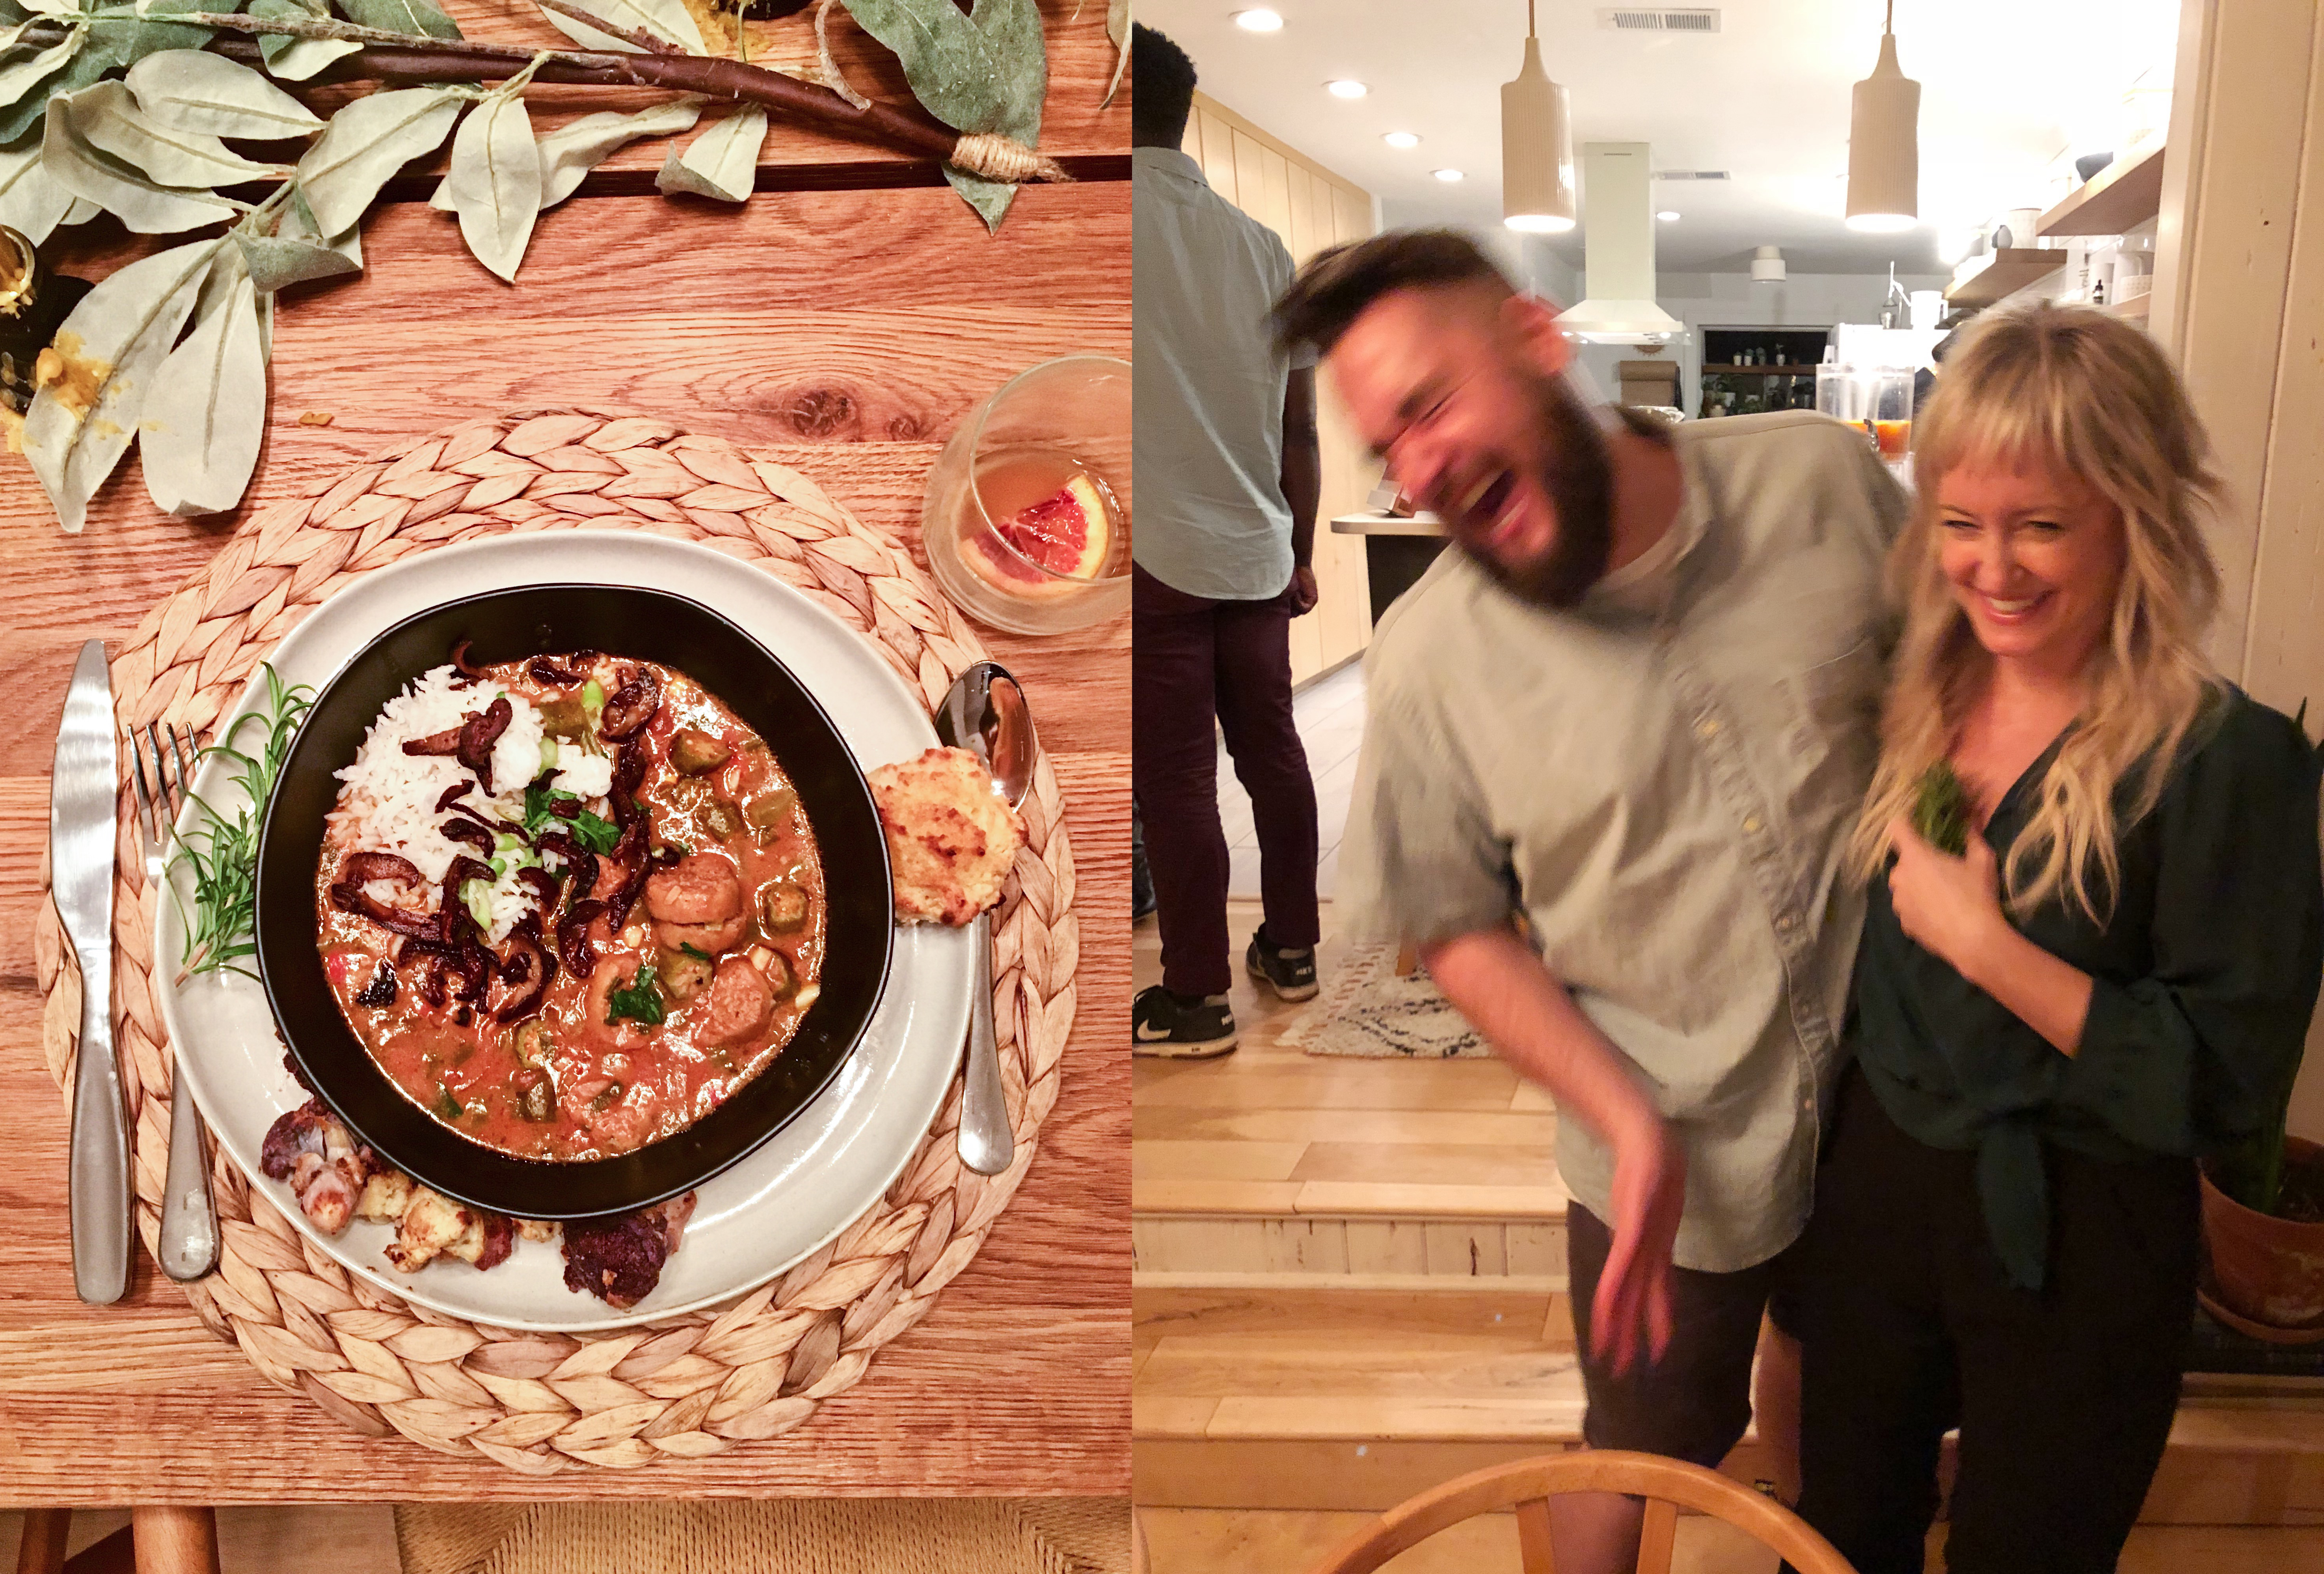
The food he prepared… lordy. It was decadent but comforting—made with all the love.
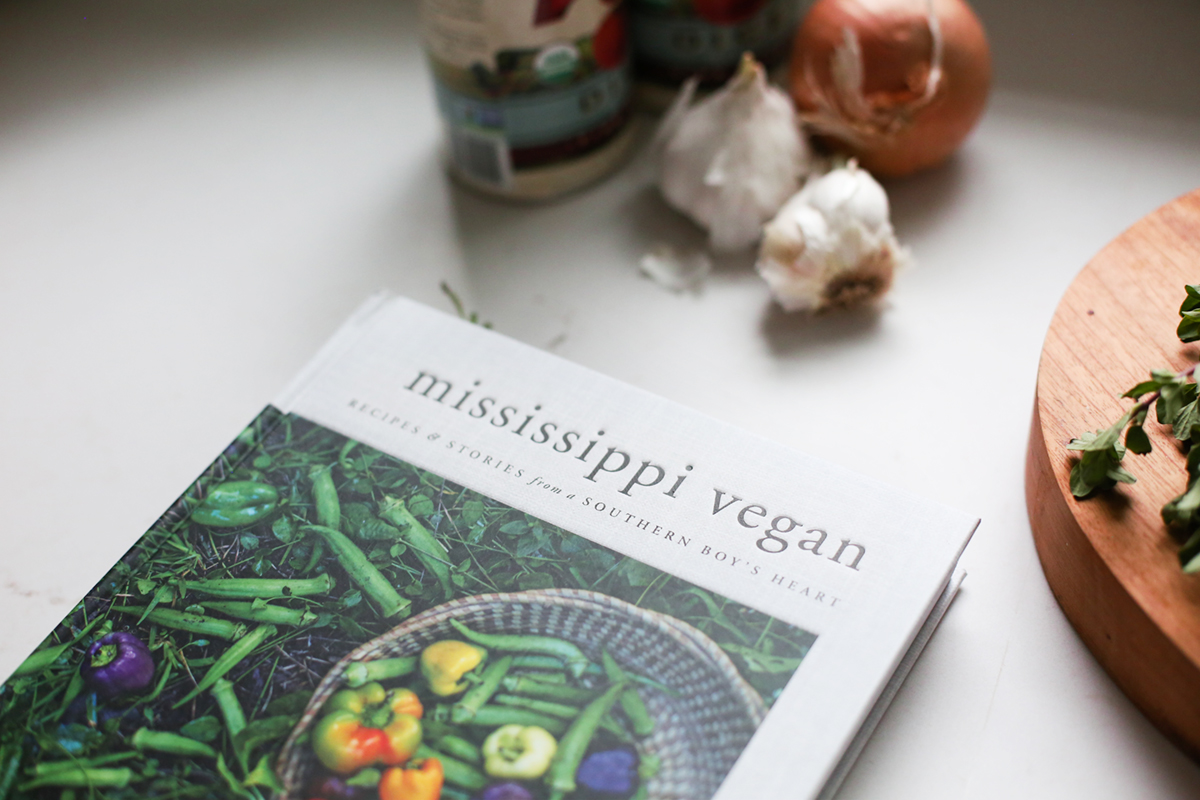
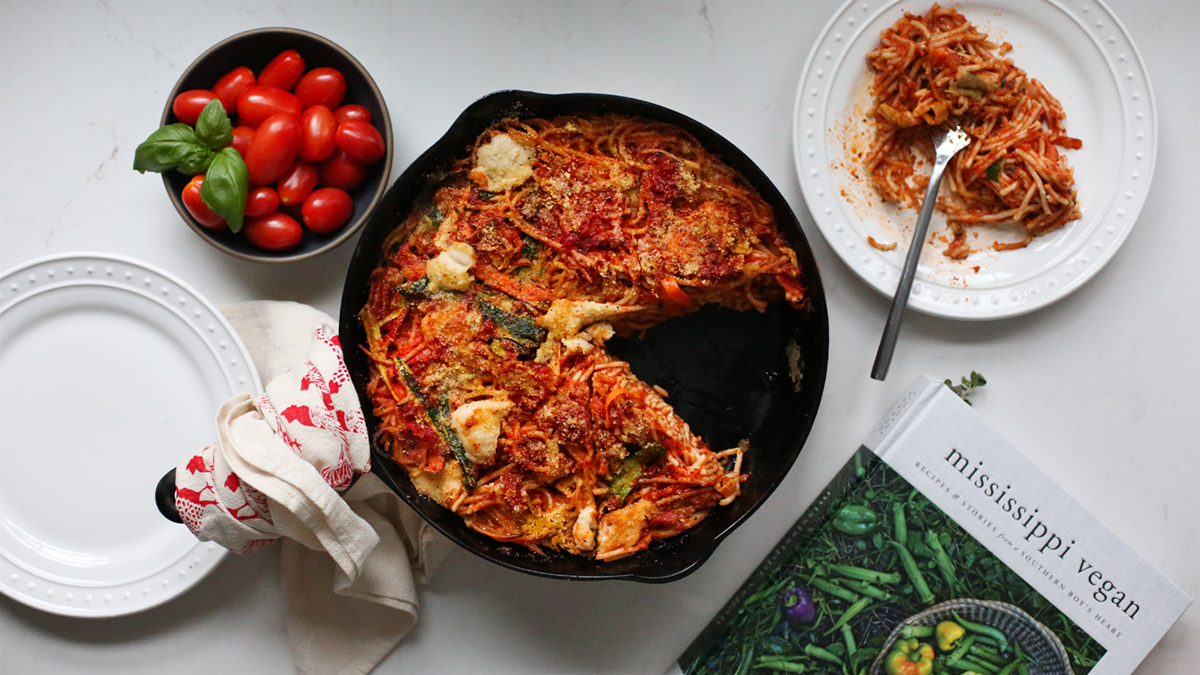
When I finished my new kitchen, one of the first things I wanted to do to celebrate my new chapter was make to something from Mississippi Vegan.
I landed here…
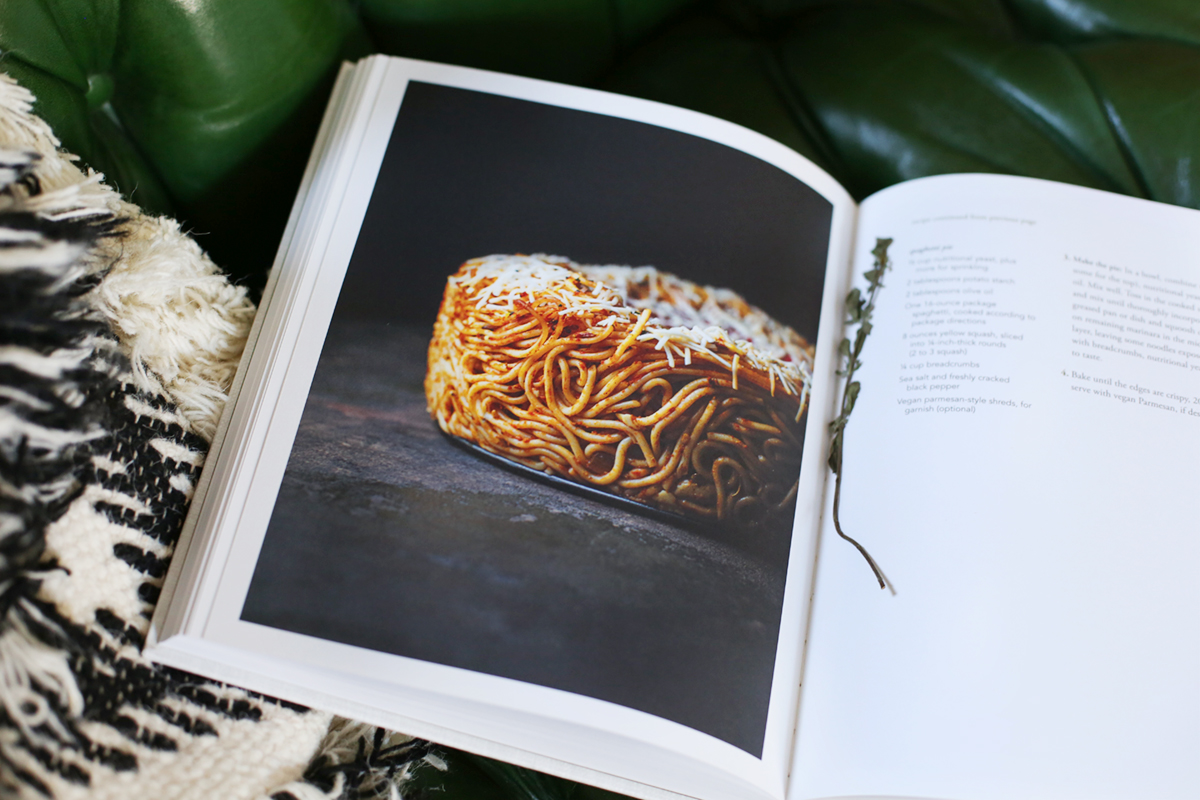
As any rational person would.
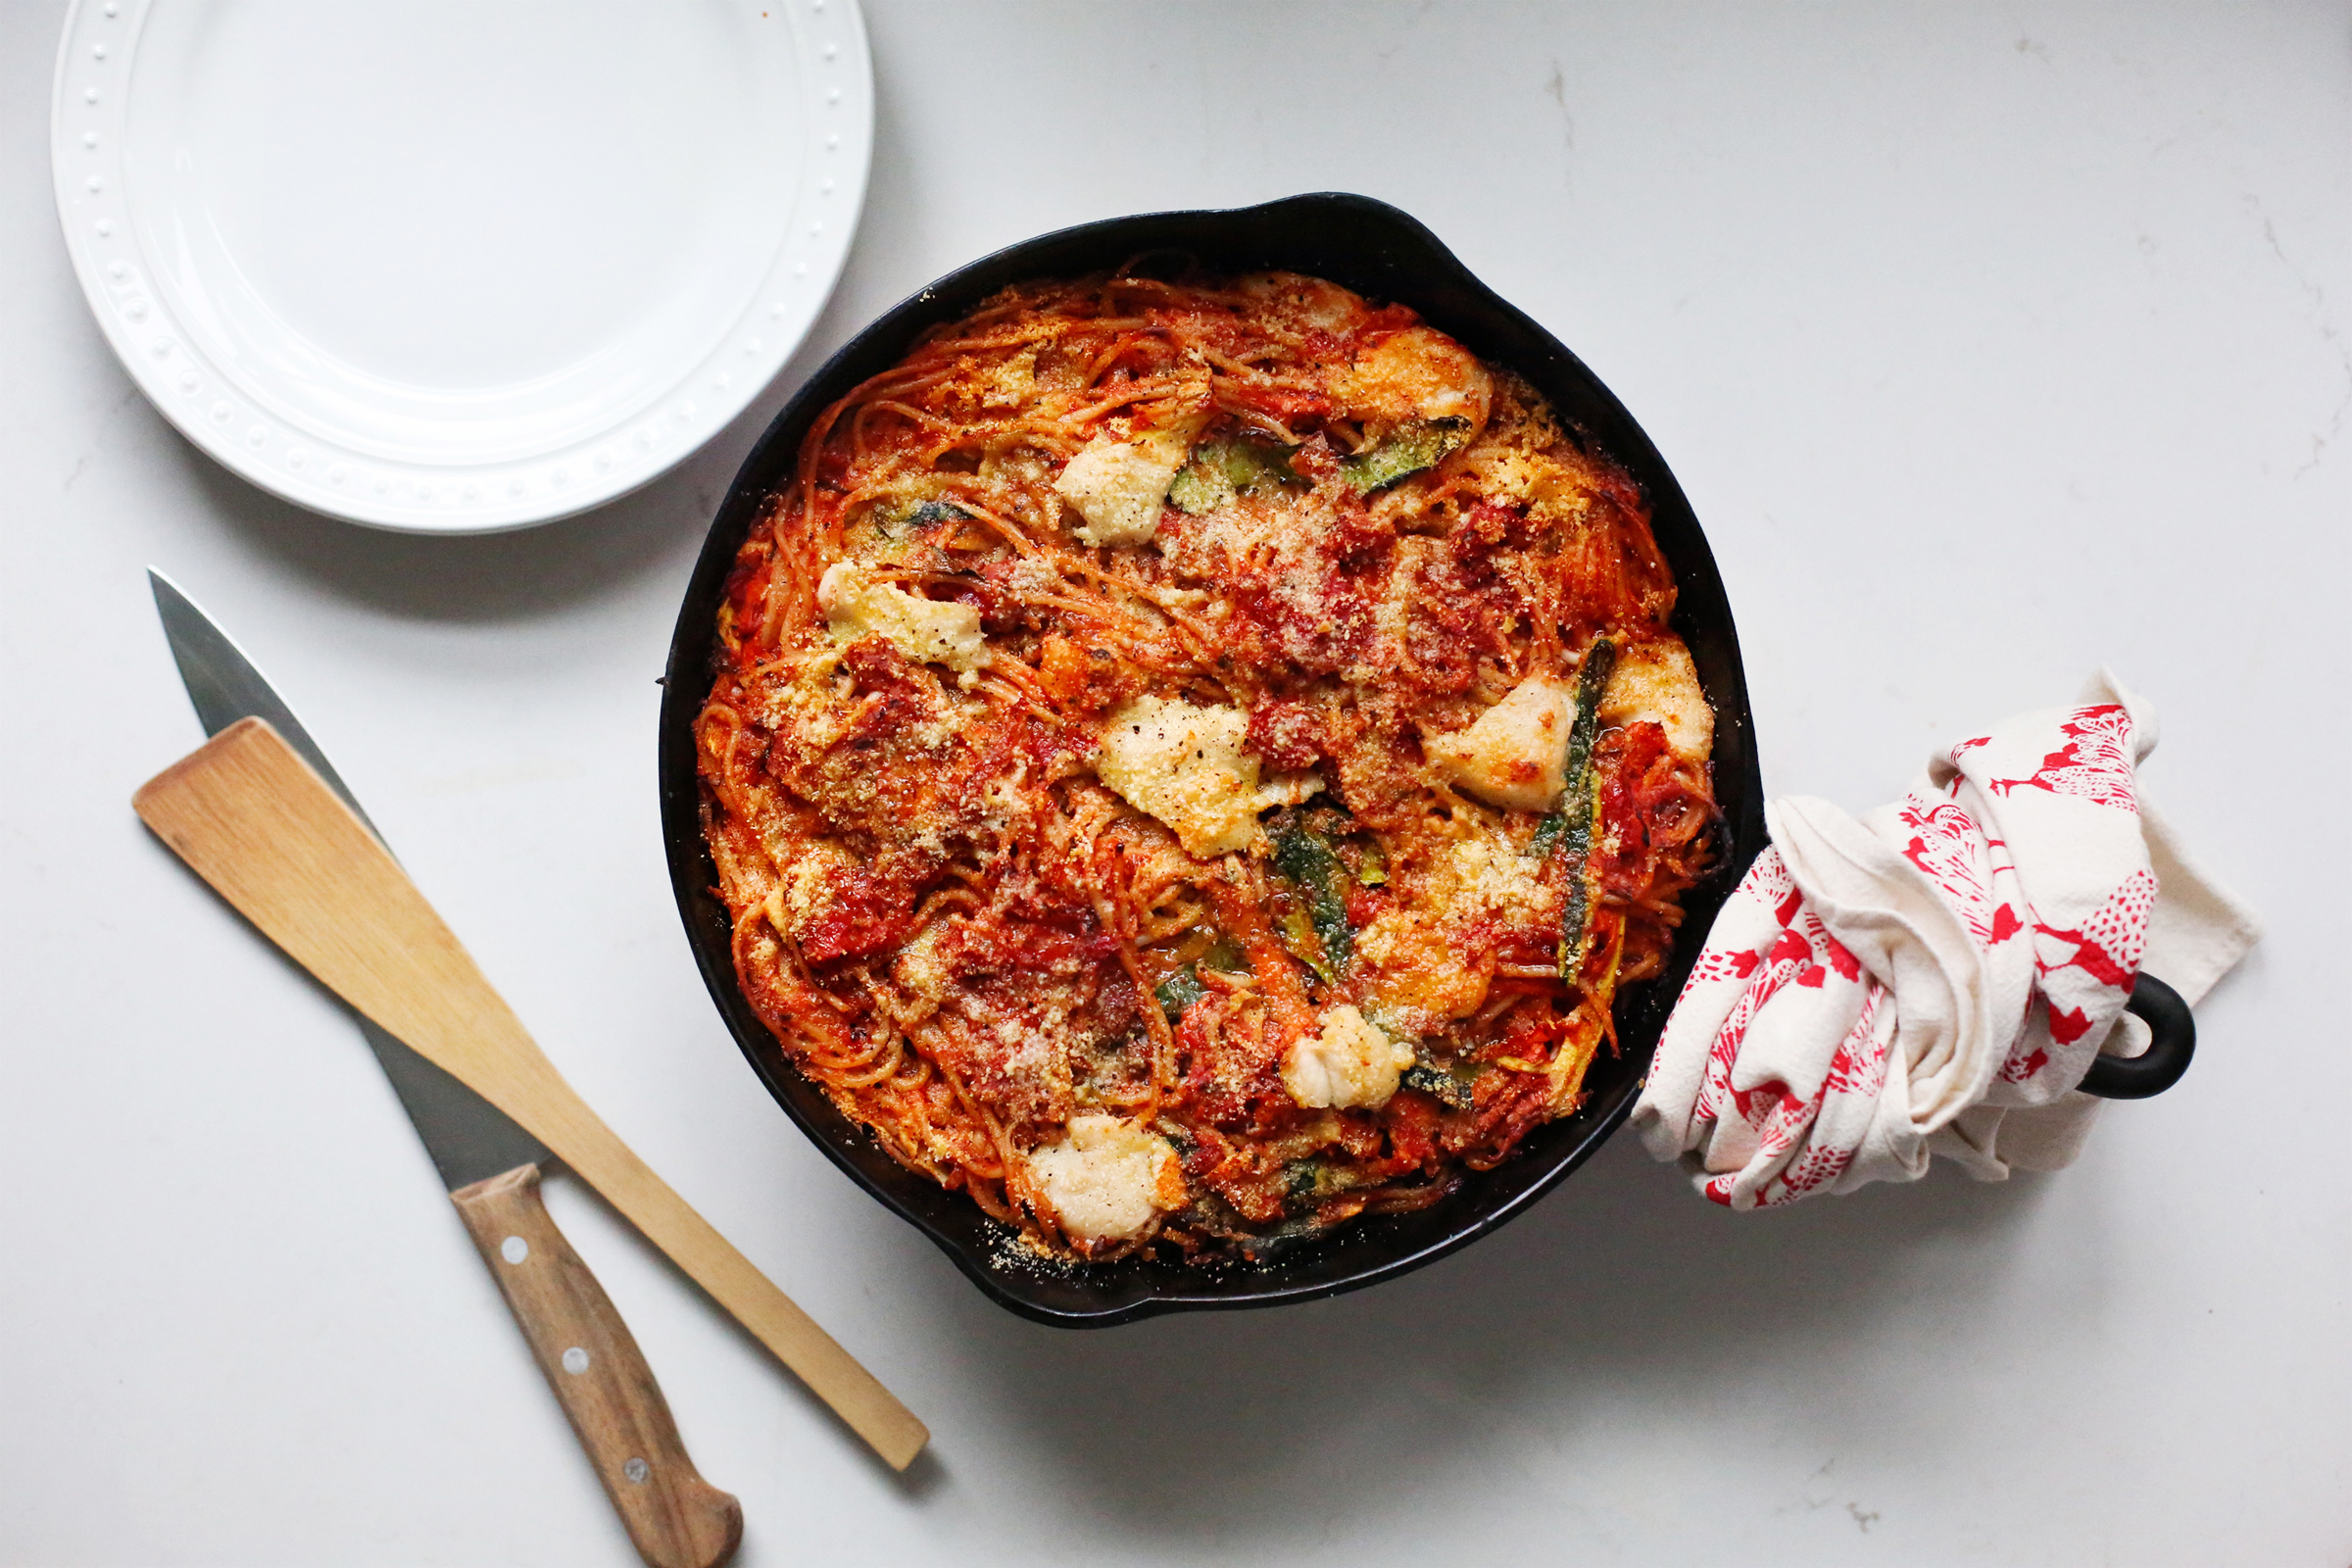
Definitely the Spaghetti Pie.
I’ve made a little recipe video to inspire you to make this too… because you should make this recipe!
Now, before I begin, Tim and I shared a good belly laugh at Erin’s over the fact that neither of us can follow a recipe to save our life, so I hope my twists and simple additions get his blessing. I clearly indicate what they are below.
– – – Printable recipe version at bottom of post – – –
Spaghetti Pie with Summer Squash
SERVES 6 TO 8
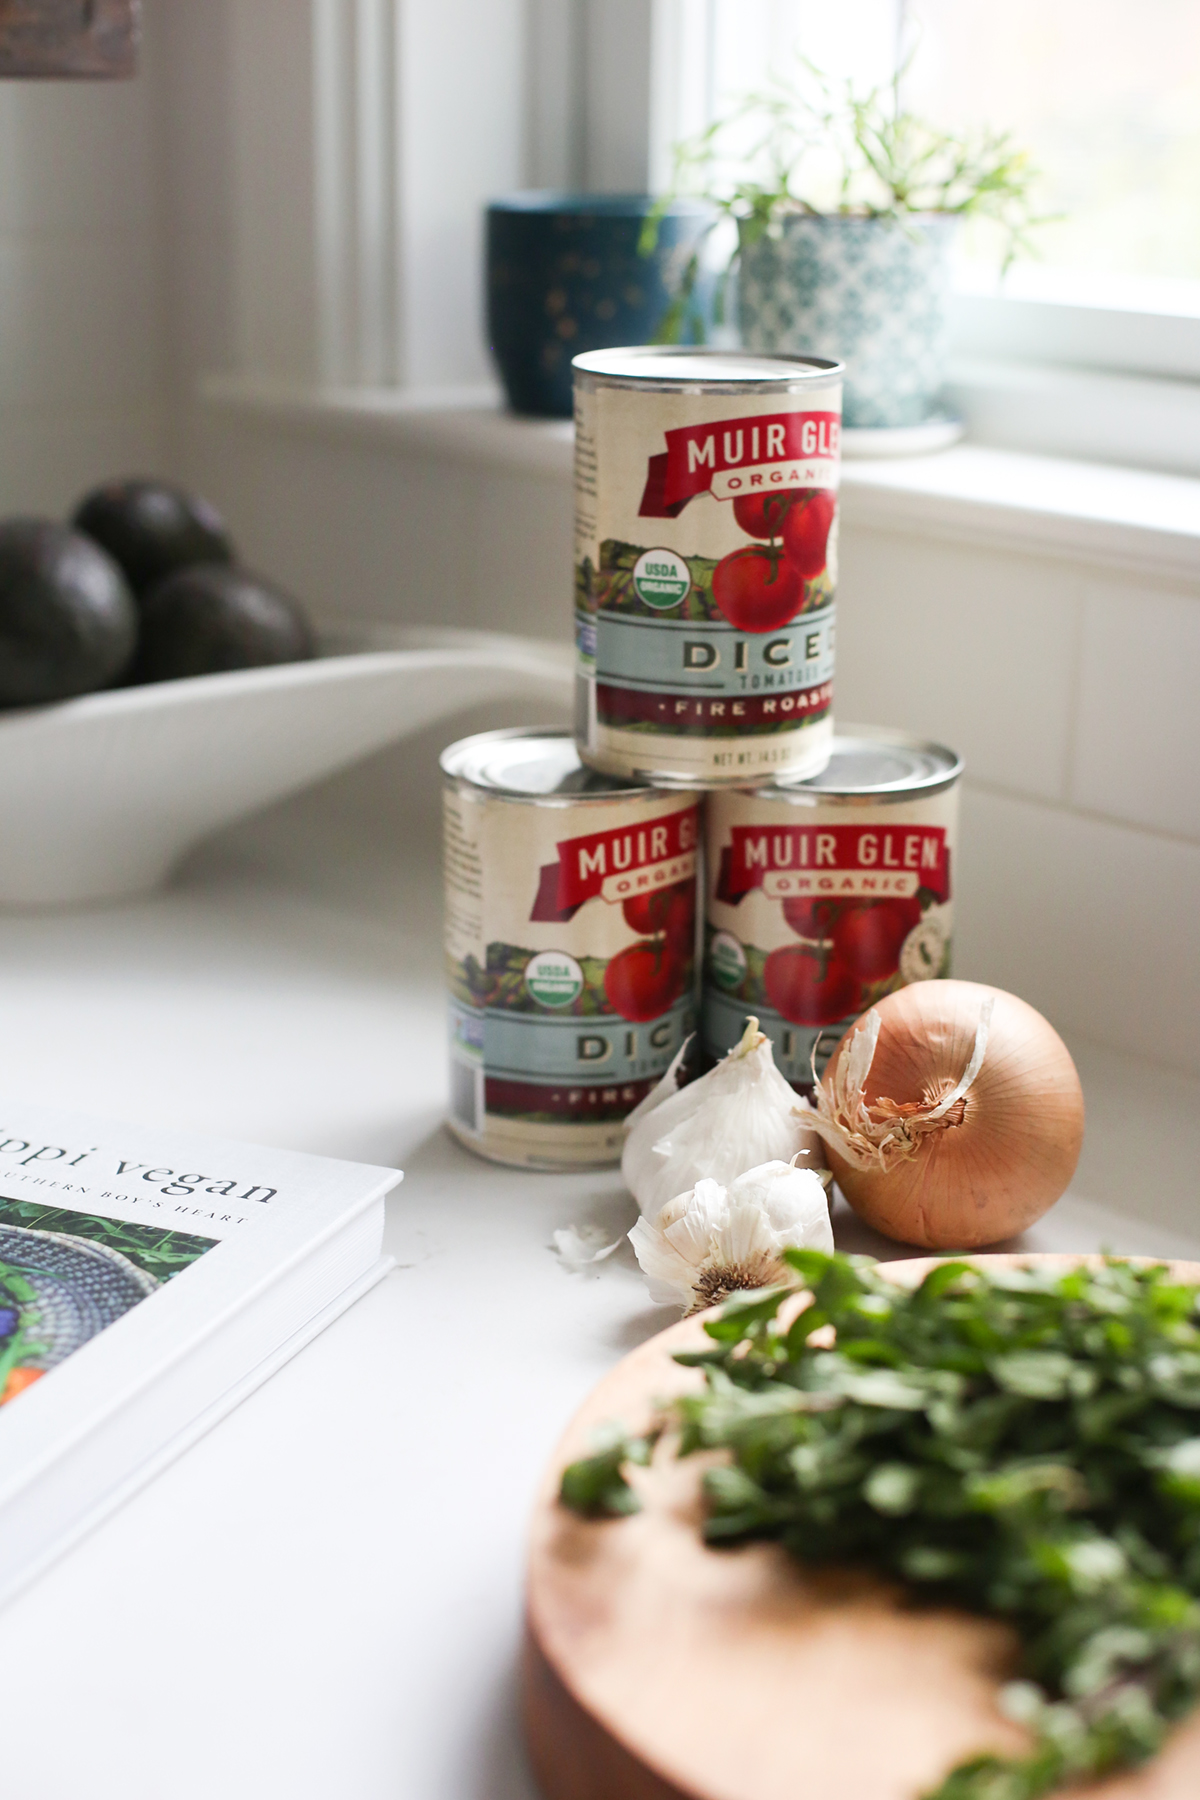
I remember the first time I had spaghetti pie when I was a little kid. My friend’s mother made it for us, and I was obsessed with the fact that it was a pie made out of noodles. It still excites me just thinking about it, which is why I make it to this day. The best part? When someone looks at you like you’re crazy and says, “Spaghetti pie!?” I love adding summer squash or zucchini to make this dish juicy. As for my “easy marinara?” Well, it really is. You should have everything in your pantry to whip it up in no time. Simply doctor up 2 cans of fire-roasted tomatoes and there you have it. Easy breezy.
Easy Marinara
2 tablespoons olive oil
1 medium red onion, chopped
¼ cup chopped garlic
Two 14.5-ounce cans fire-roasted diced tomatoes
1 teaspoon onion powder
1 teaspoon garlic powder
½ teaspoon dried basil
½ teaspoon dried oregano
½ teaspoon dried rosemary
½ teaspoon dried thyme
½ teaspoon sugar (optional)
Dash freshly grated nutmeg
Crushed red pepper flakes
Chopped fresh herbs, if you got ’em
Salt and freshly cracked black pepper
Spaghetti Pie
½ cup nutritional yeast, plus more for sprinkling
2 tablespoons potato starch
2 tablespoons olive oil
One 16-ounce package spaghetti, cooked according to package directions
8 ounces yellow squash, sliced into 1⁄4-inch-thick rounds (2 to 3 squash)
¼ cup breadcrumbs
Sea salt and freshly cracked black pepper
Vegan parmesan-style shreds, for garnish (optional)
Steps:
1. Preheat the oven to 350°F. Grease a 7-inch springform pan or pie dish.
Note from Heather: I used a cast iron skillet
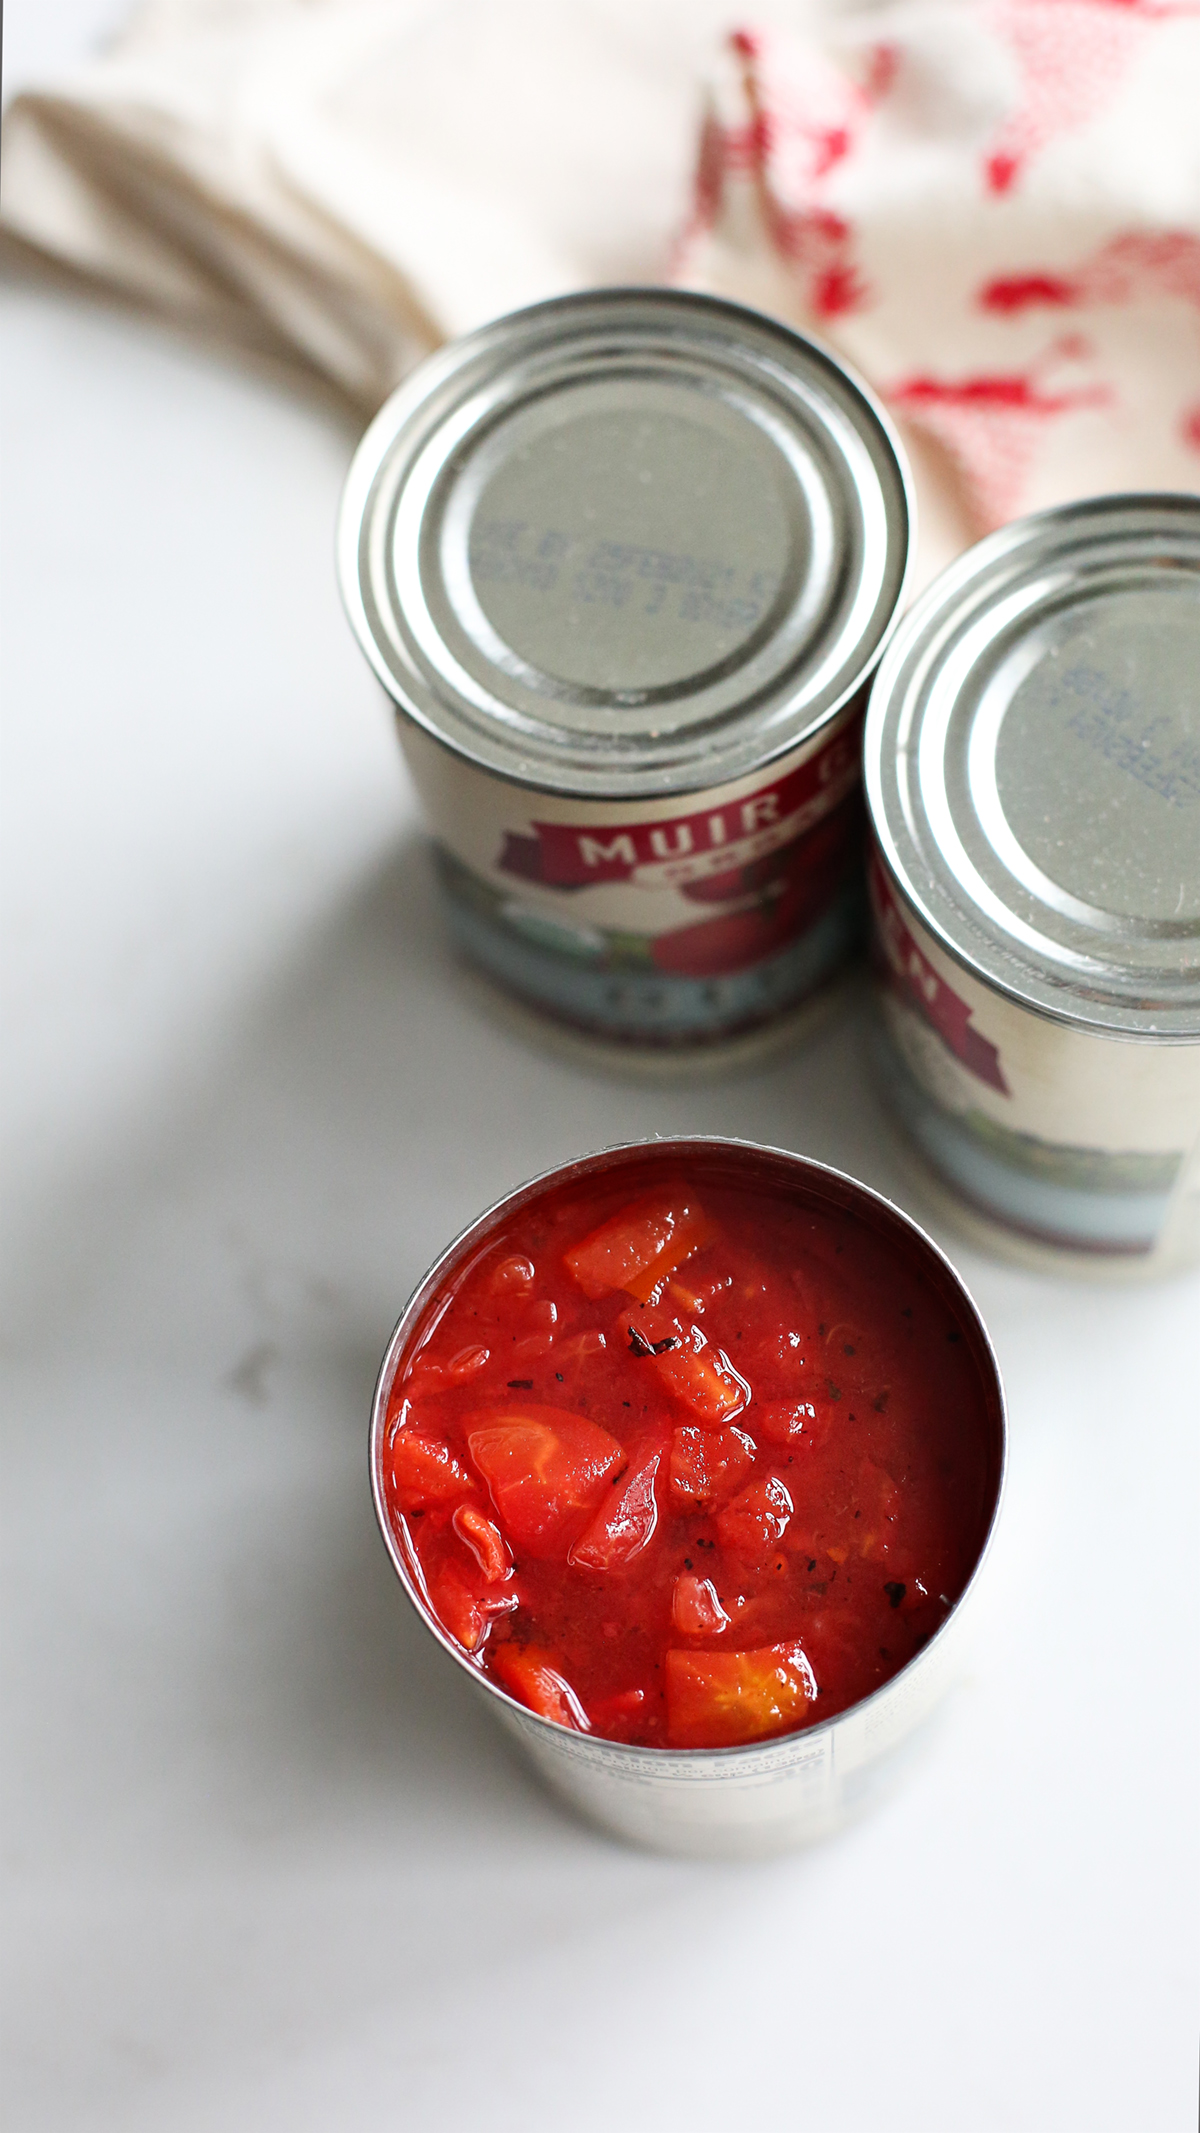
2. Make the easy marinara: In a small pot, heat the olive oil over medium heat. Toss in the onion and cook until tender, about 10 minutes.
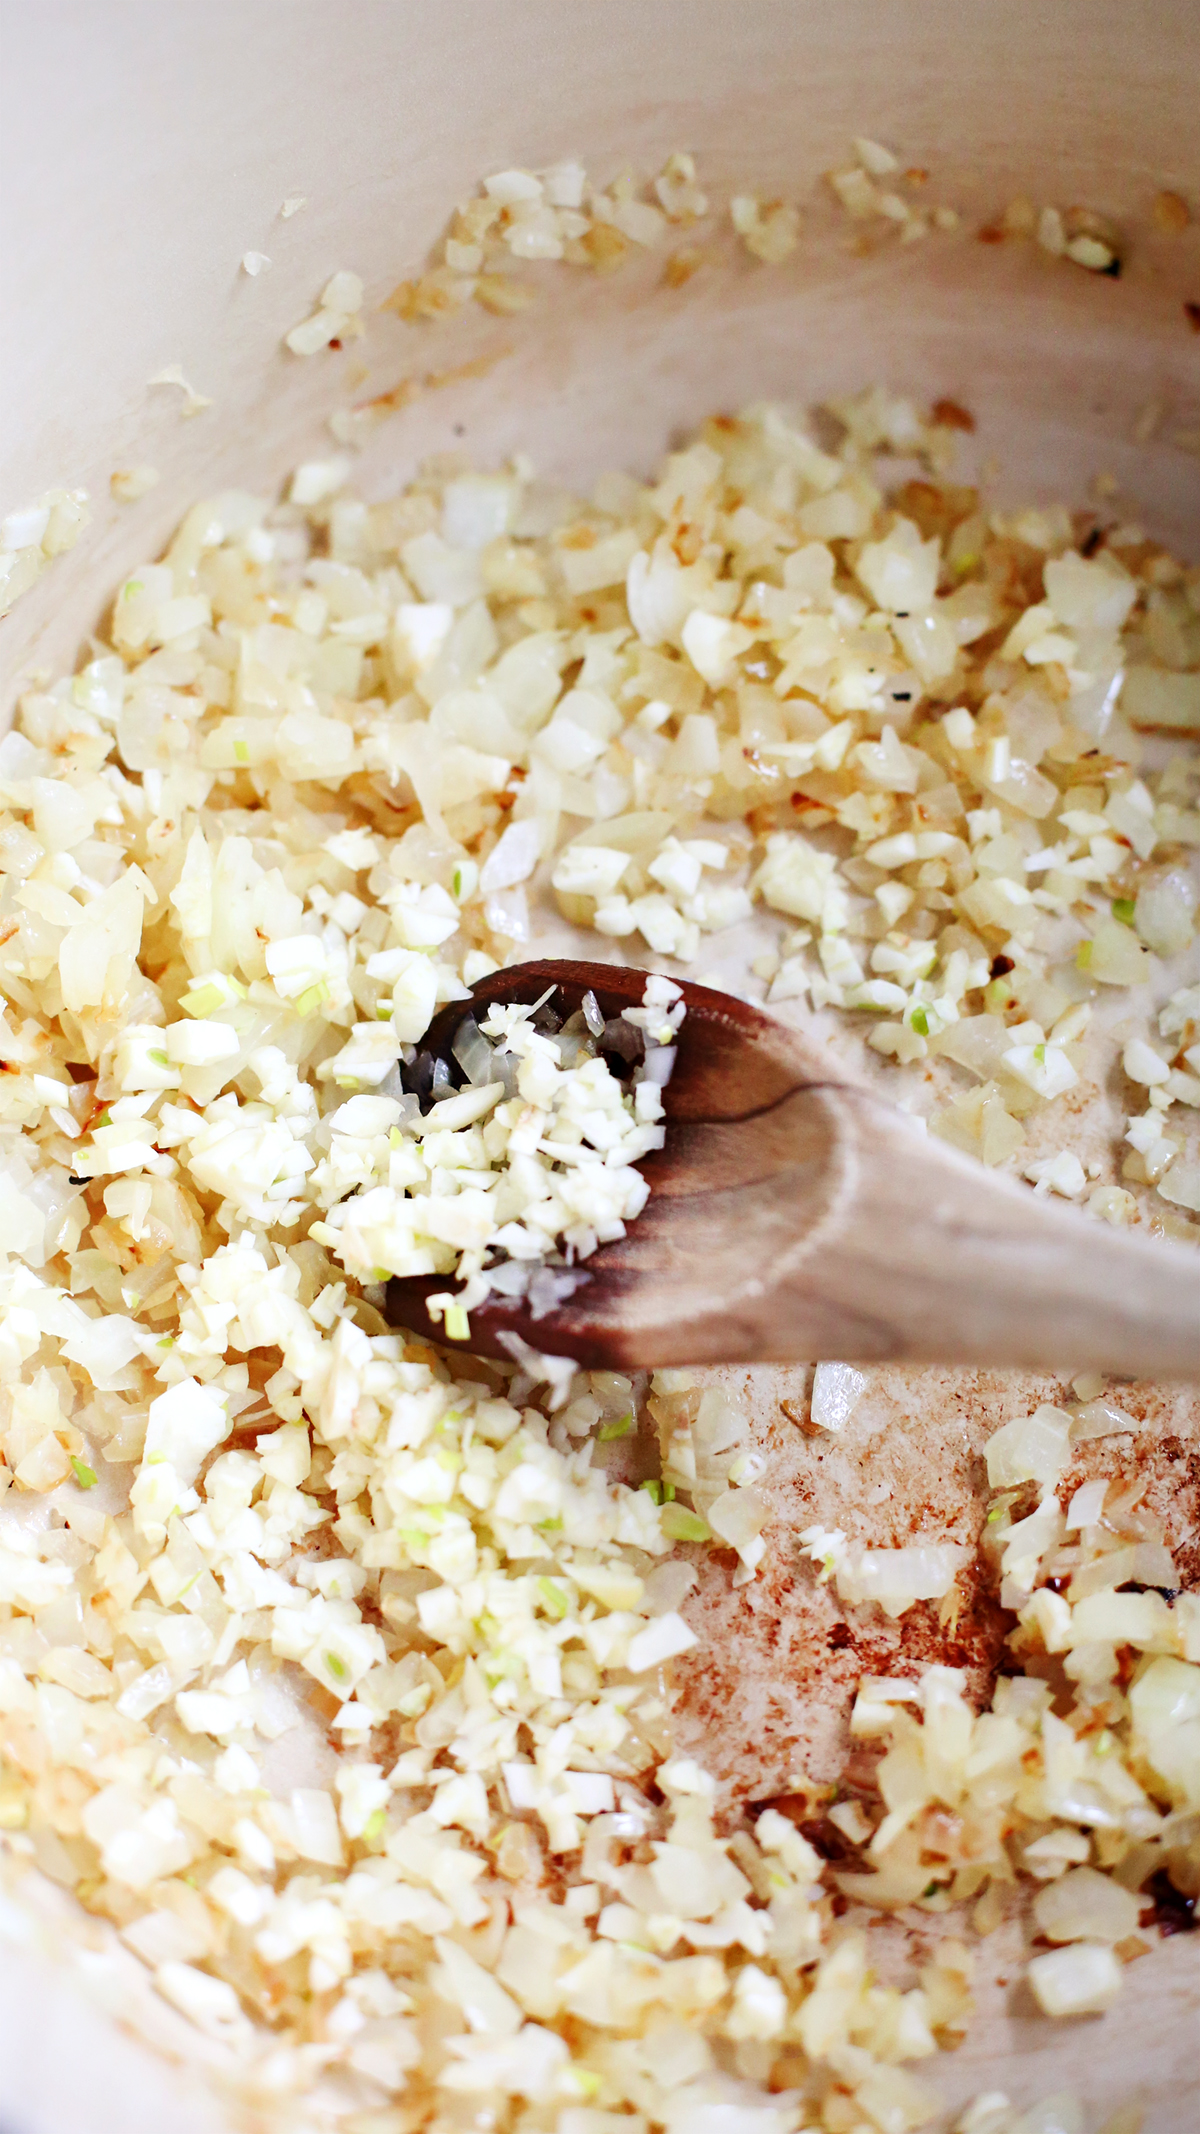
Note from Heather: I didn’t have a red onion so I used a yellow one. I also used a Dutch oven for sauce making and combining with spaghetti because, less dishes.
Add the garlic and cook until tender, about 5 minutes. Add the tomatoes, onion powder, garlic powder, basil, oregano, rosemary, thyme, sugar, nutmeg, pepper flakes, and fresh herbs, if using, and bring to a boil.
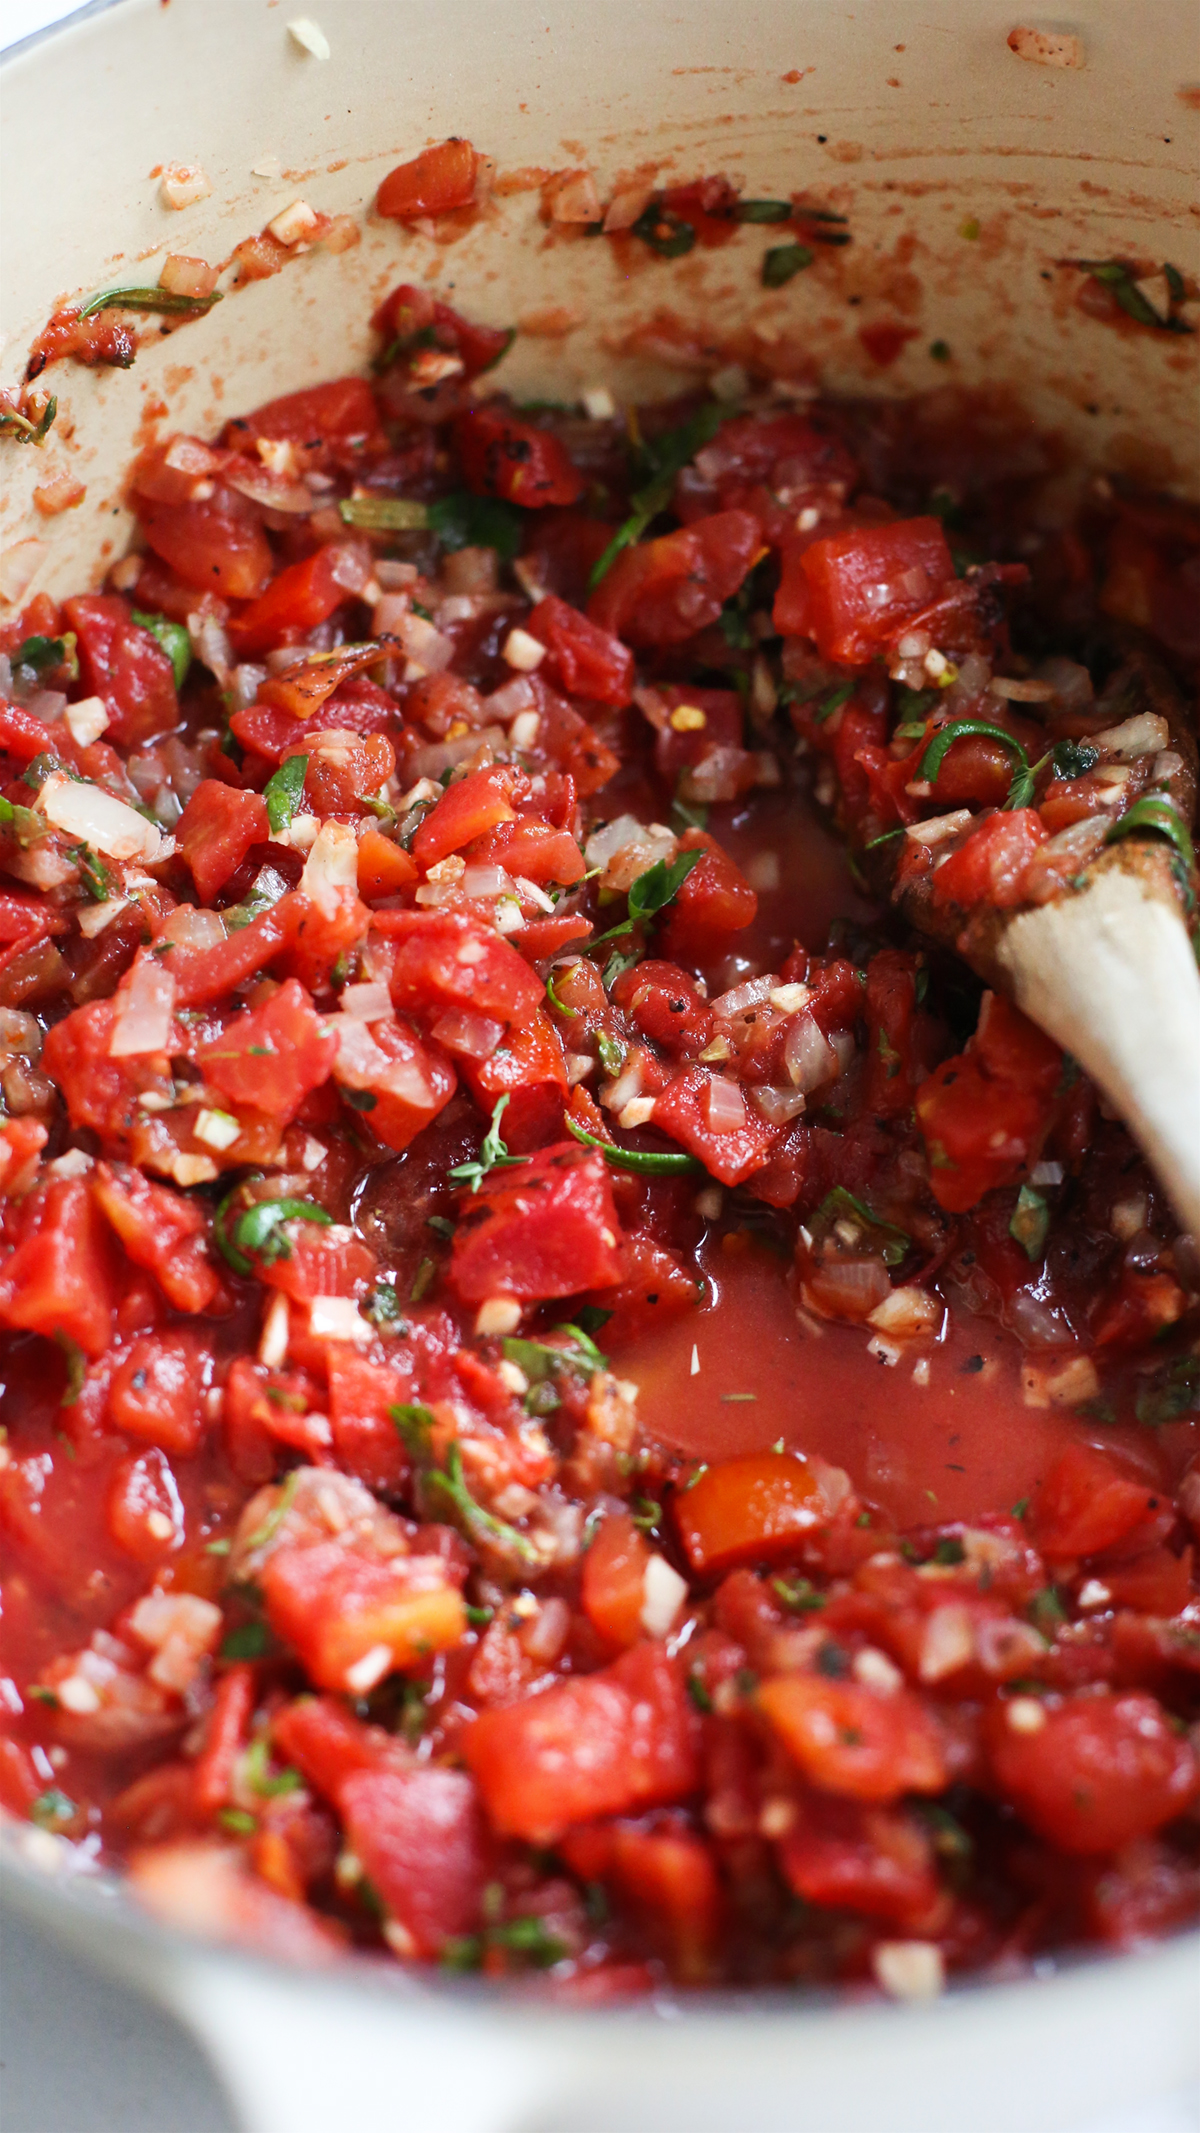
Note from Heather: I used loads of fresh herbs instead of dry (at least double the amount called for in the recipe). Nothing against dry herbs, I just didn’t have any, but I did have fresh. I also used marjoram instead of oregano (they’re cousins) and the flavor was super good.
Reduce the heat to low and simmer, stirring occasionally, for about 20 minutes. Season with salt and pepper to taste. For a smoother marinara, blend with an immersion blender or in a stand blender.
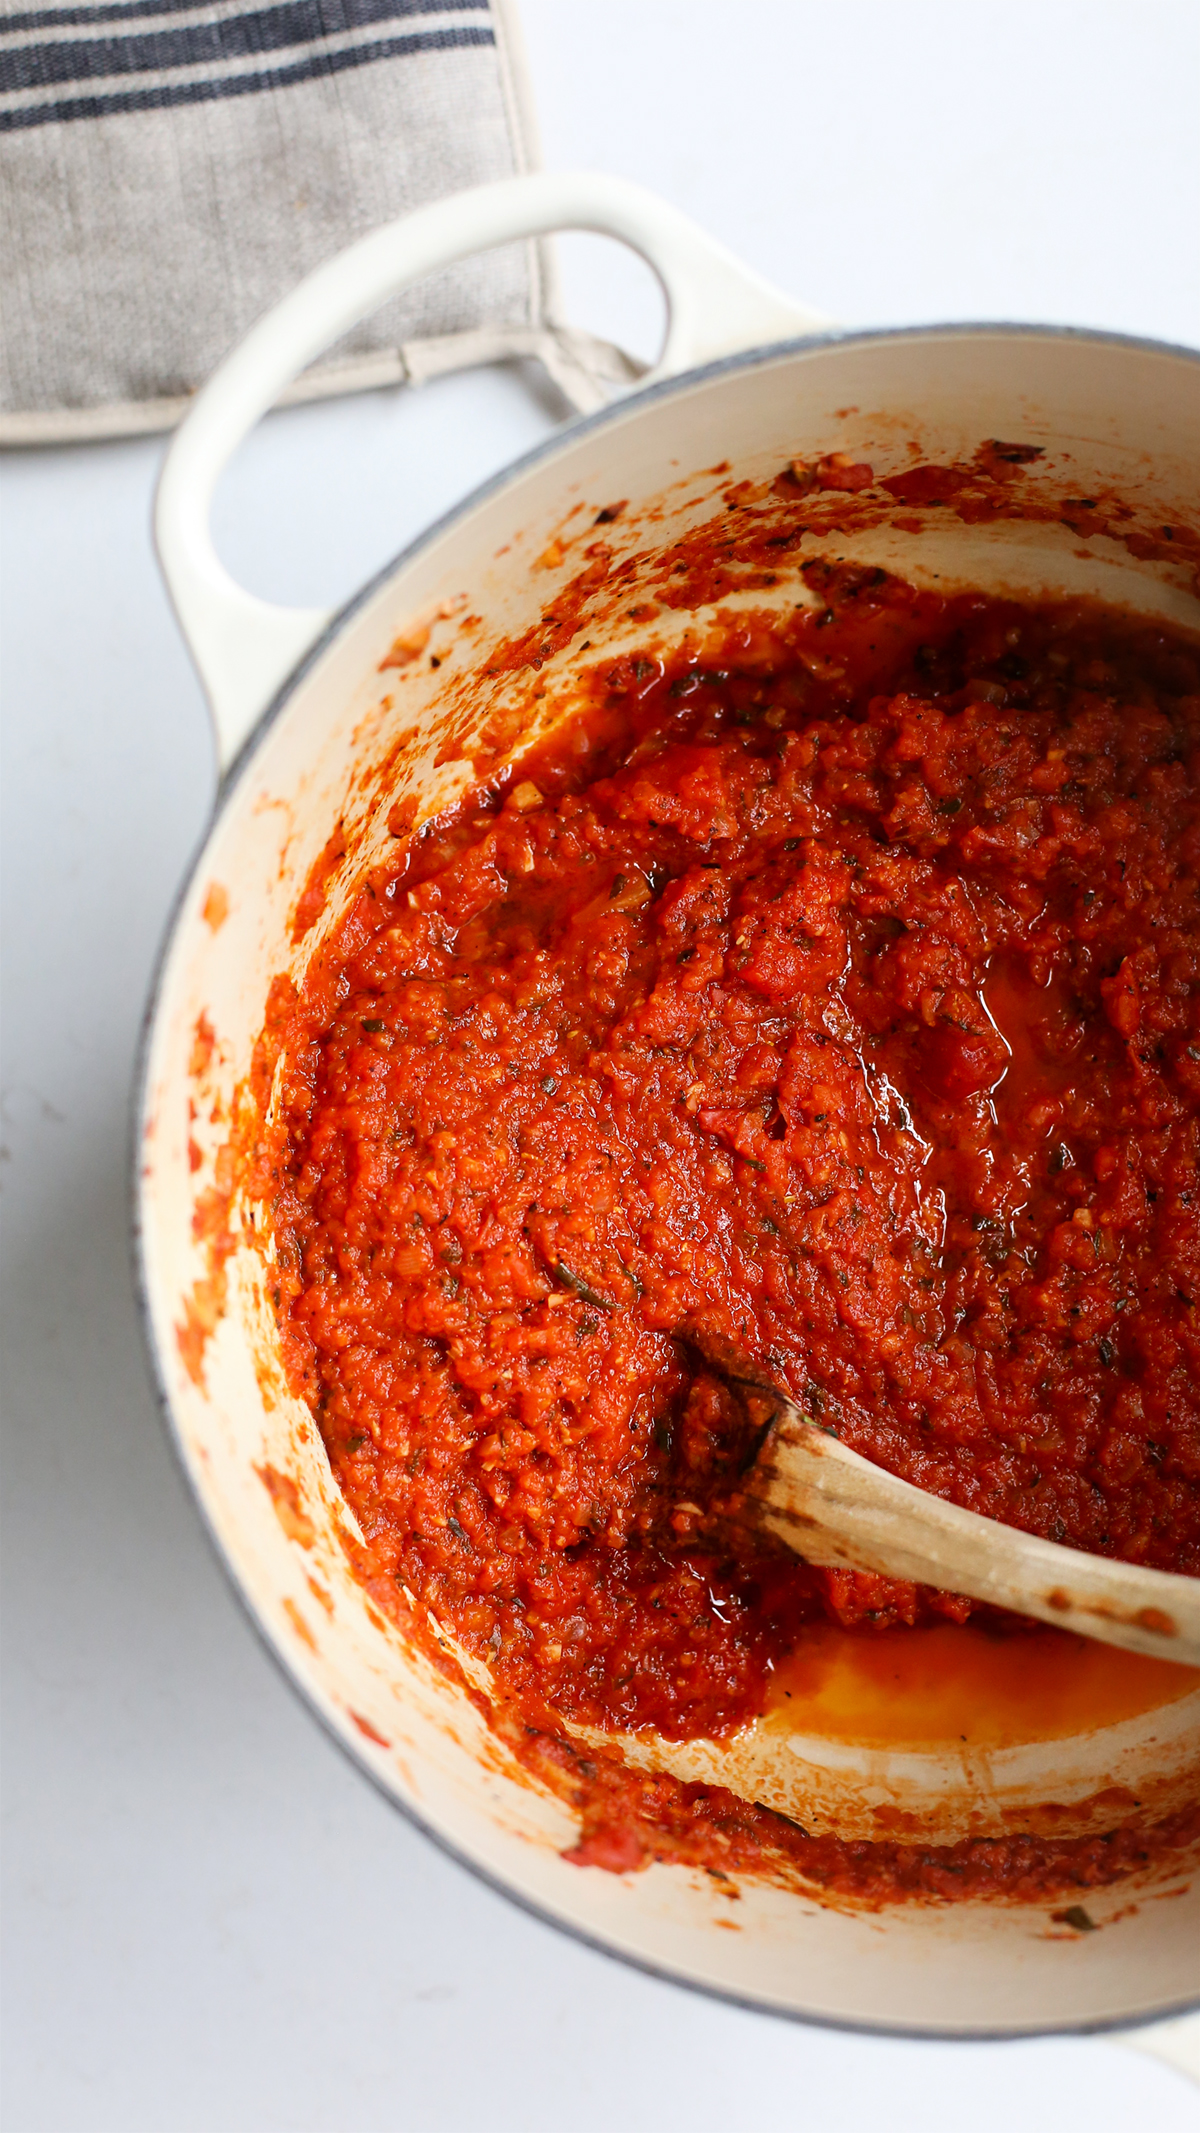
Note from Heather: I blended about ¾ of the sauce in the blender and added back to the remaining—wanted a few chunks.
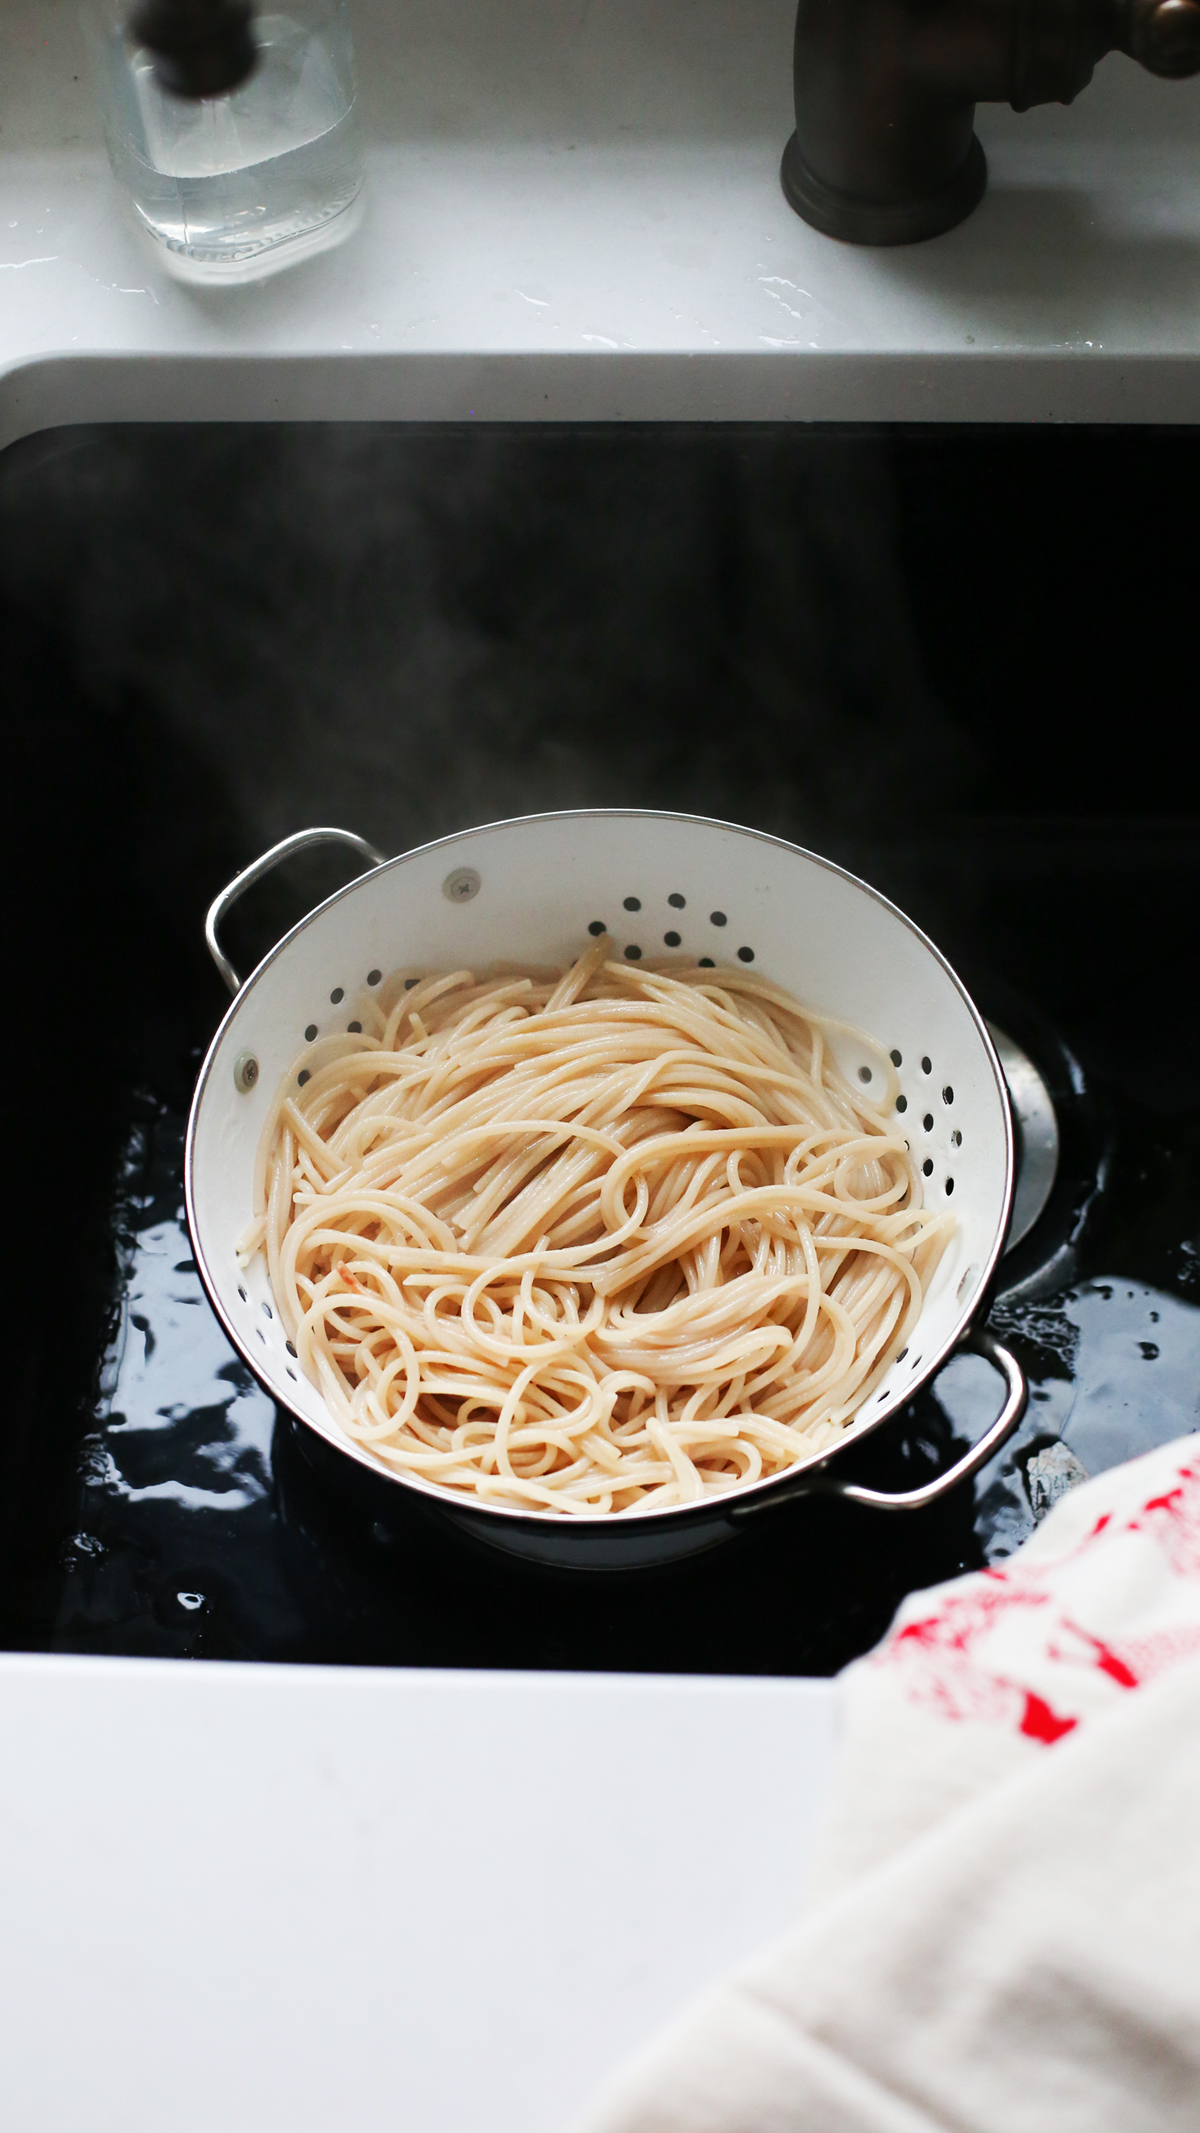
3. Make the pie: In a bowl, combine the marinara (reserving some for the top), nutritional yeast, potato starch, and olive oil. Mix well. Toss in the cooked spaghetti and sliced squash and mix until thoroughly incorporated.
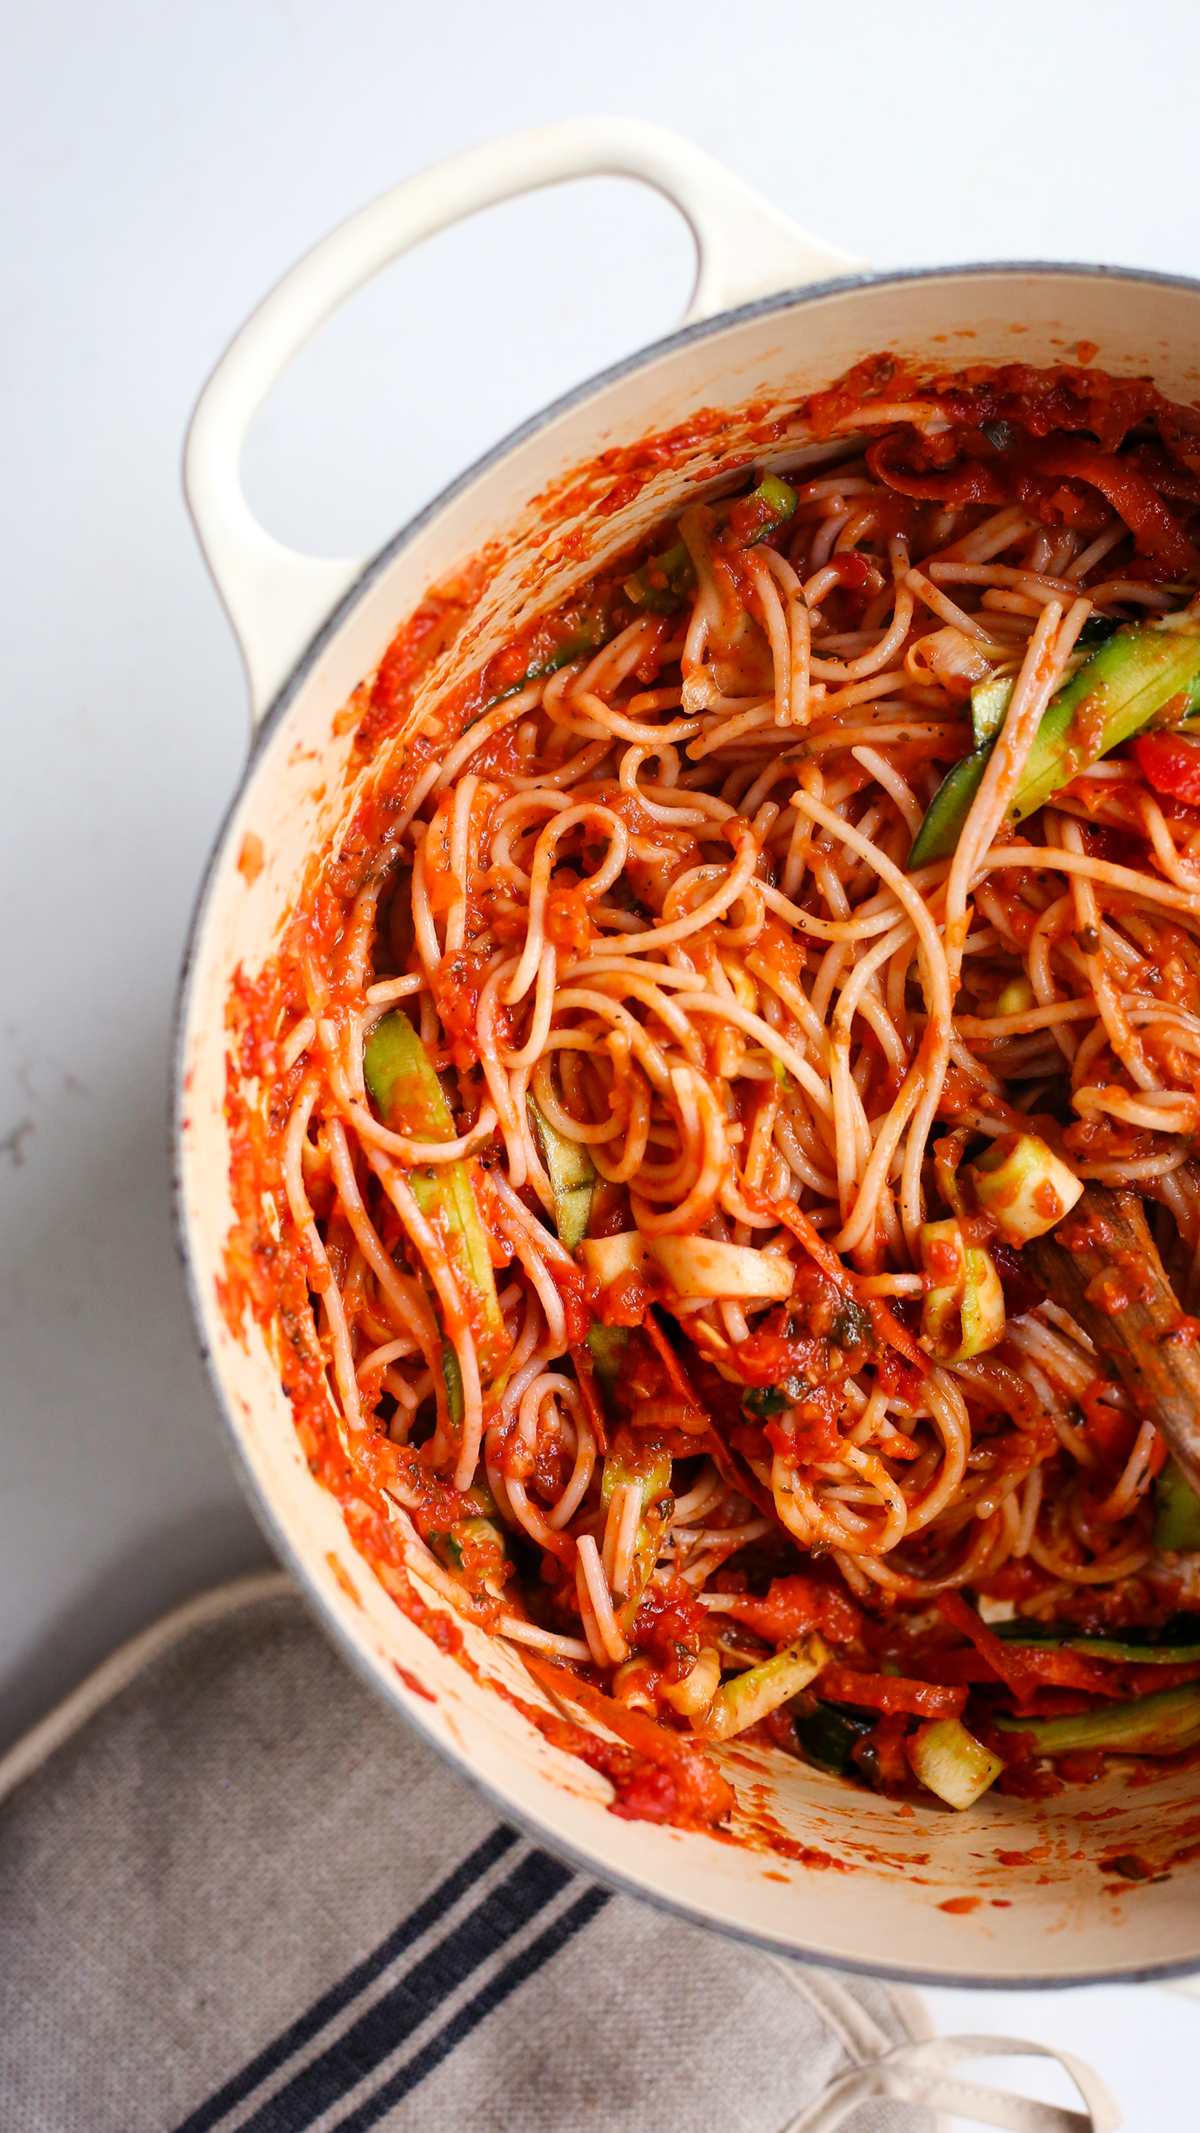
Note from Heather: In the vid, I refer to nutritional yeast as “nooch.”
Transfer to the greased pan or dish and squoosh down the mixture. Spoon on remaining marinara in the middle and spread into a thin layer, leaving some noodles exposed for the crust. Sprinkle with breadcrumbs, nutritional yeast, and sea salt and pepper to taste.
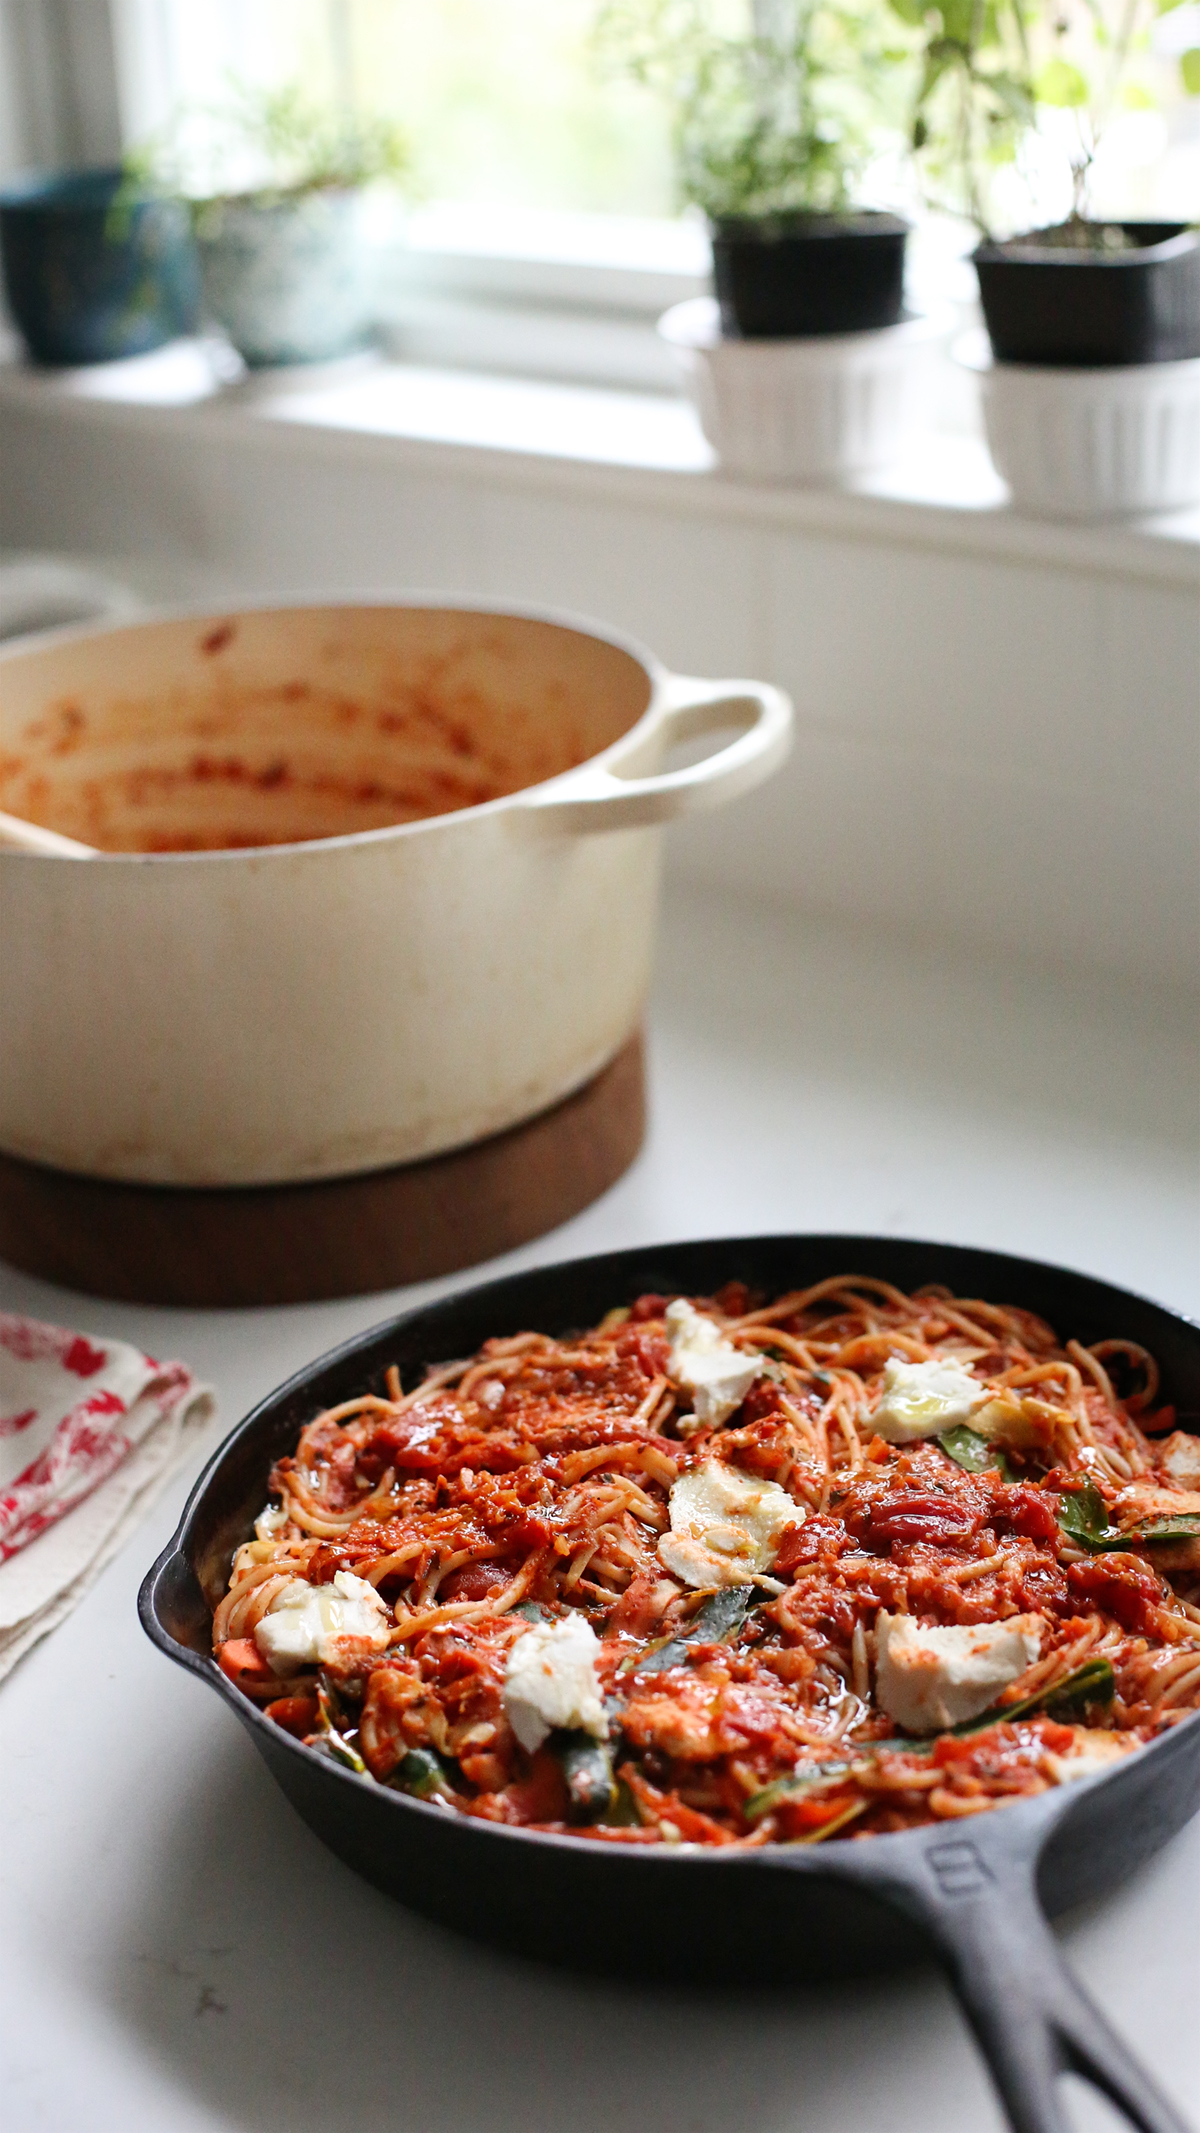
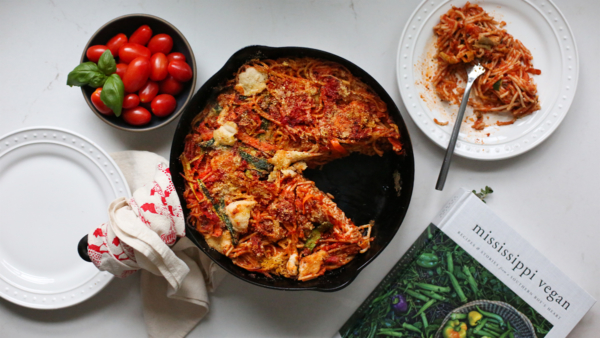
Note from Heather: I used gluten-free spaghetti noodles—I didn’t have potato starch and was happy to report that it was still delicious and all held up well. I’m sure Tim recommends this for structure, so definitely try it if you have it. I also didn’t have breadcrumbs on hand, so I used some blanched almond flour which worked beautifully. I also folded in carrot and zucchini ribbons, as well as some Miyoko’s vegan mozzarella. Why not?
4. Bake until the edges are crispy, 20 to 30 minutes. Slice and serve with vegan Parmesan, if desired.
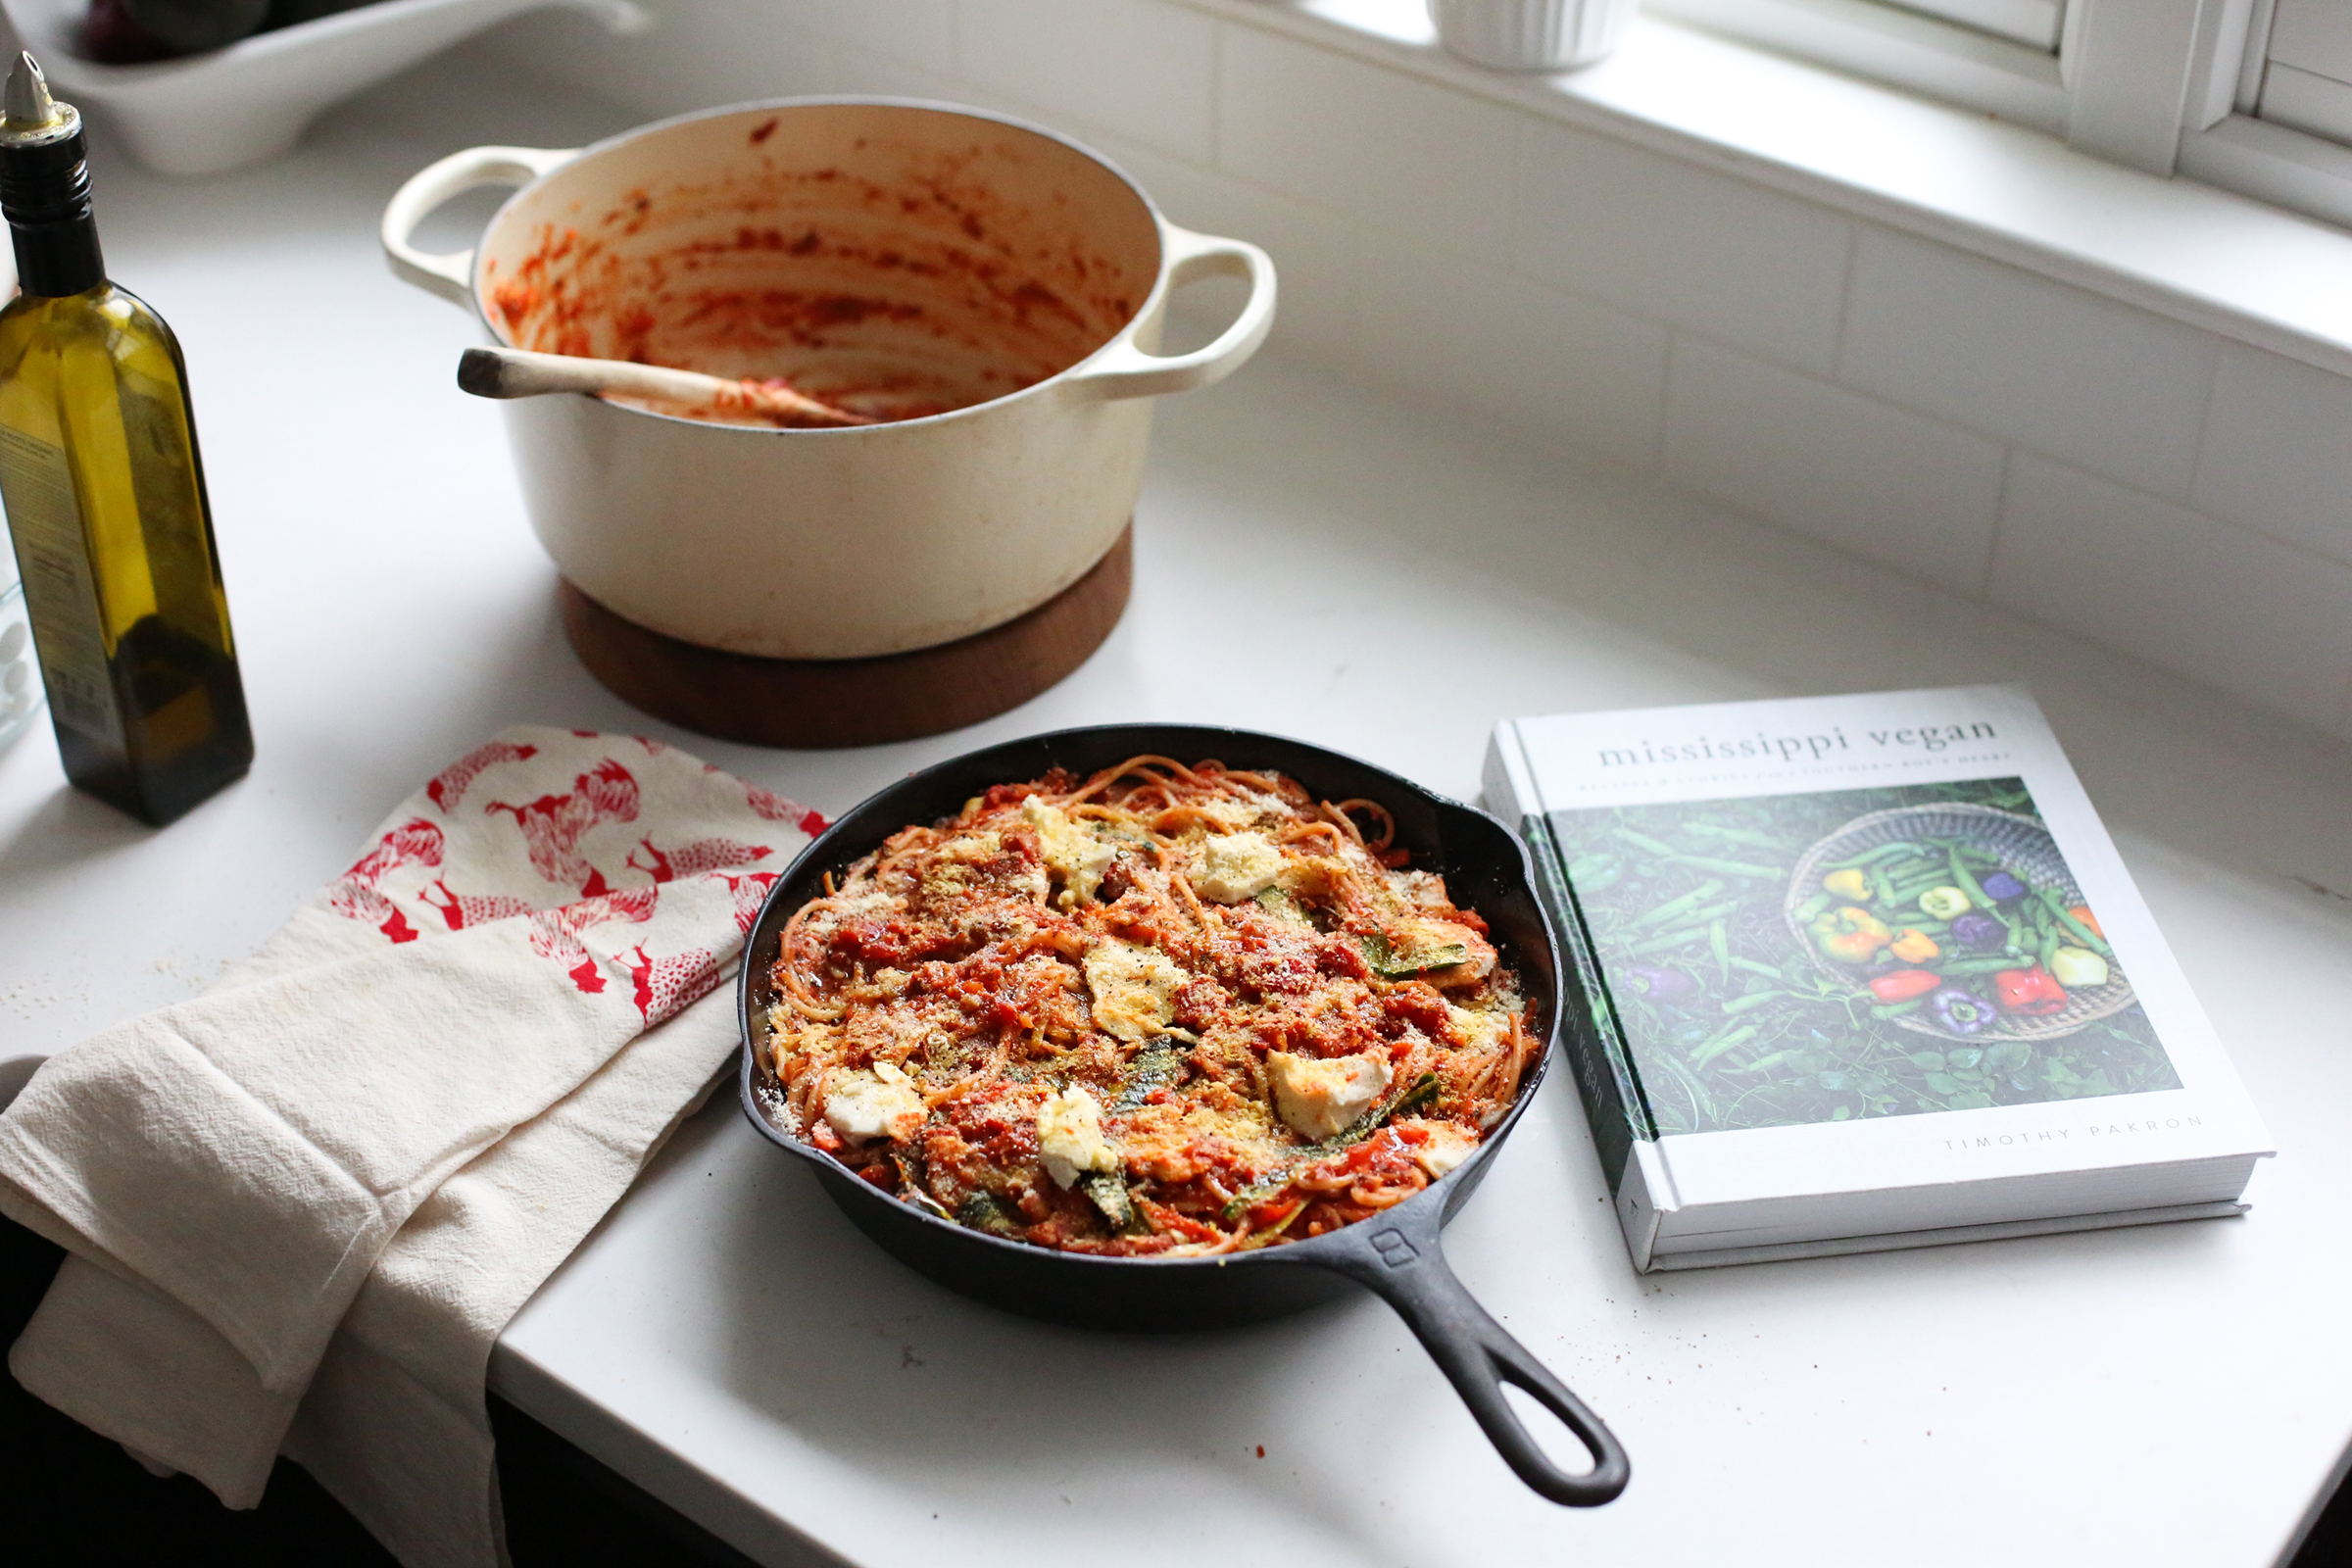
Note from Heather: I simply heated up leftovers in a skillet, which was a great way to get even more crispy edges on the noodles (I’ve always been that crispy-corner-piece-of-the-brownie-pan-and-also-the-lasagna kind of gal). I just greased the pan and let the slice brown and crisp, then flipped. You could also reheat in the oven.
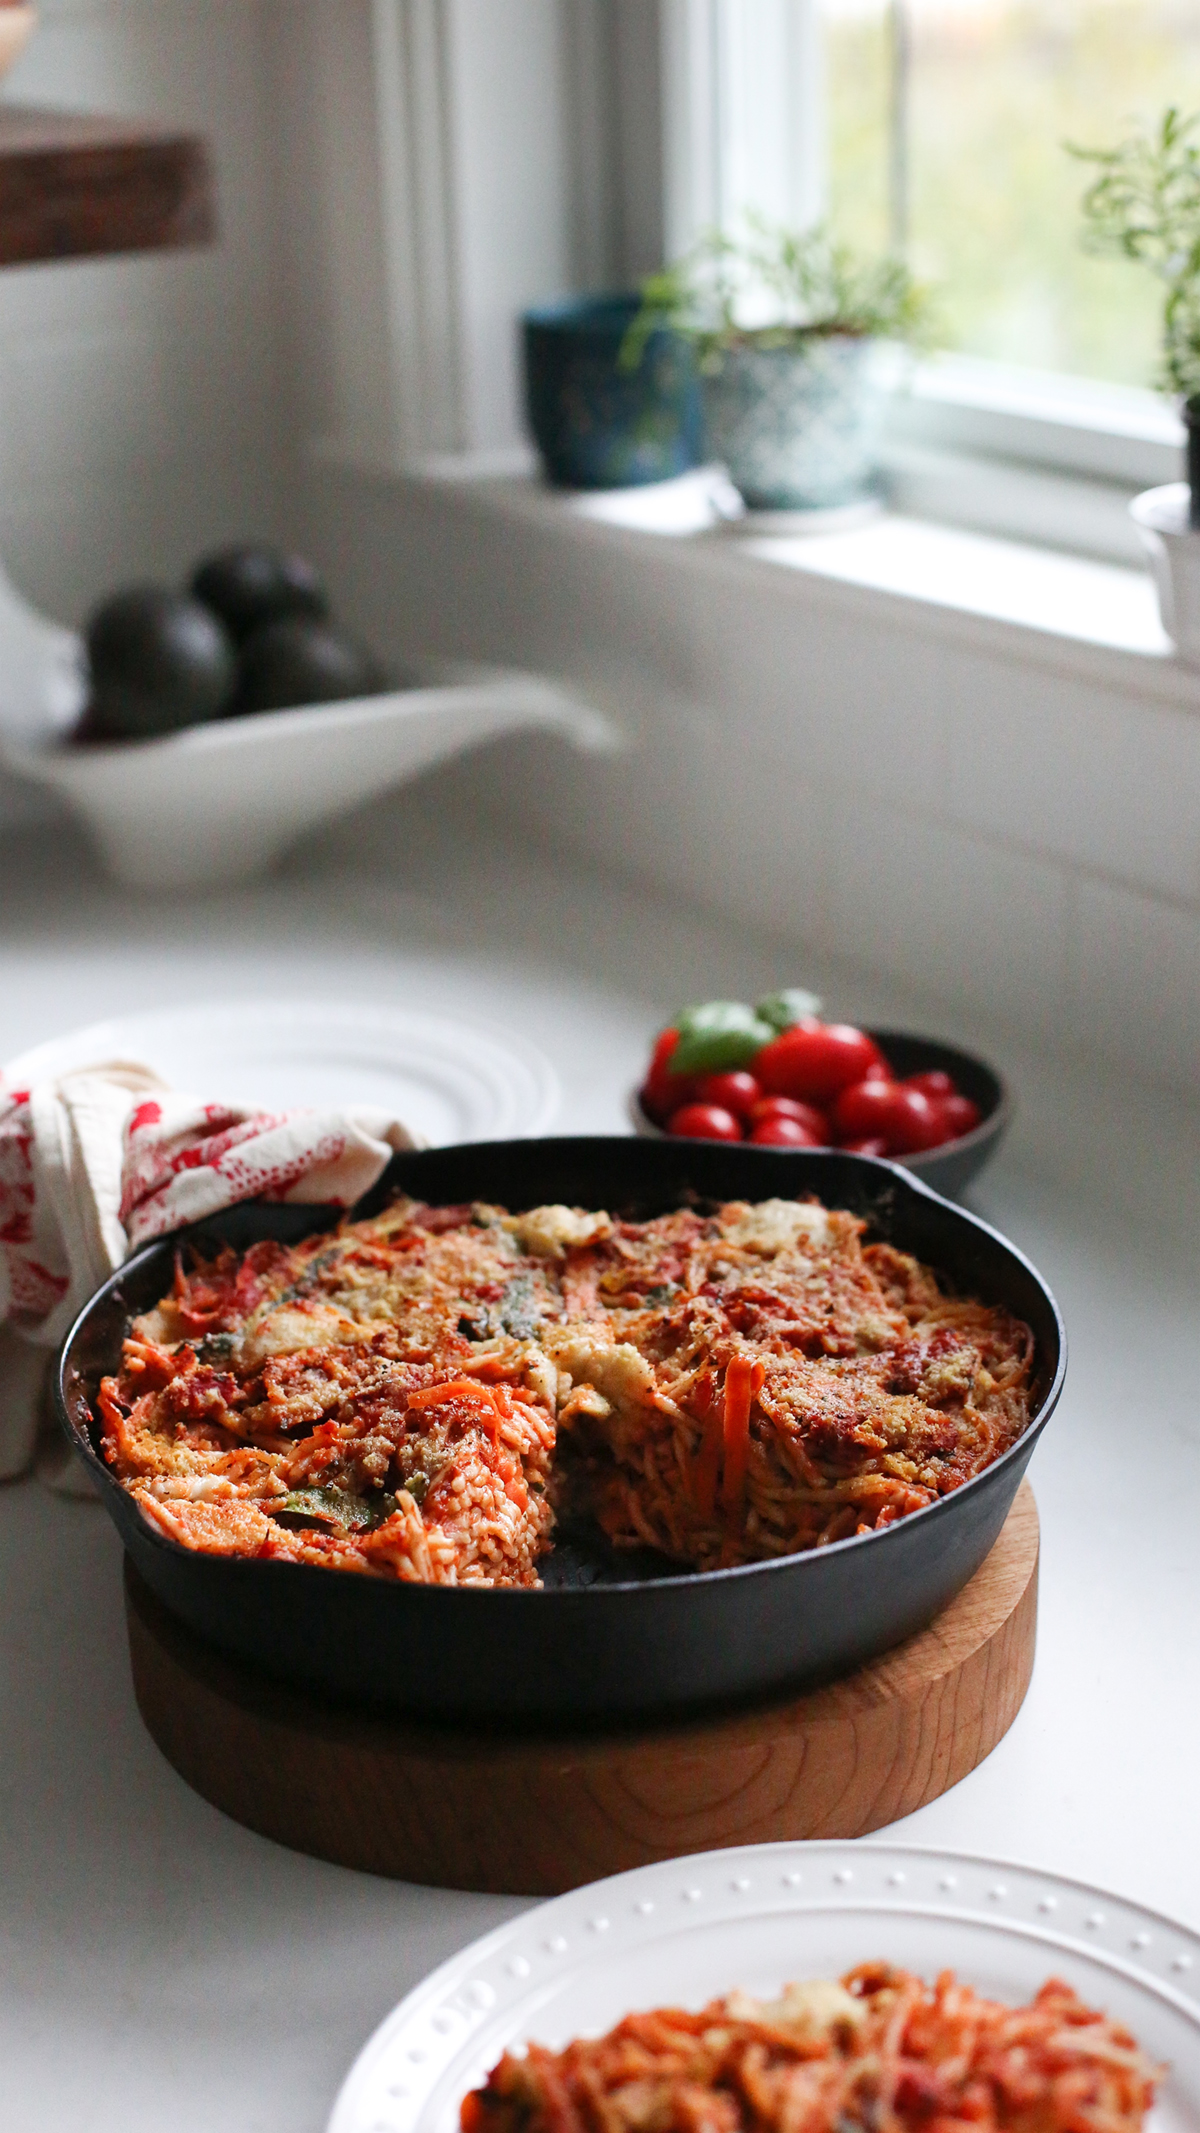
Big thanks to Tim for letting me share this new recipe obsession with you. Enjoy!
—
Want more inspiration? Check out my books.
Get one new video recipe sent to your inbox every month: join the Good Food Cooking Club, it’s free.
| Servings |
|
- 1 medium red onion chopped
- ¼ cup chopped garlic
- Two 14.5-ounce cans fire-roasted diced tomatoes
- 1 teaspoon onion powder
- 1 teaspoon garlic powder
- ½ teaspoon dried basil
- ½ teaspoon dried oregano
- ½ teaspoon dried rosemary
- ½ teaspoon dried thyme
- ½ teaspoon sugar optional
- Dash freshly grated nutmeg
- Crushed red pepper flakes
- Chopped fresh herbs if you got ’em
- Sea salt
- Freshly cracked black pepper
- 2 tablespoons olive oil
- ½ cup nutritional yeast plus more for sprinkling
- 2 tablespoons potato starch
- 2 tablespoons olive oil
- One 16-ounce package spaghetti cooked according to package directions
- 8 ounces yellow squash sliced into 1⁄4-inch-thick rounds (2 to 3 squash)
- ¼ cup breadcrumbs
- Sea salt
- Freshly cracked black pepper
- Vegan parmesan-style shreds for garnish (optional)
Ingredients
Easy Marinara
Spaghetti Pie
|

|
- Preheat the oven to 350°F. Grease a 7-inch springform pan or pie dish.
- Make the easy marinara: In a small pot, heat the olive oil over medium heat. Toss in the onion and cook until tender, about 10 minutes. Add the garlic and cook until tender, about 5 minutes. Add the tomatoes, onion powder, garlic powder, basil, oregano, rosemary, thyme, sugar, nutmeg, pepper akes, and fresh herbs, if using, and bring to a boil. Reduce the heat to low and simmer, stirring occasionally, for about 20 minutes. Season with salt and pepper to taste. For a smoother marinara, blend with an immersion blender or in a stand blender.
- Make the pie: In a bowl, combine the marinara (reserving some for the top), nutritional yeast, potato starch, and olive oil. Mix well. Toss in the cooked spaghetti and sliced squash and mix until thoroughly incorporated. Transfer to the greased pan or dish and squoosh down the mixture. Spoon on remaining marinara in the middle and spread into a thin layer, leaving some noodles exposed for the crust. Sprinkle with breadcrumbs, nutritional yeast, and sea salt and pepper to taste.
- Bake until the edges are crispy, 20 to 30 minutes. Slice and serve with vegan Parmesan, if desired.
Raspberry Chocolate Chip Pancakes
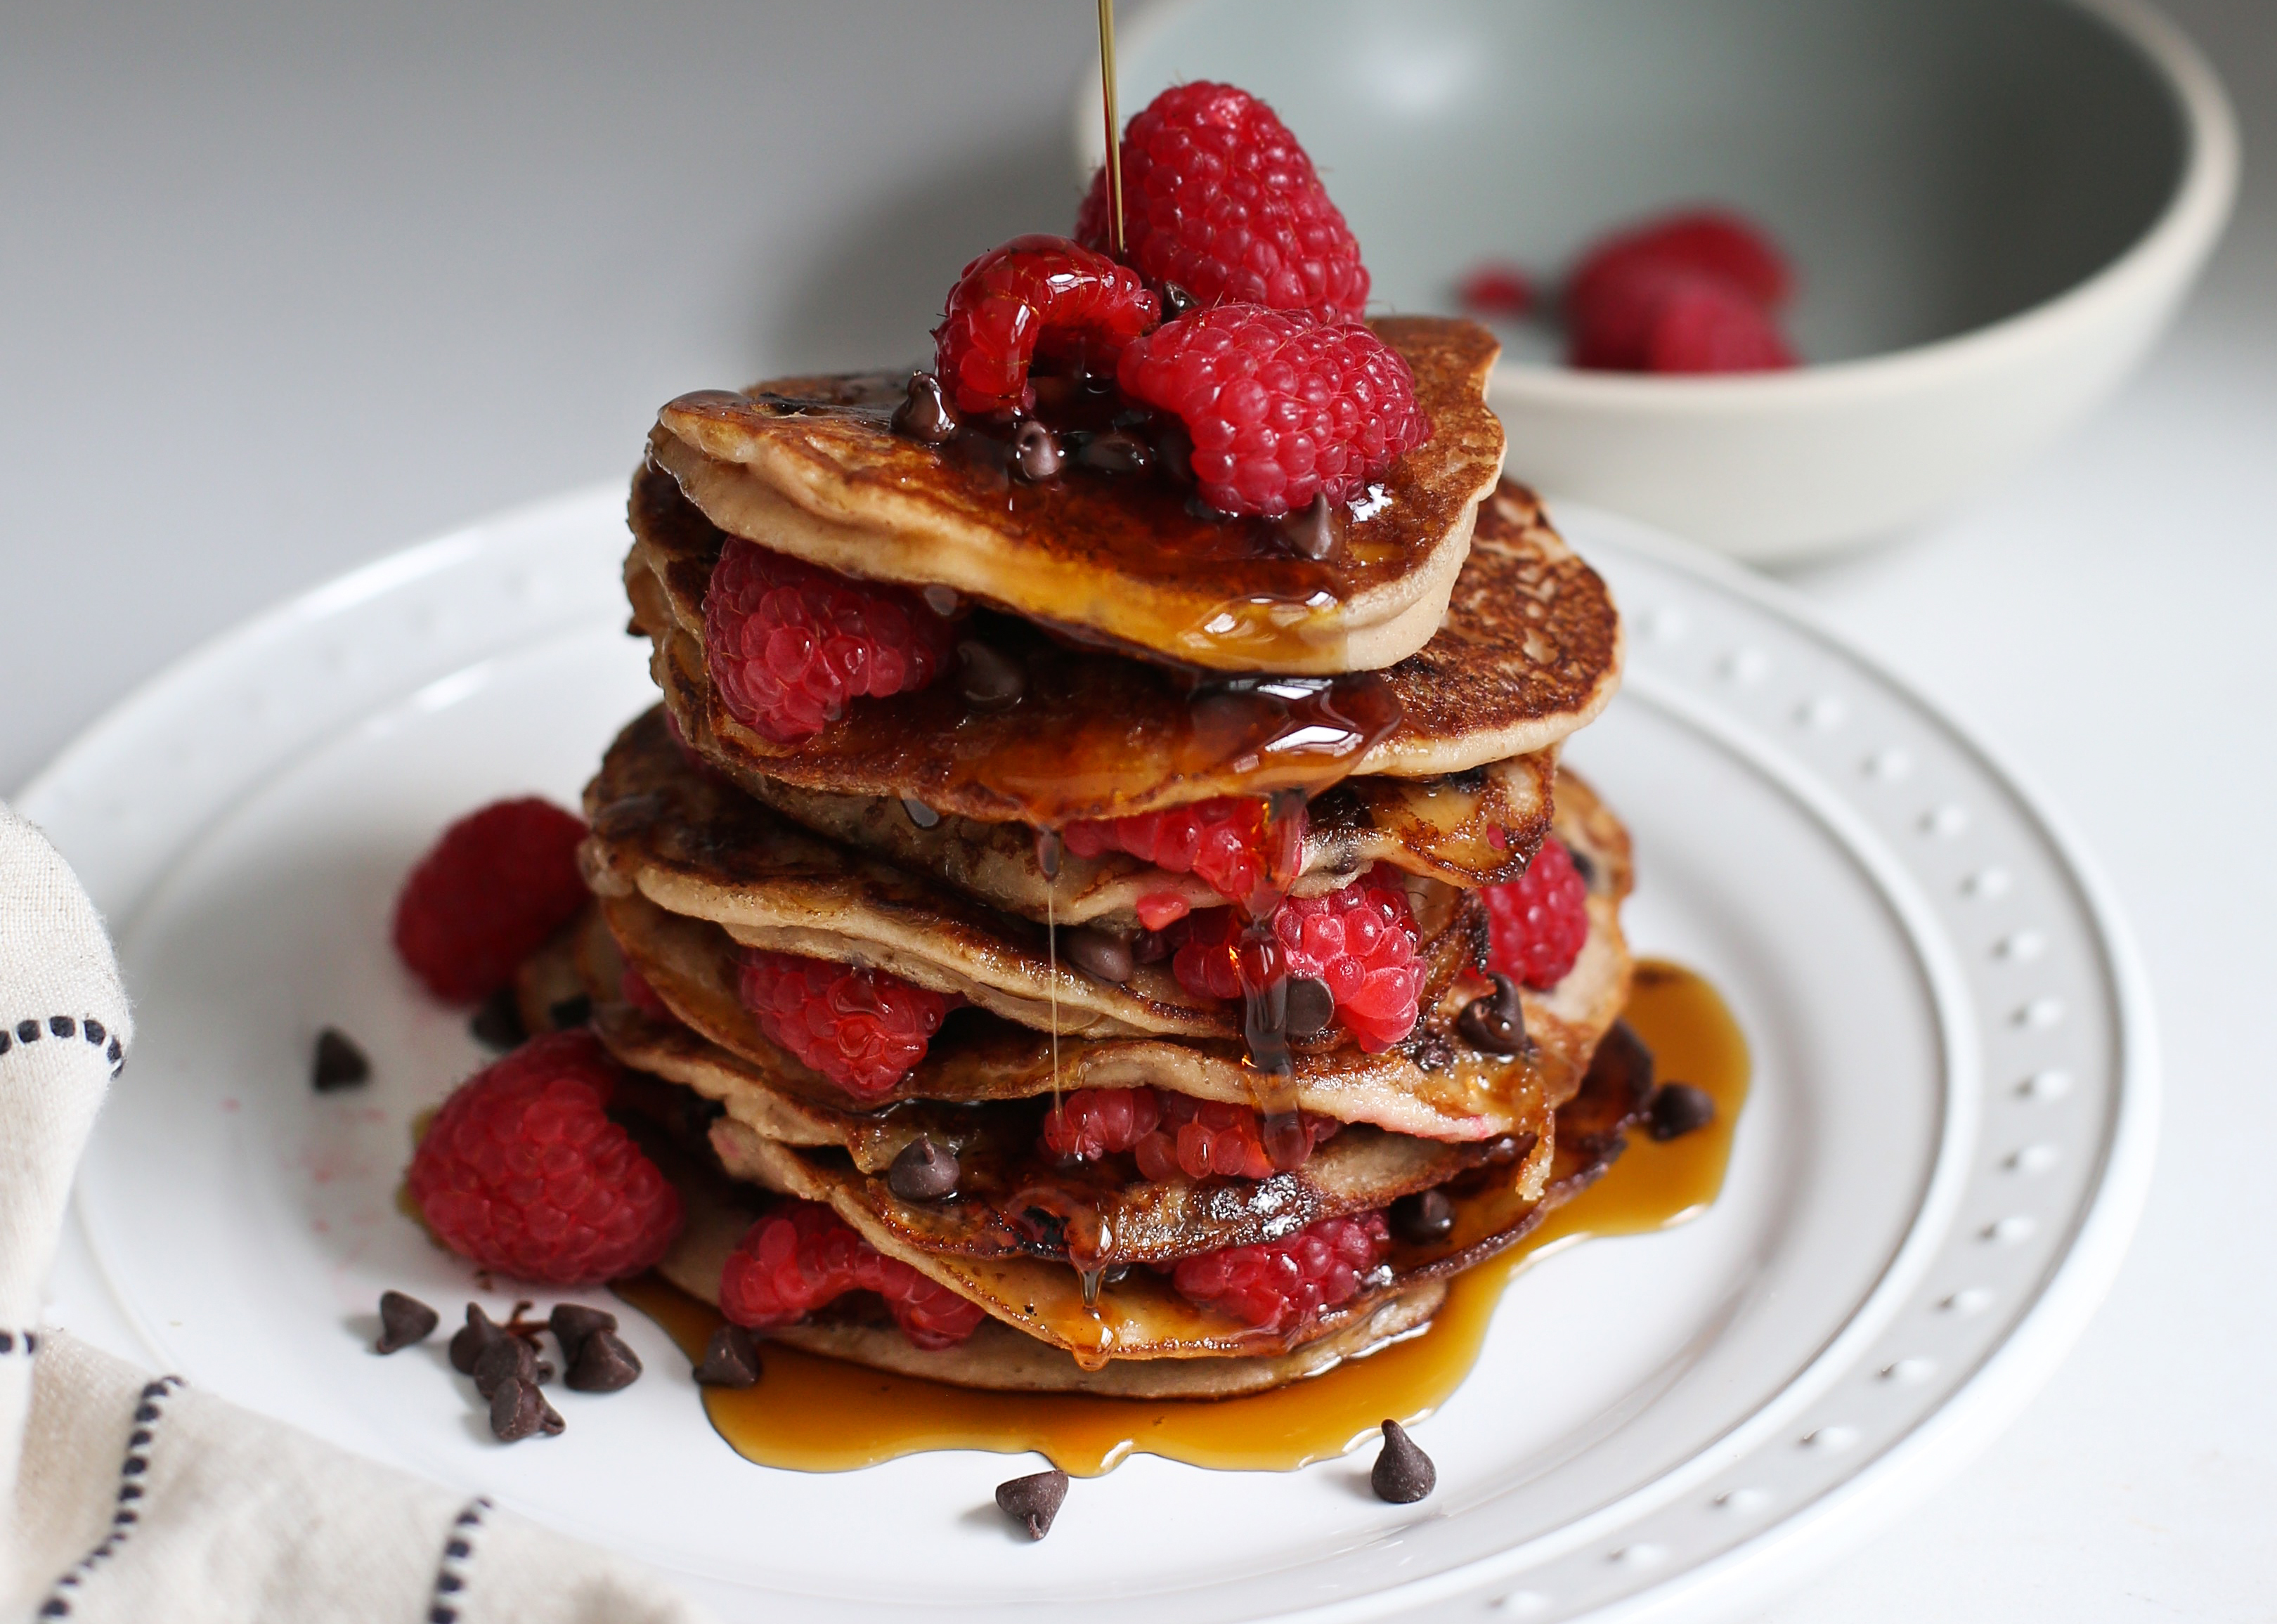
Every month from here on out for 2019, I’ll be making and sharing a new recipe video for my Good Food Cooking Club. GFCC encourages home cooks to make at least one new recipe per month—a totally doable challenge that will taste good and feel good.
It’s free to join GFCC, and you can participate by sharing pics of your creations, your process, and/or your questions for me by using #goodfoodcooking and @goodfoodcookingclub on Instagram.
This pancake recipe is the second in our year-long Good Food Cooking Club recipe series (first 2019 recipe here), and it’s perfect for Valentine’s Day. Whether you’re celebrating with pals, a loved one, your cat, or yoself, everything is better with pancakes, right? This recipe combines two of the best good food flavors around: chocolate and raspberries.
If you prefer strawberries, swap raspberries with those, but make sure you layer up with some fruit!
If you have leftover pancakes, store in the fridge and reheat in a skillet (or oven) or enjoy cold like I do. You can also freeze them (place a piece of parchment between each so they don’t stick together) and pop directly in the toaster when needed.
Share pics with me if you make these babies! I wanna see…
Happy love day.
– – – Printable recipe at bottom of post – – –
Makes about twelve 3–4″ pancakes
INGREDIENTS
½ cup dark chocolate chips or chopped chocolate bar
1 cup fresh raspberries (½ cup for garnish, ½ cup for mashing)
Dry
½ cup chickpea flour (aka gram, garbanzo, or besan, you can also use garfava flour)
½ cup brown rice flour
½ cup blanched almond flour
½ teaspoon baking powder
¼ teaspoon fine-ground sea salt
Wet
1 ripe banana
1¼ cup water or more to reach desired consistency
1 tablespoon maple syrup
1 tablespoon almond butter
1 teaspoon vanilla extract
Steps (watch video for step-by-step)
1. Cut a banana in half, peel and place in a large bowl. You can save the other half of a banana for cereal or a smoothie, just place in the fridge—the skin will turn black but the banana inside will be just fine to use. Mash the banana into a paste, then add remaining wet ingredients to the bowl and whisk together until incorporated. Set aside.
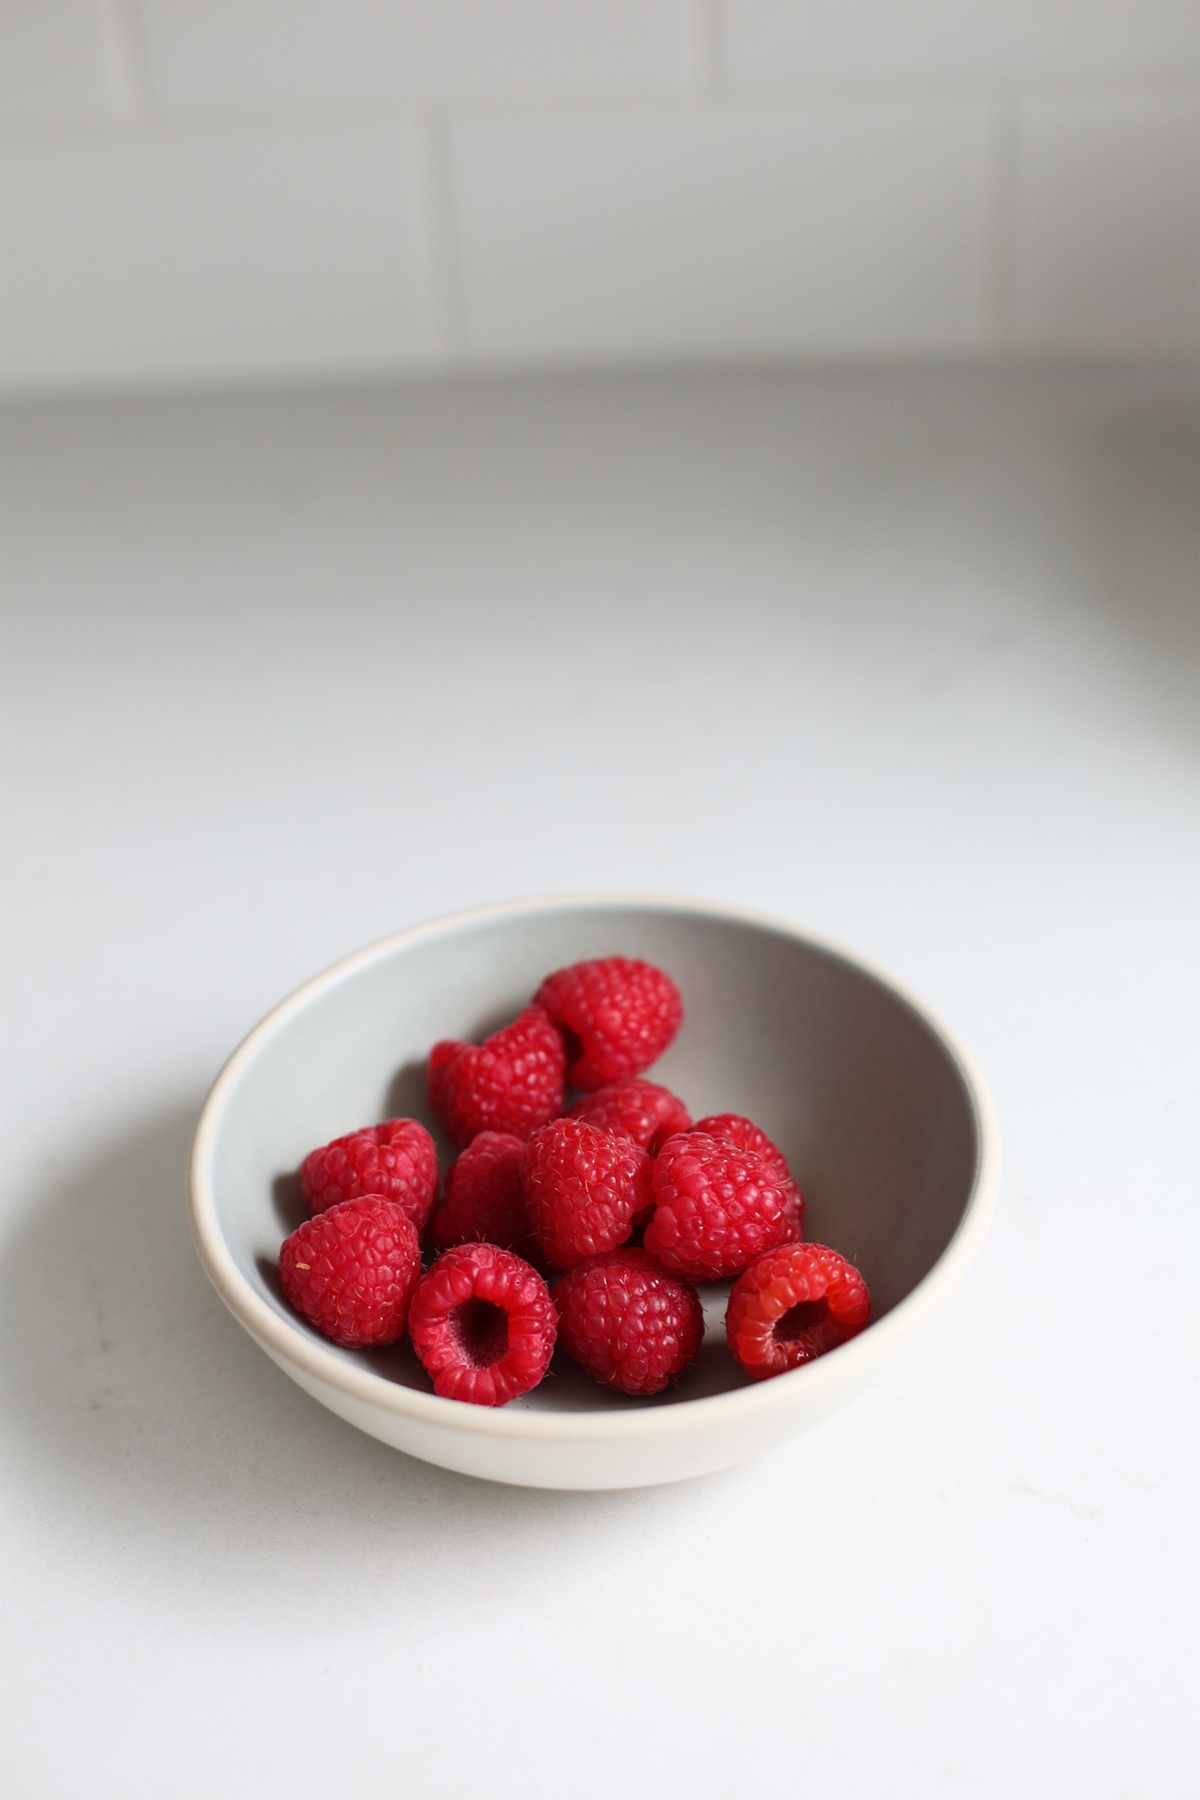
2. In another bowl, mash ½ cup raspberries. Set aside.
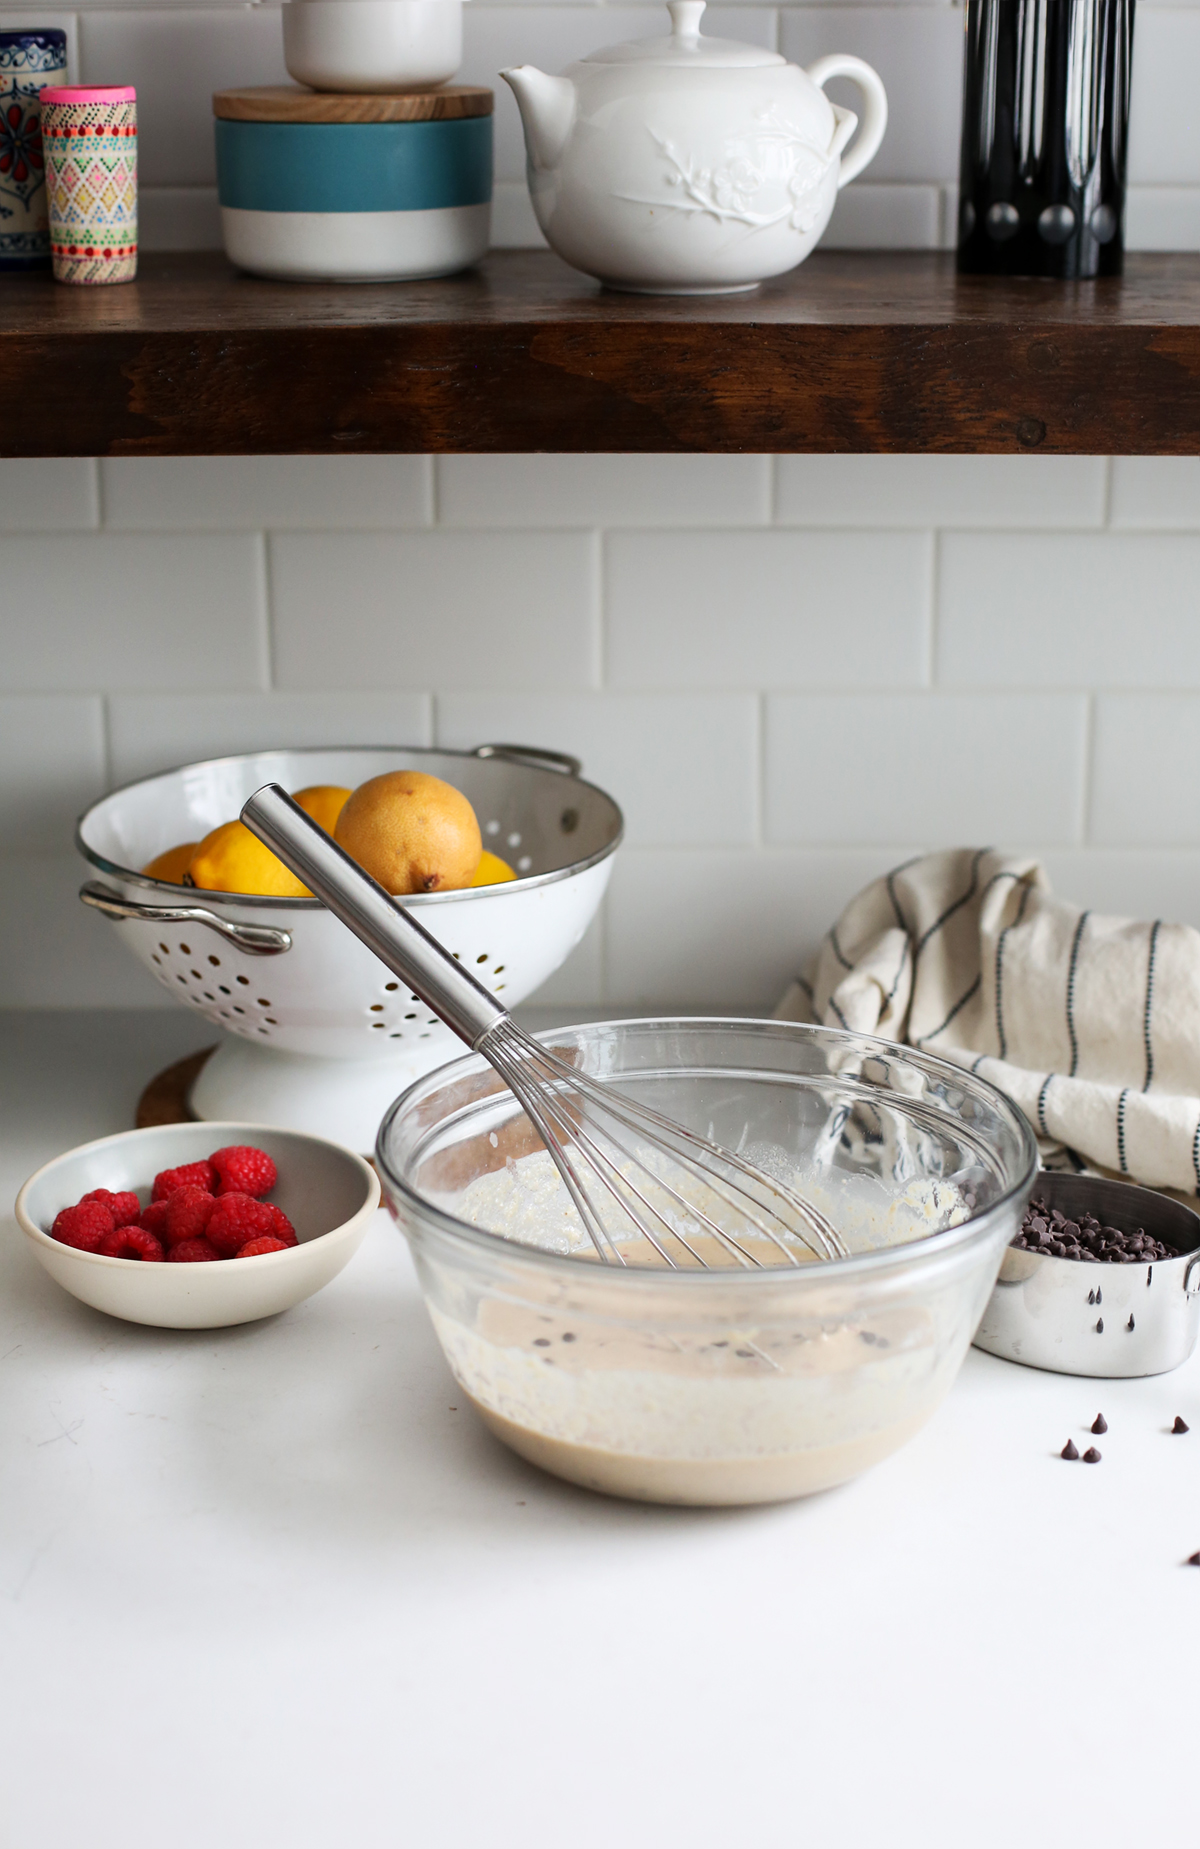
3. In a large bowl, whisk together all dry ingredients and pour the wet ingredients into the dry—whisk until thoroughly incorporated. Whisk in the mashed raspberries and the chocolate chips.
4. Heat a skillet to medium-high and then add a dollop of oil and spread around evenly. Using a ladle, pour batter into the hot pan.
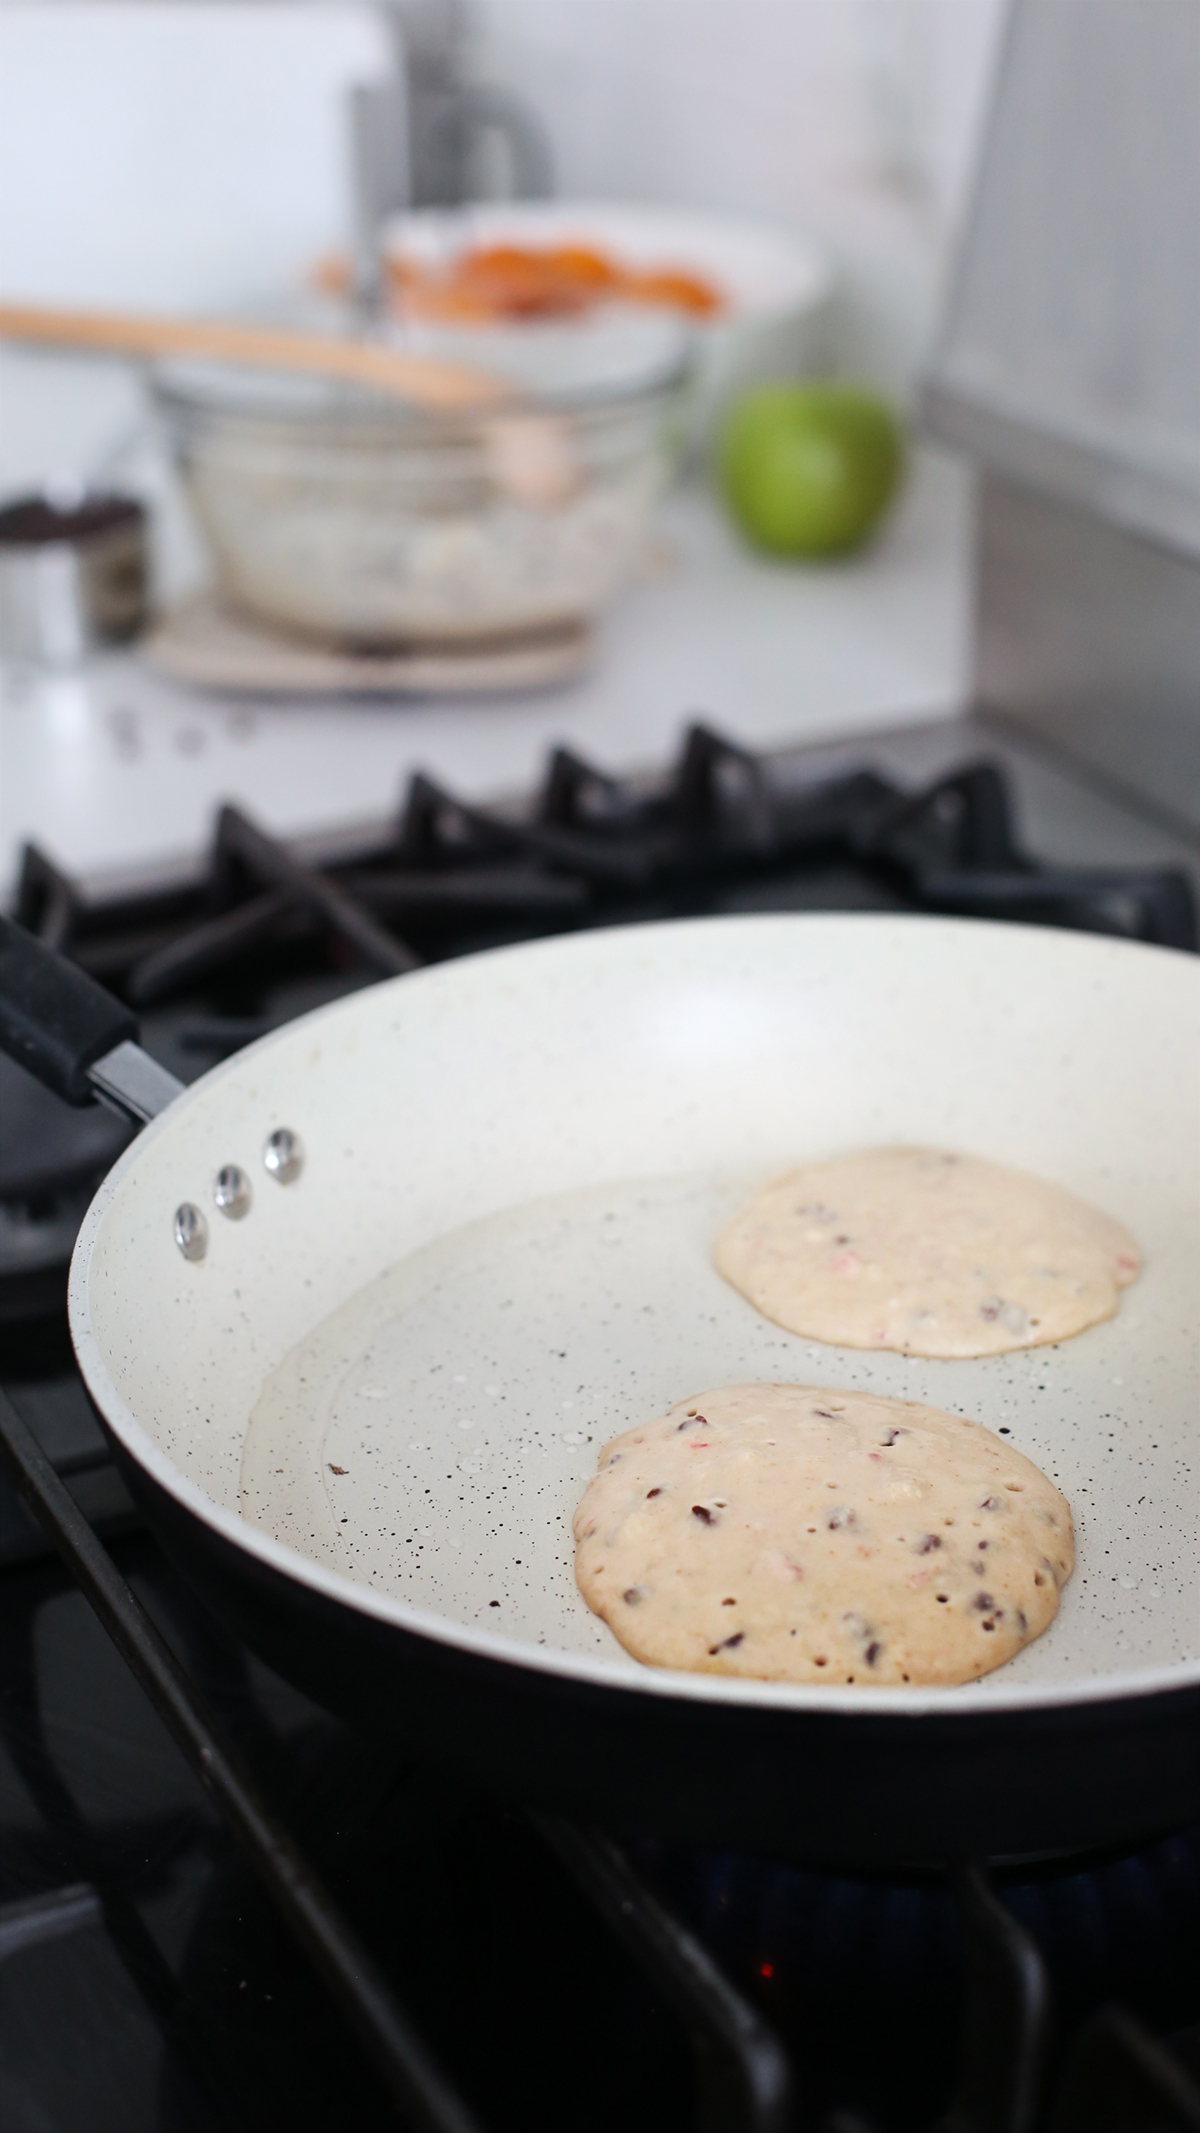
When the edges of the pancakes start to dry and the tops have bubbles, flip.
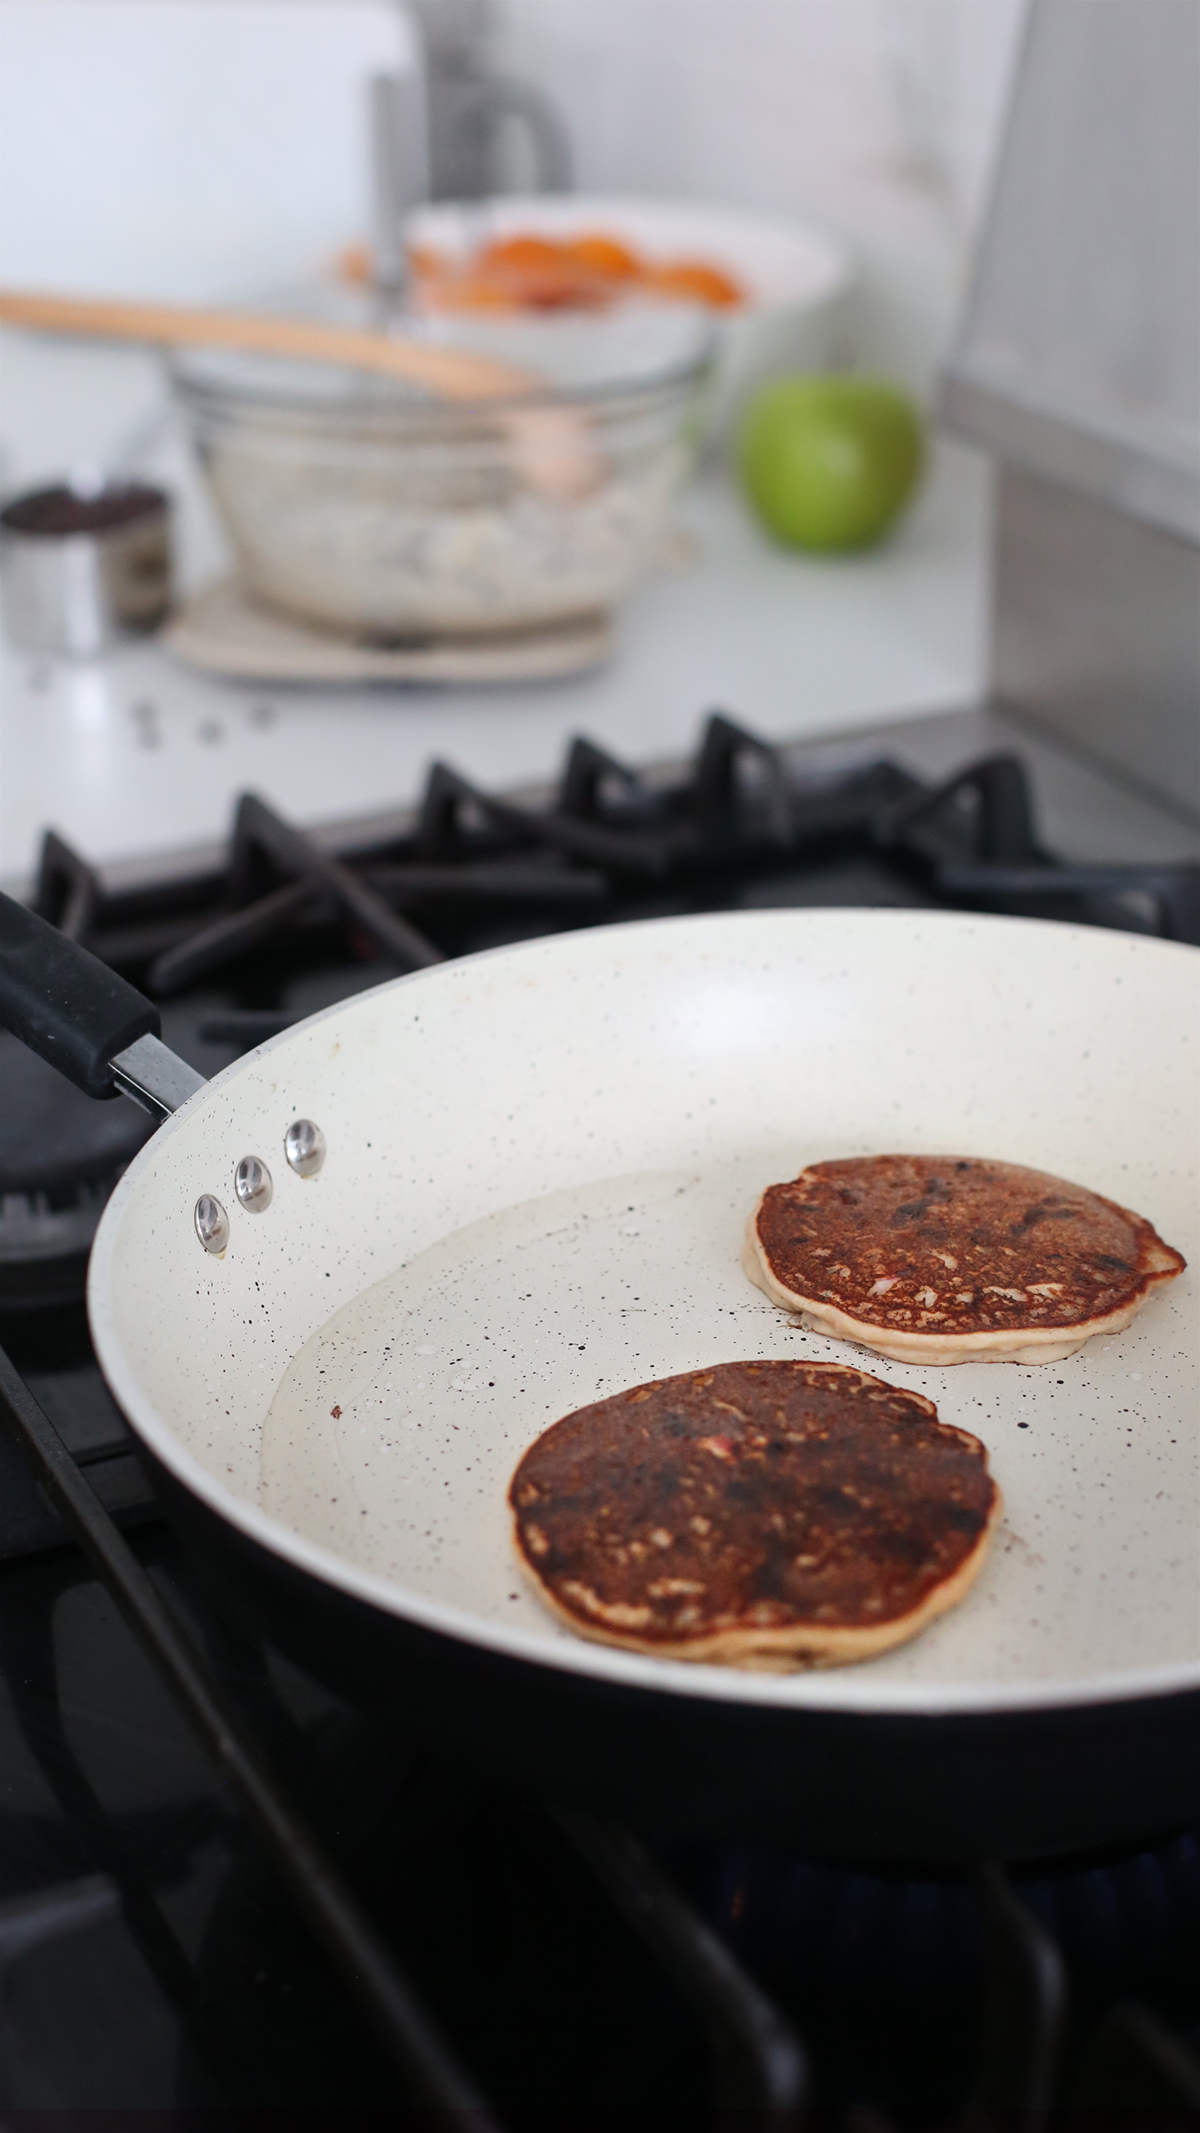
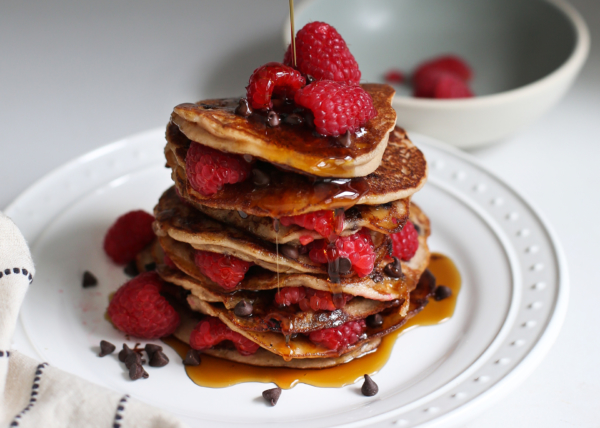
Cook other side for 2–3 minutes, layer generously with raspberries, some butter (I love Miyoko’s vegan butter) and serve warm topped with maple syrup.
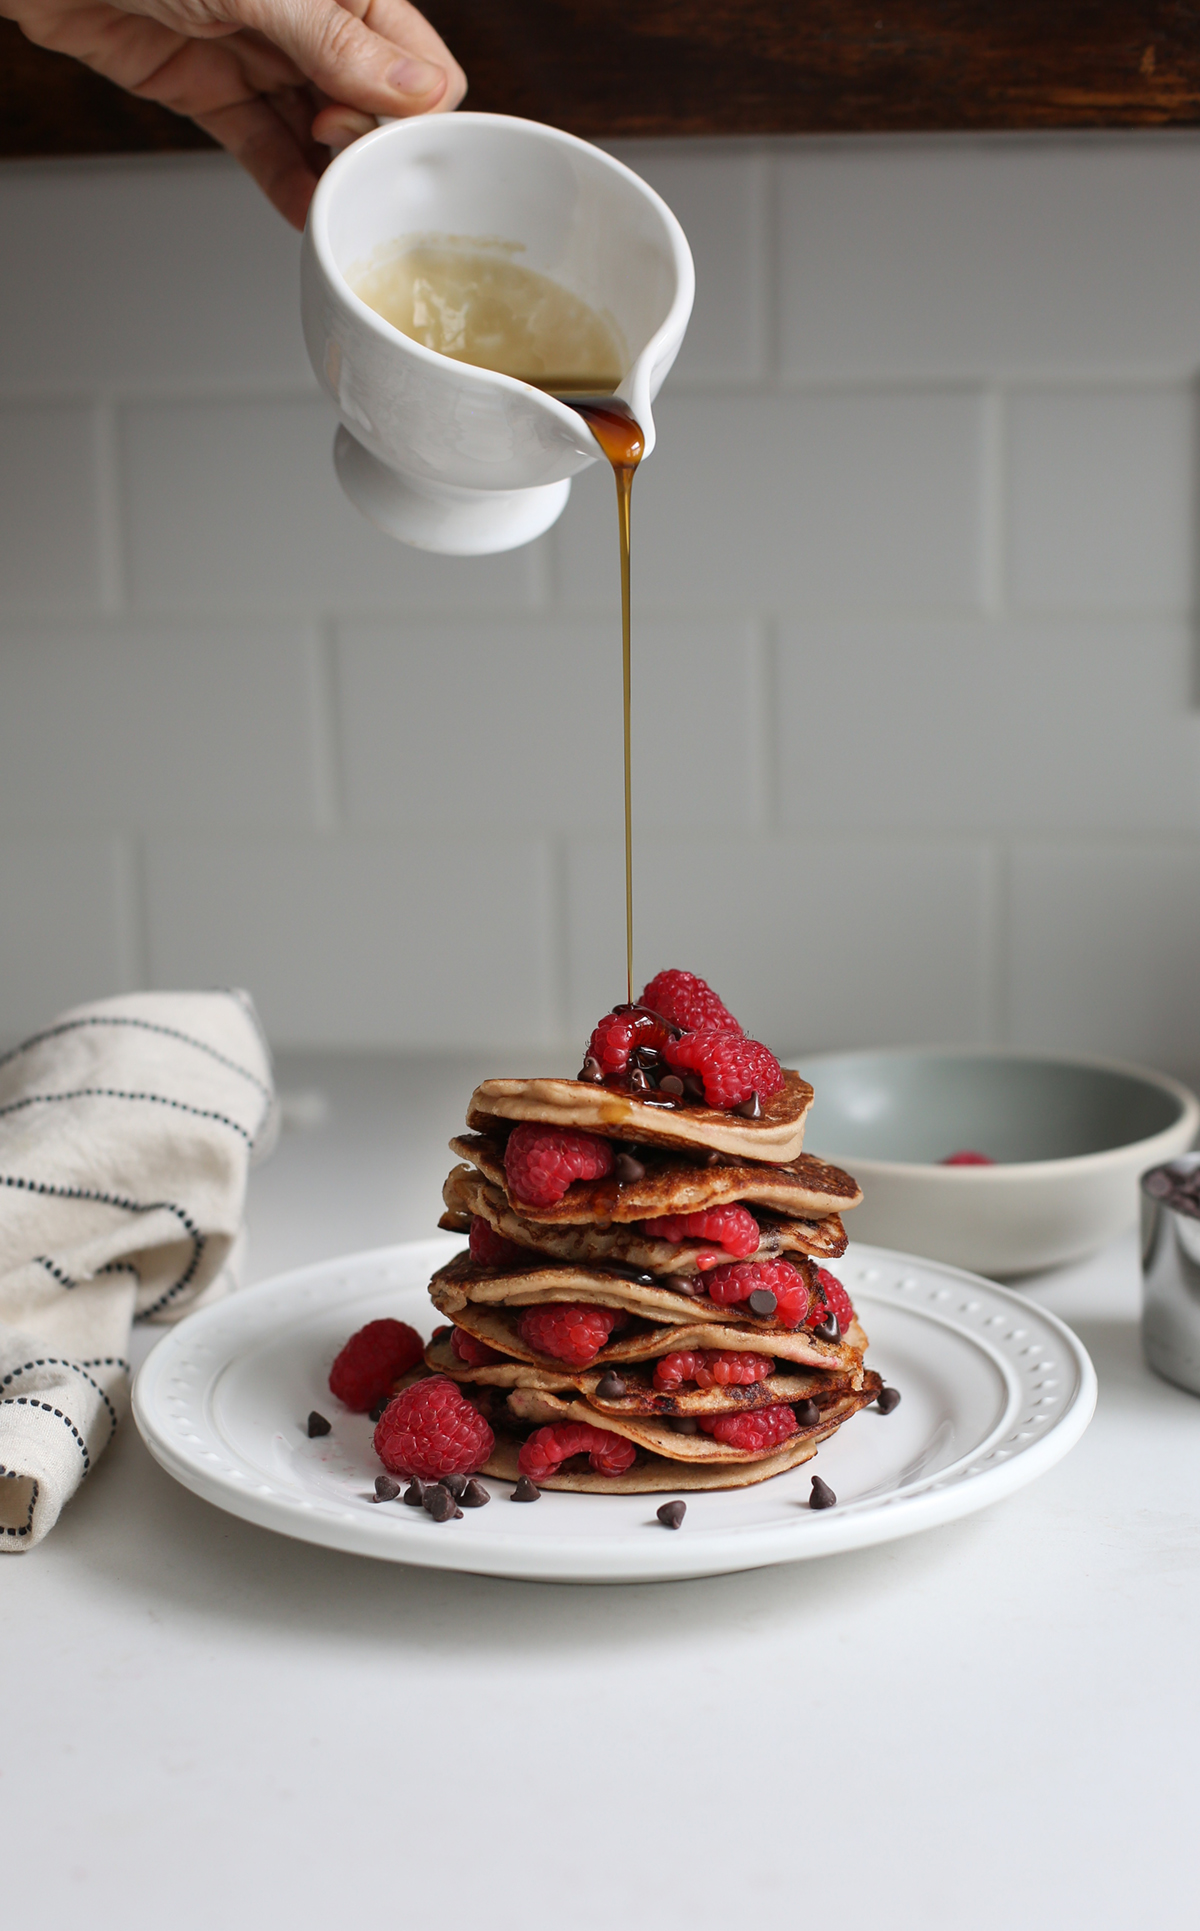
Psst! For fun shapes, place heart-shaped, greased cookie cutters down into your skillet and fill with batter. Let batter dry around edges and on top before lifting up the cutter. Flip and brown on the other side.
—
Want more inspiration? Check out my books!
—
For new recipes sent to your inbox every month, join our Good Food Cooking Club, it’s free.
| Servings |
pancakes
|
- ½ cup dark chocolate chips or chopped chocolate bar
- 1 cup fresh raspberries (½ for garnish + ½ for mashing)
- ½ cup chickpea flour (aka gram garbanzo, or besan, you can also use garfava flour)
- ½ cup brown rice flour
- ½ cup blanched almond flour
- ½ teaspoon baking powder
- ¼ teaspoon fine ground sea salt
- 1 ripe banana
- 1¼ cup water or more to reach desired consistency
- 1 tablespoon maple syrup
- 1 tablespoon almond butter
- 1 teaspoon vanilla extract
Ingredients
Dry
Wet
|

|
- Cut a banana in half, peel and place in a large bowl. You can save the other half of a banana for cereal or a smoothie, just place in the fridge—the skin will turn black but the banana inside will be just fine to use. Mash the banana into a paste, then add remaining wet ingredients to the bowl and whisk together until incorporated. Set aside.
- In another bowl, mash ½ cup raspberries. Set aside.
- In a large bowl, whisk together all dry ingredients and pour the wet ingredients into the dry—whisk until thoroughly incorporated. Whisk in the mashed raspberries and the chocolate chips.
- Heat a skillet to medium-high and then add a dollop of oil and spread around evenly. Using a ladle, pour batter into the hot pan. When the edges of the pancakes start to dry and the tops have bubbles, flip. Cook other side for 2–3 minutes, layer generously with raspberries, some butter (I love Miyoko’s vegan butter) and serve warm topped with maple syrup.
Pretty Citrus Juice
A few years ago, I started making blood orange juice when I hosted brunches and breakfasts. It’s a real show-stopper that makes your guests feel special, and loved. It’s also great for cocktail parties.
All you need is a juicer of some kind: a vintage workhorse like mine, a hand-held, a masticating, or yeah, your hand (just use a strainer to catch seeds).
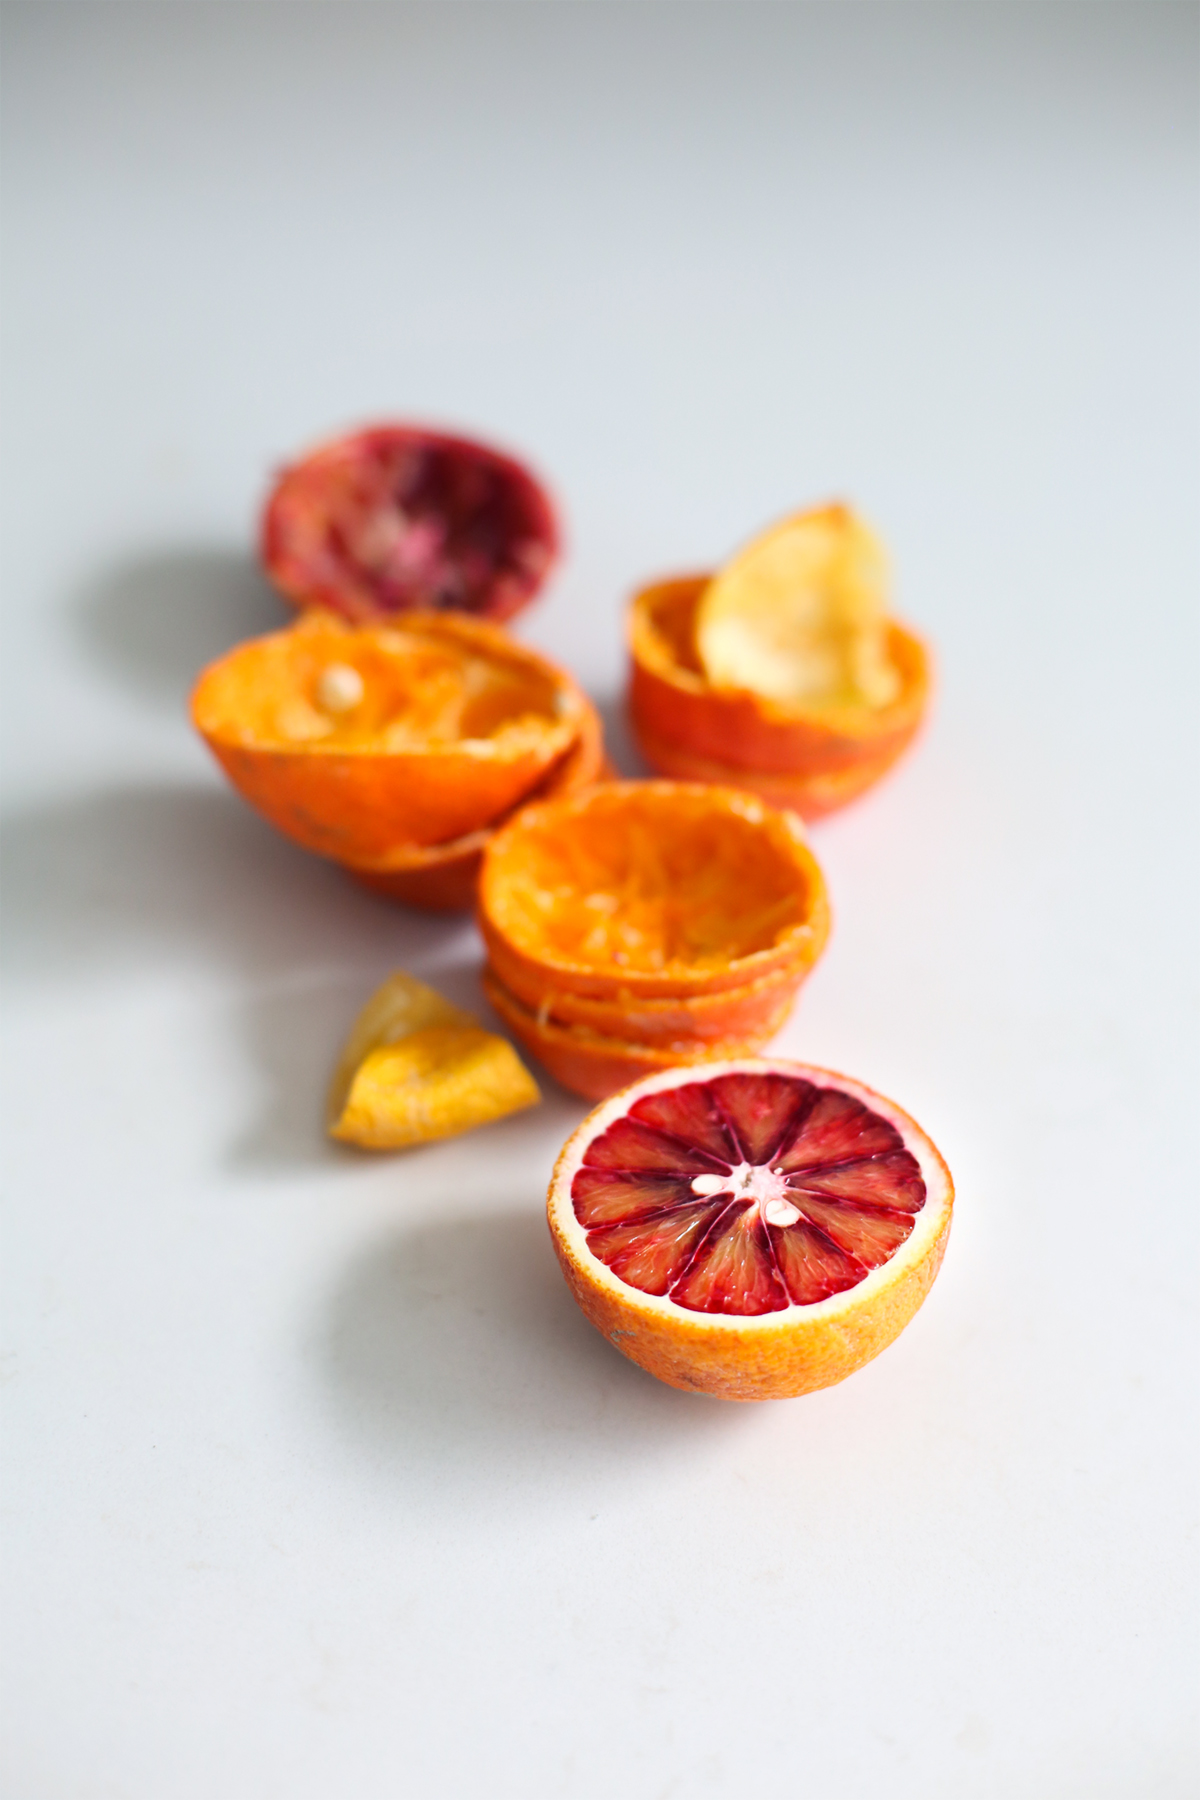
Trader Joe’s usually has all kinds of citrus by the bag, as do most health food stores. Of course, use what you can find. No blood oranges? Try Cara Cara (pink), mandarins (sweet), navels or Valencias (classics)… If the juice ends up being too sweet for your taste, add some grapefruit, lime, or lemon (try Meyer: sweet, floral notes) for some pucker and balance.
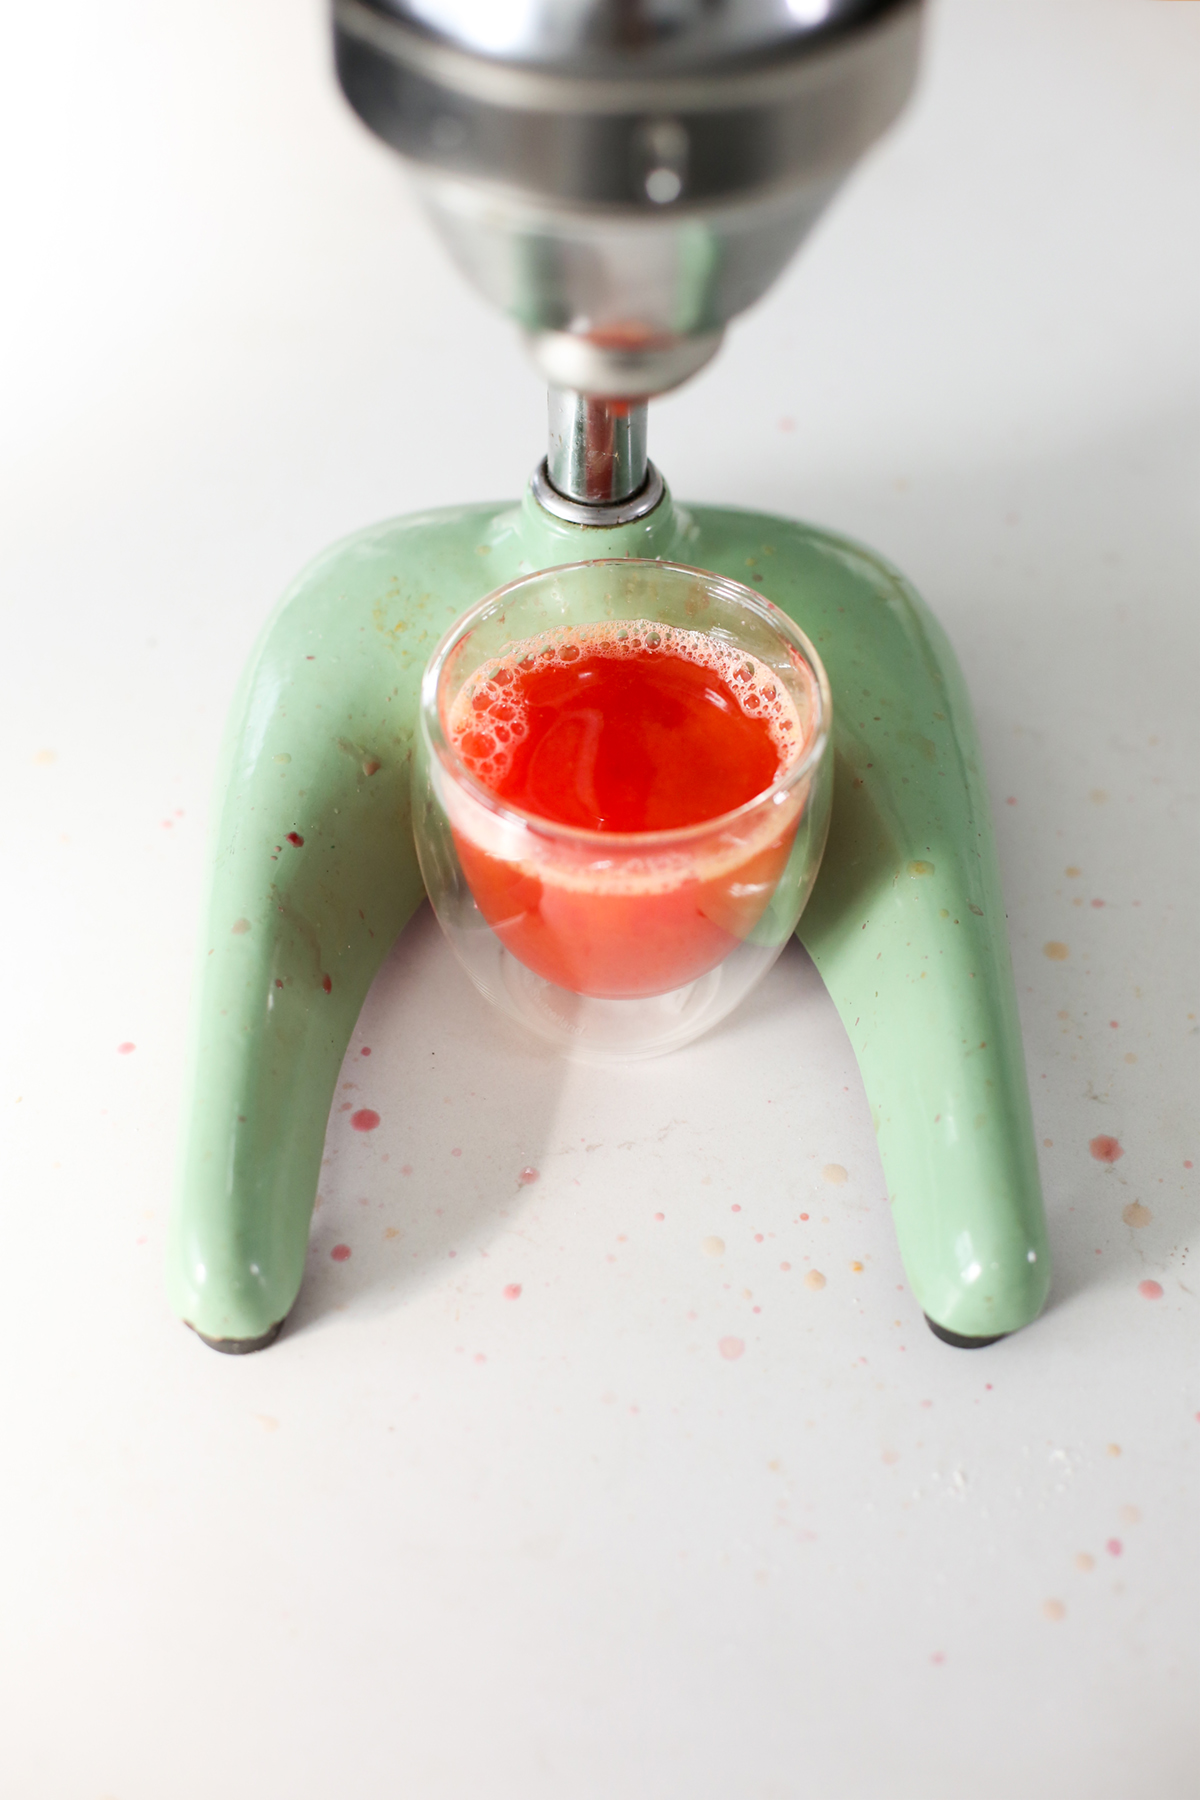
I made this juice to go with a Red Lentil Breakfast Scramble using leftover citrus I had from the holidays.
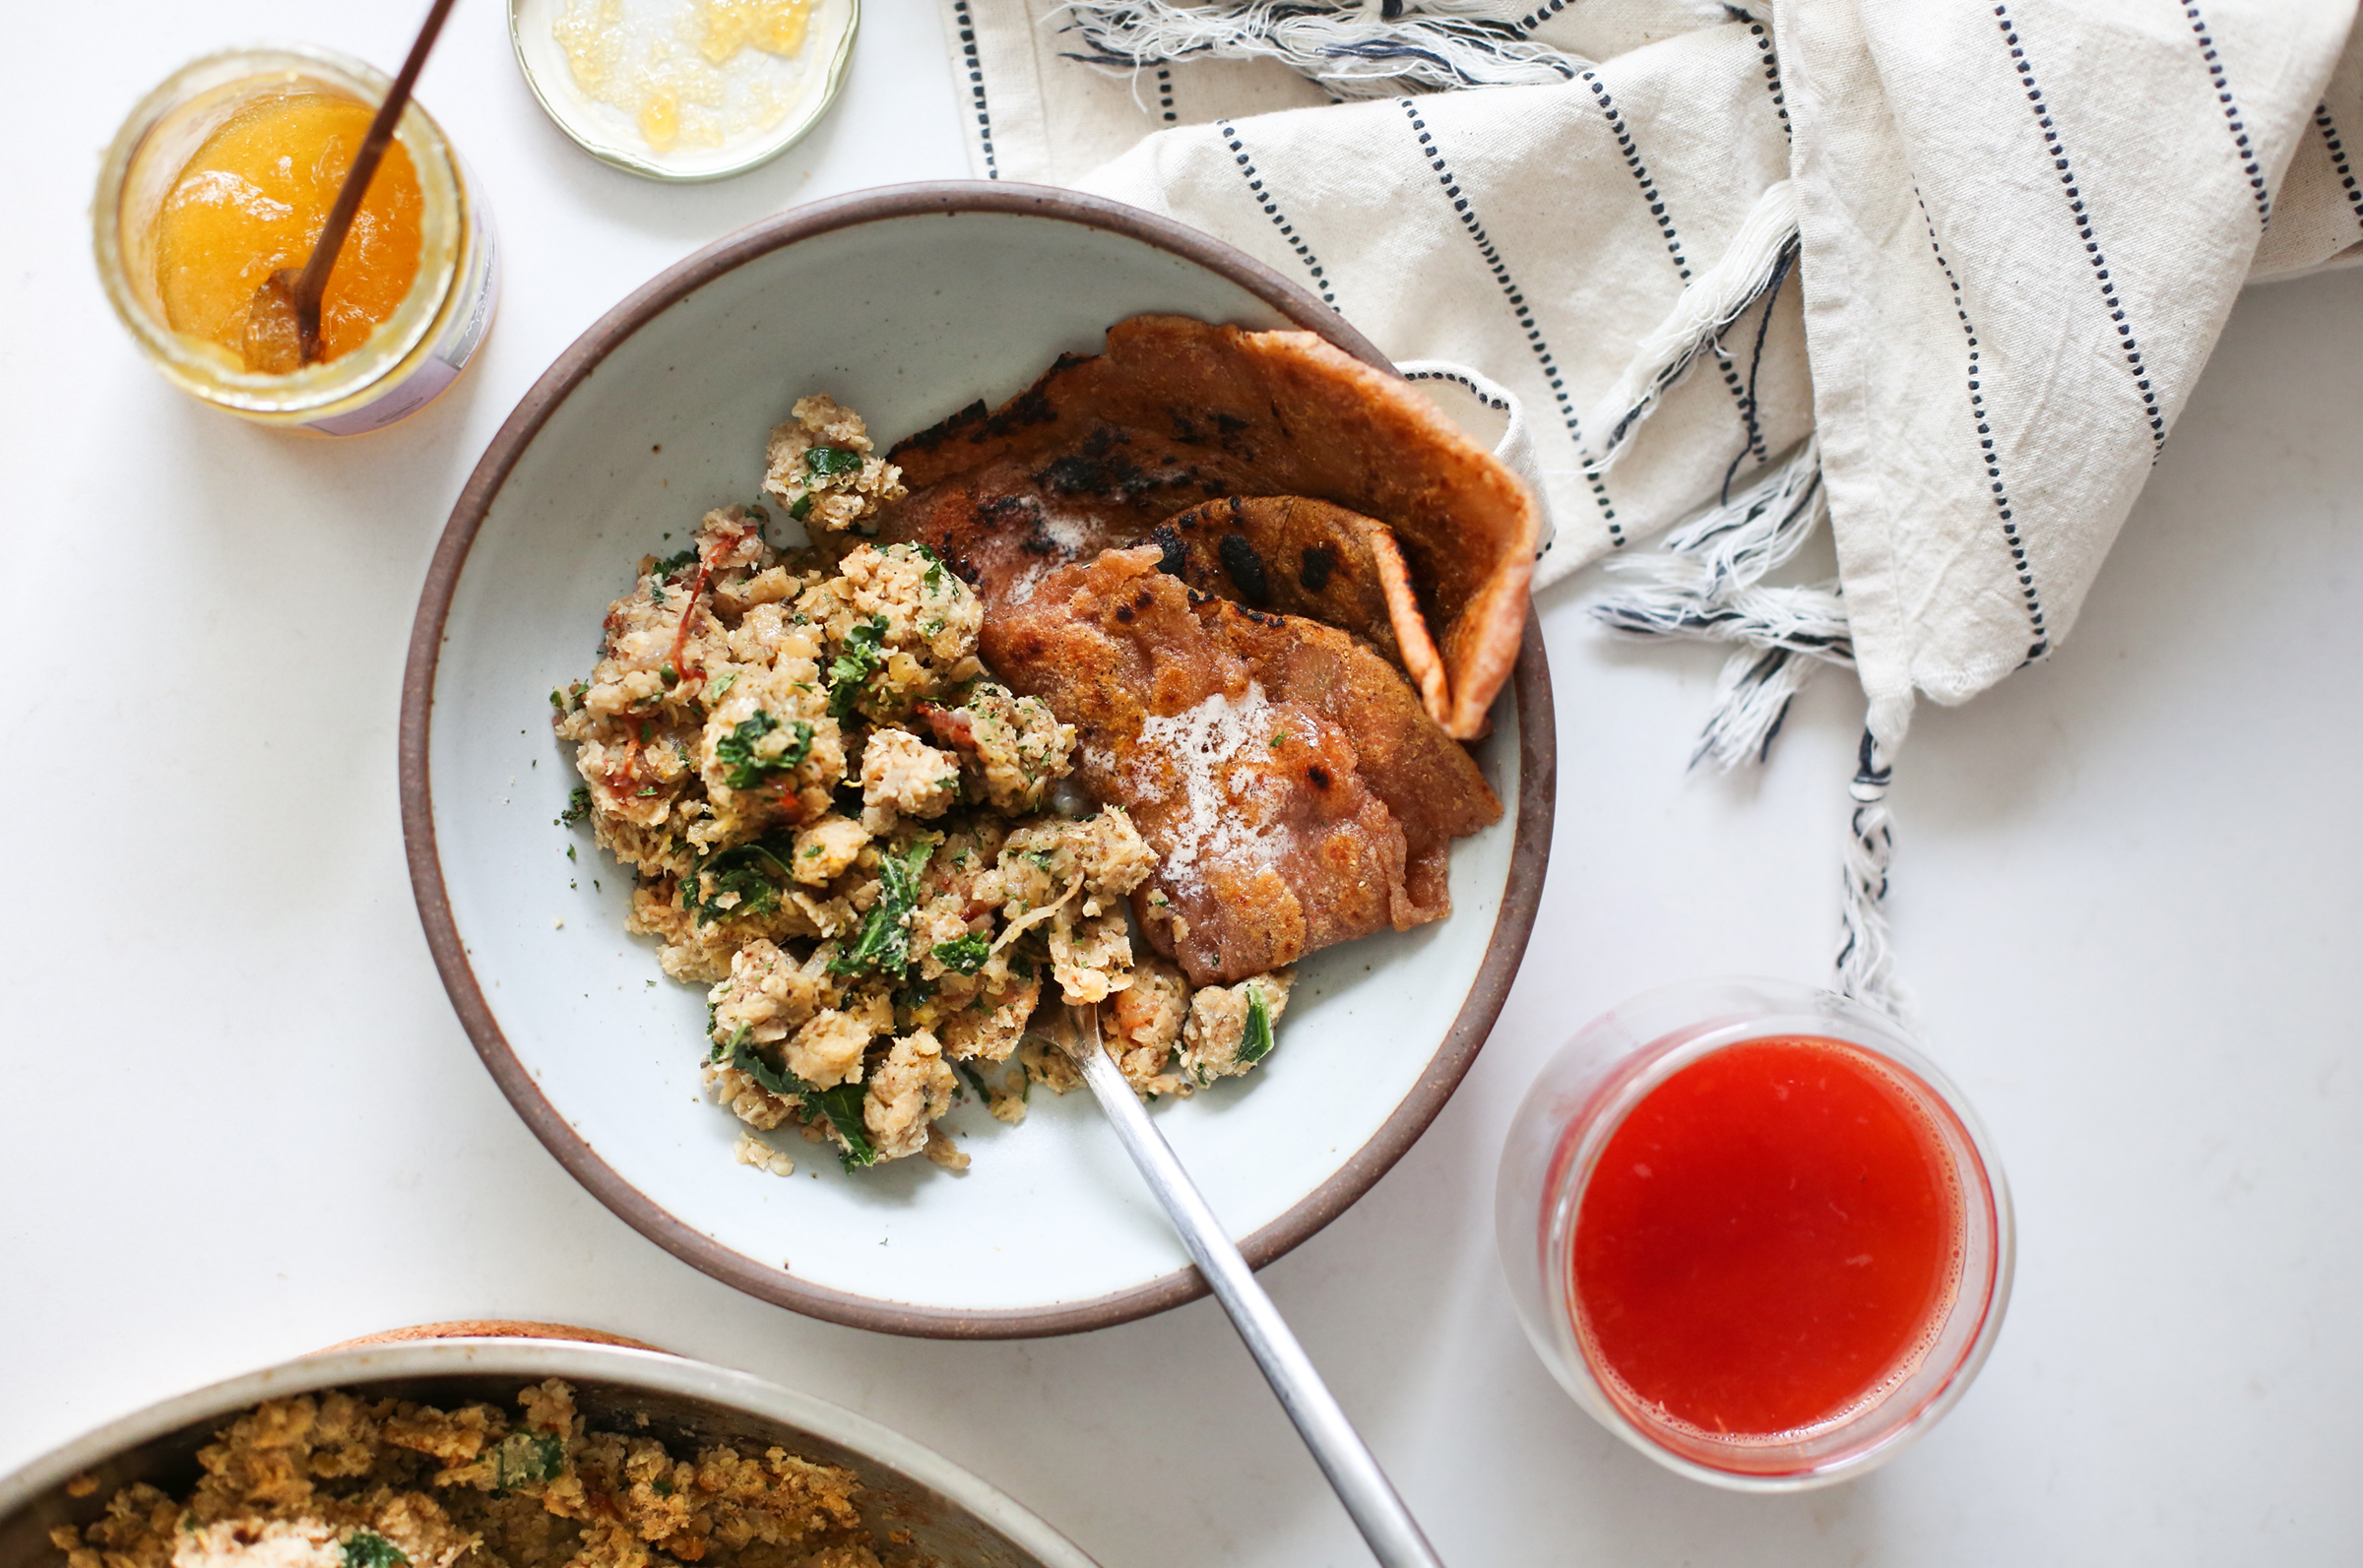
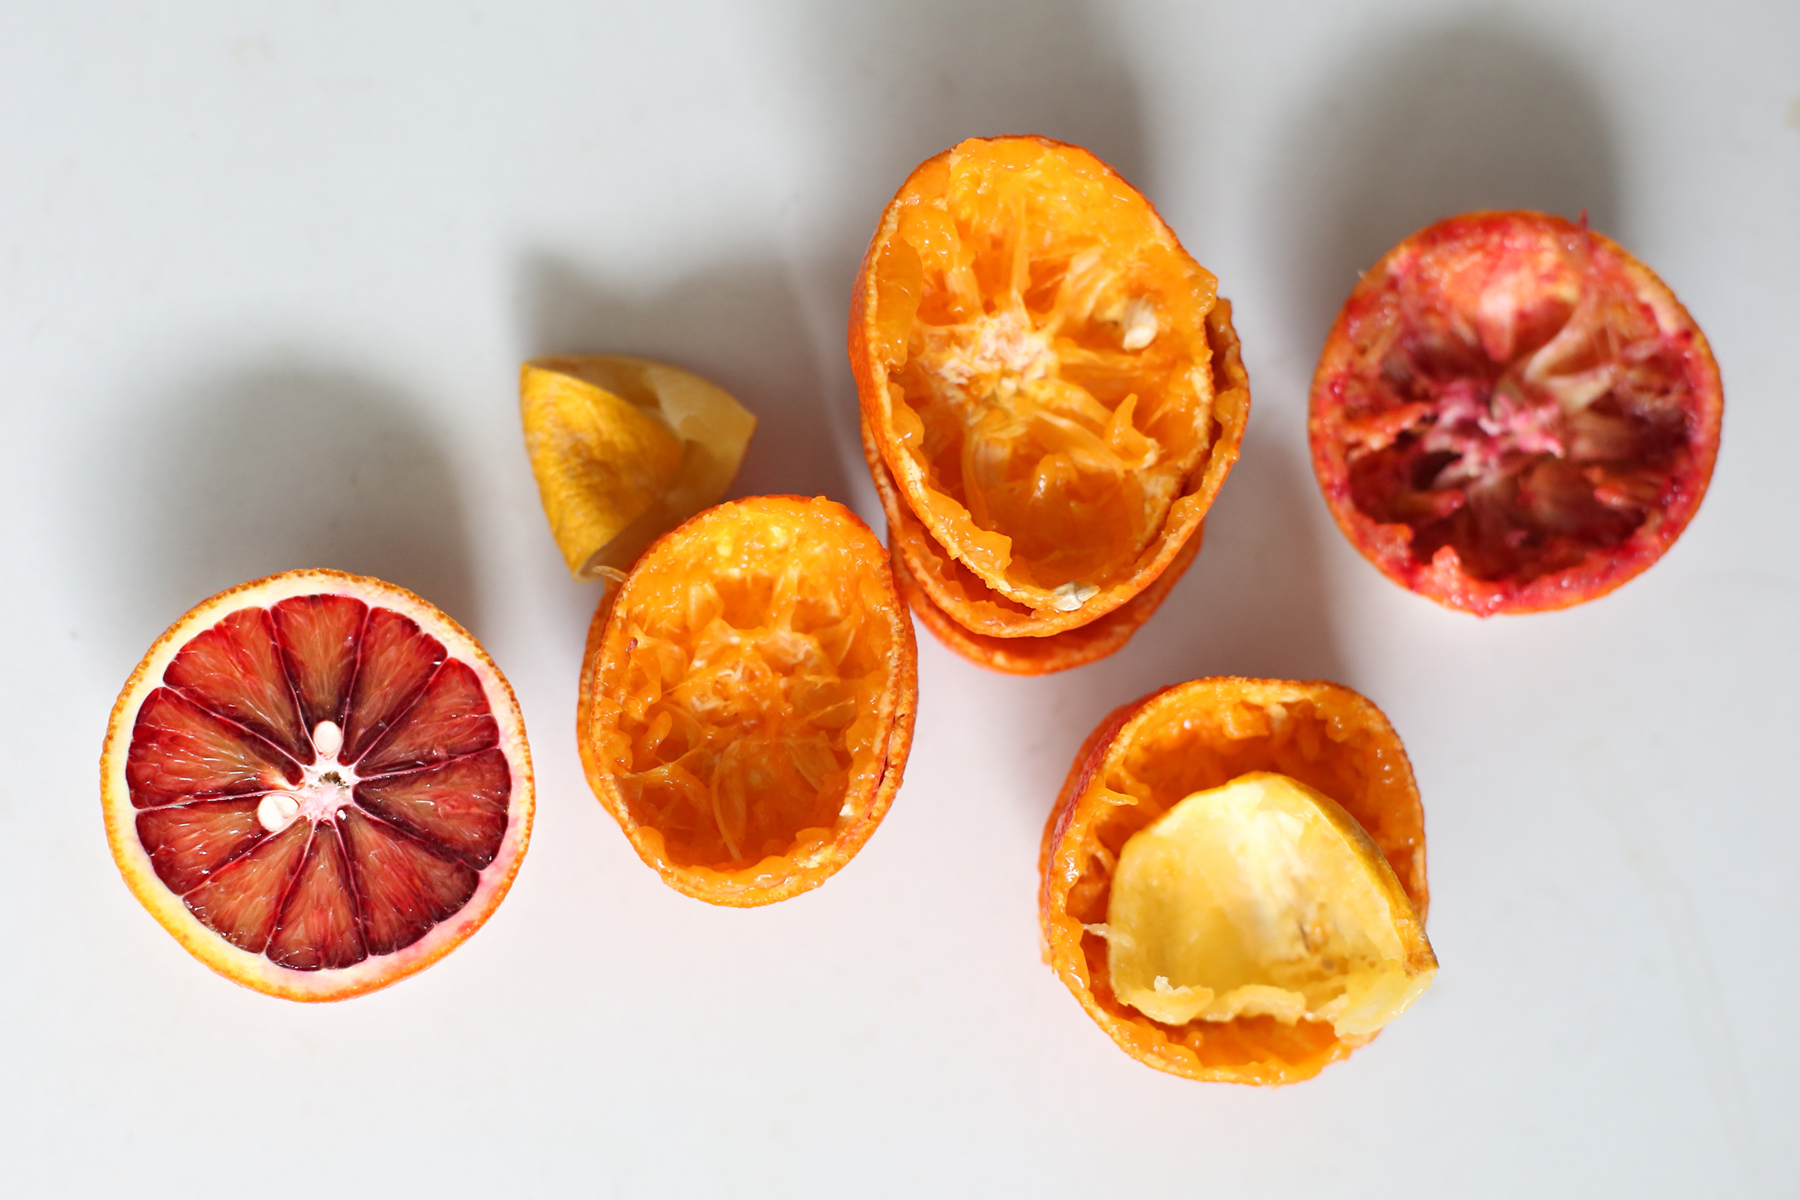
We were on vacation after Chtistmas and the rinds had withered in our absence, but everything was juicy and tasty inside. Perfect for juicing. No mold, no problem.
You’ll need about 15–20 fruits for 3–4 cups of juice. Any combo will work really, but here’s what I used.
Ingredients:
7 blood oranges
10 mandarins
2 navel oranges
1 Meyer lemon
Play:
• Try adding a pinch of cardamom, a pinch or two of garam masala, or a drop of rosewater or orange blossom water for extra special flavor.
• Place this juice and some orange wedges (remove seeds) or pears or apples into a saucepan with 2 tablespoons of honey. Bring to a boil, then simmer until it reduces and thickens. Spoon a ton of this magical sauce on pancakes, or drizzle it on ice cream!
Want more inspiration? Check out my books!
For new recipes sent to your inbox every month, join our Good Food Cooking Club, it’s free.
Red Lentil Breakfast Scramble
It’s officially been 2019 for a few weeks now, and I’ve been thinking a lot about what I want for this year and how to share it all… here’s the list so far:
• Gluten-Free Baking Academy will open for enrollment again for the Bread Course and Cookies Course late winter/spring—are you on the wait list yet??! We have the BEST student community around.
• A new course is coming to GFBA this year, too! It will make all of your special-event parties next level.
• Good Food Cooking Club will continue sharing one new recipe per month direct to your inbox first. We can all make one recipe per month, right? That’s an achievable goal! Make sure you get it.
• I’ll be sending out one newsletter per month, always with a cooking club recipe, and always with simple tips and inspiration. Are you signed up?
• I have a new kitchen! OMGOMGOMG. I worked my buns off to make it just what I need to create and share more with YU this upcoming year—check out the before and afters.
• I’m finalizing an enormous project for YU that I’ve been working on for over a year now. It launches in 2019!!! Cooking Club Members (our club is free) will be the first to know about it, and will be thanked with some goodies when the time comes. Who’s in?
Lots to be excited about…
Honestly, I’ve been in a creative-cooking rut for a while now, and if you check out my recent “New Kitchen” post you’ll learn more about that adventure. I’m on the other side though and couldn’t be more energized by the new space and the new year!
This recipe is the first I’ve officially made for YU in my new kitchen. It’s a simple one that seems fancy-ish, and it’s one that will hopefully bring a cooking “friend” into your home if you aren’t already in love with it like me: garam masala.
It’s a spice blend, whose name translates to “warm spice mix.” It can vary quite a bit, but the main components are cloves, nutmeg, cardamom, coriander, cinnamon, black pepper, and cumin. Some blends will add turmeric, fennel seeds, ginger, garlic, mustard, fenugreek, and/or bay leaf, too. Use garam masala beyond this recipe to season dips, sauces, dressings, and vinaigrettes. Try some in your coffee or tea. Sprinkle on popcorn, fries, or homemade veggie chips. Use some to spice compotes and jams. Add to soups, stews, chili, and casseroles. Sprinkle on roasted veggies like carrots, sweet potatoes, dark-leafy greens, mushrooms, broccoli, cauliflower, and winter squash.
You can use any lentils you like (or chickpeas) to make this breakfast scramble, and you can add all sorts of goodies like sweet potato, peas, spinach, tomatoes, or eggs if you eat them.
If you like the look of the flatbread smothered in Miyoko’s Vegan Butter (that stuff is THE BEST) you can learn how to make it and much more in the upcoming GFBA Bread Course.
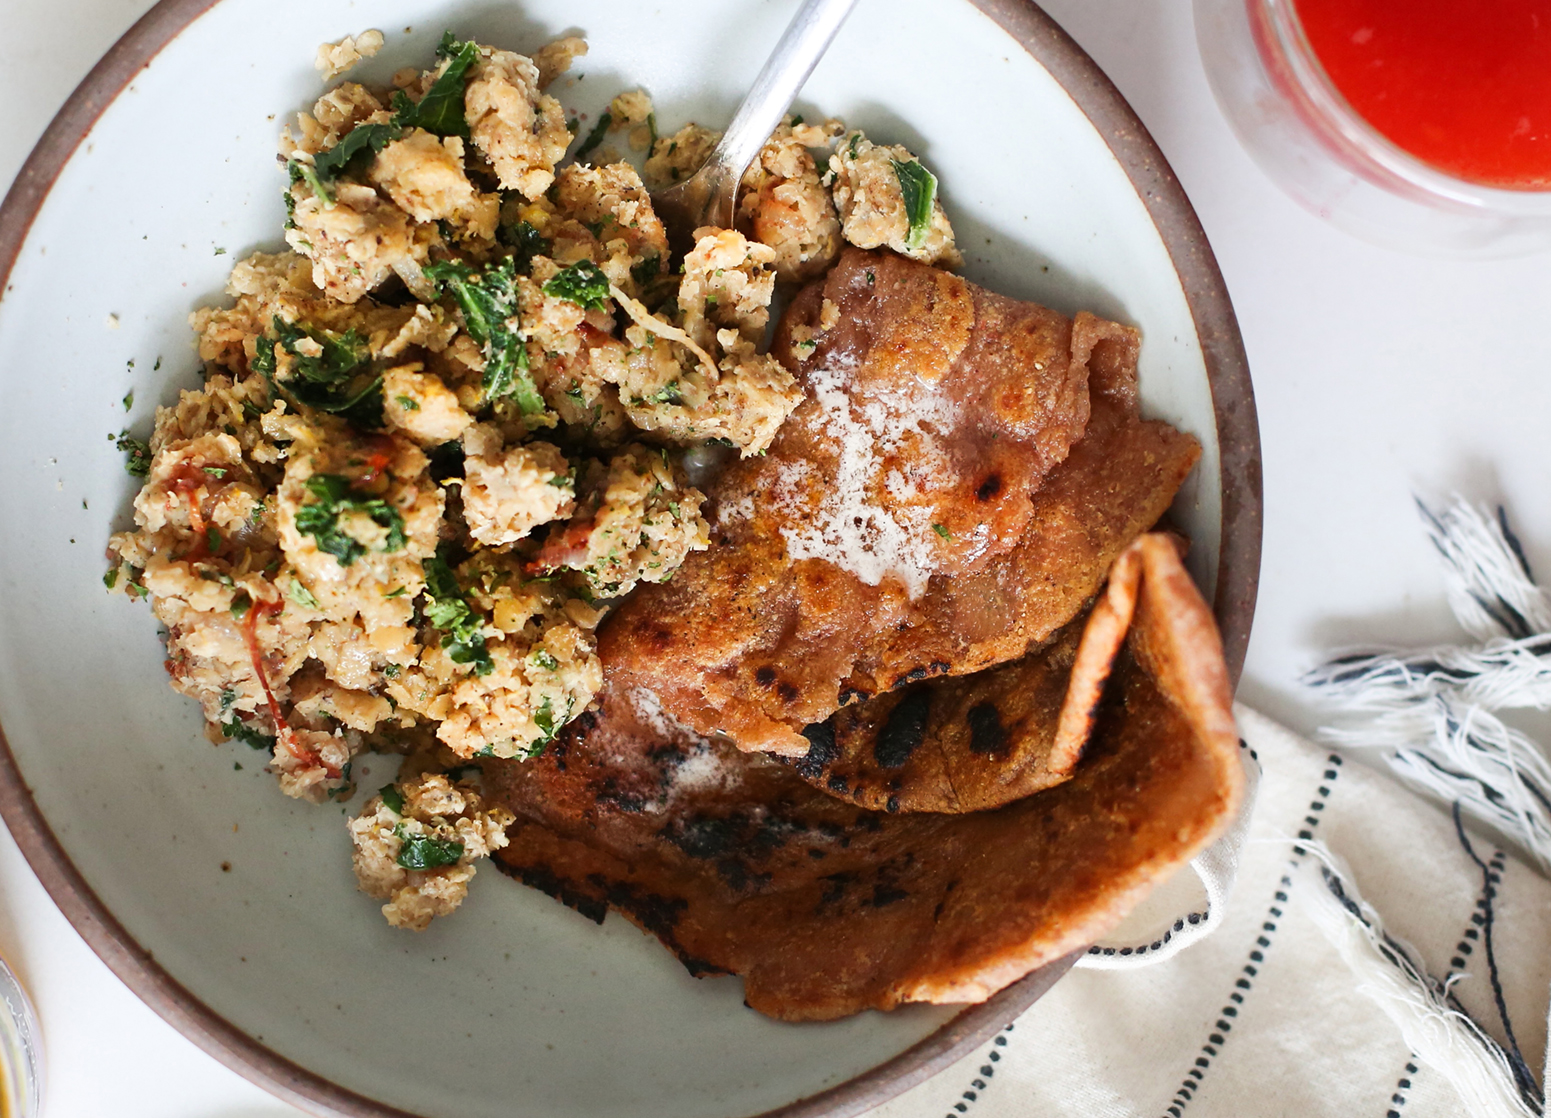
Of course toast, an English Muffin, or even pancakes make a nice addition to the scramble, or skip the addition altogether. I had to make this flatbread because I recently came home from an incredible trip with the most delicious jam I’ve ever had in my life: Hana Farms Lilikoi (Passionfruit) Jam.
If the majesty of Maui could be packed into one flavor, I believe this is the one. It’s SO worth ordering online, and get more than one jar! I’ve almost blown through mine in one week. I needed a vehicle for that jam, soooo, flatbread. It was delicious paired with the garam masala spices in the lentils.
These lentils were soaked and sprouted before cooking—I have digestive woes, these extra steps me, and it’s effortlessly easy. Lentils go in a bowl of water overnight, I drain them and let them sit undisturbed on the counter for one day. Done. Ready. And pretty.
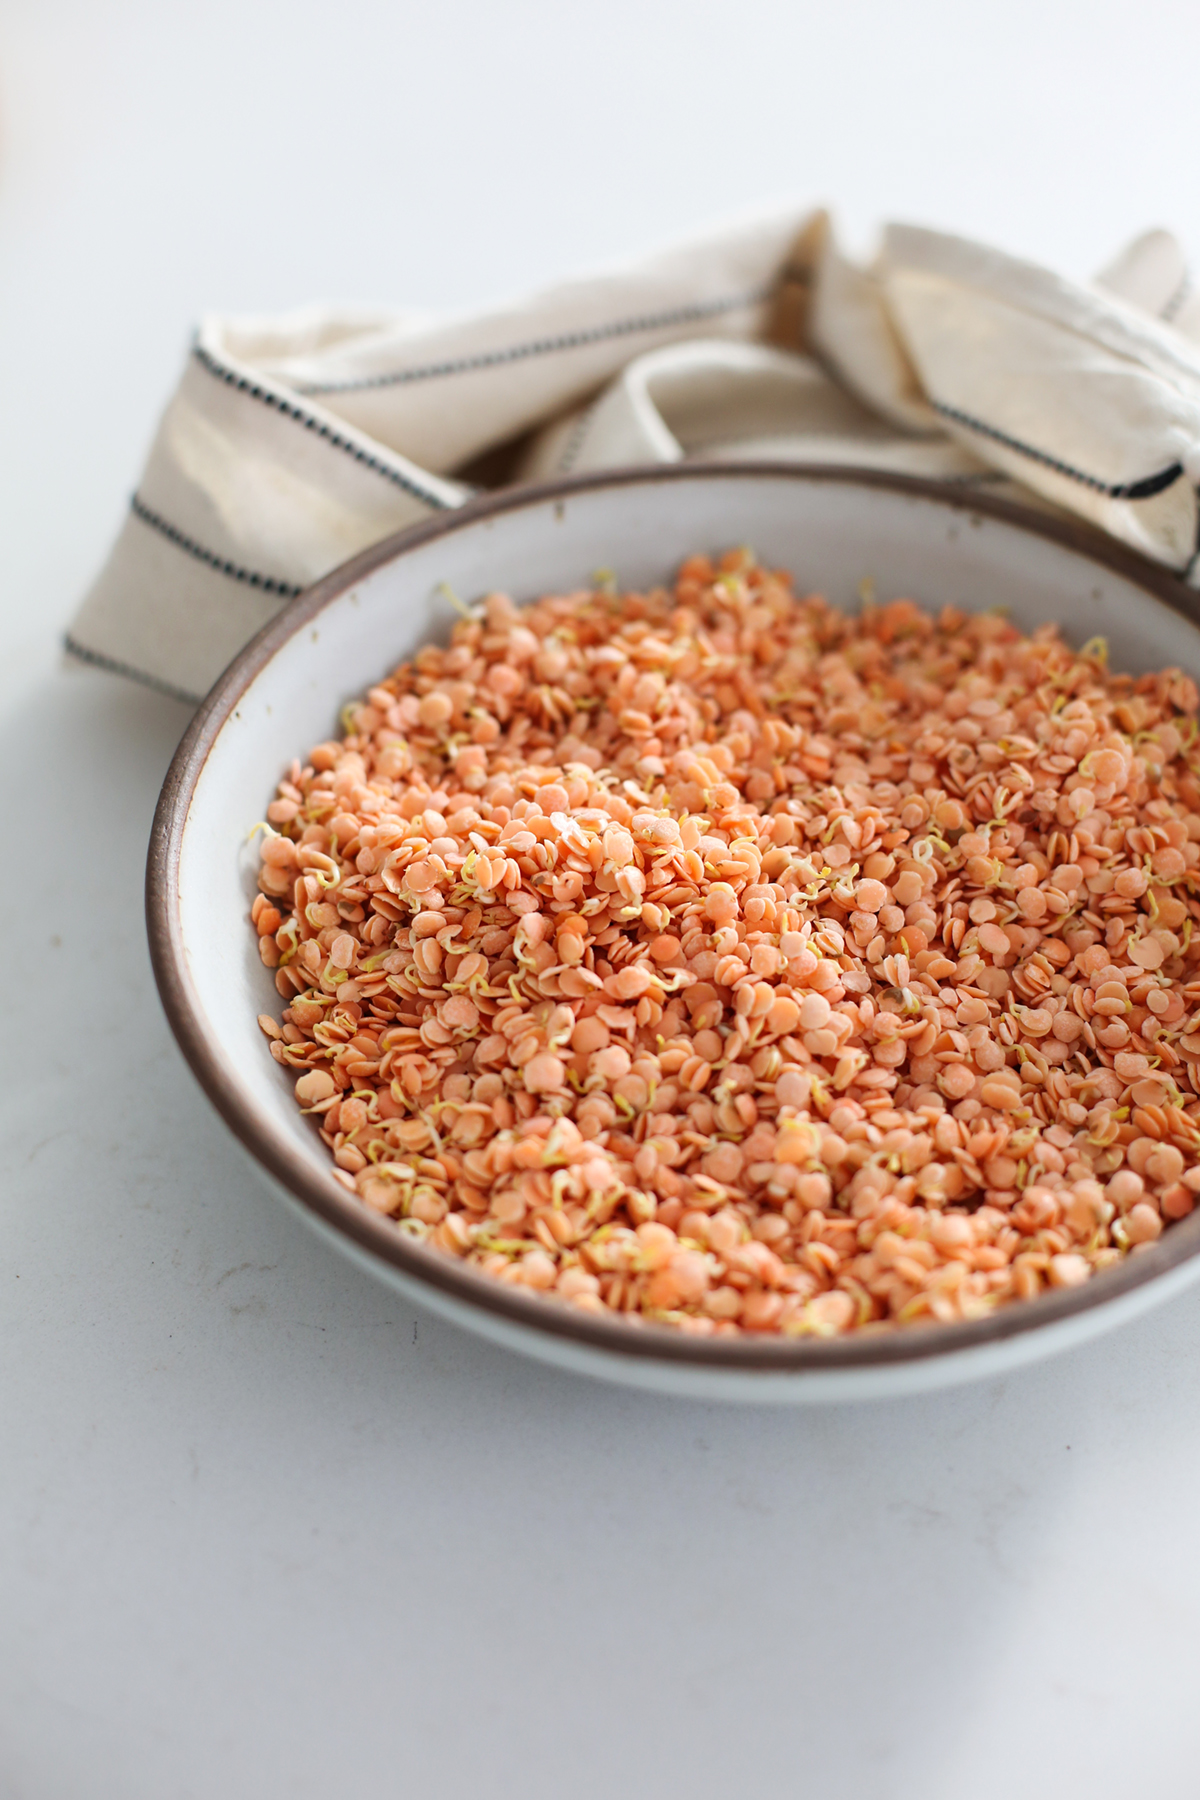
Use these tips for cooking and measuring, and if you make too much, save in the fridge and use in another recipe.
You may need more water if cooking without soaking first, but if you’ve soaked/sprouted, use less (so about 1/4″ water covers the lentils) since the lentils are already partially hydrated. Also, red lentils break down quite a bit when cooking, and less water helps them keep some shape for the scramble.
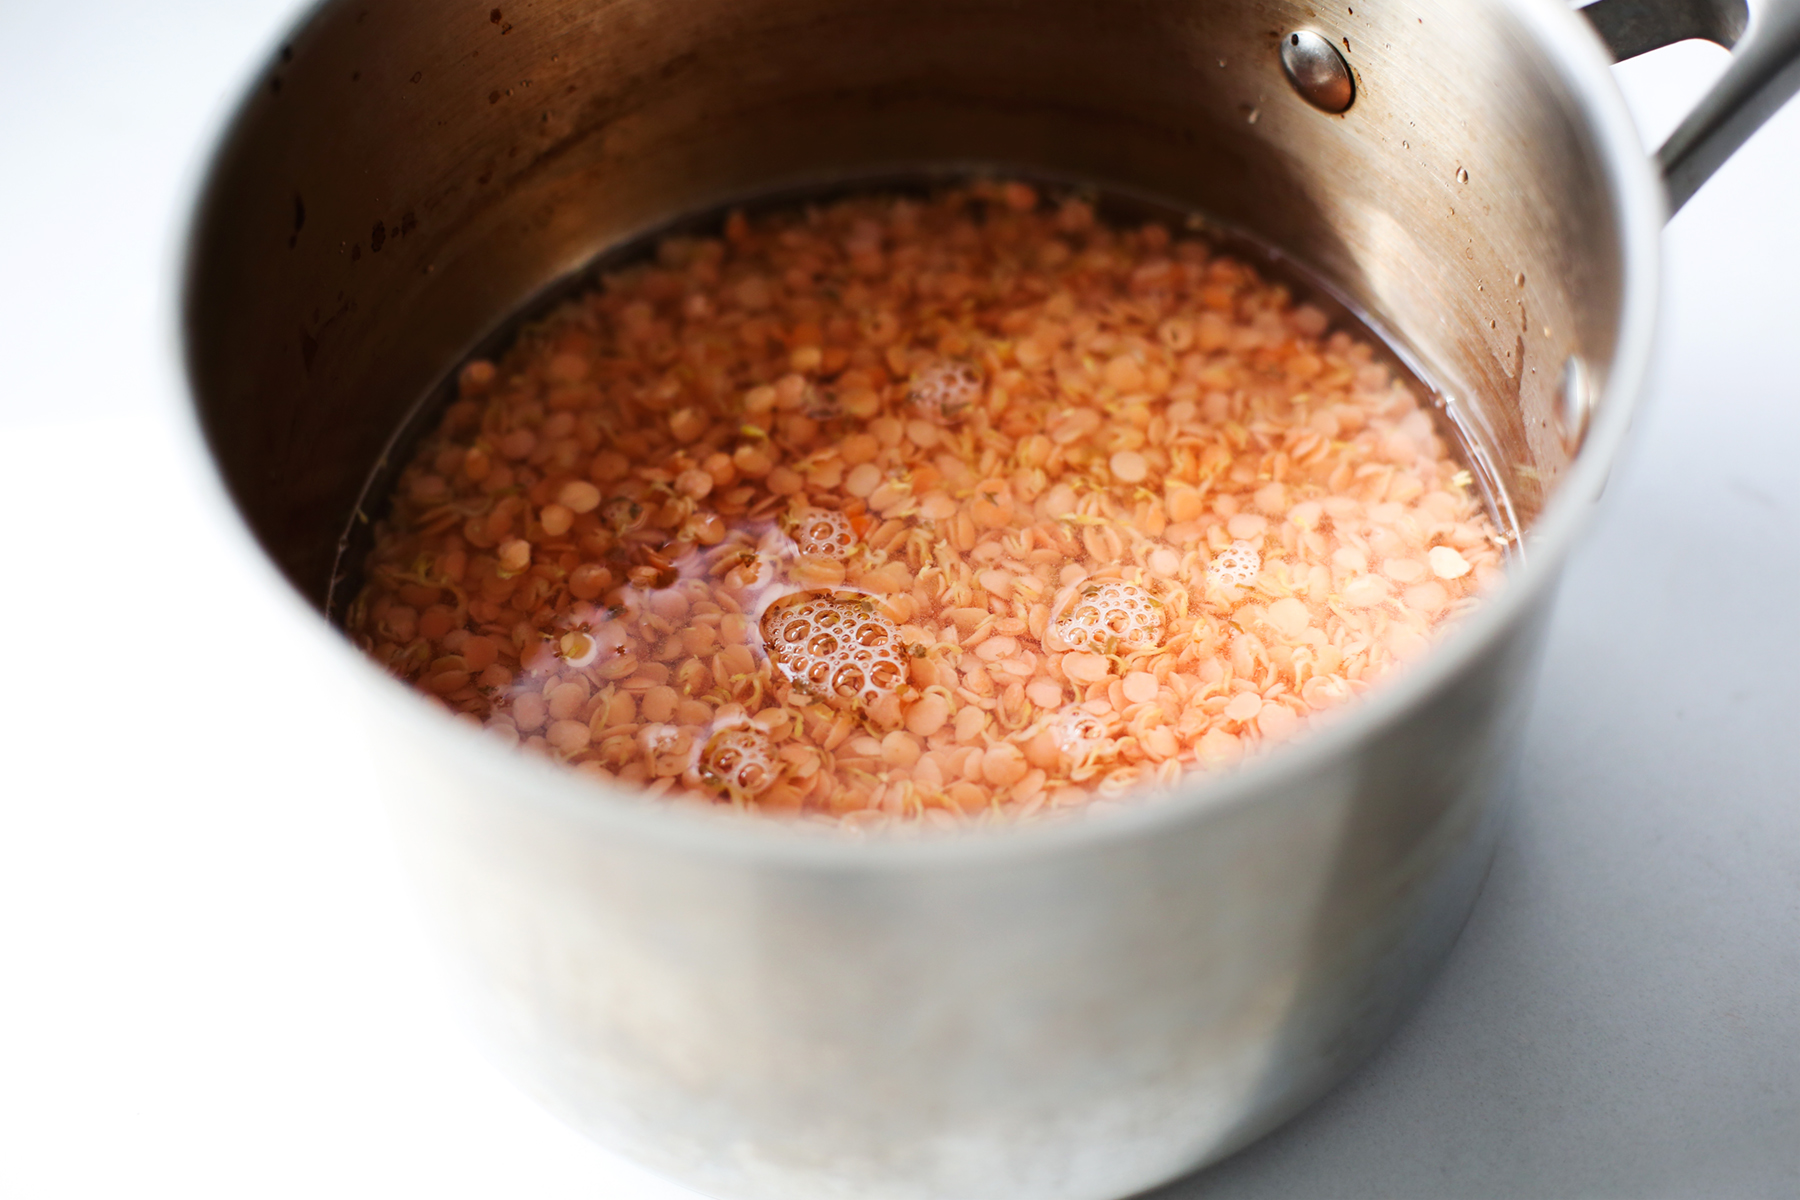
Ingredients:
2 1/2 cups cooked red lentils (start with 1 cup dry red lentils)
1 large shallot
5 leaves kale (any kind), de-stemmed and chopped.
Unrefined coconut oil or avocado oil
1 teaspoon garam masala
1/2 teaspoon fine-ground sea salt*
*For egg-y flavor you can use India Black Salt aka Kala Namak Salt, just season to taste starting with 1/4 teaspoon and add more if needed.
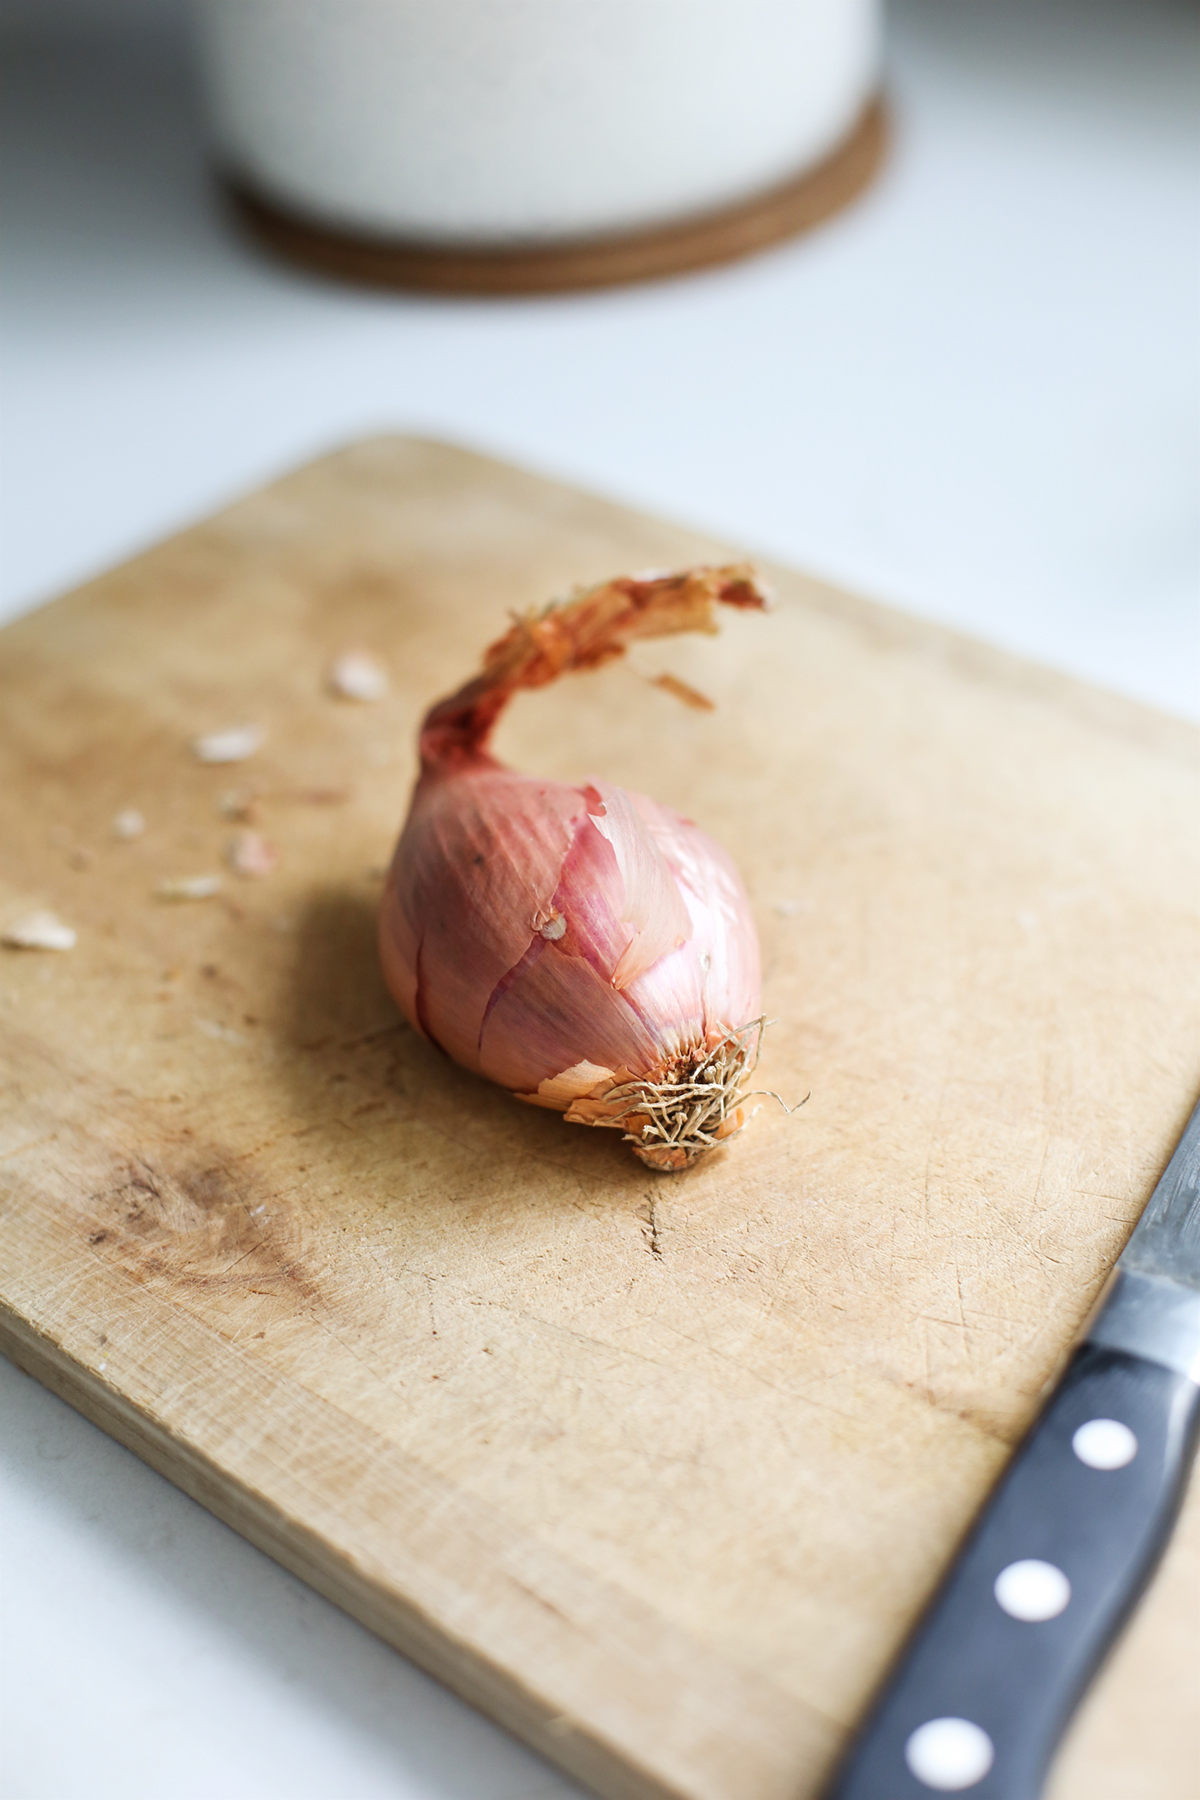
Steps:
1. Peel and thinly slice (or mince, cook’s choice) entire shallot.
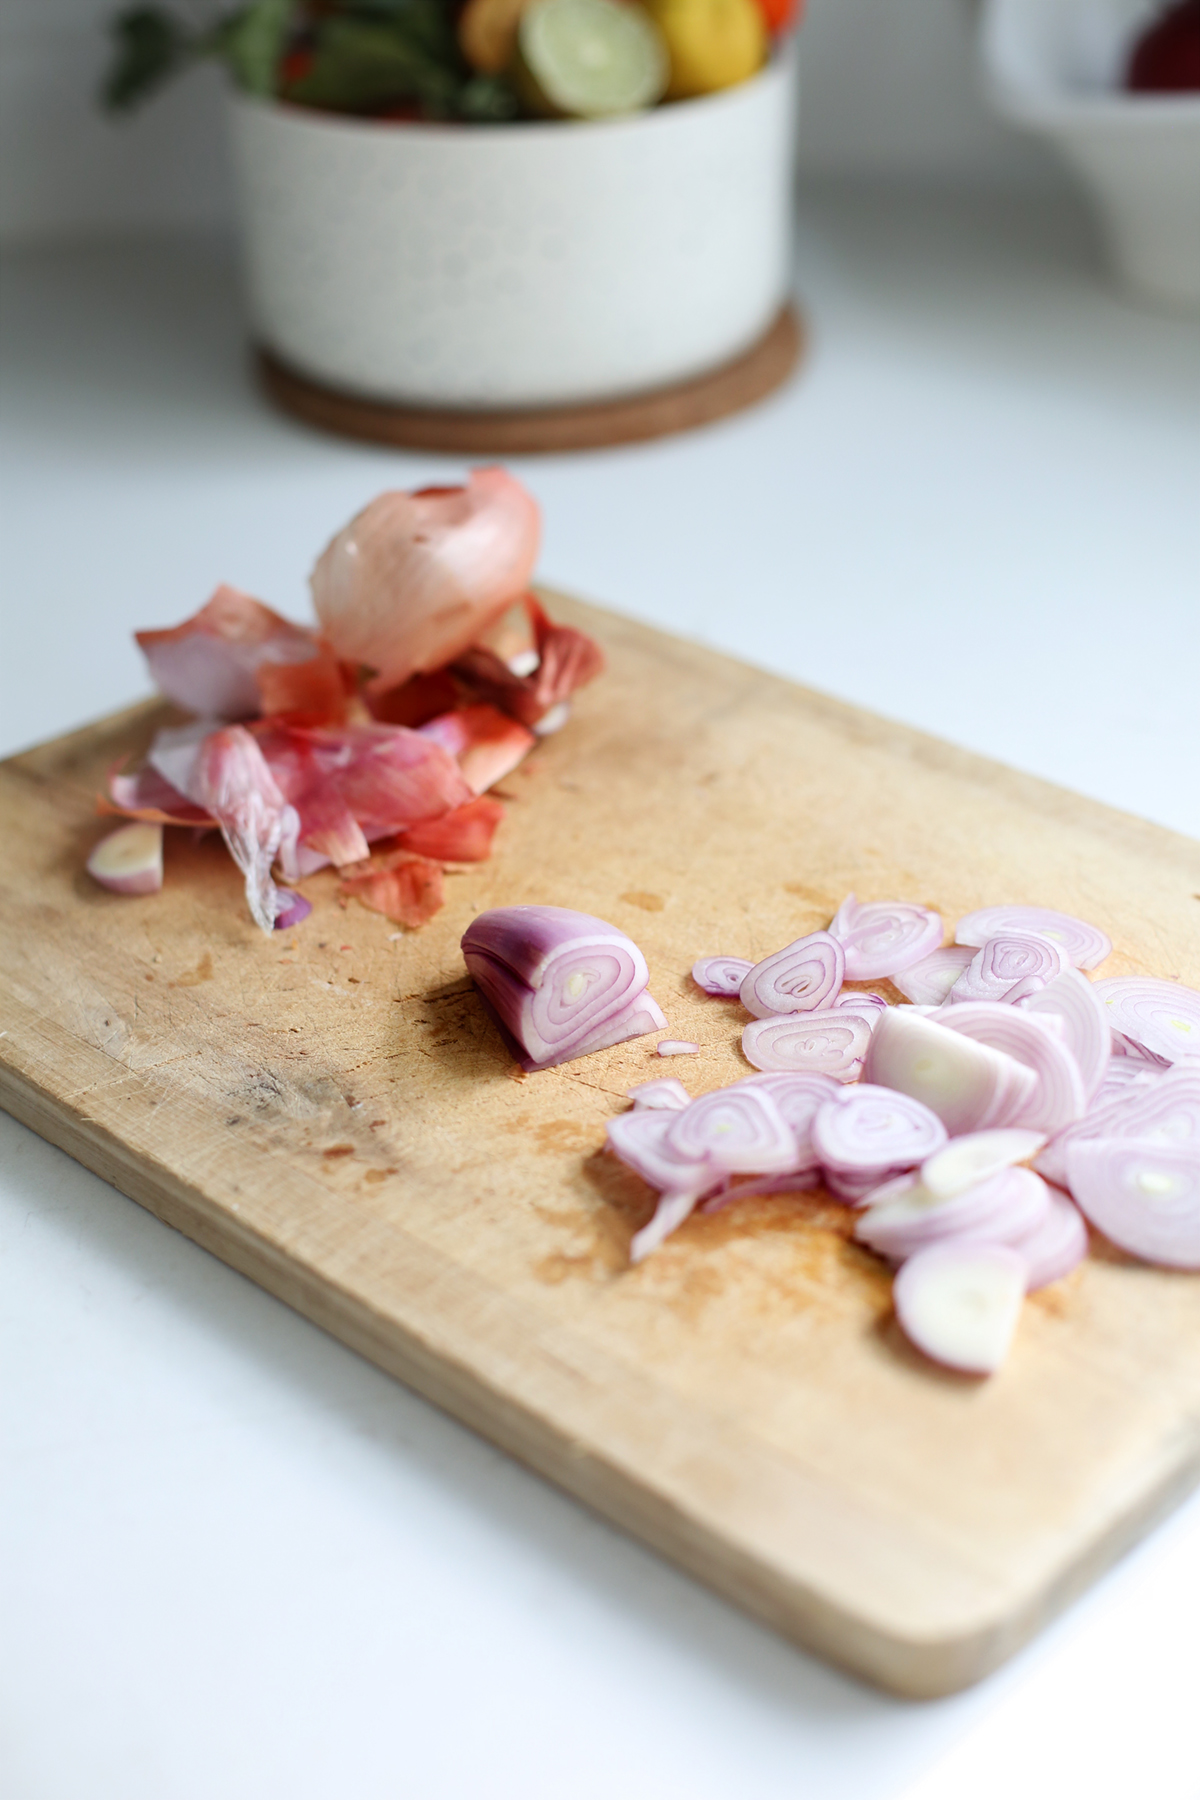
2. In a skillet heated to medium-low, add 1–2 teaspoons of preferred oil, and shallots. Cook 3–5 minutes, stirring constantly, until starting to brown.
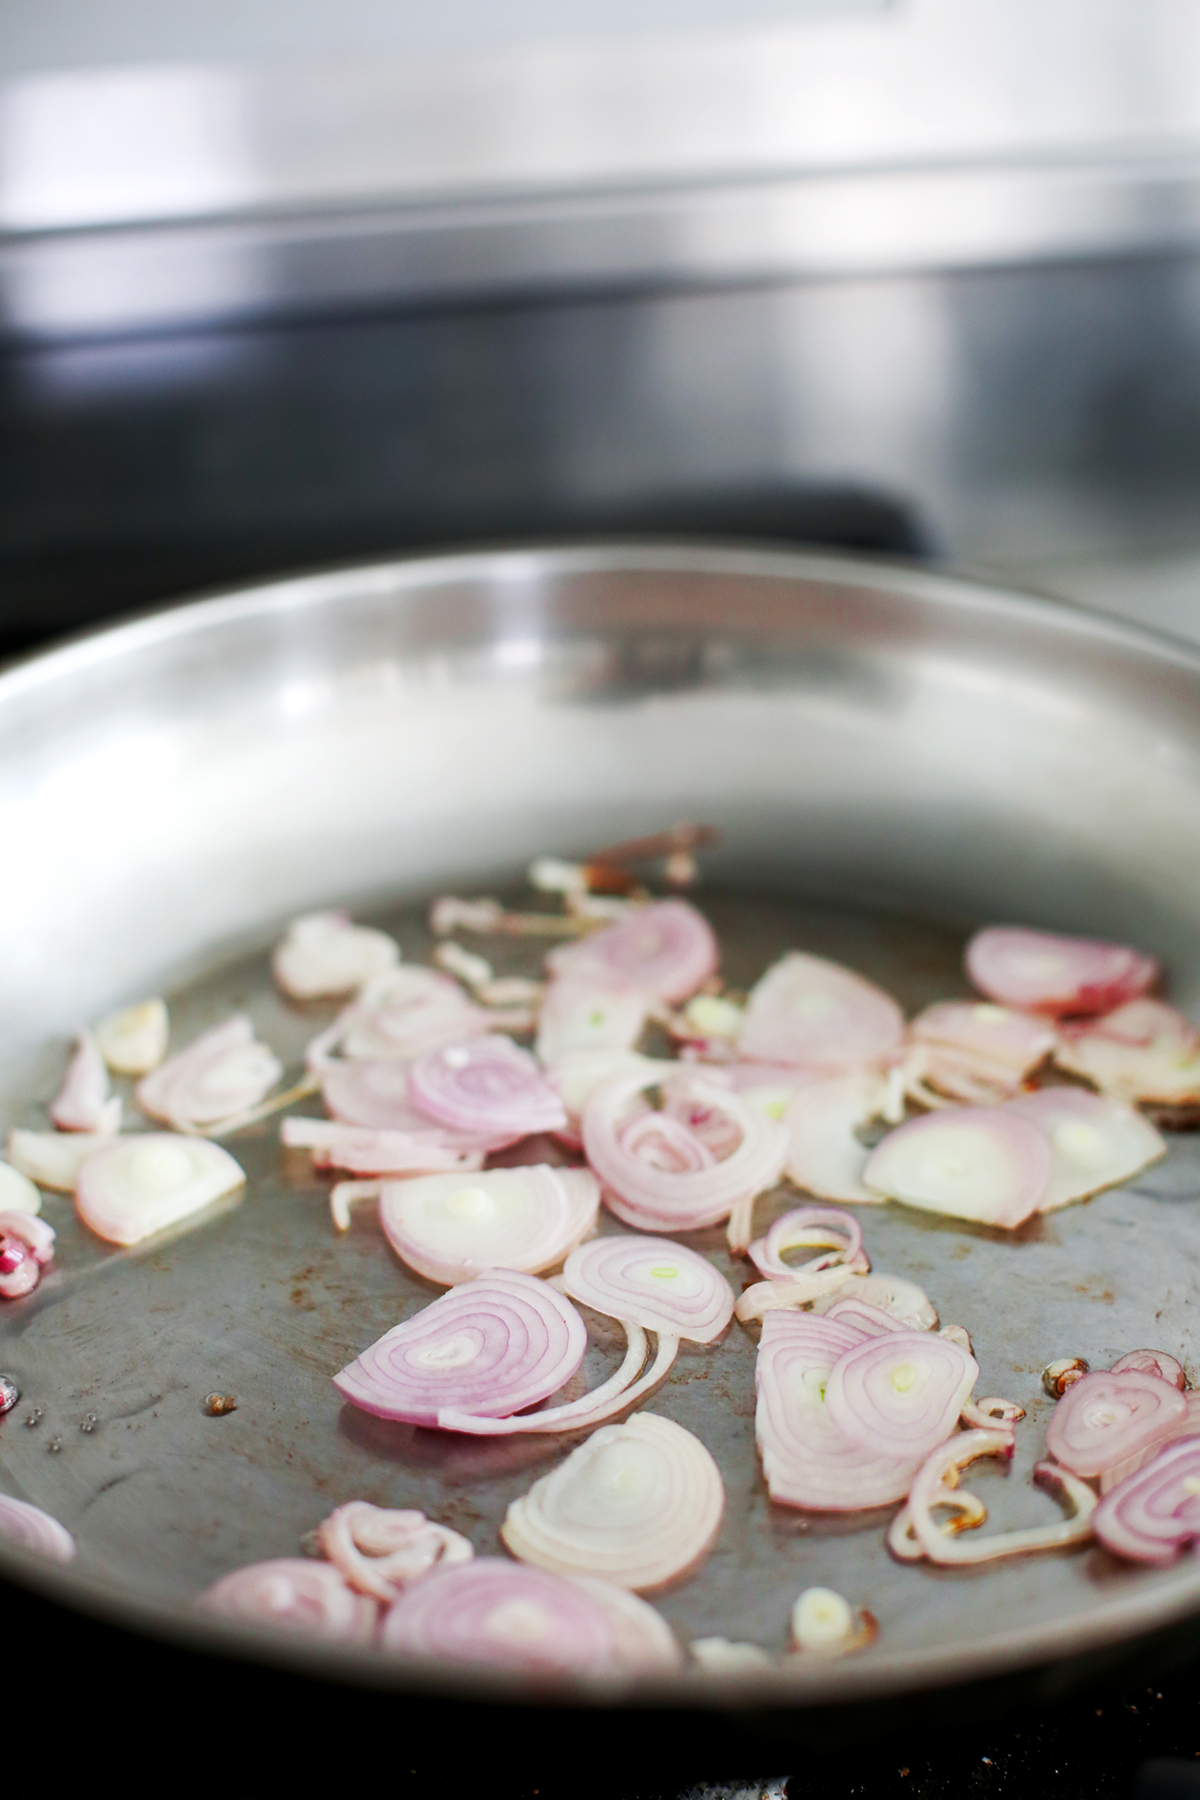
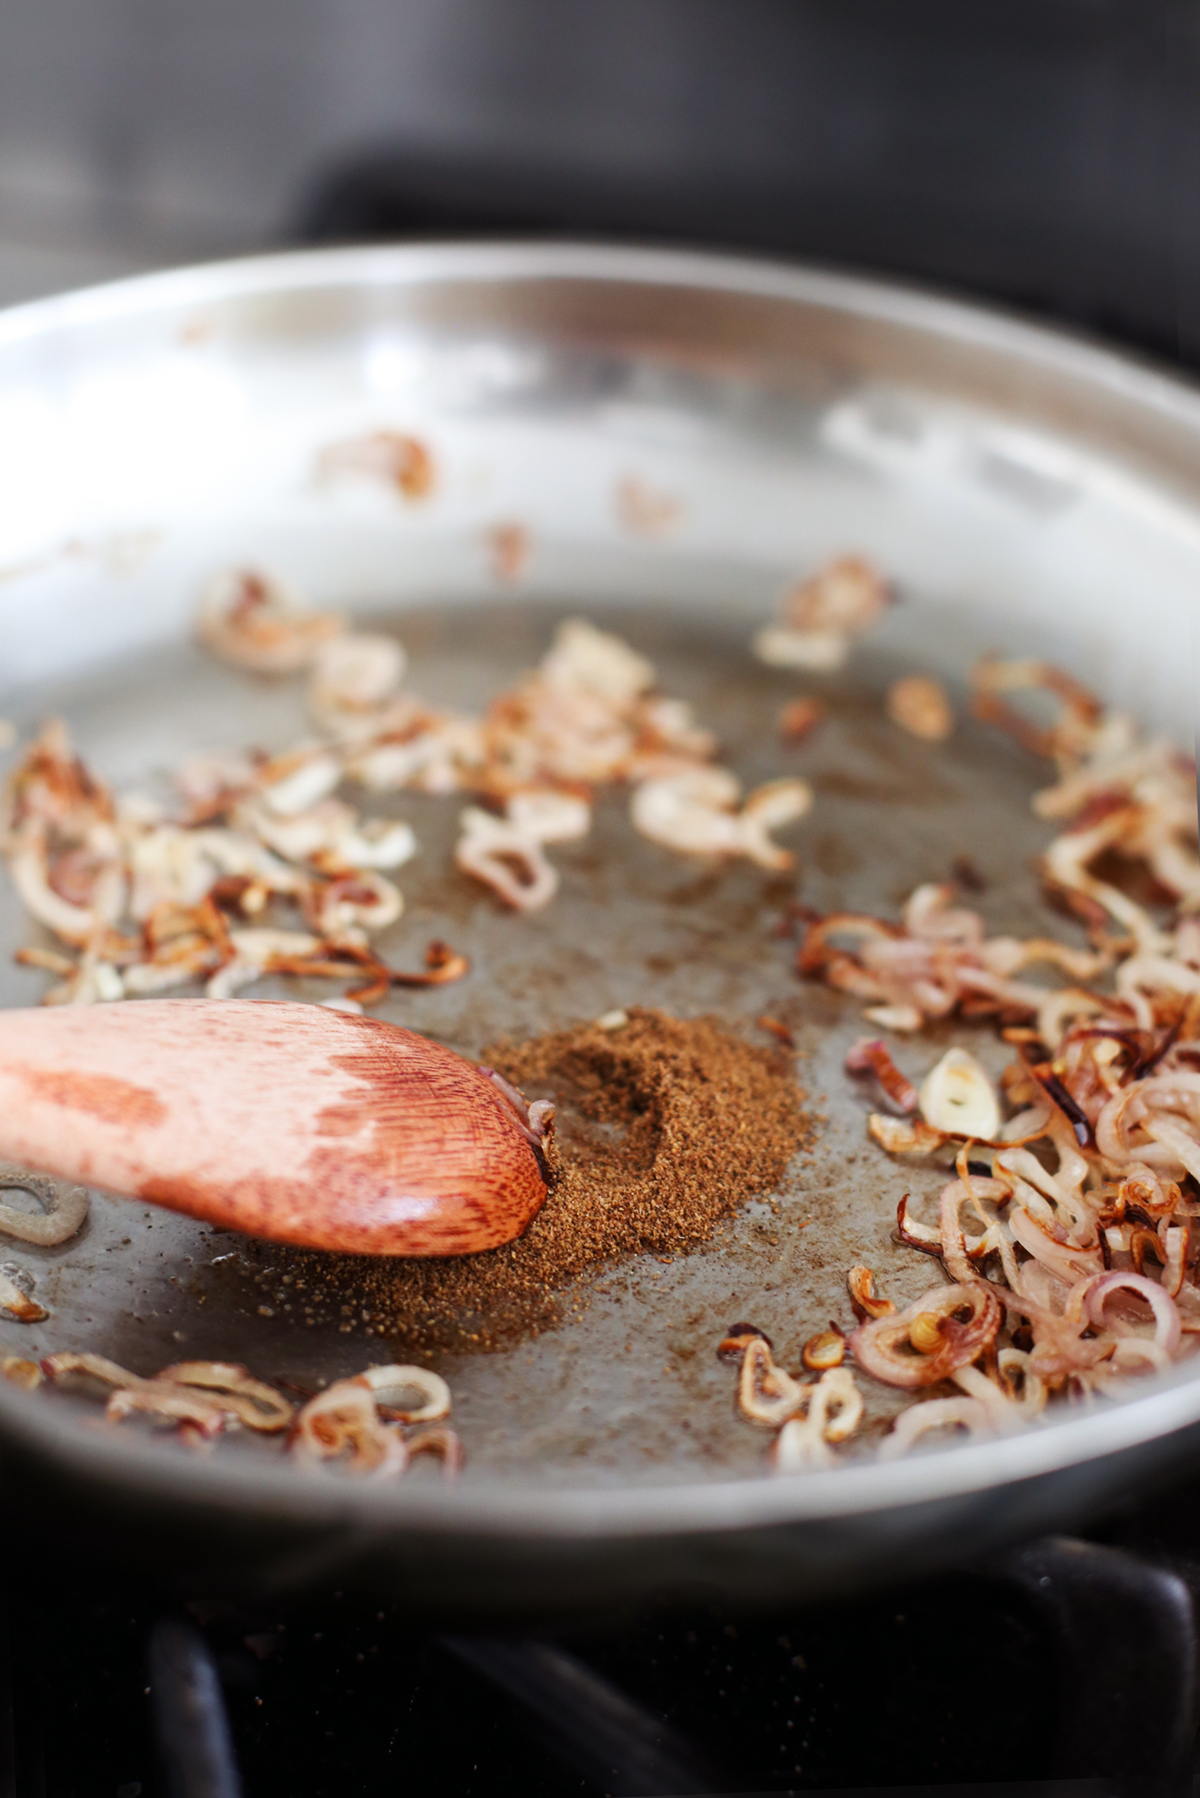
3. Then, make a well in the center of the skillet, add a touch more oil and add garam masala. Stir for about 30 seconds to toast the spice a bit.
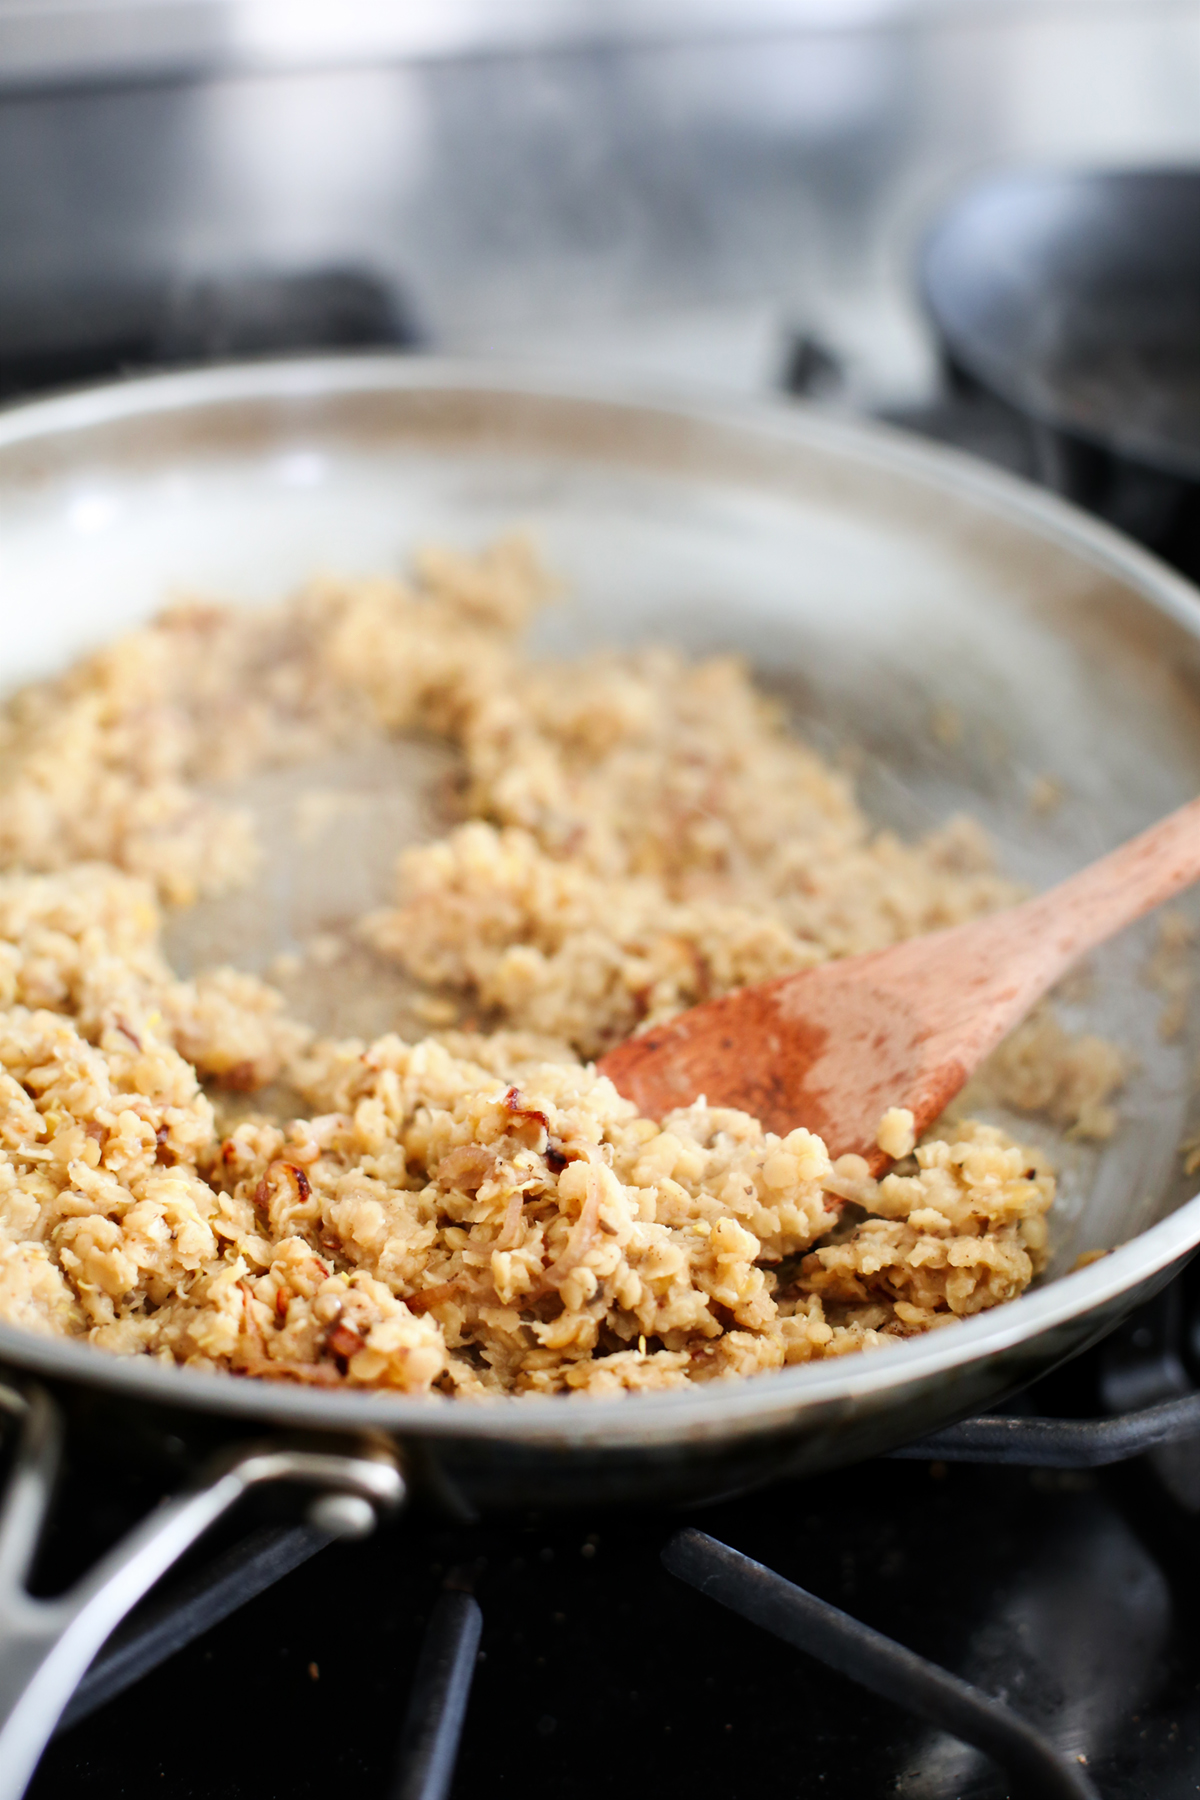
4. Then, kick up the heat to medium-high, and fold in the lentils and cook together for 5 minutes. Allow it to sit undisturbed a few minutes at a time, so lentils get a chance to brown, and they hold some shape.
5. Turn off heat, add chopped kale, stir, and serve warm.
If you wanna make the showstopper red juice in the photos above, here’s the secret.
—
Want more inspiration? Check out my books!
—
For new recipes sent to your inbox every month, join our Good Food Cooking Club, it’s free.
