How To’sday: Popping Amaranth

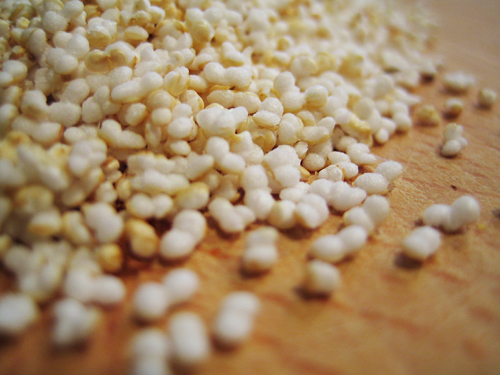
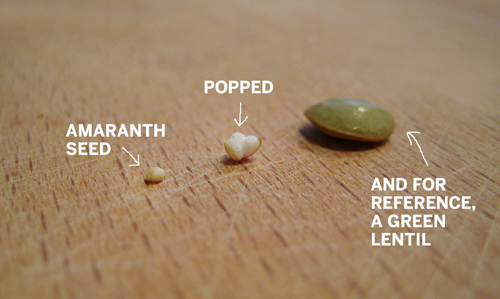
I’m sure by now that everyone knows about quinoa around here. You can make everything from cereal to tacos with it, but are you familiar with another ancient powerhouse grain called Amaranth? Well, like quinoa, it’s also a fantastic source of complete plant-based protein but it is also high in lysine which is known to help promote collagen growth, burn fat as energy and it keeps cold sores at bay. These tiny seeds are a great source of fiber and they are just as versatile for cookin’ as our friend quinoa. And you can pop it like popcorn. That’s right, teeny tiny popcorn. I’ve made a How To’sday video to show you how it’s done below.

Share these helpful tips with pals on Twitter by clicking here.

Friendly note: if you are at all adverse to a mess, this may not be a fun way for you to prepare amaranth—stick to recipes like Cinnamon Toast Protein Power Cereal. Personally, I find this recipe great for the spirit in that I always am smiling and laughing when I’m popping amaranth—it’s fun, but inevitably, a few grains will make a run for it and dive beyond the perimeter of the skillet. These days, I almost always use a plate, a fine mesh metal strainer or a pan lid to deflect the escape attempts from the popping amaranth. I have also heard that you can use a wok, air popper or saucepan to pop amaranth, but I haven’t tried those yet.

Let’s have some fun now.

Start with a dry skillet or pan and heat it to high (gas range) or medium-high to high (electric). Spoon 1 tsp at a time of grains into your pan once good and hot. Don’t be discouraged if the grains don’t pop right away or if they burn. I sometimes burn the first spoonful until I get the temp just right, so only spoon in a little at a time so you don’t waste too much as you adjust temp. If grains are burning, the pan isn’t hot enough. It may seem counterintuitive, but turn up the heat. They should start popping within 2-3 seconds of hitting the pan. You can cover the pan with a lid and shake as well.

For cleanup, if you have a handheld vacuum (it may sound crazy), it is great for sucking up all the little escapees that will dot your range and floor.

Store popped amaranth in a glass airtight glass container in your fridge or pantry for 4-6 weeks.
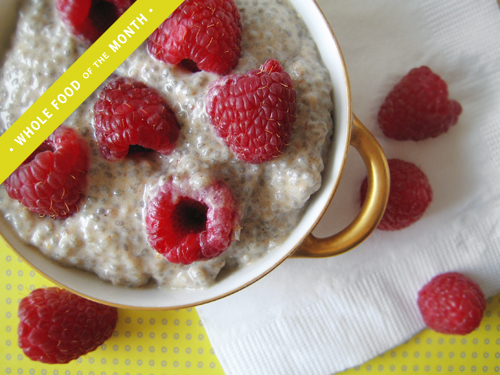
Raspberry & Cardamom Cream Chia Pudding

I think that if you love someone, whether it’s a family member, a friend, or your sweetheart, you should serve them healthy treats for Valentine’s Day. Nothing says “I care” like recipes that promote a long, vibrant life. This delicious Whole Food of the Month recipe takes no time at all to make (love that), but thanks to the exotic flavor of cardamom and the almost heart-shaped and juicy red raspberries, your recipients will be feeling well taken care of this Valentine’s Day. Continue reading “Raspberry & Cardamom Cream Chia Pudding”

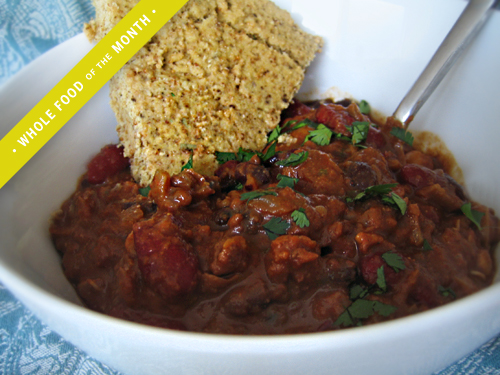
Aluminum-Free and Hearty Multi-Bean & Chia Seed Chili

This is one of those recipes that is delicious right away and just tastes better and better with each day. It’s a perfect make-on-Sunday chili since it does take time to prepare. There are no canned ingredients for this recipe (so no dangerous aluminum) and I’ve worked in our Whole Food of the Month—Chia—as well. All ingredients are prepared for optimal nutritional benefits (ie: soaking) but know that your efforts will yield a large batch of I-can’t believe-it’s-vegan chili that will be a household fave from now on. Serve with Gluten-Free Amaranth Jalapeno Bread if you want to take it to the next level. Try it out on the omnivores in your life without telling them it’s a plant-based recipe. I bet they will never know. Continue reading “Aluminum-Free and Hearty Multi-Bean & Chia Seed Chili”

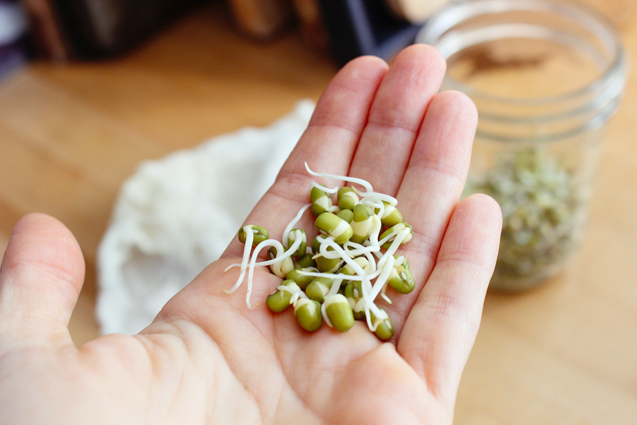
Sprouting 101

I have a few posts on the site that walk you through the benefits and steps involved for soaking and sprouting, but I have a feeling many of you are still intimidated by it, so I made a little video (after the jump) to show you how ridiculously easy it is. 2012 is the year you will take on sprouting! (costulessseguros.com) I know YU can do it.


Read more about the benefits of soaking >
Read more about sprouting >
Read more about soaking and preparing legumes >
Sprouting chart (from the YumUniverse book) >


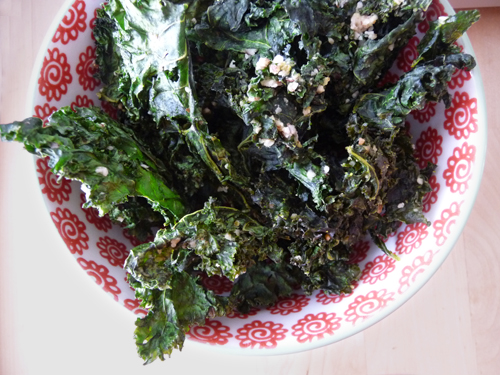
Almond Crunch Kale Chips: Raw and Dehydrated or Baked

This post contains a video for my favorite Almond Crunch Kale Chips recipe. Thought I’d share it again since it has a few extra tips included and they make great healthy travel food—Happy Holidays! If you haven’t made these yet, now is the time.


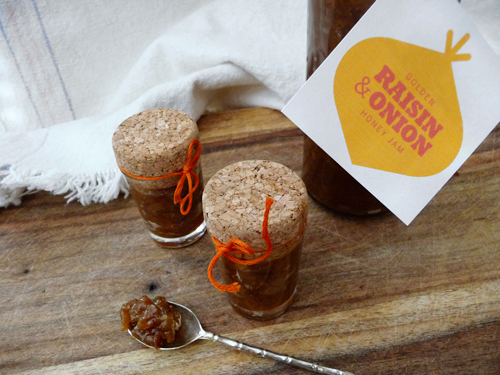
Golden Raisin & Onion Honey Jam

Golden Raisin & Onion Honey Jam is part of an hors d’oeuvre that I served at one of my 24 Carrot Supper Club holiday dinners last year on top of Cashew Cheese Spread and Herbes de Provence Crackers from Elana’s Pantry. This recipe is a favorite for the herbivores and the omnivores. Continue reading “Golden Raisin & Onion Honey Jam”

Hearty Cauliflower Chowder

This hearty, warm soup is one of my cold weather favorites—it is easy to prepare and super comforting. Try it as is, or add chopped sweet potato, asparagus, quinoa, millet or brown rice for even more texture. Continue reading “Hearty Cauliflower Chowder”

Easy Vegetable Stock or Puree

So you went to the Farmers’ Market, got seduced by all the beautiful colors and your fridge is now full of more vegetables than you know what to do with. You’ve had a busy week and your plans for eating up those beauties is becoming just that—only plans. Don’t fret, you can use every last vegetable to make the most delicious veggie broth or veggie puree you ever tasted. It’s simple to prepare, makes a great base for soups of all kinds, and you can freeze it for future use (see tips below). Now you can feel good knowing that no vegetables will sit lonely and unused in the fridge, only to meet their fate at the bottom of the trashcan.

You can use any combination of veggies to make a vegetable stock. The wider variety of vegetables (and colors), the richer and more complex the flavor. The recipe below is for a plan-ahead batch. For those times when you want to use up the goods in your fridge before they go bad, follow the same preparation below, just make sure to add some herbs, sea salt, onion and garlic to whatever you have on hand. Experiment and share what you come up with.

Makes: 3-4 cups of stock | Preparation Time: 2 hrs

Tools:
Blender (optional)
Large pot or saucepan

Ingredients:
Try to buy everything organic. Here’s why.
14 cups pure water
1 large clove organic garlic, chopped
1-2 stalks of organic celery, chopped
1/2 organic sweet potato, chopped
1/2 red organic onion, chopped
8-10 organic asparagus spears
1 small organic yellow squash, chopped
1 small organic zucchini, chopped
1/2-1 organic red pepper
1/2-1 organic yellow pepper
1 tsp-1Tbsp pink Himalayan or Celtic sea salt
Large handful  of flat parsley
1/8-1/4 tsp fresh cracked pepper

Let’s Get Started:
Place all of your rinsed and chopped vegetables, herbs and seasonings into a large pot or saucepan. Add pure water and bring to a boil over medium-high heat. Once boiling, reduce heat and simmer for 2 hours.

When 2 hours has passed, strain and either use right away, or store in an airtight glass container in the fridge or freezer. Use vegetable broth to cook rice, quinoa, amaranth or millet instead of water. Vegetable stock is satisfying during a juice fast or detox too.

If you want to use every last bit of vegetables, or you are in need of a vegetable puree, blend everything—broth and cooked veggies— until smooth. Vegetable puree is also great for cooking rice, quinoa, amaranth or millet instead of water.

Save in the fridge for up to one week or freeze in ice cube trays for future use. Once frozen, immediately transfer cubes to an airtight glass container to protect them from freezer burn. Freezing in cubes is a great way to have any portion size you need ready when you need it.

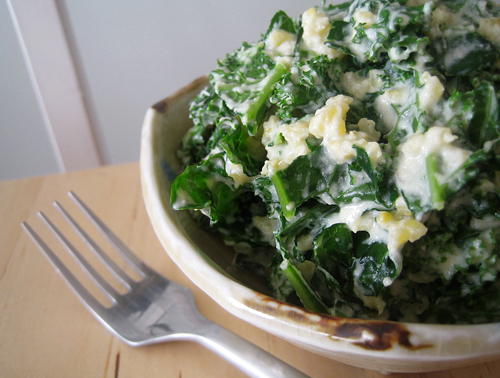
Creamy Millet and Kale Salad

I eat this salad once a week, and when I’m not eating it, I’m craving it. Who knew that a girl who ate her first salad at 19 years old would be loving kale one day? As much as I want to say that it’s the kale itself, I have to admit that it is the rich and cheesey non-dairy sauce that is the true kryptonite. This is a great recipe to try out on the folks that think kale is just a garnish. Feel free to swap out millet for quinoa—both are delicious and work well with this easy to prepare recipe. Don’t have kale around? Try spinach or chard instead.

Makes: 2-4 servings
Preparation Time: 30mins

Tools:
Blender

Ingredients:
Try to buy everything organic. Here’s why.
5-7 leaves of kale (or spinach or chard)
1/2 cup uncooked organic millet (or 1 1/2 cooked cups of quinoa, buckwheat, brown rice, chickpeas or gluten-free noodles)
1 1/2 cups pure water
Dash of fine ground sea salt or kombu (what’s kombu?)

For Sauce
1/2 cup cashews, soaked
1 tbsp fresh lemon juice
1 clove of garlic
1 cup pure water
1 tbsp extra virgin coconut oil
3 tbsp nutritional yeast
1-2 tsp fine-ground sea salt (to taste)
1 tbsp tahini (optional)

Let’s Get Started:
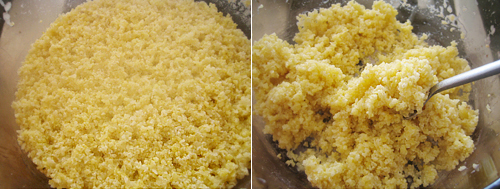
Bring 1/2 cup millet, a dash of sea salt and 1 1/2 cups of water to a boil in a saucepan. Once boiling, reduce heat to medium, cover saucepan and cook until all water is absorbed into the grain—about 20-25 minutes. Don’t peek (this is why glass lids and glass saucepans are great). You want to keep all that heat/steam inside for fluffy millet.

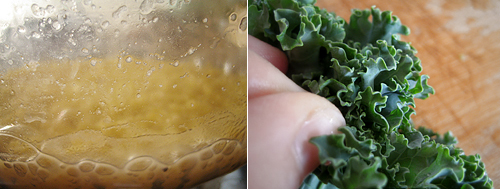
While your millet is cooking, remove the stems from your kale leaves and wash them well. Roll the leaves and slice them into 1″ strips (a.k.a chiffonade).

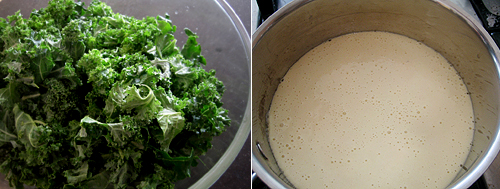
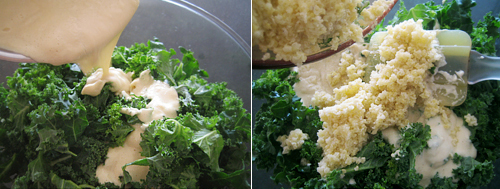
Place your sliced kale into a large glass bowl and set aside while you prepare the sauce. In a blender, place all sauce ingredients and blend until smooth. Transfer to a small saucepan, and over low heat, stir for about 2-4 minutes until warm and it starts to thicken.

When your millet is cooked, remove from heat and let it sit with the lid on for 5 minutes. Then, fluff with a fork.

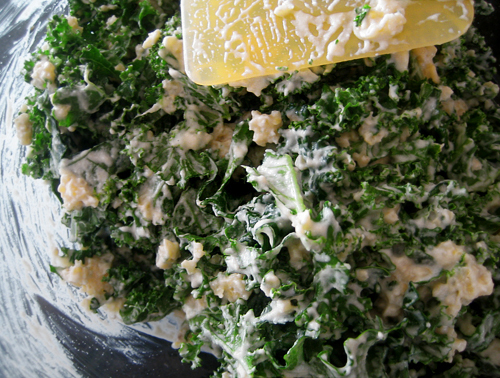
Pour your warm sauce over your kale leaves and add warm millet. Mix well.

The heat from the sauce and millet will start to wilt your kale leaves a bit. This makes for extra tasty, vibrant green kale.

Serve right away and/or store for up to one week in an airtight glass container. Feel free to reheat leftovers on the stove over low heat or eat cold. This is a great meal to make for satisfying, healthy lunches to bring to work and it is a delicious way to get a bunch of powerhouse greens in for the day. Prepare for addiction!


Homemade, Natural Citrus Glass and Surface Cleaner

I consume a lot of citrus fruits like lemons and oranges during the week. Living in the city with a deck on a busy, high-traffic street, makes composting and a garden something I will do once I get a place in nature. For now, I’ve been using my lemon, orange, lime, even grapefruit rinds to make a natural, toxin-free glass and surface cleaner.

My first batch was officially tested out this past weekend with incredible results. I ran all around the house like a giddy schoolgirl trying it out on mirrors, hardwood floors, toilets, counter tops, and all were squeaky clean, smelled of fresh citrus and streak-free!

Attendees of the YumUniverse Launch Party taking place at the Chicago Urban Art Society August, 12, will receive (among many other goodies) samples of this cleaner to take home. Unable to join us, or can’t wait ’til then? Try out this recipe yourself, it couldn’t be easier.

Tools:
Ultra fine cheesecloth, muslin scrap, or a fine-mesh strainer
Glass jars for soaking (re-use pasta sauce bottles or buy some wire-bail Mason jars or vintage-style milk bottles)
Glass spray bottles (mini ones are great for gifting)

Ingredients:
2-4 organic lemon rind
1 organic orange rind (optional)
1-2 organic lime rind (optional)
32 oz. organic white vinegar
Organic lemon, lime and/or orange oil (optional)

Let’s get started.
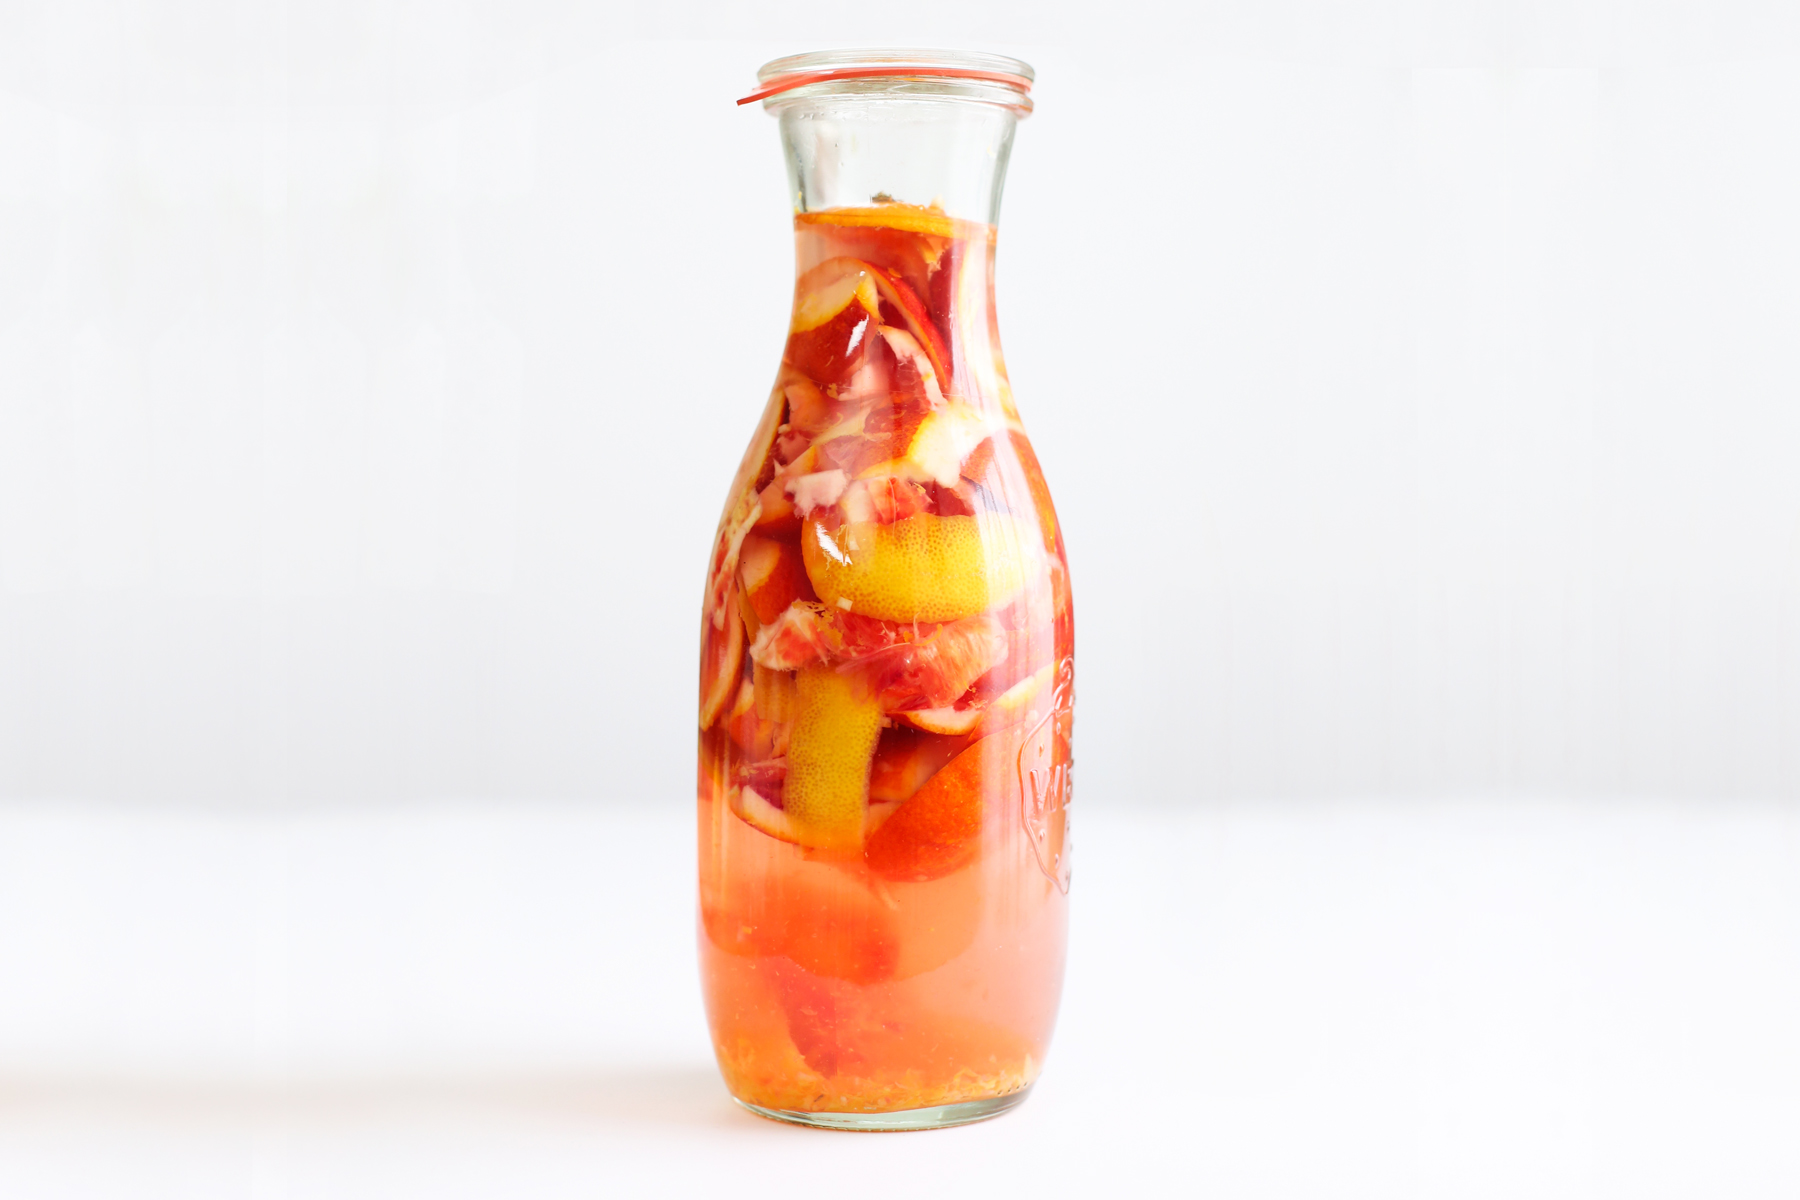
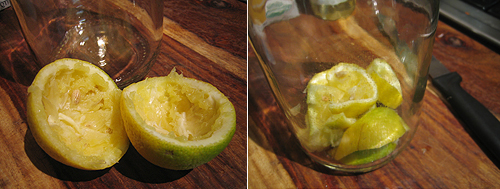
Fill your glass jar about 1/2–2/3 full with citrus rind. You can’t go wrong here with amount of citrus. More rind yields a stronger citrus smell, and less rind—you guessed it—less citrus smell.

Pour organic white vinegar over rind until jar is full. Seal airtight and let sit on counter for 3 weeks.

Feel free to peek/sniff over the next few weeks, you won’t disturb the infusion process by opening the jar. After 3 weeks, strain mixture with your cheesecloth or fine mesh strainer. Don’t stress over the infusion time—I’ve left bottles of rinds in vinegar for months with success. If you want to amp up the scent, add 1 drop each of organic lemon and/or lime, and/or orange oil, and/or grapefruit essential oil. Lavender and/or vanilla is a nice compliment too.

Use your spray cleaner either at full concentration or you can stretch the batch by diluting a bit with water. Have fun and share.

The best part about this recipe is that it can be used to wash fresh veggies and fruits, too!

Spray on veggies and give them a gentle scrub and rinse. Vinegar and lemon are natural antibacterials and do a fantastic job of cleaning produce naturally.